Event exports
Sometimes, pulling data alone is just not the right fit for your integration, which is why EVA supports bidirectional communication. For instance, when you want to trigger a workflow when an order is paid, or send out emails when a shipment is sent. Event exports ("webhooks") provide a valuable toolset for integrations to achieve this.
Because EVA is a real-time, event-based platform, we export these updates in real-time. When you look at the fundamentals, it's just a matter of specifying the endpoint to which the updates should be routed and you're all set.
These event exports themselves are of a simple nature and CANNOT be altered to include more information. If additional data is required after receiving an export, you can use services such as GetOrder based on the ID as specified in the export.
This documentation page is aimed at setting up your event export configuration in Admin Suite, which takes the cake when it comes to ease of use.
For in-depth knowledge about event exports however, see our Developer Event exports documentation.
Creating your event export configuration
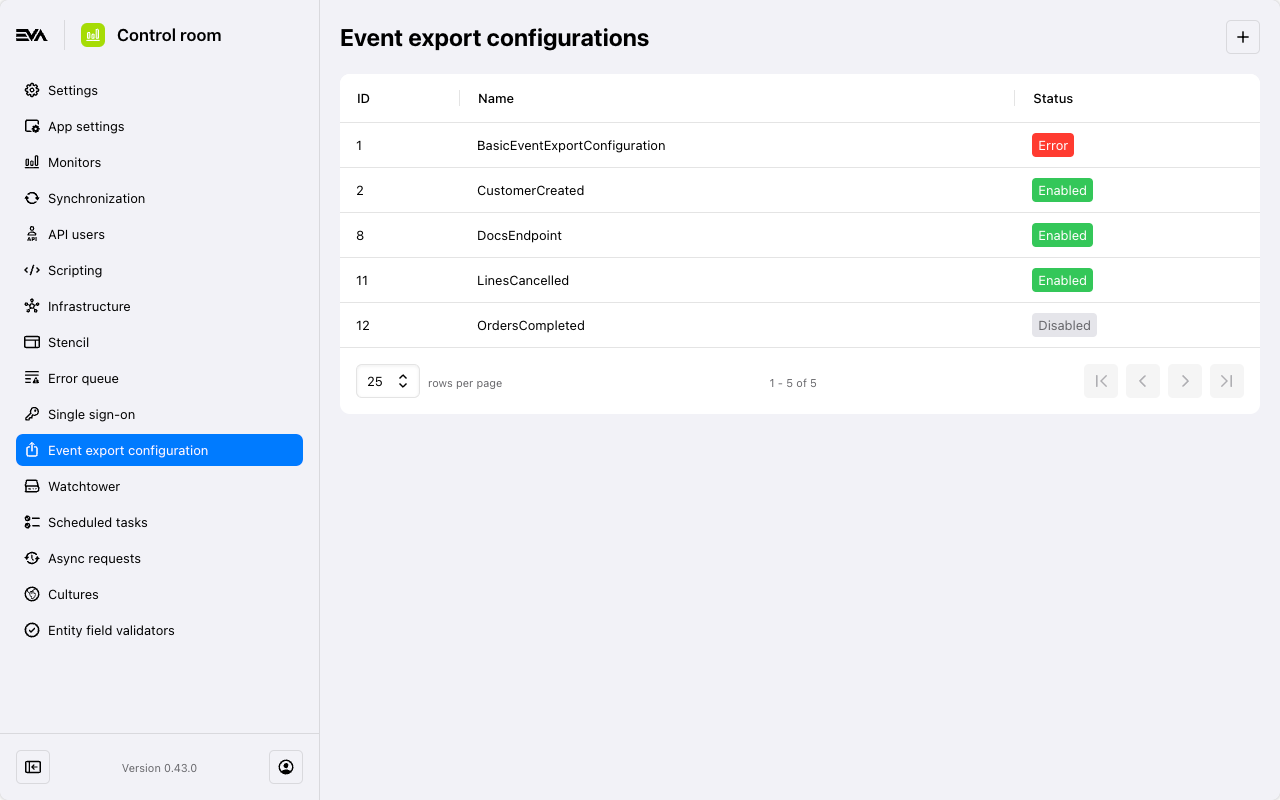
The chapter's overview shows you all current event export configurations and their status.
In order to view (and/or manage) this chapter, the permission EventExportConfiguration is required with the View scope. For info on setting permissions, see Employees in Admin Suite.

General information
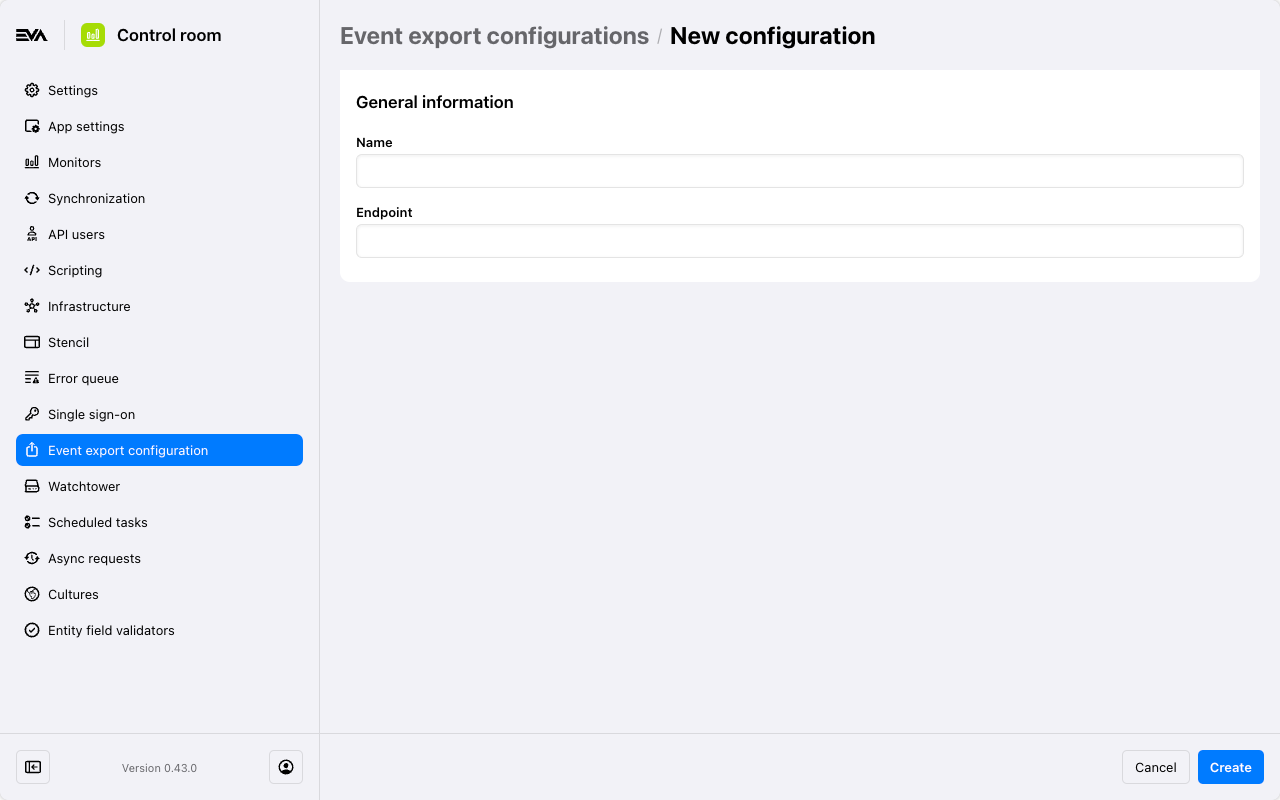
When creating a new configuration, you first have to specify two basic details:
- Name - your unique name for this specific configuration;
- Endpoint - your (middleware) endpoint for EVA to send the events to.

Once, you click the Create button, the event export configuration will have been created in its most basic form; you can now start configuring its details.
By default, the Status of the event export will be Disabled. Enabling it can be done easily by editing the configuration in question.
We accomodate your testing with our own EVA Event catcher.
Configuration
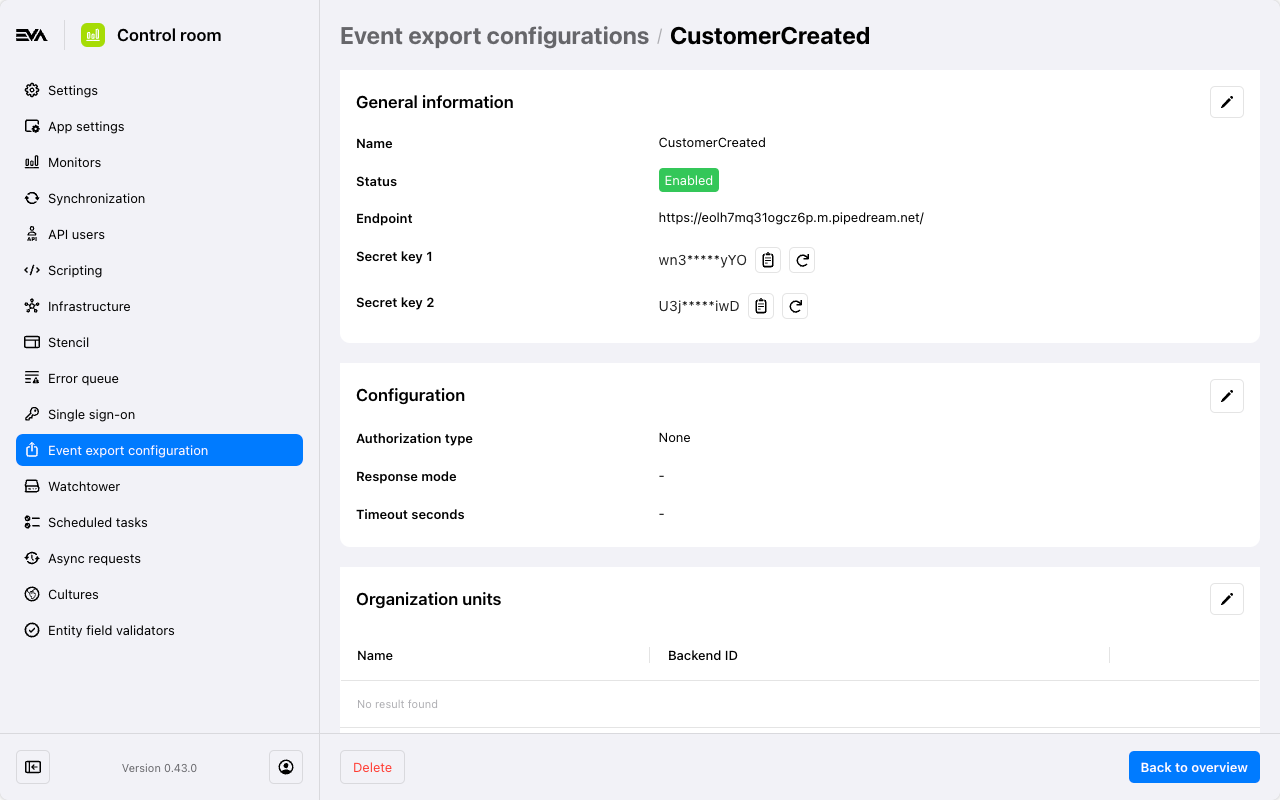
All details pertaining to an event export configuration can be edited directly in its details screen. We'll go through each aspect to show you what's possible.

Authorization
The type of authorization presents your level of security. It's important because you do not want your endpoint to accept events from just any sender, allowing just about anyone to for example transmit you a Confirmed event for a payment.
- Bearer token: a token as registered by you from New Black or vice versa
- It is sent out as
Authorization: Bearer {token}
- It is sent out as
- Static unschemed token: an unschemed (without
Beareror similar) token- It is sent out as
Authorization: {token}
- It is sent out as
- Certificate: add your certificate file along with its password
- Bear in mind that you have to ensure it's always up-to-date
- None: to be used only for testing purposes
Response mode
The response mode defines how EVA needs to interpret your endpoint's responses.
- Loose: use this if you want EVA to interpret any response containing a 2xx status as a successful response
- Normal: your endpoint will have to respond with a 200 (OK) response with a string type body [ACK] for EVA to acknowledge it as being a successful response; if it is not, EVA will retry the event
Scripting
By creating a script in the EventExport extension point, you can create detailed filters for when to send off webhooks.
You can add the ID of an existing EventExport script by editing the Configuration card.
Deadline
The timeout in seconds allows you to specify an amount of time during which EVA may expect a response from your middleware.
- Regardless of your input, EVA maintains a hard cut-off time of 5000 ms (5 seconds). Any longer than that and your entire operation will struggle with these delays
- Strive for < 200 ms
Organization units
You can either include or exclude organization units, or even make a combination of the two.
- By leaving those cards empty: events will be exported for all possible OUs (keep in mind that doing so can lead to performance-impacting amounts of exports)
- Specifying OUs (Organization units card): The events will only be exported for these (underlying) outages
- Specifying excluded OUs (Exclude organization units card): The events for all OUs will be exported except these
Message types
Now that you've got your endpoint configured, it's time to instruct EVA on what kind of events you want to export to the endpoint.
You can add one Event export target with one Event type at a time. You can however add as many combinations as you like.
There's no limit to the amount of endpoint configurations you can create and we advise you to make use of that. Create configurations. with dedicated endpoints. for all your critical business processes. This will minimize the chance of delays whenever there are large amounts of webhooks fired off by EVA.
That is all for the basics of setting up an event export configuration in Admin Suite. There is however a lot more to it, such as testing, troubleshooting and the option to replay events. These are all available in the mentioned Development Event exports documentation.