Click & Collect
Now that we've gone over the most important concepts involved in Stencils, it's time to get our hands dirty.
Example: Click & Collect
Let's start with a real life example: a Click and Collect flow. In C&C order, a customer orders items online and opts to pick them up in-store. The designated store will receive a task to reserve these items and do so. Upon reservation, we can trigger an e-mail to the customer telling them that their items are ready. This e-mail should also include a QR-code that is to be used to identify the customer in-store.
Let's make a Stencil for this.
Layout
First off, we need a proper layout. Think of this as the scaffolding for your mails.
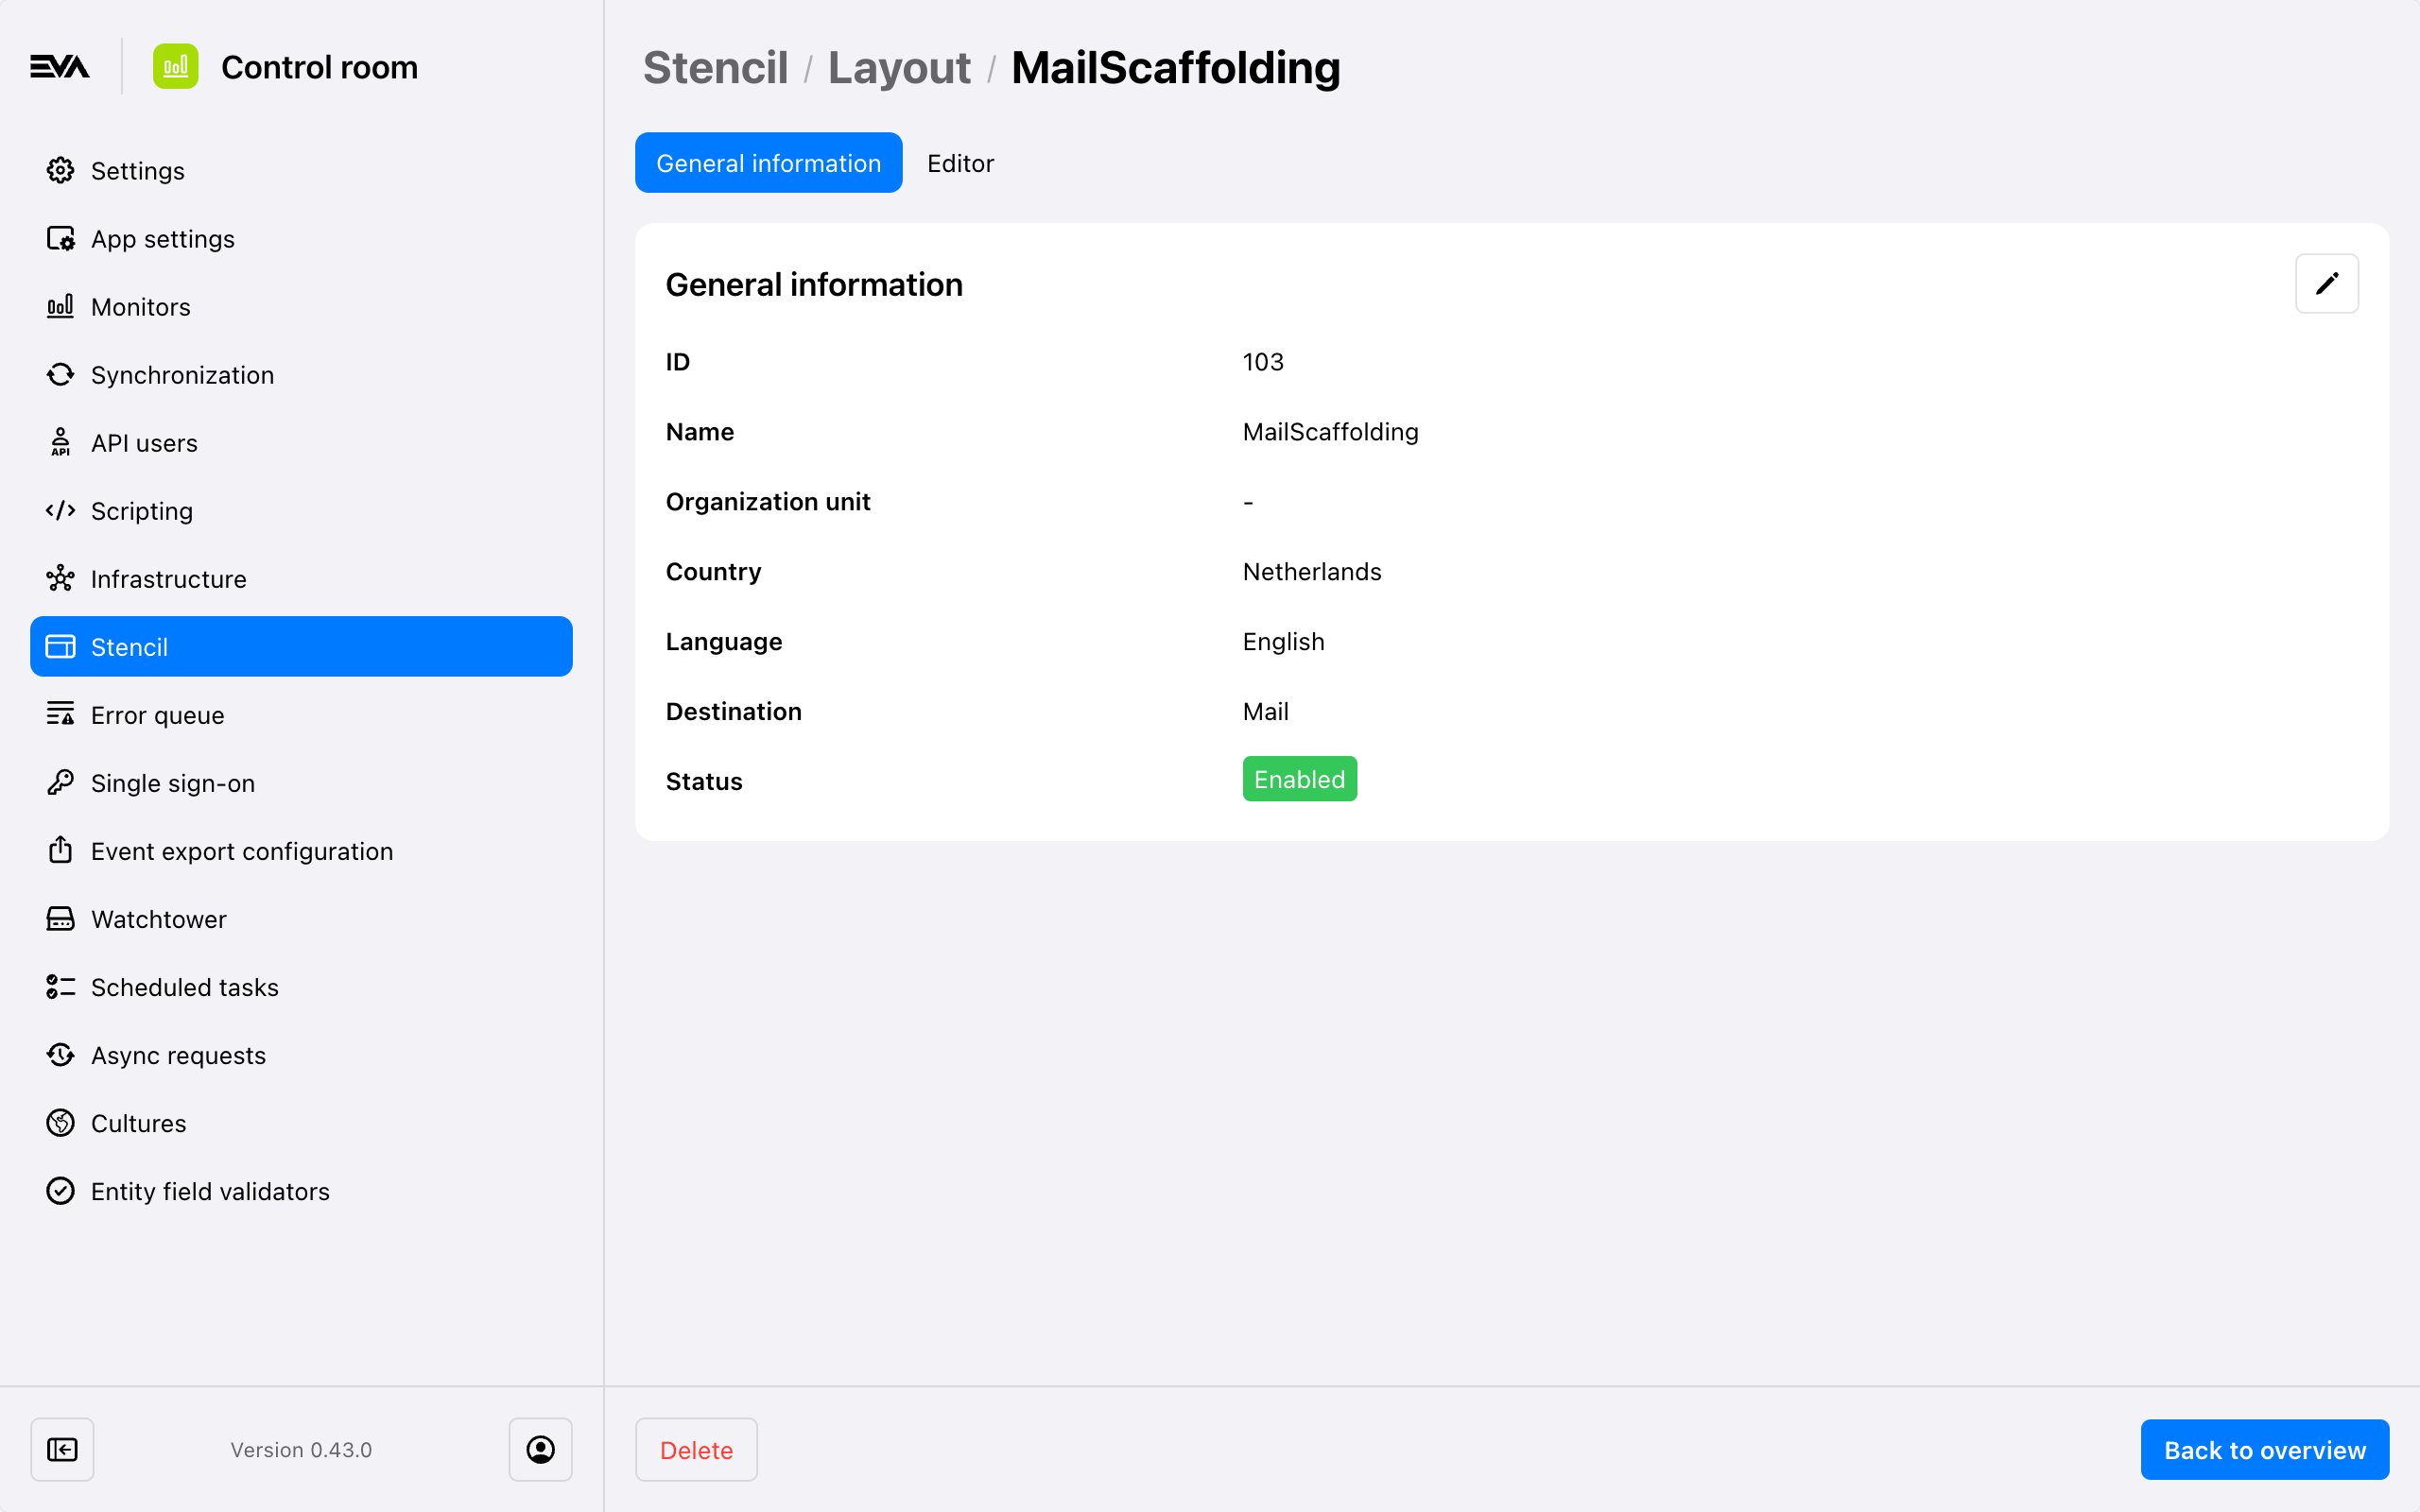
- We start by heading to the Layout tab and initiating a new one.
- We set the Organization Unit field to our local OU, so this layout is created especially for that one.
- For Layouts, Names are free to fill out with whatever you want.
- We set the Destination to Mail, so this Layout will be available to all Templates that have their destination set to mail.
- Mind that the Country and Language fields are optional, but are helpful when it comes to Stencil matching.
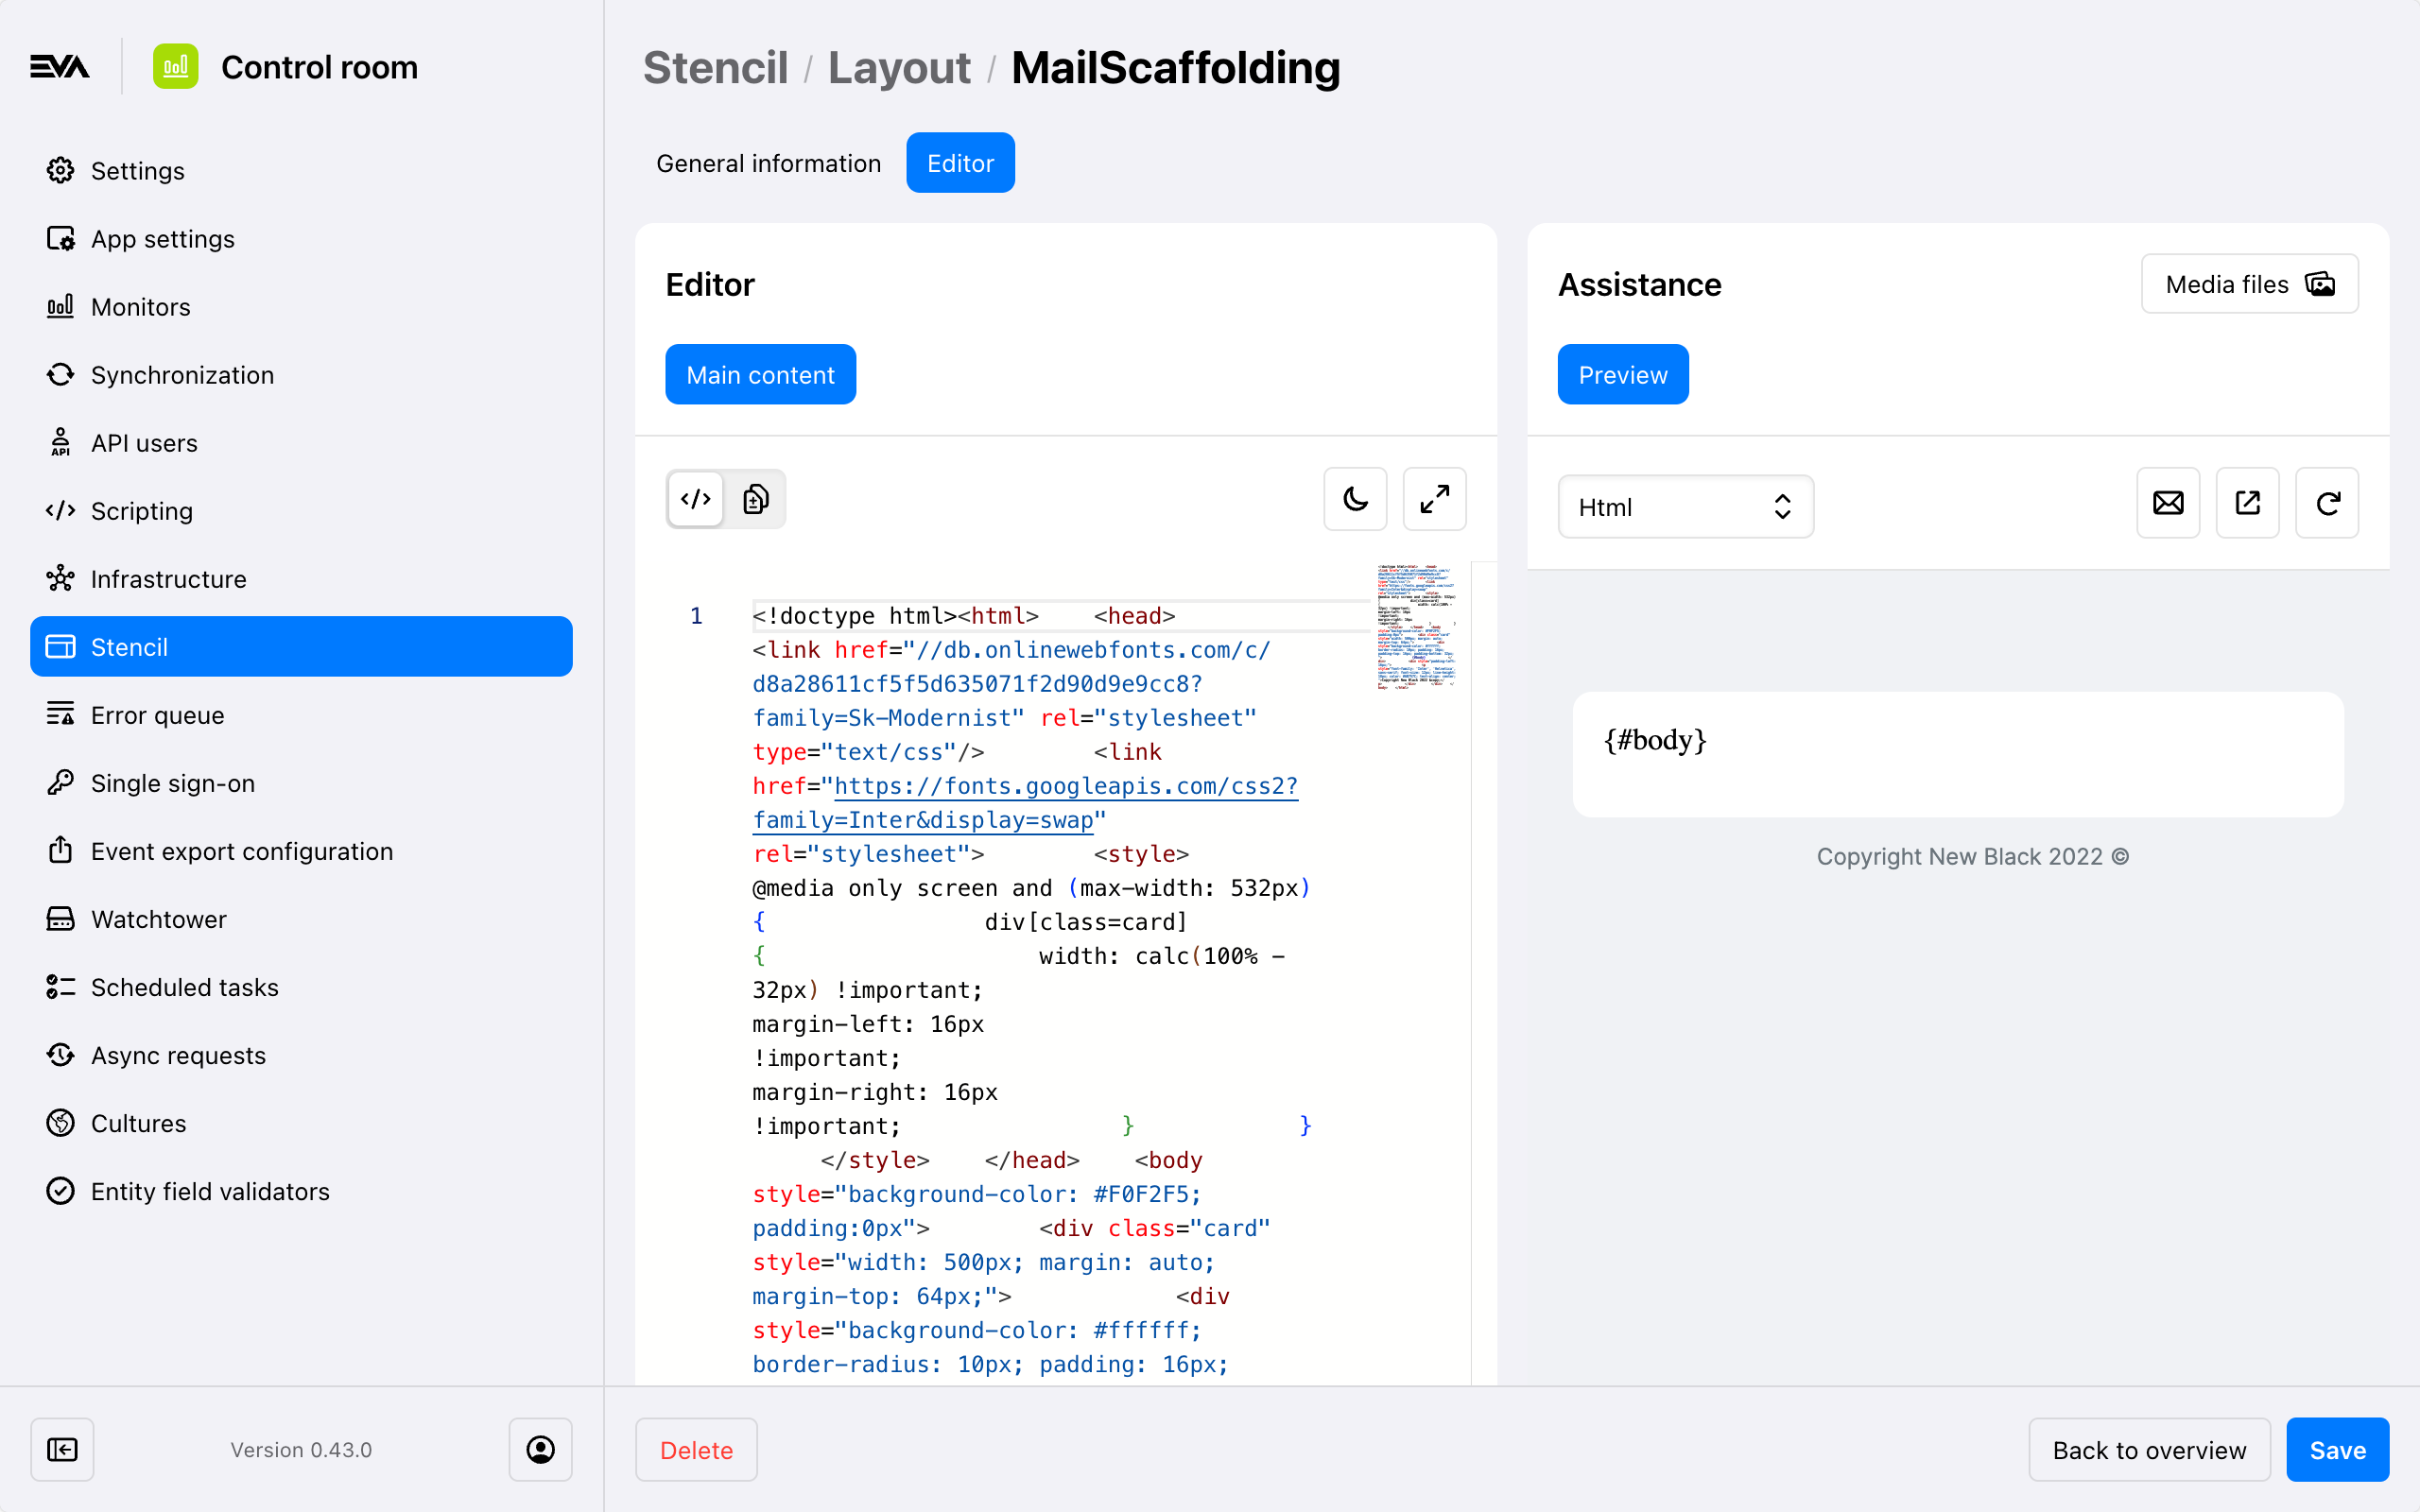
We can now fill the Content box with our actual HTML. We will use the Example Layout given on this page. In the middle of this HTML code, we provide a {#body} tag. This is where the content of our Template will go.
<!doctype html>
<html>
<head>
<link href="//db.onlinewebfonts.com/c/d8a28611cf5f5d635071f2d90d9e9cc8?family=Sk-Modernist" rel="stylesheet" type="text/css"/>
<link href="https://fonts.googleapis.com/css2?family=Inter&display=swap" rel="stylesheet">
<style>
@media only screen and (max-width: 532px) {
div[class=card] {
width: calc(100% - 32px) !important;
margin-left: 16px !important;
margin-right: 16px !important;
}
}
</style>
</head>
<body style="background-color: #F0F2F5; padding:0px">
<div class="card" style="width: 500px; margin: auto; margin-top: 64px;">
<div style="background-color: #ffffff; border-radius: 10px; padding: 16px; padding-top: 16px; padding-bottom: 32px;">
{#body}
</div>
<div style="padding-left: 16px;">
<p style="font-family: 'Inter', 'Helvetica', sans-serif; font-size: 12px; line-height: 18px; color: #6B757C; text-align: center;">Copyright New Black 2022 ©</p>
</div>
</div>
</body>
</html>
Our Layout won't be much for now; you can expect the preview to look as follows.
Template
Now that our Layout is all done, it's time to create the Template.
Set the Name to StockReservation, set the same OU and Destination and select the Layout we just built.
Now we are basically telling EVA to scaffold our Template using the linked Layout so any HTML we create here will be injected into the Layout we built before.
Mind that some templates come with pre-configured Content.
Content
Because we've built a very clean, basic Layout, we can just inject simple content here to make a fully functioning Stencil.
Let's go over how to use the options which are available to you first.
Data structure
Since we are now building a Template, we have access to a certain data model, which you can check in the right card's Data structure.
In here we provide the complete data model, containing all possible properties to be used in the Template.
.04.2024.png)
The following is a little snippet from the data available in the card:
    "VerificationCode": "string",
    "User": {
        "FirstName": "string",
        "LastName": "string",
        "FullName": "string",
        ...
    },
    {
    "TemplateName": "string",
    "Order": {
        "ID": "int",
        "CurrencyID": "string",
        "TotalAmountInTax": "decimal",}
        ...
    },
        "OrganizationUnit": {
        "Name": "string",
        "EmailAddress": "string",
        "PhoneNumber": "string",
        "BankAccount": "string",
        "VatNumber": "string",
        "RegistrationNumber": "string",
        "HouseNumber": "string",
        "Address1": "string",
        "Address2": "string",
        "ZipCodeAndCity": "string",
        ...
        }
In our example, we want to start off with the customer's first name to greet the customer, we'll use the first name like so:
<h1
style="...;">Hi {{>User.FirstName}},</h1>
We also need the customer to know their OrderID, which we can add as follows:
<h1
style="...;">Order number #{{>Order.ID}}</h1>
Lastly, we want to add the details of the shop where the customer can pick up their order:
<h1
style="...;">Pickup location</h1>

<p
 style="...;">{{>OrganizationUnit.Name}}<br/>{{>OrganizationUnit.Address1}}
             {{>OrganizationUnit.HouseNumber}}<br/>{{>OrganizationUnit.ZipCodeAndCity}}</p>
Step by step
You can take properties from whichever level of the Example data you need.
Let's say we want to print the TemplateName on the Stencil as well, we can do so by putting {{>TemplateName}} in a string like so:
<p> This is a string containing the {{>TemplateName}}.</p>
We can add child properties by adding dots:
<p> This is a string containing the {{>Order.CurrencyID}}.</p>
And we can go as deep as we want:
<p> This is a string containing the {{>Order.BillingAddress.ZipCodeAndCity}}.</p>
Filling up the content
Now that we know how to include possible properties in our Template's content, let's finish it.
{#subject} Items ready for pickup {#/subject}

<tr class="big-text">
    <td>
        <table>
            <tr>
                <td>
                    <h1
                        style="font-family: 'Sk-Modernist', 'Helvetica', sans-serif; font-weight: 700; font-size: 24px; line-height: 28px; margin: 0;">
                        Hi {{>User.FirstName}},</h1>
                </td>
            </tr>
            <tr>
                <td>
                    <p
                        style="font-family: 'Inter', 'Helvetica', sans-serif; font-weight: 400; font-size: 14px; line-height: 22px; margin: 0;">
                        Your order is ready for pickup. Please bring this e-mail when you come to pick up your order in
                        store.</p>
                </td>
            </tr>
        </table>
    </td>
</tr>

<tr class="small-text">
    <td>
        <table>
            <tr>
                <td>
                    <h1
                        style="font-family: 'Sk-Modernist', 'Helvetica', sans-serif; font-weight: 700; font-size: 17px; line-height: 22px; margin: 0;">
                        Order number #{{>Order.ID}}</h1>
                </td>
            </tr>
            <tr>
                <td>
                    <p
                        style="font-family: 'Inter', 'Helvetica', sans-serif; font-weight: 400; font-size: 12px; line-height: 18px; margin: 0;">
                        14th December, 2023</p>
                </td>
            </tr>
        </table>
    </td>
</tr>

<tr class="small-text">
    <td>
        <table>
            <tr>
                <td>
                    <h1
                        style="font-family: 'Sk-Modernist', 'Helvetica', sans-serif; font-weight: 700; font-size: 17px; line-height: 22px; margin: 0;">
                        Pickup location</h1>
                </td>
            </tr>
            <tr>
                <td>
                    <p
                        style="font-family: 'Inter', 'Helvetica', sans-serif; font-weight: 400; font-size: 12px; line-height: 18px; margin: 0;">
                        {{>OrganizationUnit.Name}}<br />{{>OrganizationUnit.Address1}}
                        {{>OrganizationUnit.HouseNumber}}<br />{{>OrganizationUnit.ZipCodeAndCity}}</p>
                </td>
            </tr>
            <tr>
                <td>
                    <a href="http://maps.google.com/?q={{>OrganizationUnit.Address1}} {{>OrganizationUnit.HouseNumber}} {{>OrganizationUnit.ZipCodeAndCity}}"
                        style="text-decoration: none;">
                        <p
                            style="font-family: 'Inter', 'Helvetica', sans-serif; font-weight: 600; font-size: 12px; line-height: 18px; margin: 0; color: #007AFF;">
                            View in Google Maps</p>
                    </a>
                </td>
            </tr>
        </table>
    </td>
</tr>

<tr class="button">
    <td>
        <a href="https://eva.unifyingcommerce.com" style="text-decoration: none;">
            <button
                style="padding: 12px; padding-left: 16px; padding-right: 16px; border-radius: 6px; border: 0px; background-color: #007AFF; color: #ffffff; cursor: pointer; font-weight: 600; font-size: 12px;">Order
                details</button>
        </a>
    </td>
</tr>

<tr class="items">
    <td>
        <table>
            <tr>
                <td>
                    <h1
                        style="font-family: 'Sk-Modernist', 'Helvetica', sans-serif; font-weight: 700; font-size: 17px; line-height: 22px; margin: 0;">
                        Items</h1>
                </td>
            </tr>
            {{for Order.Lines}}
            {{if QuantityReserved = 0}}
            <tr class="item">
                <td class="product-image">
                    <img width="100px" style="border-radius: 6px;"
                        src="https://your.own.images" />
                </td>
                <td>
                    <table>
                        <tr>
                            <td>
                                <p
                                    style="font-family: 'Inter', 'Helvetica', sans-serif; font-weight: 600; font-size: 14px; line-height: 22px; margin: 0;">
                                    {{>Description}}</p>
                            </td>
                        </tr>
                        <tr>
                            <td>
                                <table>
                                    <tr>
                                        <td class="no-padding">
                                            <p
                                                style="font-family: 'Inter', 'Helvetica', sans-serif; font-weight: 400; font-size: 12px; line-height: 18px; margin: 0;">
                                                Quantity:</p>
                                        </td>
                                        <td class="no-padding">
                                            <p
                                                style="font-family: 'Inter', 'Helvetica', sans-serif; font-weight: 400; font-size: 12px; line-height: 18px; margin: 0;">
                                                {{>QuantityReserved}}/{{>TotalQuantityToShip}}</p>
                                        </td>
                                    </tr>
                                    <tr>
                                        <td class="no-padding">
                                            <p
                                                style="font-family: 'Inter', 'Helvetica', sans-serif; font-weight: 400; font-size: 12px; line-height: 18px; margin: 0;">
                                                Size:</p>
                                        </td>
                                        <td class="no-padding">
                                            <p
                                                style="font-family: 'Inter', 'Helvetica', sans-serif; font-weight: 400; font-size: 12px; line-height: 18px; margin: 0;">
                                                {{>ProductProperties.size}}</p>
                                        </td>
                                    </tr>
                                    <tr>
                                        <td class="no-padding">
                                            <p
                                                style="font-family: 'Inter', 'Helvetica', sans-serif; font-weight: 400; font-size: 12px; line-height: 18px; margin: 0;">
                                                Color:</p>
                                        </td>
                                        <td class="no-padding">
                                            <p
                                                style="font-family: 'Inter', 'Helvetica', sans-serif; font-weight: 400; font-size: 12px; line-height: 18px; margin: 0;">
                                                {{>ProductProperties.color}}</p>
                                        </td>
                                    </tr>
                                </table>
                            </td>
                        </tr>
                    </table>
                </td>
            </tr>
            {{/if}}
            {{/for}}
        </table>
    </td>
</tr>
Take note that you can specify your email subject by means of the {#subject}Your subject here{#/subject} declaration at the top.
Preview
Now that we have set this up, we can click the 'eye' icon and select one of the following preview types:
- HTML preview, showing you how the mail would look in your email client (allowing you to optionally send you the email)
- Standard preview, showing you the unprocessed script
- PNG preview, the contents converted into PNG format
- PDF preview, the contents converted into PDF
- Thermal preview, available only when the Destination includes Thermal and allows you to send it to an OU/station of your choice for previwing
Our mail now looks like this:
.04.2024.png)
Adding Media
Although we've added the images in our Main content directly via URL, you can also use pictures in your templates by adding them via the Media files icon in the top right of your Assistance card.
After uploading your picture, you will have to set a name for it: make sure not to use any spaces in it.
After doing so, select it and click Select. Code will be automatically inserted at the top of the code contents like so:
{#image eva-tortuga width height png}.
You can see the image inserted into actual code in the sample below:
<tr>
    <td align="center">
        <table width="515" border="0" cellspacing="0" cellpadding="0" class="m_3966551746016967307content-wrapper-small" align="center" style="width:515px;margin:0 auto">
           <tbody>
               <tr>
                  <td class="m_3966551746016967307logo" align="center" style="padding-bottom:10px; text-align: center;"><img src="{#image eva-tortuga png}" width="200" alt="" border="0" style="display:block;margin:0 auto" class="CToWUd"></td>
               </tr>
             </tbody>
        </table>
    </td>
</tr>
Helper functions
The button in our e-mail is great, but we need a Qr-code for in-store verification. In our data model, we have a property called VerificationCode. We need to translate this value into a QR-code so it can be scanned in-store.
For this specific purpose, we have a QR-code Helper:
function qrcode(value, size) {
    return barcode('qr', value, size, size, false);
}
We need to add this Helper, and insert the correct value for the QR-code to be generated. We can do so as follows:
<img src="{{:~qrcode(VerificationCode, 120)}}">
This will take our VerificationCode and insert it into the Qr-code helper to render the correct code.