Stencil
Stencil
Manage the output of various stencilsEVA has a lot of functionalities where some form of user-friendly communication is desired. Think of invoices, thermal receipts, password reset mailings, end-of-day reports, click-and-collect order mailings and so on. When creating these outputs, we call them stencils and you manage them in its namesake chapter.
Building stencils requires knowledge about HTML, CSS and JavaScript. Some Stencils have been pre-built by our team for compliancy reasons, anything beyond what is pre-built is up to you.
Stencil basics
We call the chapter and the functionality it contains Stencil, but there will be many more definitions coming across your screen, so we'll start off explaining some of these definitions in their basic forms.
Template types
The basic idea behind stencil is super simple: you can build a stencil in our HTML editor, which consists of one or more of the following parts:
- Template: a template is the foundation for your communication as it predetermines the data structure available to you. It is tied to its namesake event in EVA, such as a PickSlip, EmailValidation or PasswordResetRequested.
- Partial: also a template, but you can see a partial as a snippet of one which you can inject in your main template. This means its goal is to make it easy for you to create reusable content.
- Layout: a layout is also a reusable template, but focused on layout. Think of fonts and background color; mainly in HTML. This makes it especially well-geared towards use in HTML Mail templates.
The chapter itself is also split up in three separate tabs based on the above types.
Pre-made templates
Some templates come pre-configured, like the first ones you see in the overview.
In this case, they are CertifiedInvoices, which means they are pre-configured to be compliant. Aside from the header and footer, you cannot change these without losing compliance.
There are however more templates which come pre-configured with EVA, since they are necessary for specific functionalities. This is the case in for example the mailing of errors found during a product upload. This premade template is as neutral as can be - and should remain so.
You can however make new templates that rely on the neutral ones, but make them more suitable for specific OUs/languages.
Template
Because the Template tab contains all of the available functionality in this chapter, and Partial and Layout only have some of that functionality, we will walk you through this tab in its entirety.
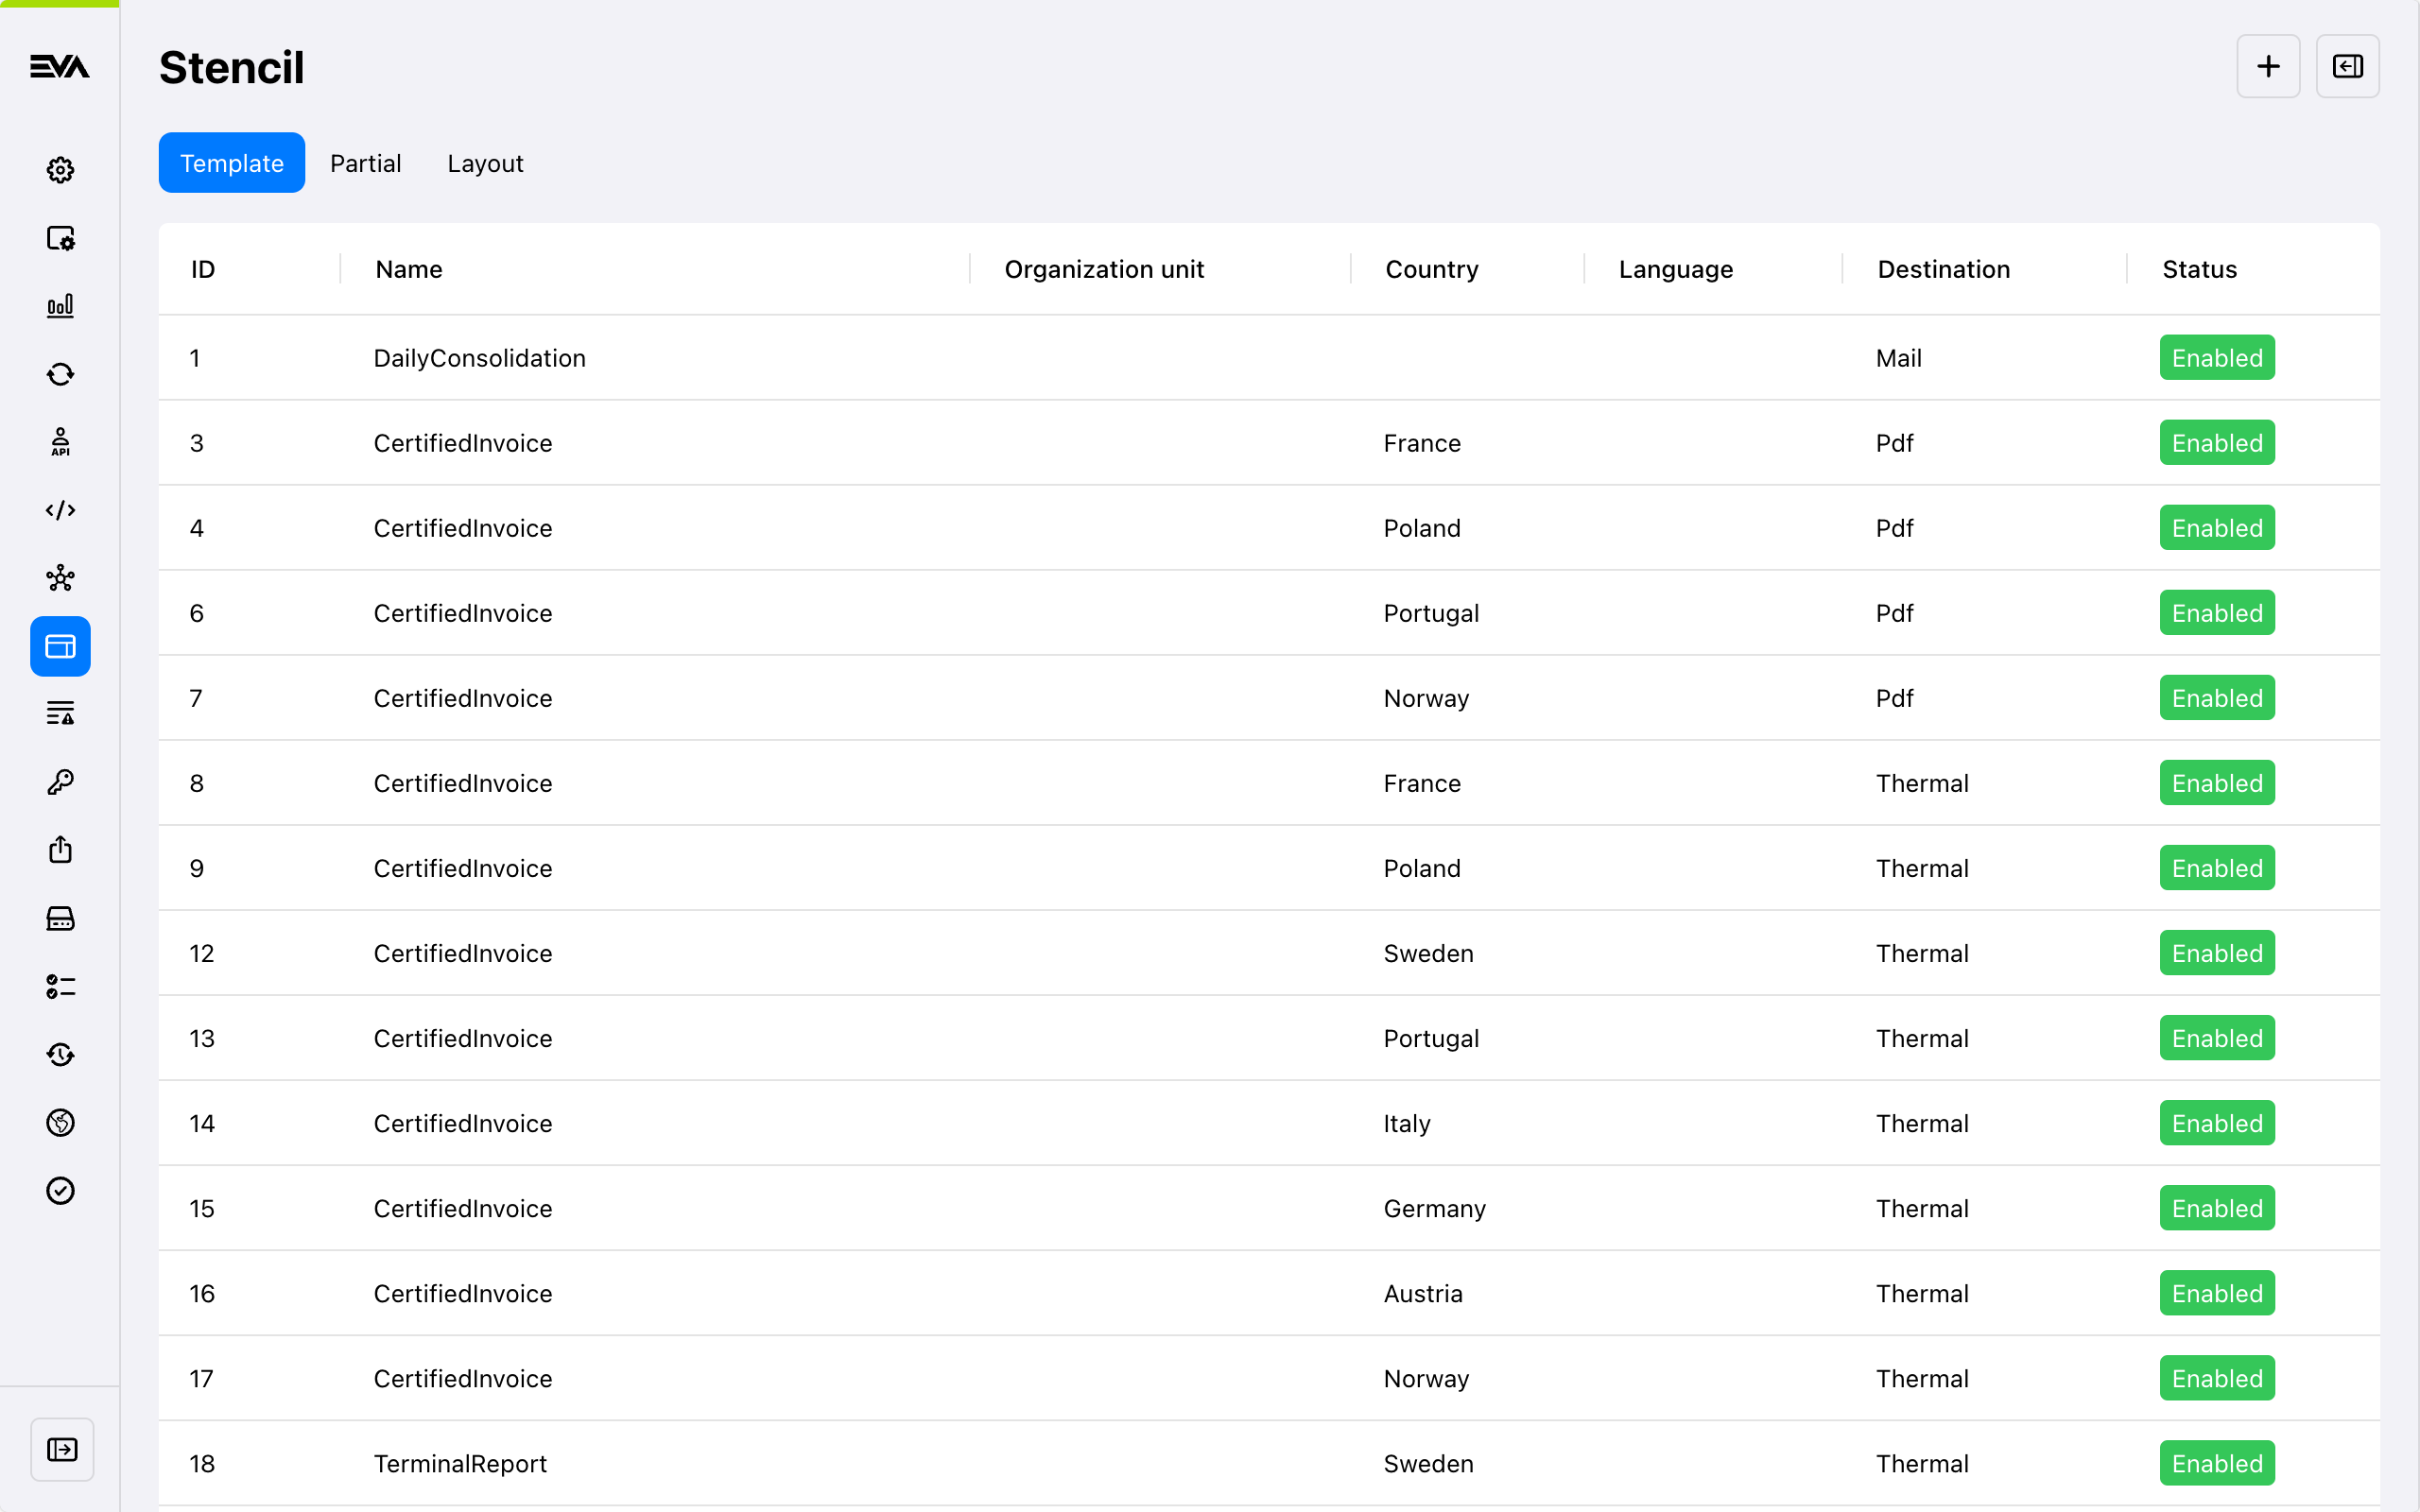
It starts off with the following overview, showing you all configured stencils and their notable details.
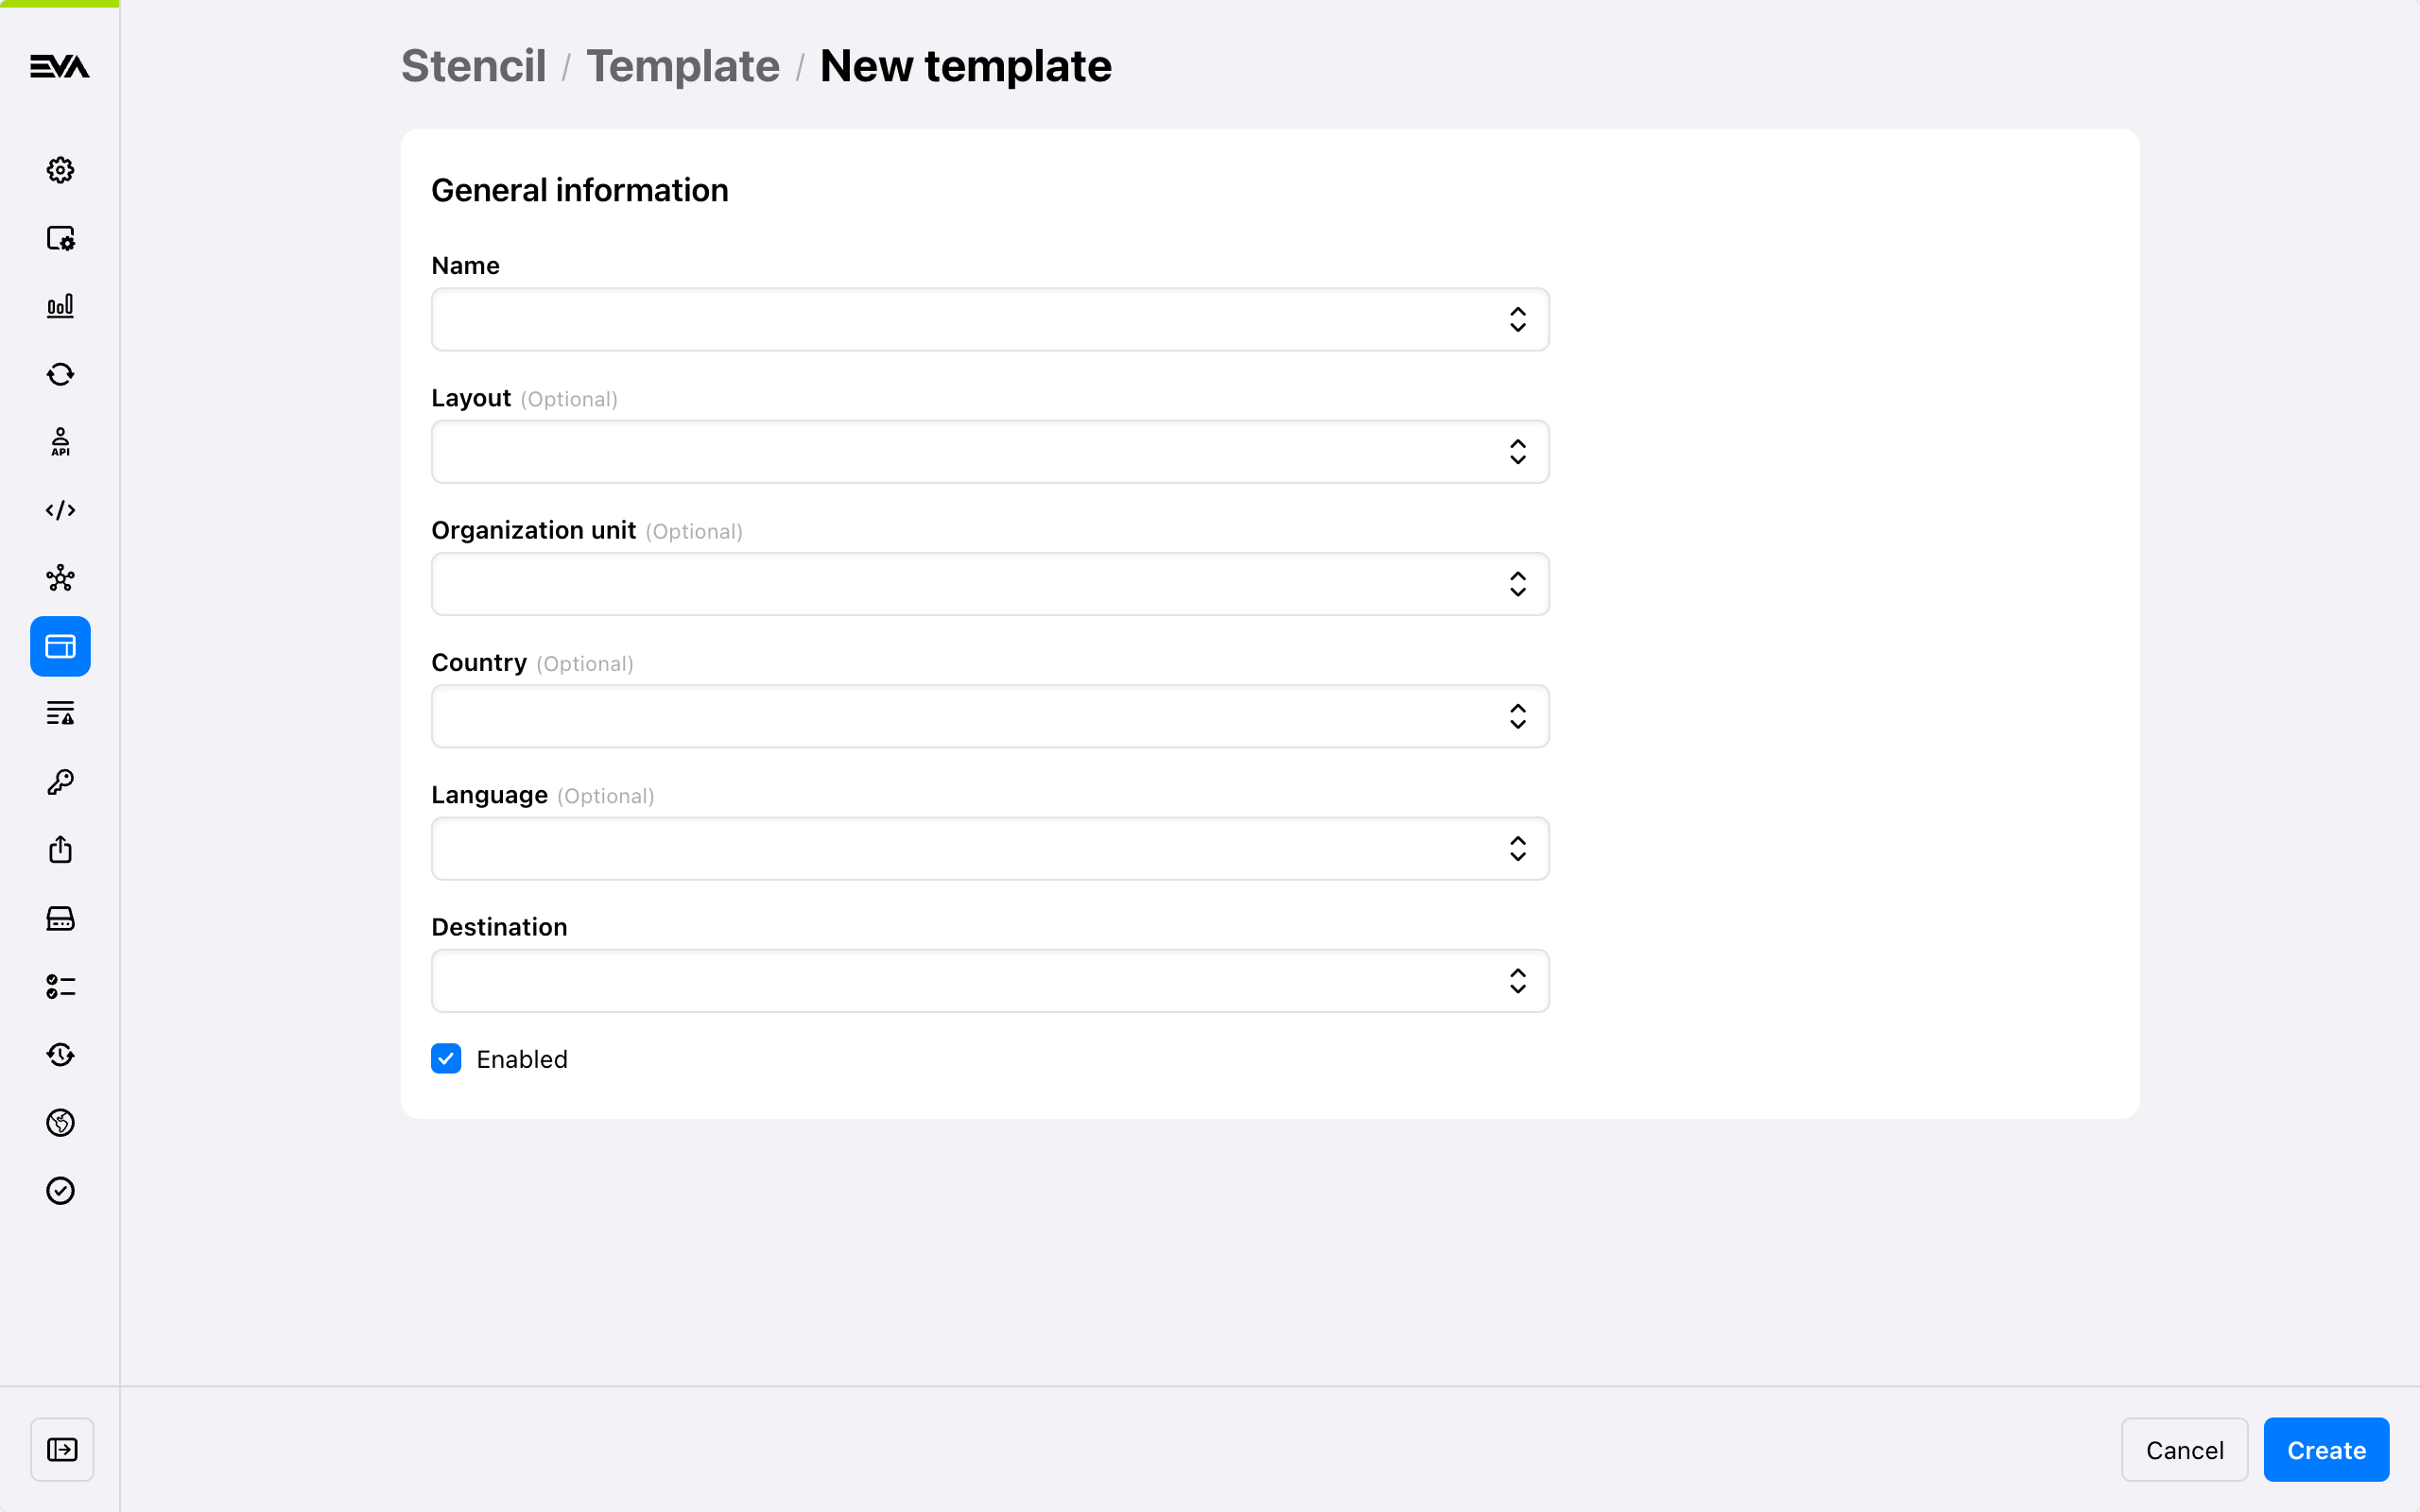
The following fields are available when creating a template.
Take note of the Status field, which allows you to prevent communication for a template, or any other type, simply by toggling it to disabled. You can also give this a specific OU, Country or Language to block communications for that specific OU/Country/Language.
Stencil Name
When creating a new template, you have to specify a Name. This name is no free-form, but a dropdown list. These available names are directly tied to the template's corresponding event. Examples:
- Invoice is the event where a customer requests an invoice by mail, giving you the invoice data allowing you to create a mail containing an invoice.
- ThermalReceipt is the receipt that will be printed for in-store orders.
- PasswordResetRequested contains among others a password token and URL to the related environment.
The other two tabs also require a Name, but this is just a (unique) name. Partials and layouts are not linked to a specific event, but to a template instead.
Stencil Destination
In addition to a Name, a Stencil has a Destination. This determines how EVA will try and process the template when the stencil is triggered.
The possible destinations are as follows:
- Mail: the template will be sent out as an email
- SMS: the template will go out as an SMS (see also: MessageBird)
- PDF: the template will be converted/included as a PDF file
- Thermal: the template will be be sent to a thermal printer
- Notification: the template will be pused towards the Apps or POS (but can be used for a select group of templates only)
- HTTP: EVA sends out all raw data, allowing you to create your own mails via an external tool (see also: Bypassing EVA and creating your own messages)
Destination details
Failing stencils
It is possible for stencils to fail: in case of Destination Thermal for example, EVA will send the template to a thermal printer, but it will fail if the printer is unavailable or unable to print the content.
Multiple destinations
To continue with that example: a ThermalReceipt Stencil requires you to set Thermal Printer as its Destination. Some Stencil Names can even support multiple destinations, for example: Invoice consists of two parts:
- the Invoice Email
- the Invoice PDF which will be included in the invoice e-mail as an attachment
When incorporating multiple destinations in one template, take into account that these will then both be based on the same Content. If you want the mail to be different from the PDF, create the same template twice: once with Mail and once with PDF as Destination.
Although it should be clear what kind of Destination(s) you need for what template in most cases based on its Name, we'll include several regularly-used templates, their purpose and the according destinations throughout these docs.
Some thermal printer templates, such as ThermalLastPinReceipt, can also print images when destination is set to HTTP or can be sent by mail when set to Mail.
Concept: Stencil matching
There are a few more properties available when creating your template:
- Organization Unit
- Country
- Language
These determine what stencils to use when a trigger/event takes place. To make that clearer:
When an order is invoiced, EVA will check for the best Stencil match based on the organization unit that issues the invoice, the country in which the organization unit is located, and the language of the customer.
In these situations, Organization Unit trumps Country, and Country trumps Language.
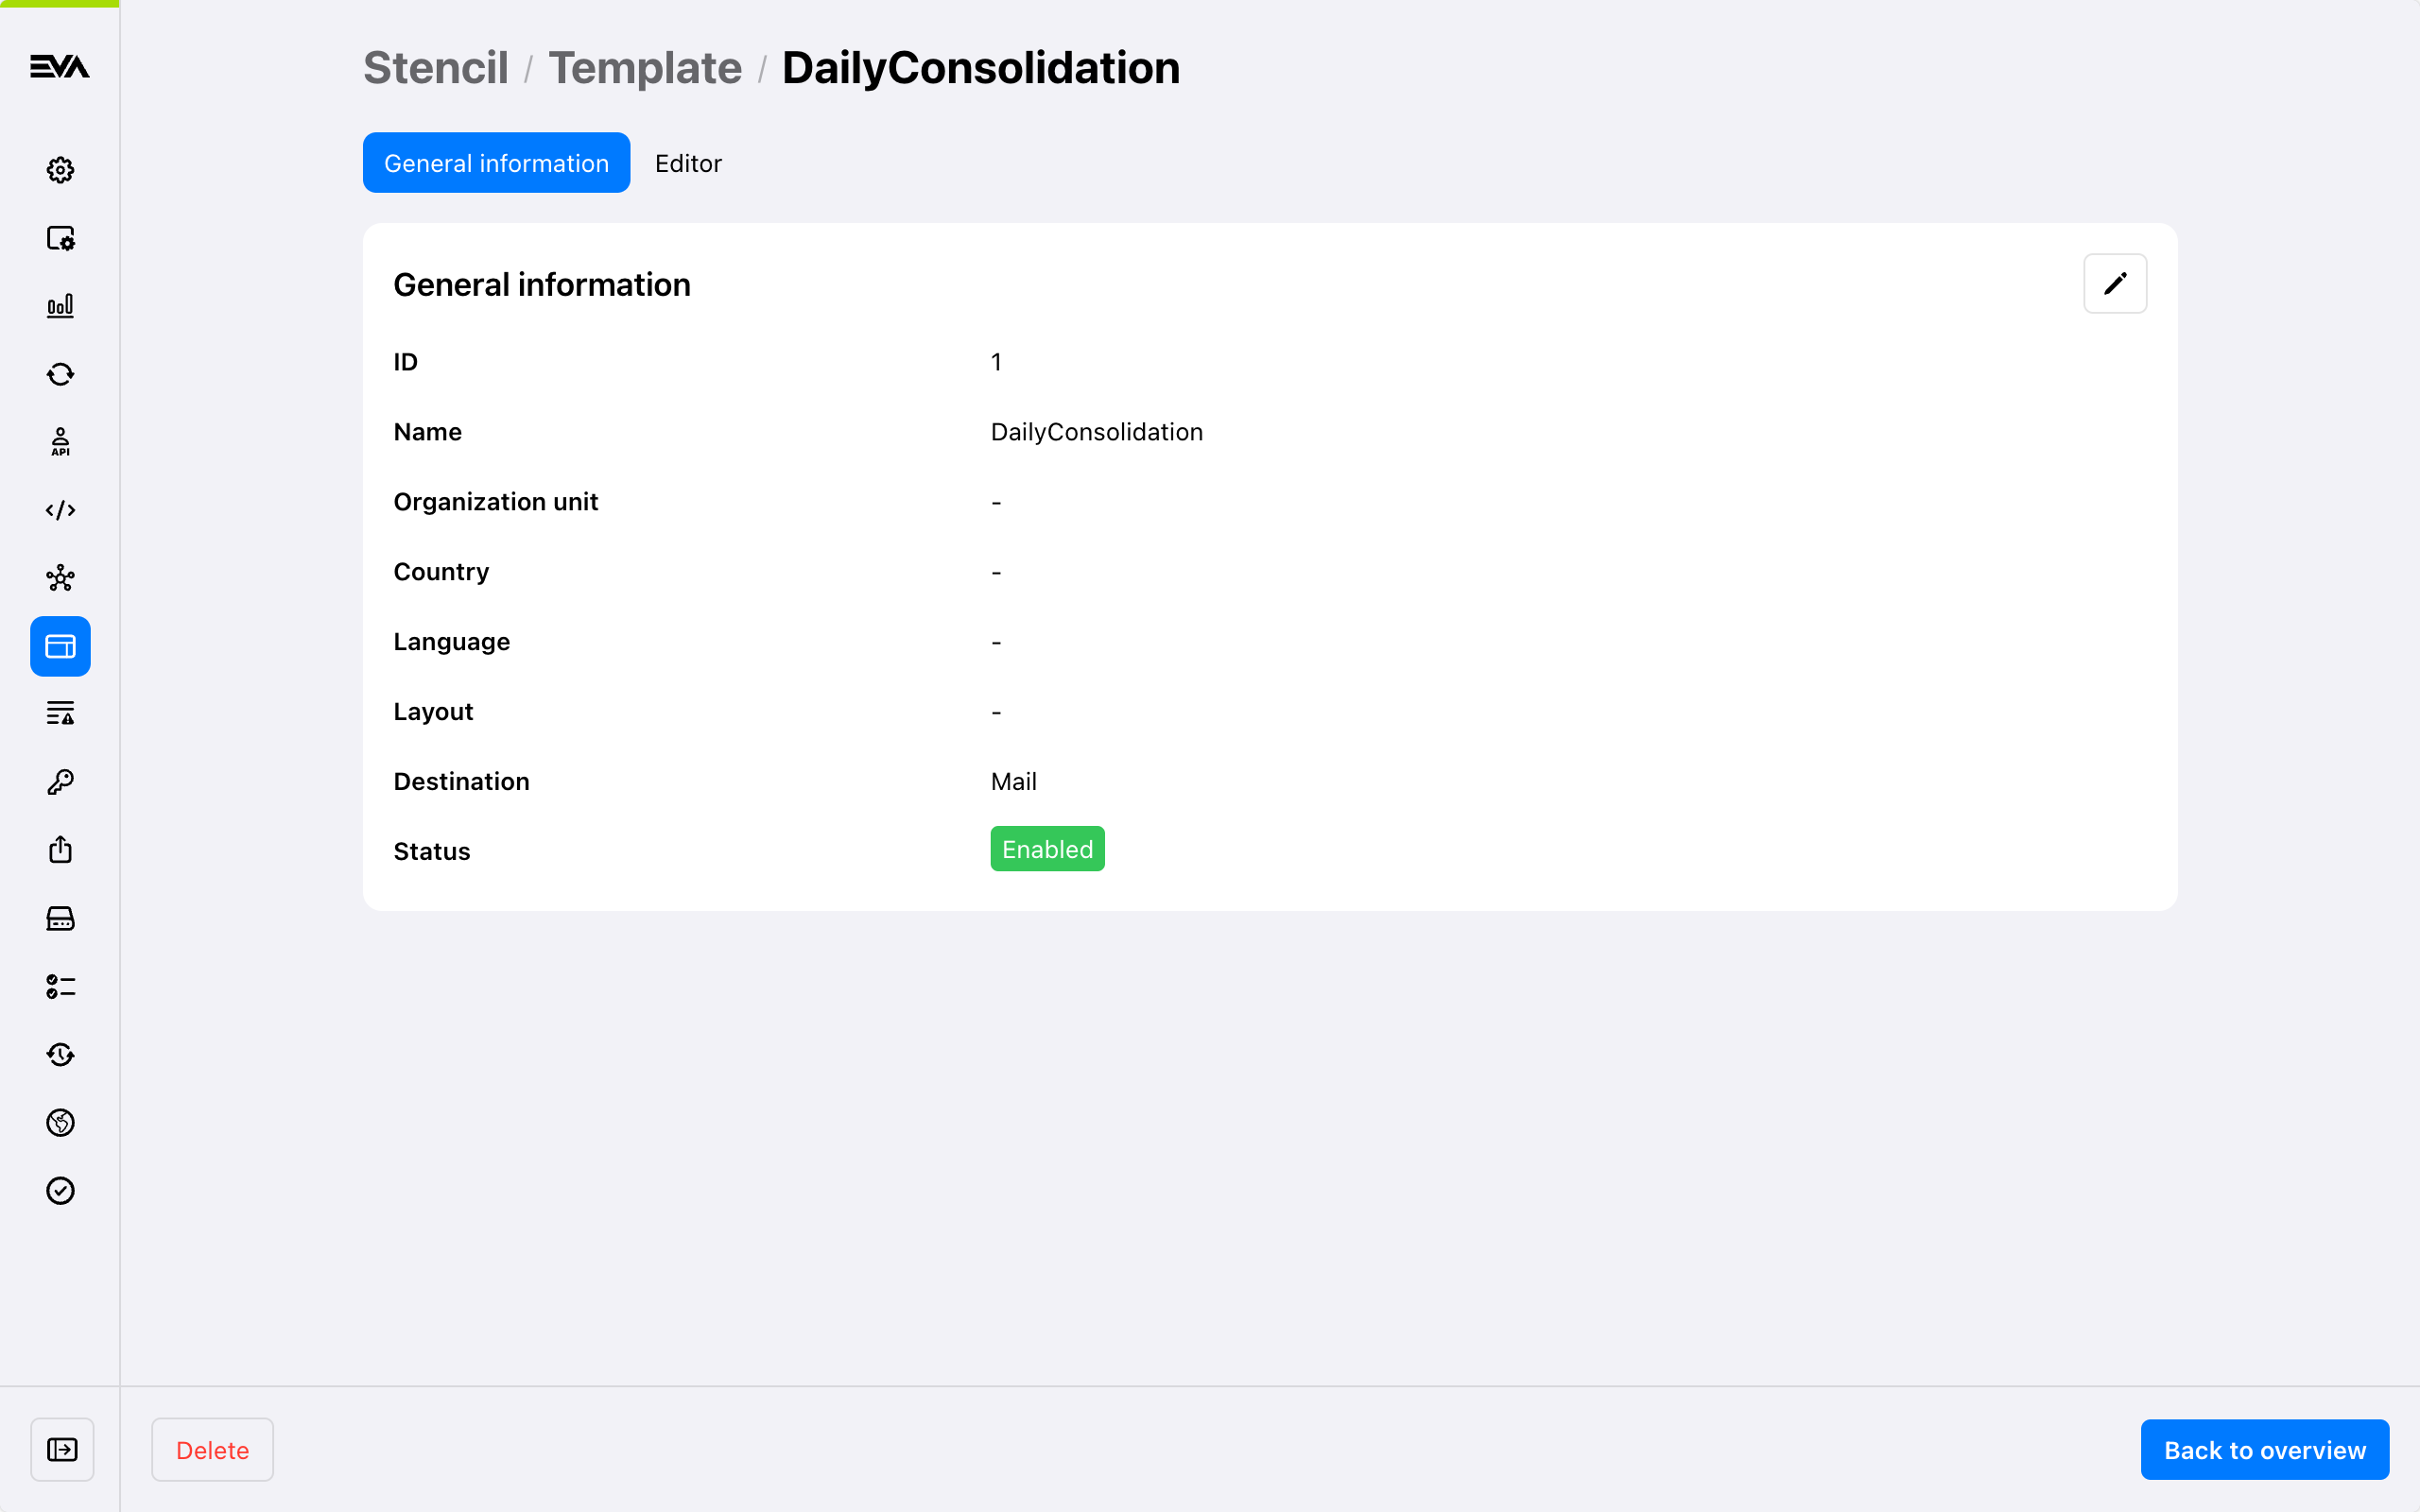
After creating the template
After having created the template, or opening an existing one, you'll find the General information and the Editor. While the former speaks for itself, the latter has a lot of options which we'll go into in detail.
Editor
The editor tab features two cards: Editor and Assistance.
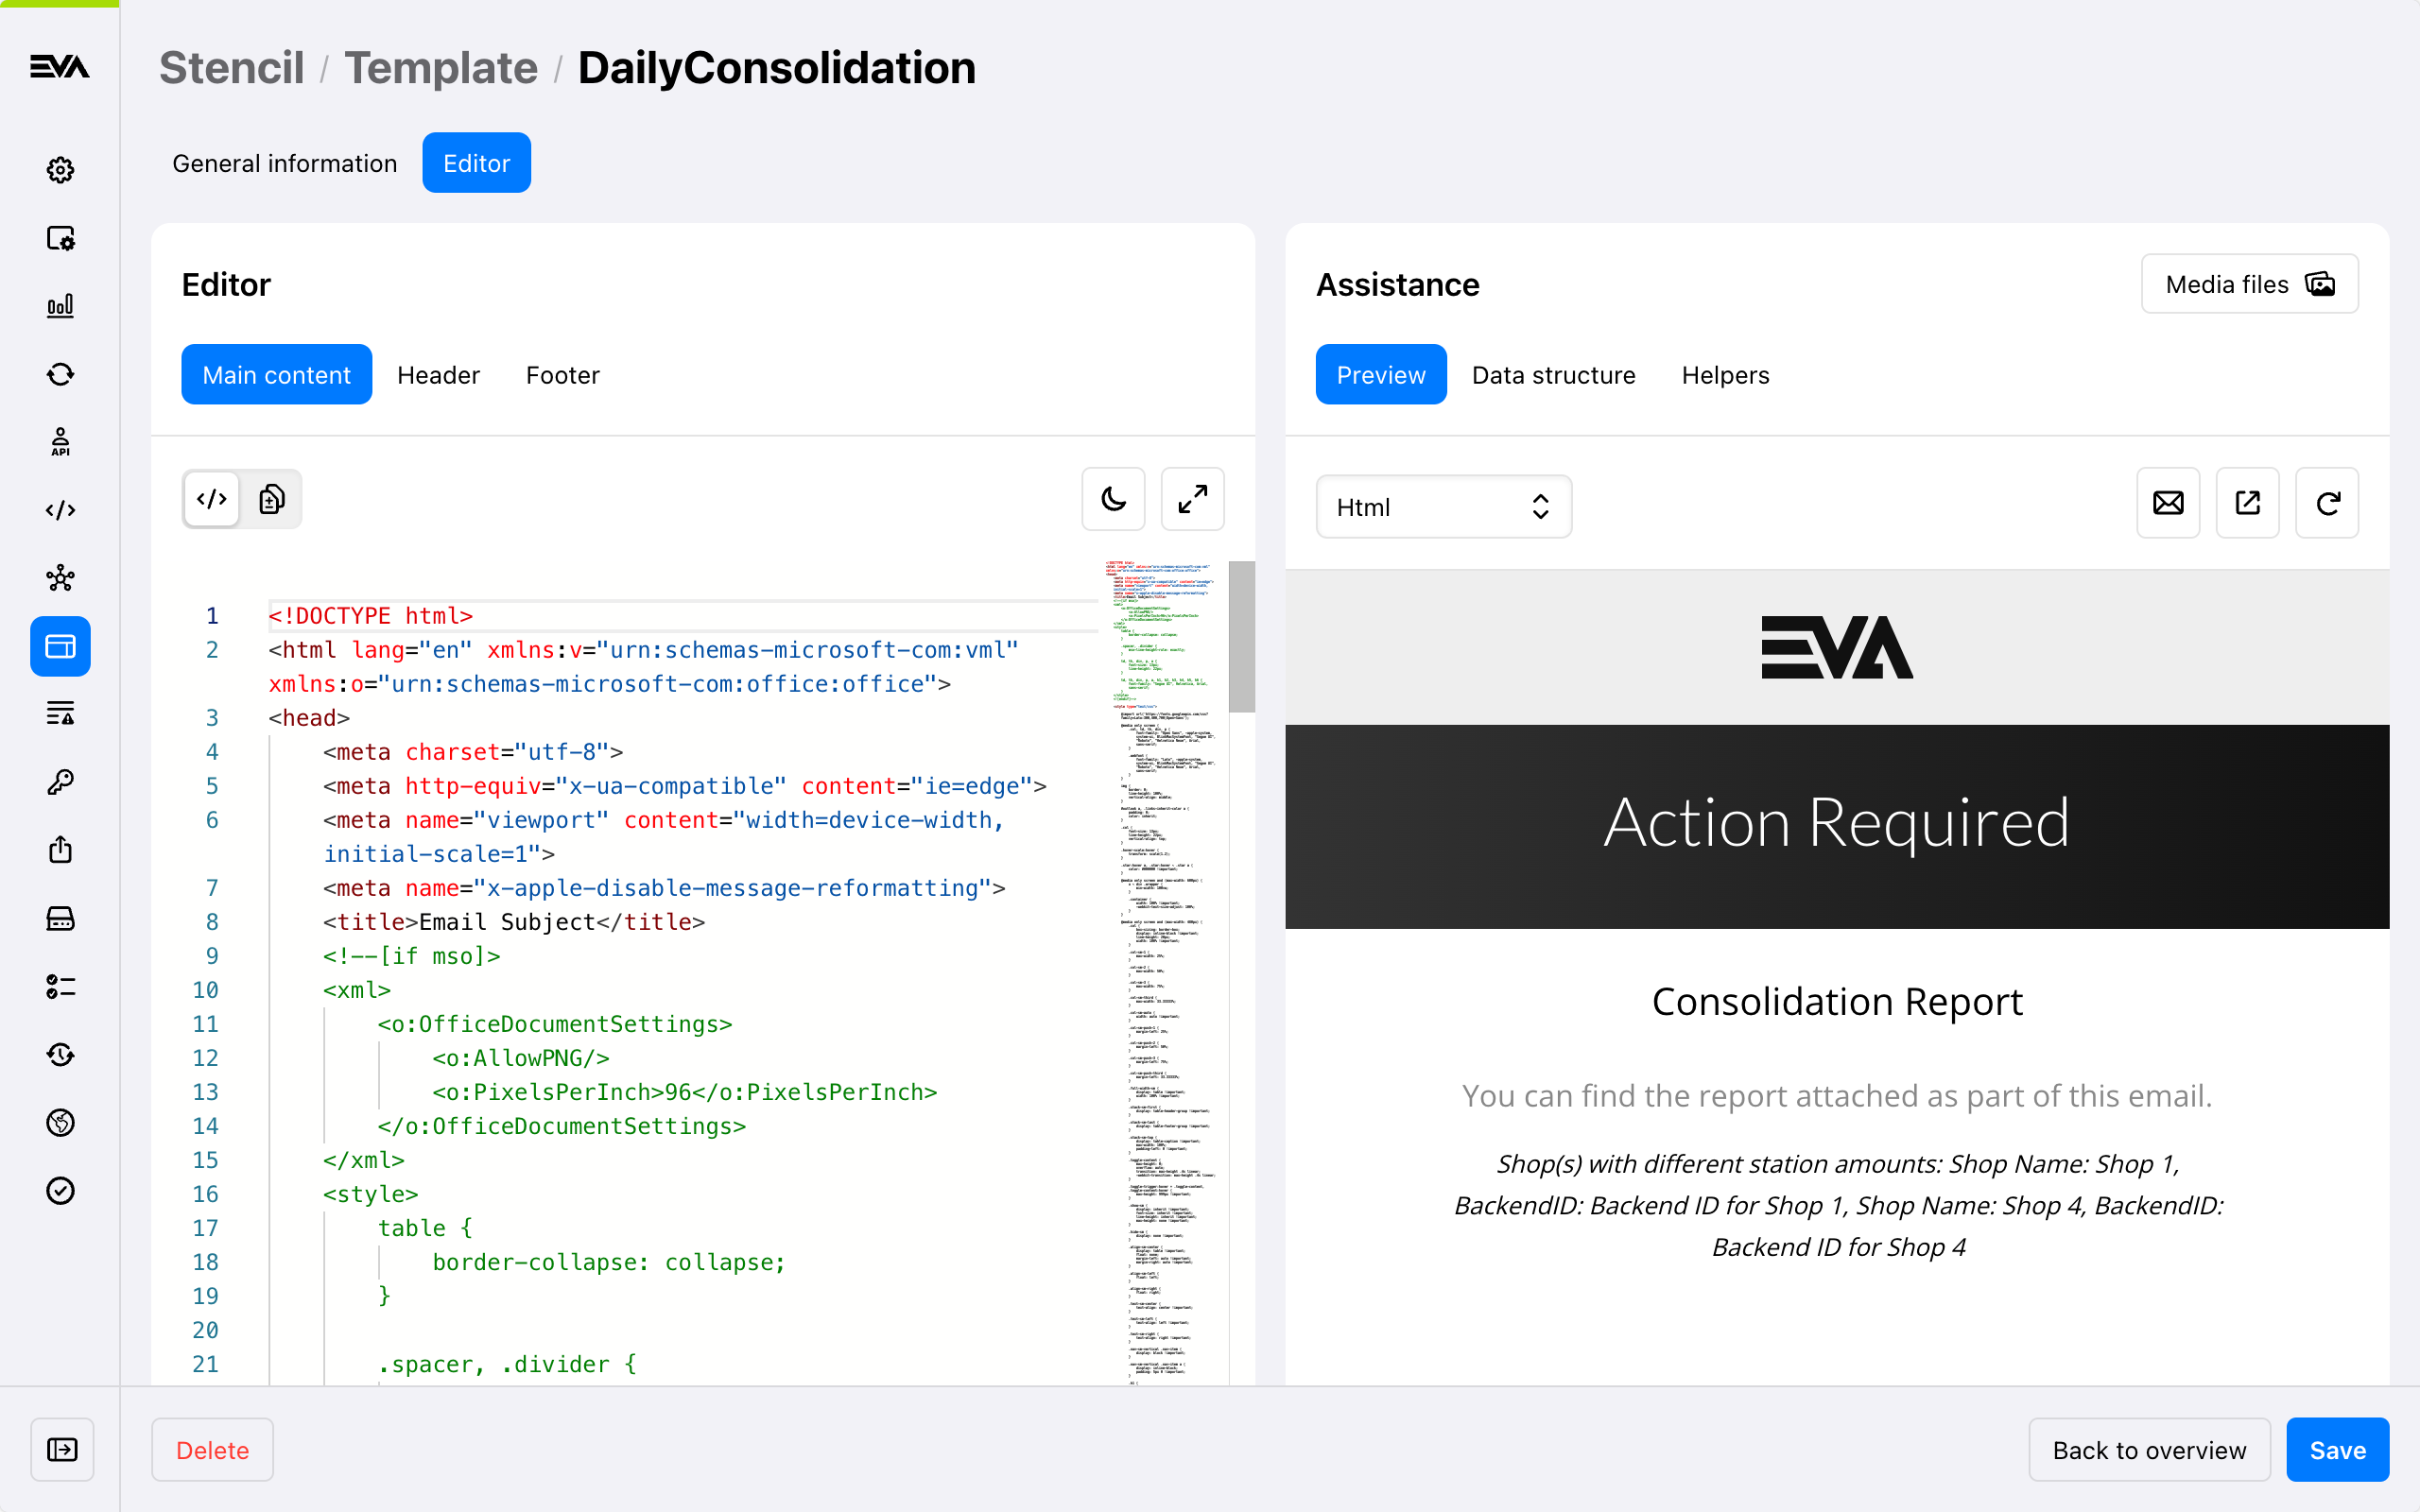
Main content
The Main content tab in any type of template is where you add and structure your actual code. This is where you add your header, footer and body - which may sound misleading, but we'll address that in a bit. If required, this is where you include your partials and/or helpers (though those may already be included via the main overview's partial tab) as well.
Click the Compare option in the top left to display a copy of the current content, making it easier to write a new version with the old one as a reference. Mind that the right panel will be what gets saved, even when just switching tabs in the card.
Header and Footer
The Header and Footer tabs benefit from some additional information: the practical header and footer (including financial information, or an email sign-off for example) are included in the tab mentioned above. These two tabs are explicitly used as technical header and footer when using PDF destinations. They allow you to add page numbering for example.
There are many ways for you to structure your templates. You can configure your templates essentially from scratch, manually adding company details such as financial information or store details, or styling information such as HTML classes, but we'd recommend you do such kind of generic information via partials and layouts.
Assistance
The Assistance card is there to show you what's happening, what's possible and to introduce helper functions.
Preview
The previous image shows you exactly what the Previous tab will do for you. It allows you to pick one of four rendering options for your current preview, you switch freely. Mind that you won't see the latest preview version unless you press the Refresh button at the right.
Additionally, you can see the Mail icon. This will be greyed out, unless it's a template which is based on email communication. In that case, you will be able to enter an email address to send your current template version to for display testing.
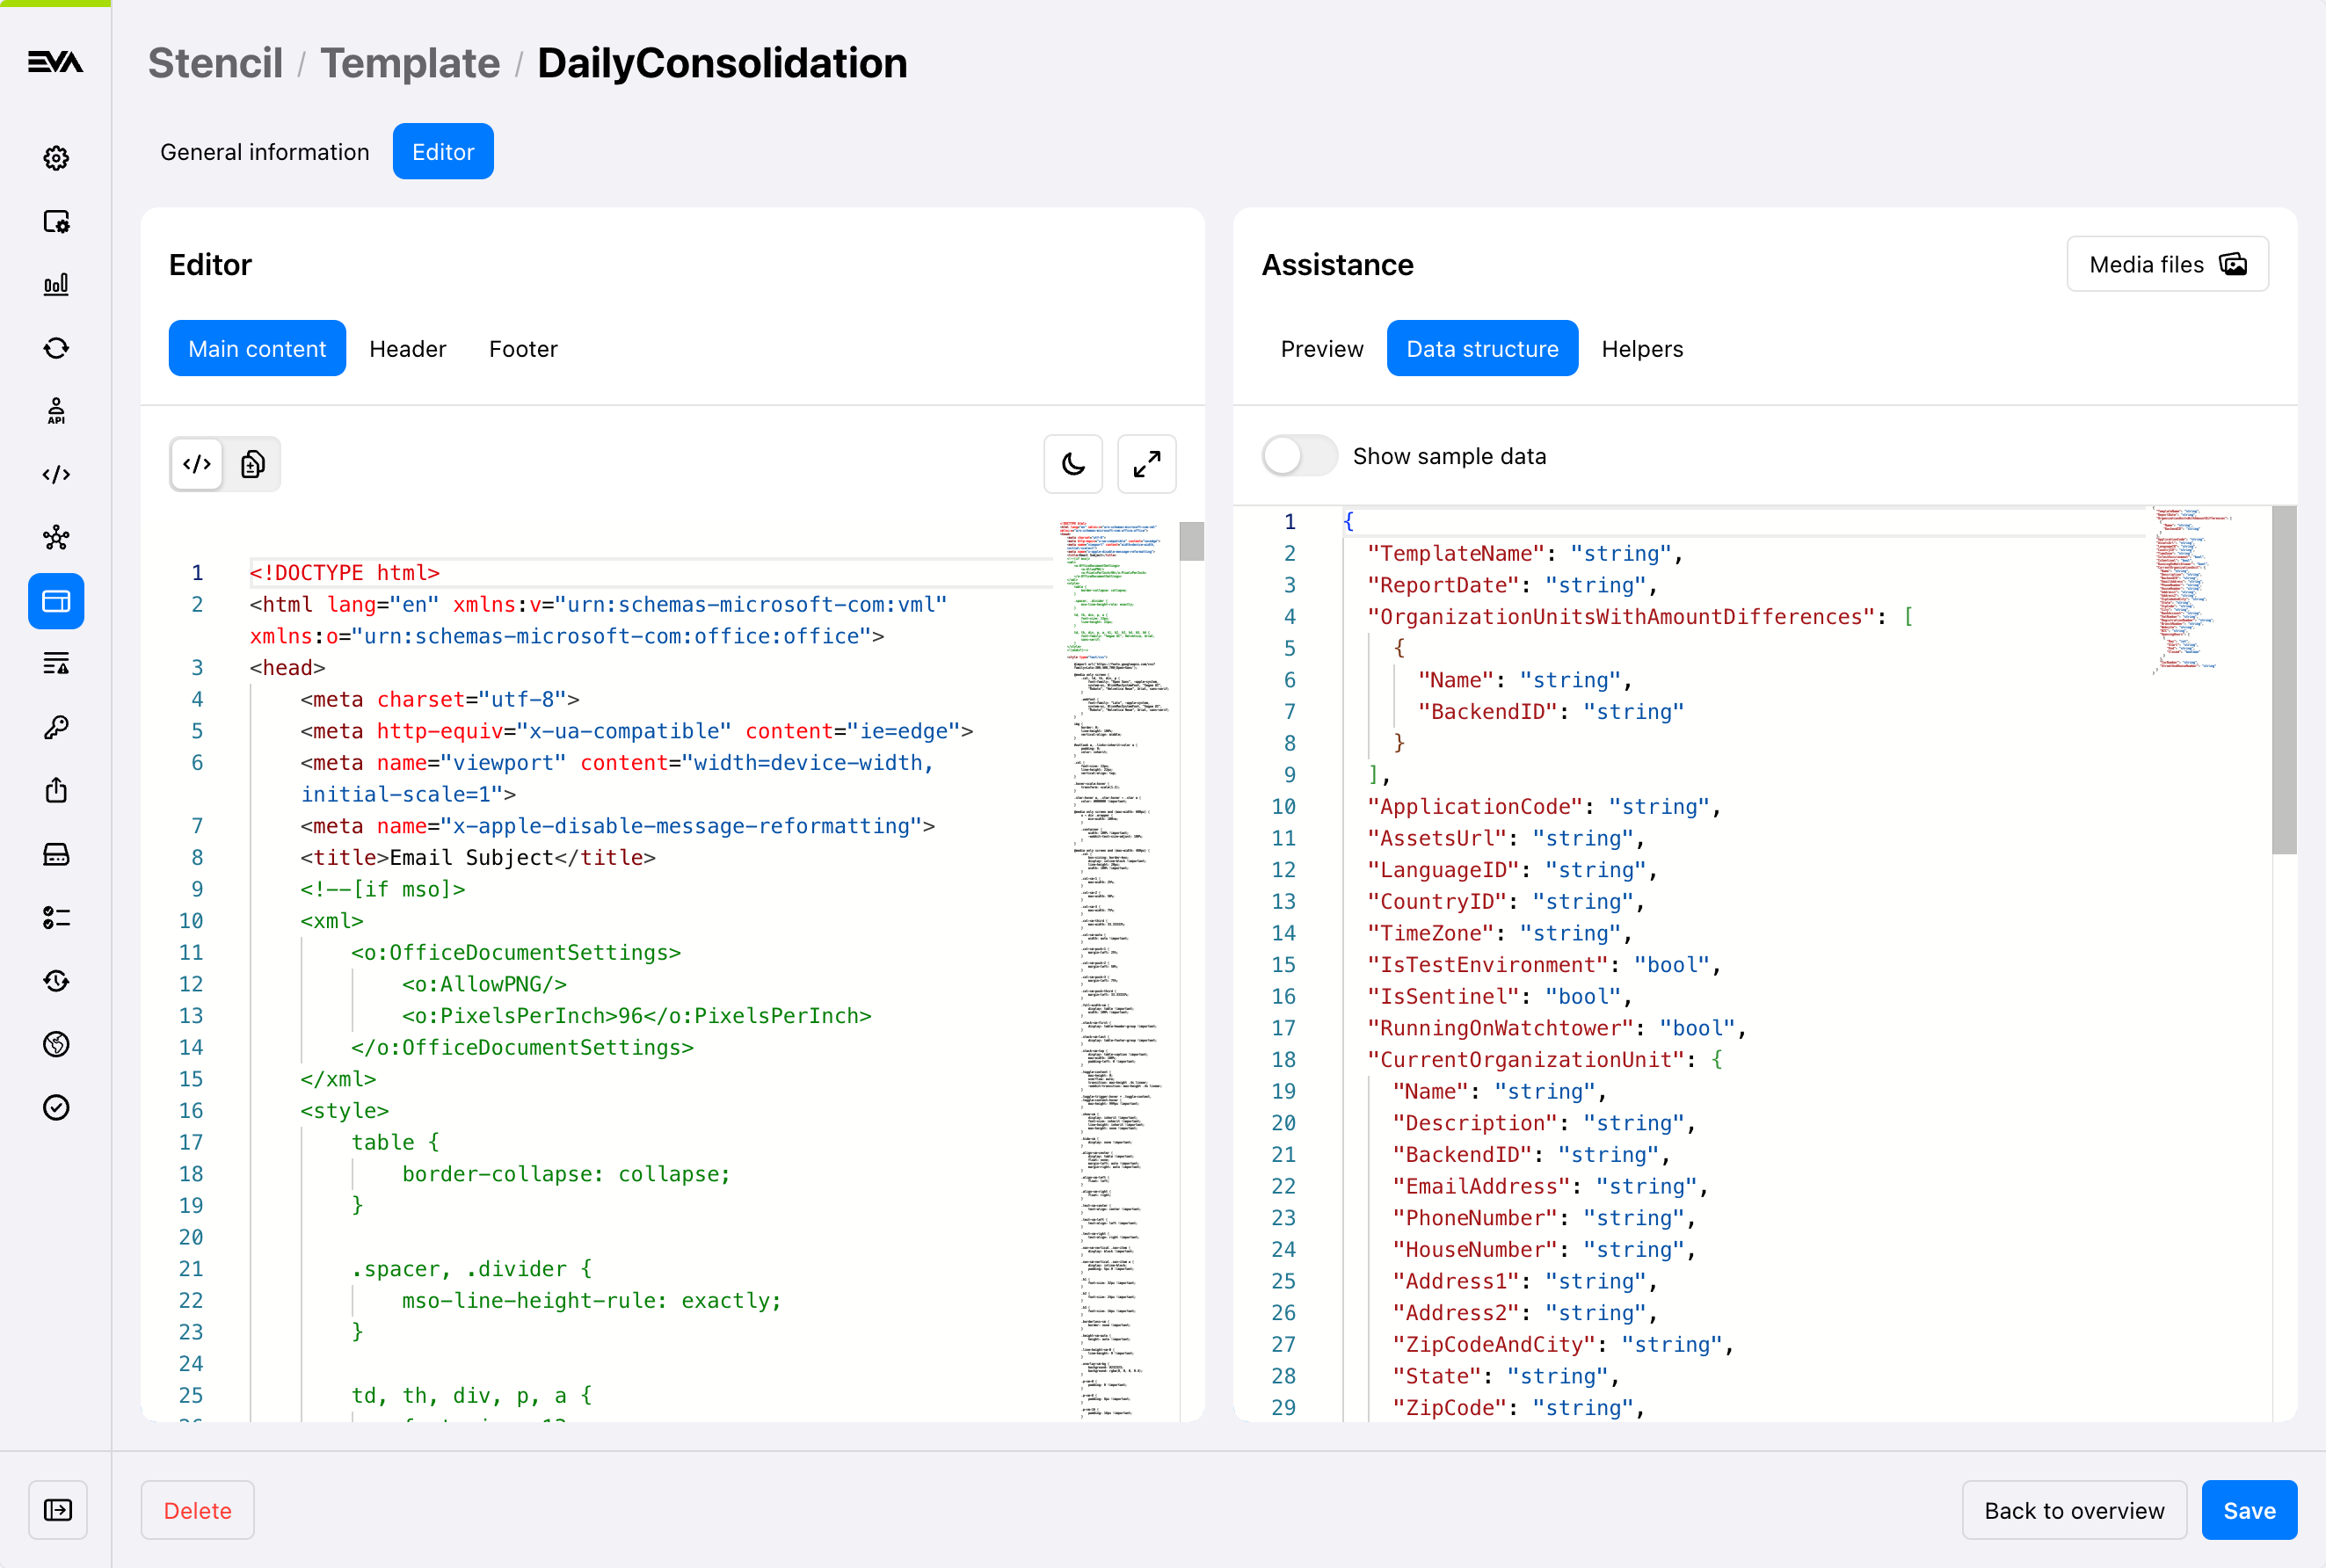
Data structure
Your templates are always triggered by a certain event in EVA, which are all supported by their own unique data model. What properties it contains, completely depends on what's most relevant to the stencil. Selecting an Invoice Template for example, means it will be backed up by the order data model, making a bunch of order properties available for display in your Stencil. All of the available properties are indicated in the data structure tree.
What the Show sample data slider does, is take the data model's properties, and fill it up with mock-data. This will make your test templates look as real as possible.
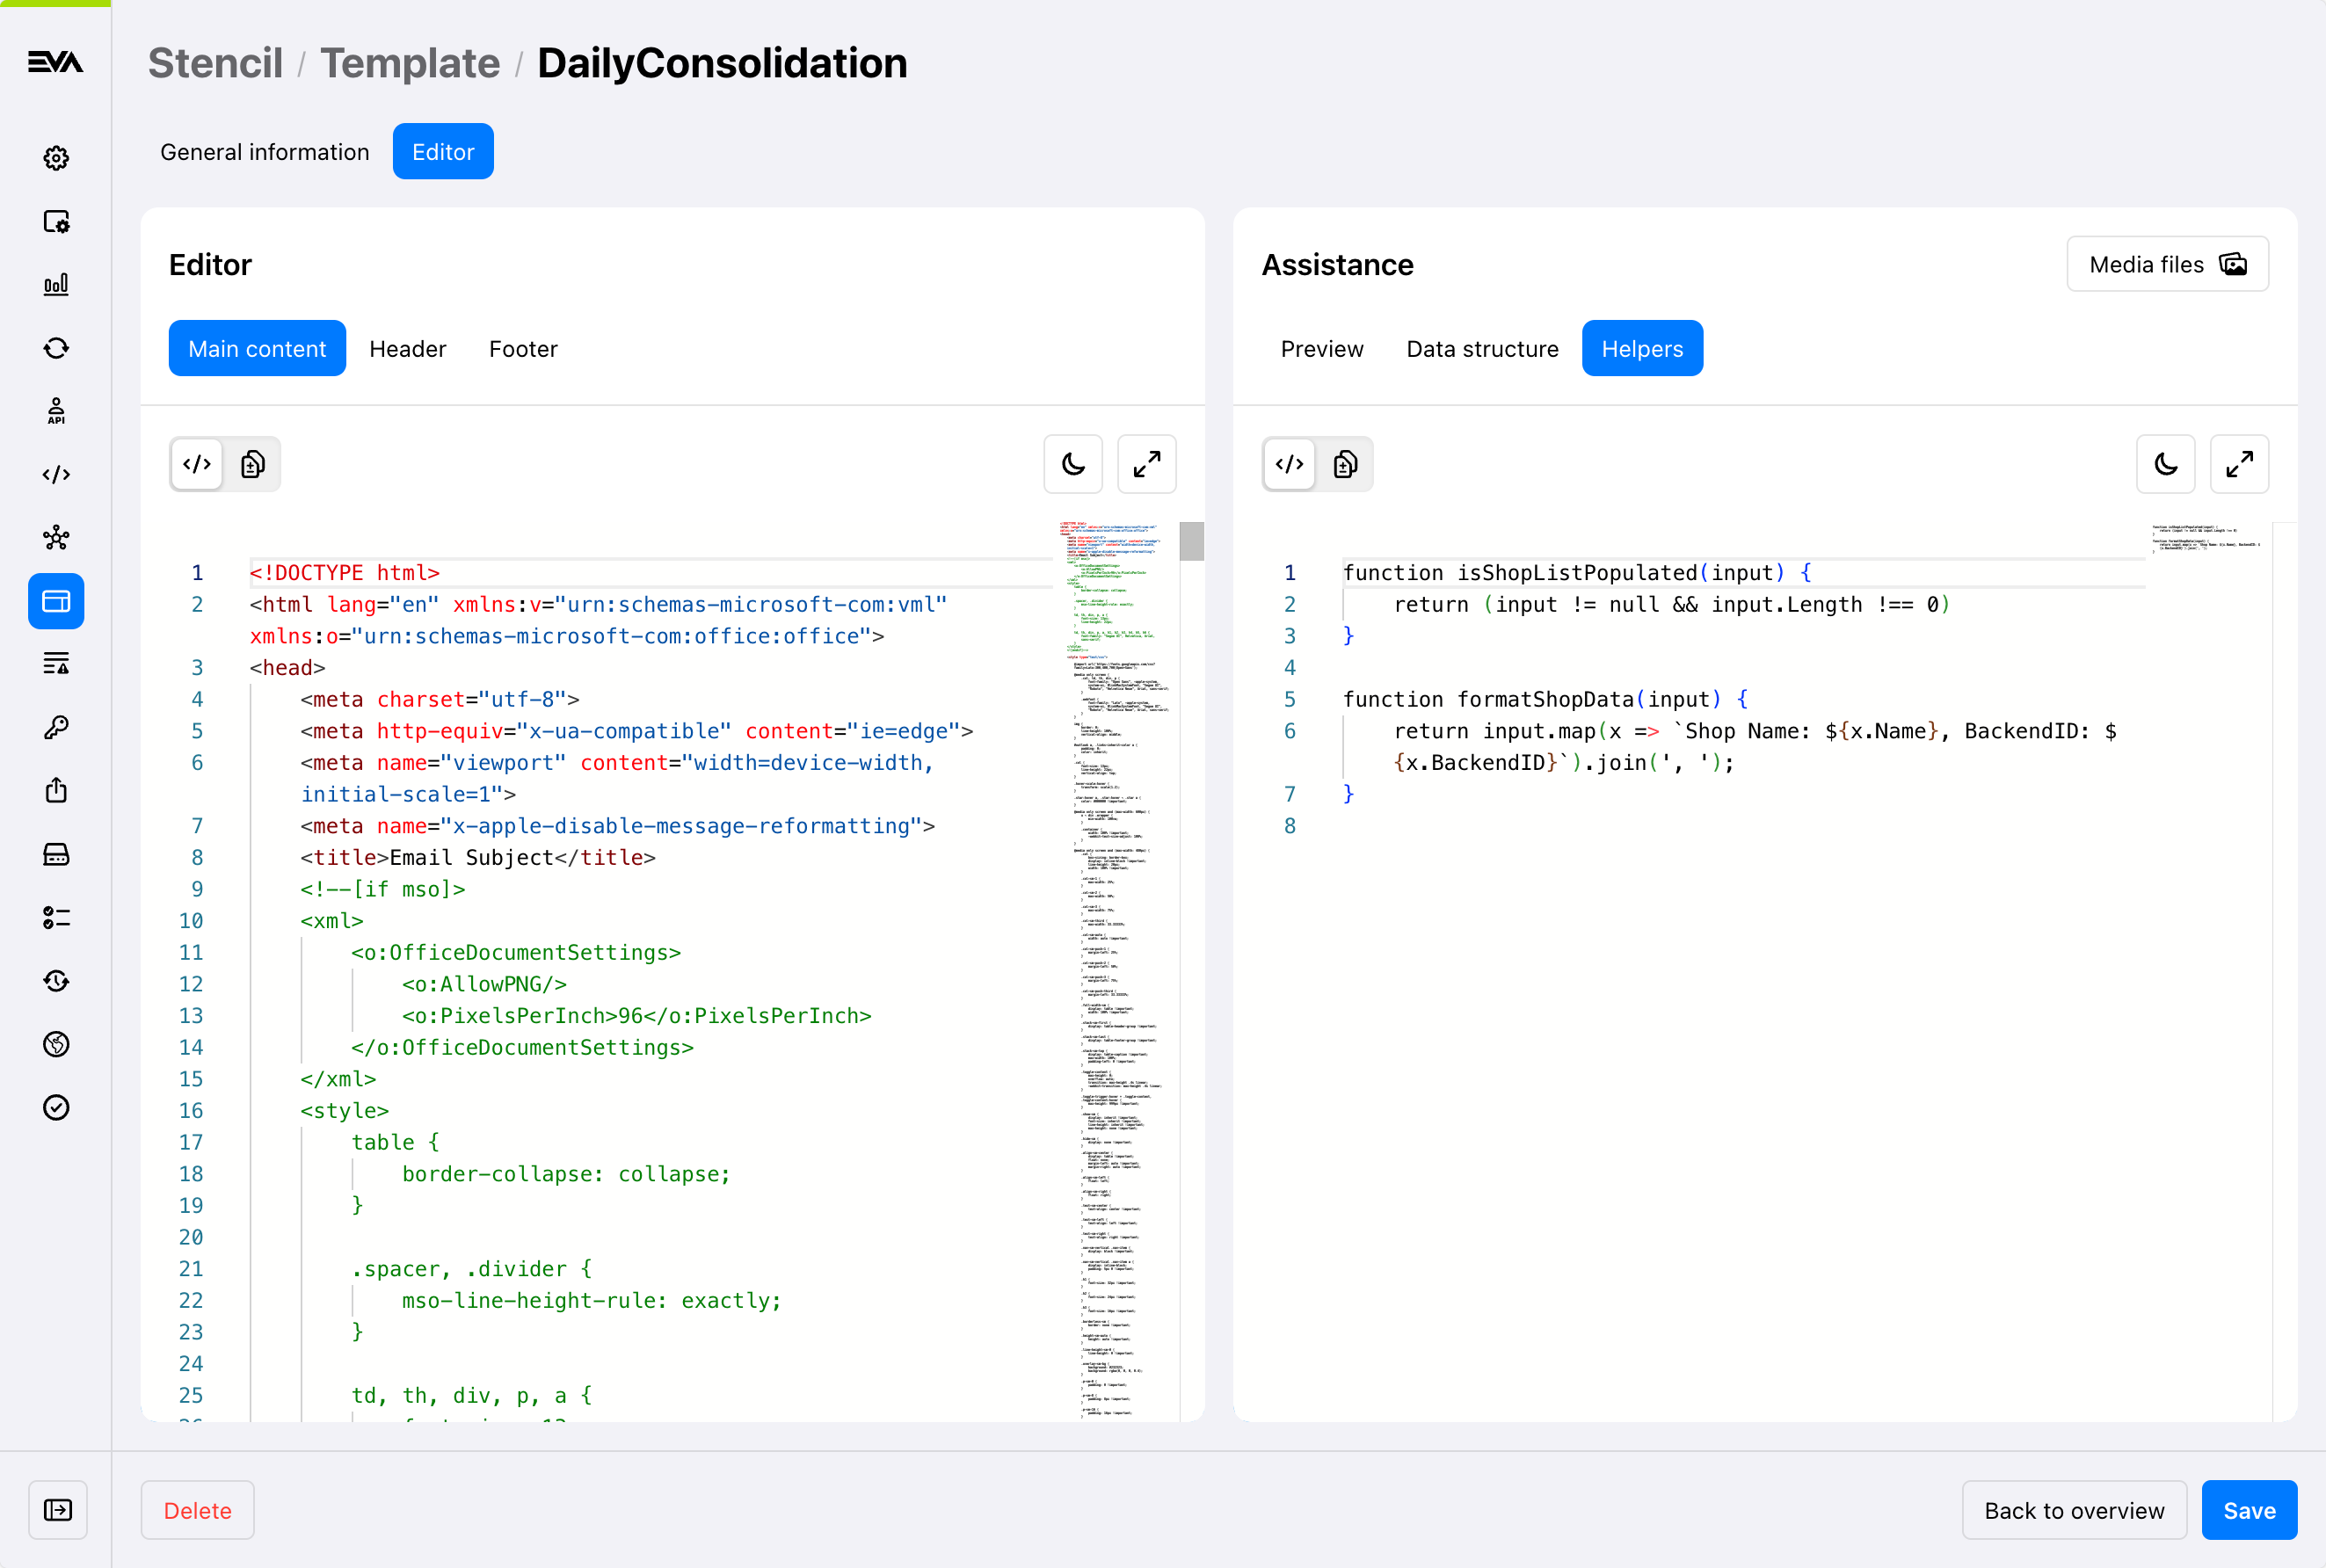
Helper functions
Stencils can be enriched with Helper functions, which are essentially JavaScript functions to support your HTML stencil. This allows you to create specific functions which you can then insert into any of your stencils.
Bear in mind though, that the helper function will be limited to the data model of the template you're including it in.
We will go into more detail on helpers by providing several examples in our Generic examples docs.
Partials & Layouts
In this introduction we've mostly glossed over Partials and Layouts, that's because these make use of the same functionalities as templates.
There are however some things we'd like reiterate about these two stencil types.
First off: when you create a partial, you set a custom name for it. You can then call any partial in another template by defining it as follows:
{#partial PartialName}
Here are some great examples of the use of partials: Thermal receipt partials
As for layouts, once you've created one, you can select it when you are creating a new template or add it to an existing template later on.
You can find a complete tutorial to layouts in the Click & Collect example.
Bypassing EVA and creating your own messages
Instead of having EVA create a stencil for you, you might want to create your own custom messages from scratch. In that case, choose the Destination HTTP.
By doing so, EVA will skip most steps in the stencil process and instead send all the raw data it would use to render the template to your endpoint. You can do this for all templates EVA offers, although it's most often used for invoices.
To set this up, take care of the following:
- Add your endpoint in the
Email:ExternalTemplateEndpointsetting (this can differ per OU) - Have your endpoint return a
200message, to let EVA know the data's received and there's no need to retry the transmission- See also Event exports for more information
This can be setup on OU or Country level by changing the Organization field as desired.
Custom logic for not sending a stencil
You can configure any stencil template with custom logic to prevent it from being triggered.
You can configure this as a Helper, with for example the following logic:
{{if User.CustomFields['NO_EMAILS'] == 'true'}}
  {{:~eva_template_early_exit()}}
{{/if}}
Mind that it's the {{:~eva_template_early_exit()}} element which tells EVA not to send/generate it.