Onboarding Portal
Onboarding Portal
Making onboarding easy and customizableWe can provide a web deployment of an onboarding app designed to onboard customers to your organization. This document describes the portal's features, how to configure them and how to go about styling this front end.
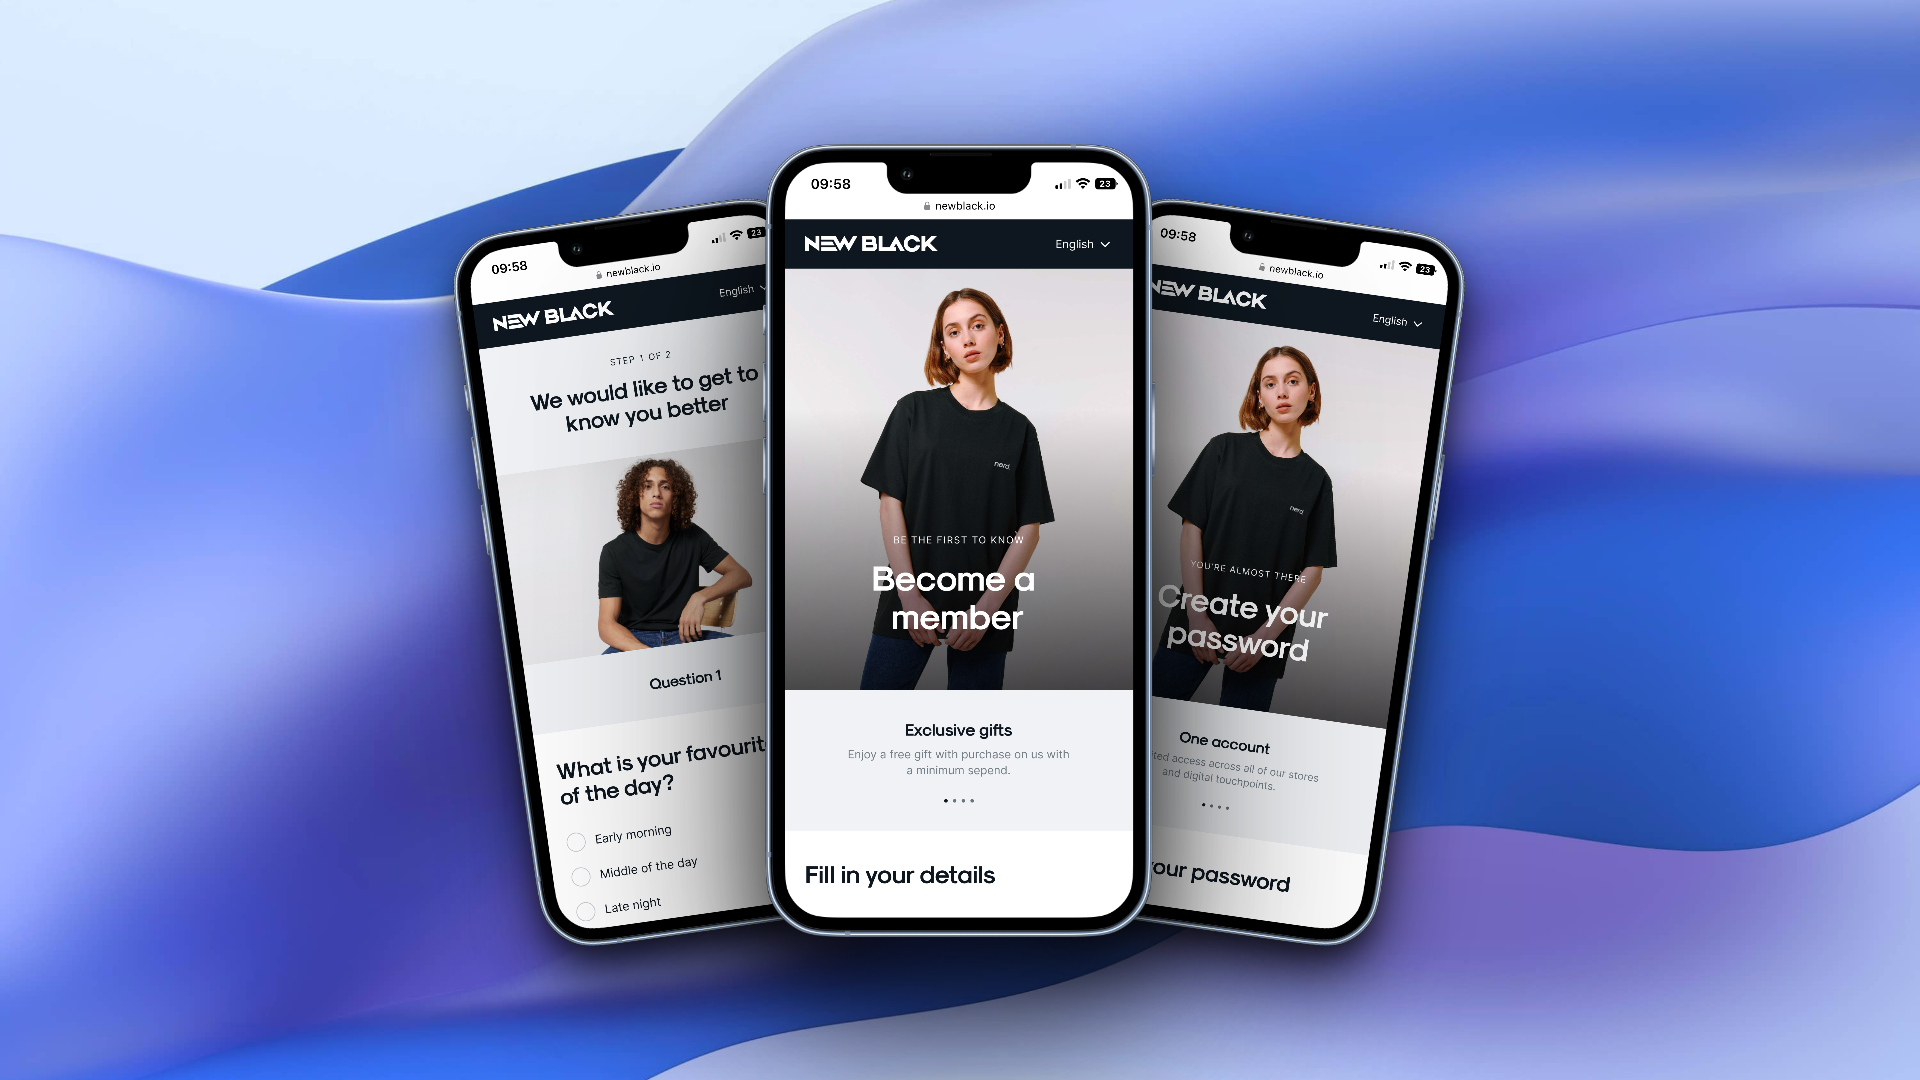
As of now, the onboarding portal only supports the creation of customers with AccountType: 1, support for 0 along with password creation is being worked on. Additionally, the portal is mobile only, with a desktop version planned.
Configuration
Organization unit
The onboarding portal needs an OU. We need this OU to fetch settings, available languages, subscriptions etc. To define what OU your Onboarding portal should be looking at, set AppSetting App:Onboarding:OU to your desired Organization Unit EVA ID.
This setting should be set on your top-level organization unit (1) and the specified OU should always have type webshop.
User fields
By default, onboarding portal will show three fields; First Name, Last Name, and Email Address. In order to change this, you can use the App:Onboarding:UserRequirements setting. This setting takes a comma separated list of User Requirements and will dictate what fields will be shown in the portal.
Example:
FirstName,LastName,EmailAddress,Gender,DateOfBirth
Subscriptions
Any subscriptions configured for your portal's OU will be shown in the onboarding portal.
Inquiries
Any inquiries attached to the subscriptions mentioned before will be triggered in the onboarding portal, though only if the user opts in to that subscription.
Customer card
App:Onboarding:ShowMemberCard
Styling
To give this portal custom styling you need a Contentful space. This space should have a specific configuration in regards to content models, which we can help you set up. Make sure you have an account with Contentful and a dedicated space, then reach out to your designated TL to get us involved.
In order for the onboarding portal to communicate with your Contentful space, you need the following settings in place;
App:Onboarding:Contentful:SpaceID - Your Contentful SpaceID
App:Onboarding:Contentful:DeliveryAccessToken - Your Contentful Delivery Access Token
App:Onboarding:Contentful:PreviewAccessToken - Your Contentful Preview Access Token
App:Contentful:Environment (optional) - Point to a specific Contentful environment (branch).
All of the above settings can be found in your Contentful in the API keys tab and should be set on the proper OU in EVA, which is either the same OU set in App:Onboarding:OU or plain old OU 1.
Preview mode
When on an onboarding deployment that is connected to a non-production EVA environment, there;s a built in switch allowing you to preview any changes you've made in Contentful before having to publish them. Simply click the logo in the navbar to switch to this preview mode.
URL structure
| URL | EVA Build | ONB Build |
|---|---|---|
| https://eva-onboarding-{customer}.netlify.app | production | production |
| https://test--eva-onboarding-{customer}.netlify.app | production | test |
| https://eva-onboarding-{customer}-test.netlify.app | test | production |
| https://test--eva-onboarding-{customer}-test.netlify.app | test | test |