Cookbook
Cookbook
Set up cookbookCookbook is a module designed to consolidate your financial events and export them as bookings on your general ledgers.
Before we head off into Cookbook, there's an important distinction to make:
- Cookbook (1.0)* is the predecessor, equal to what was previously available in Admin 1.0.
- Cookbook (2.0) is the new version of Cookbook, making use of a new syntax style which is more efficient.
Because the mentioned new style is not compatible with existing recipes however, we've made Cookbook (1.0) available in Admin Suite for existing recipes. New functionality for Cookbook however, will be created specifically for Cookbook (2.0). You can migrate at your own pace, when you want to make use of new Cookbook features.
In order to be able to access these chapters, you need the Cookbook permission.
Basics of recipes
The logic telling EVA how to transform your financial events into consolidated bookings is defined in what we call recipes.
A recipe is always attached to a financial event type, and therefore only relevant for that specific event type. The following example shows a recipe in its simplest form and applies to the 'Sales' event.
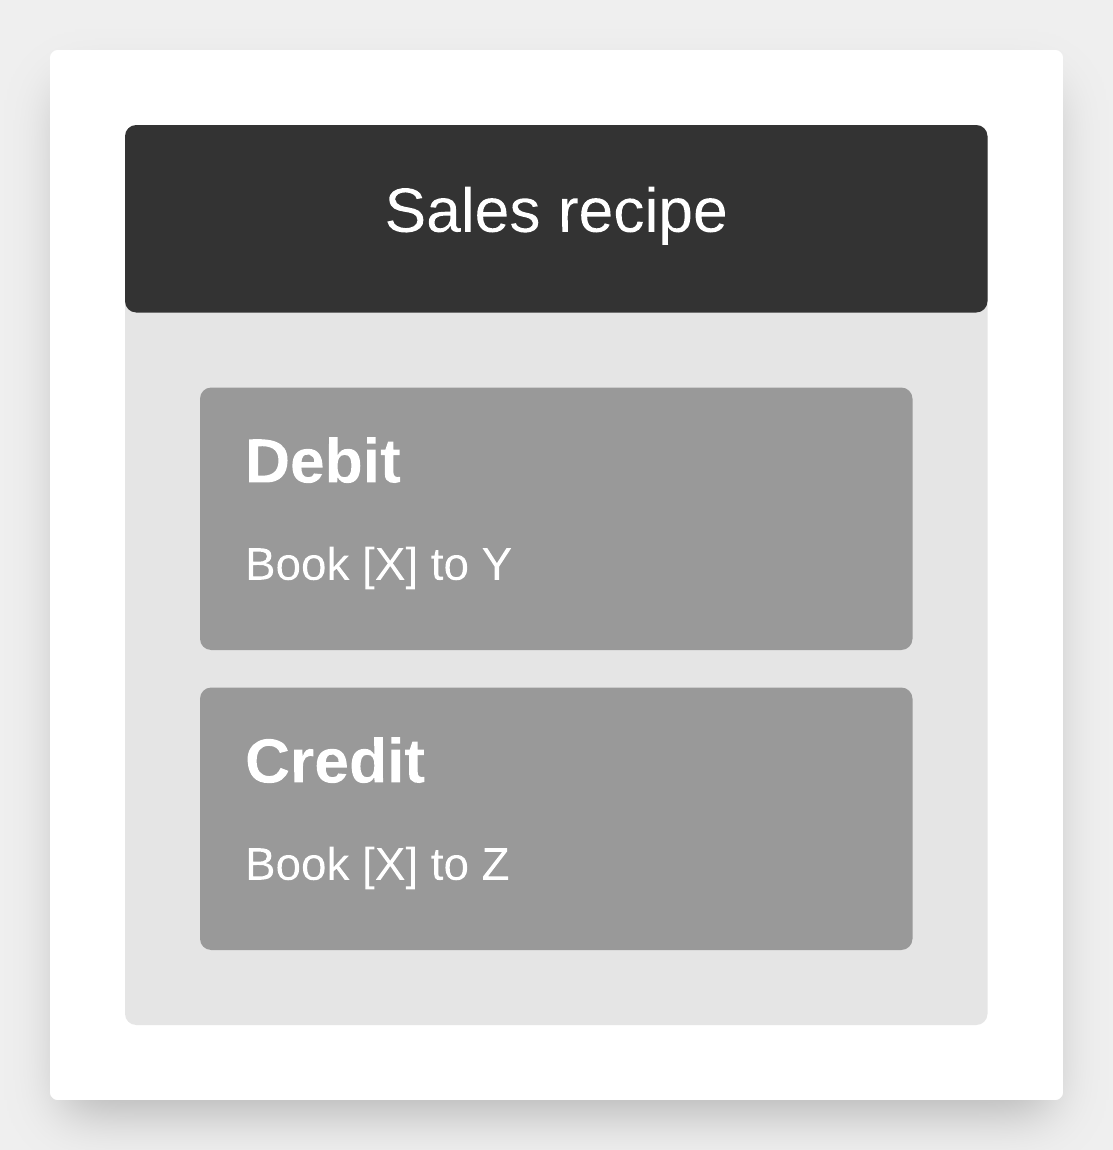
After stating the event, the recipe contains logic defining what amounts should be debited to which account, and what amounts should be credited to which account.
In its simplest form, the recipe just credits one account with the full sales amount, and just debits another account with the full sales amount. In this, accounts represent your general ledgers. In the actual Cookbook language, this would look something like this:
recipe for Sales

debit:
- book [Amount] to 1111 'EVA'

credit:
- book [Amount] to 2222 'Revenue'
The [Amount] can represent a lot of different things, depending on the event type.
With the above recipe in place, all sales made will result in a journal debit entry of the full sales amount to general ledger account 1111, and a credit entry of the same value to the general ledger account 2222.
Upon day closing, these bookings will be consolidated and exported to an endpoint. If we only had one sales transaction made of 1812.25 on a day, the export would look like this:
{
  "OrganizationUnit": {
    "BackendID": "tortuga_store",
    "BackendCompanyID": null,
    "Name": "Tortuga Store",
    "TimeZone": "Etc/GMT-5",
    "CurrentOffset": 300
  },
  "Period": {
    "ID": 23,
    "Number": null,
    "OpeningTime": "2021-06-08T13:06:19.97Z",
    "ClosingTime": "2021-06-08T13:08:07.273Z"
  },
  "Entries": [
    {
      "CurrencyID": "HTG",
      "AccountName": "EVA",
      "AccountObject": "1111",
      "TaxCodeBackendID": null,
      "Offset1": null,
      "Offset2": null,
      "Offset3": null,
      "Offset4": null,
      "Offset5": null,
      "Offset6": null,
      "Amount": 1812.25,
      "Remark": null,
      "Reference": null
    },
    {
      "CurrencyID": "HTG",
      "AccountName": "Revenue",
      "AccountObject": "2222",
      "TaxCodeBackendID": null,
      "Offset1": null,
      "Offset2": null,
      "Offset3": null,
      "Offset4": null,
      "Offset5": null,
      "Offset6": null,
      "Amount": -1812.25,
      "Remark": null,
      "Reference": null
    }
  ]
}
Setting up your configuration
Before we can start crafting our recipes, there's a few things that should be in place.
Setting up accounts
First off, you need to set up your Accounts. You should create an account for every general ledger you have in place in your ERP system so that every general ledger is represented by an account in EVA. Accounts can be set up in the General ledger accounts chapter.
Specifying an endpoint
Secondly, you have to specify an endpoint for your end-of-day report export where the report will be sent to. Set the endpoint in the settings module under the setting name FinancialPeriodGeneralLedgerExportEndpoint.
Keep in mind that an EOD report also requires you to configure a PeriodClosingReport stencil and to add the user's (store manager) email address in the OU's Basic information.
Use for accounting
Lastly, you need to specify for which organization units you'd like the exports to happen. This can be done by setting the Use for accounting field to true in the Financial tab of the relevent OUs.
Once you've got everything set up, you can start previewing an export log's financial period. You can do so with the View button in a financial period's Exports card.