Receive Goods Tasks
This task shows you all shipments yet to be received in your store. Start the task to perform the receipt, which in turn adds it to your sellable stock.
Perform receive goods task
The receive goods task is used when physically receiving a shipment in the store. You can initiate the receipt by scanning the shipment label, which can be done straight from the Tasks overview page or the Receive goods page itself.
If you click your shipment in the Receive goods list instead, you can also scan the label, but you also have the option to manually enter the shipment's Backend ID (which corresponds to the the packing slip).
Ways to receive
There are two ways by which you can receive shipments: a detailed inspection or automatic. Which one is expected from you in your store (and which you’ll see in your task) is dependent on the receive method of the shipment. You can also leave it up to the individual users which one is best, but more on that below.
The default method is dependent on the setting PurchaseOrder:ReceiveMethod but it can still be changed in each corresponding shipment in the Receive goods chapter in Admin Suite.
Manual
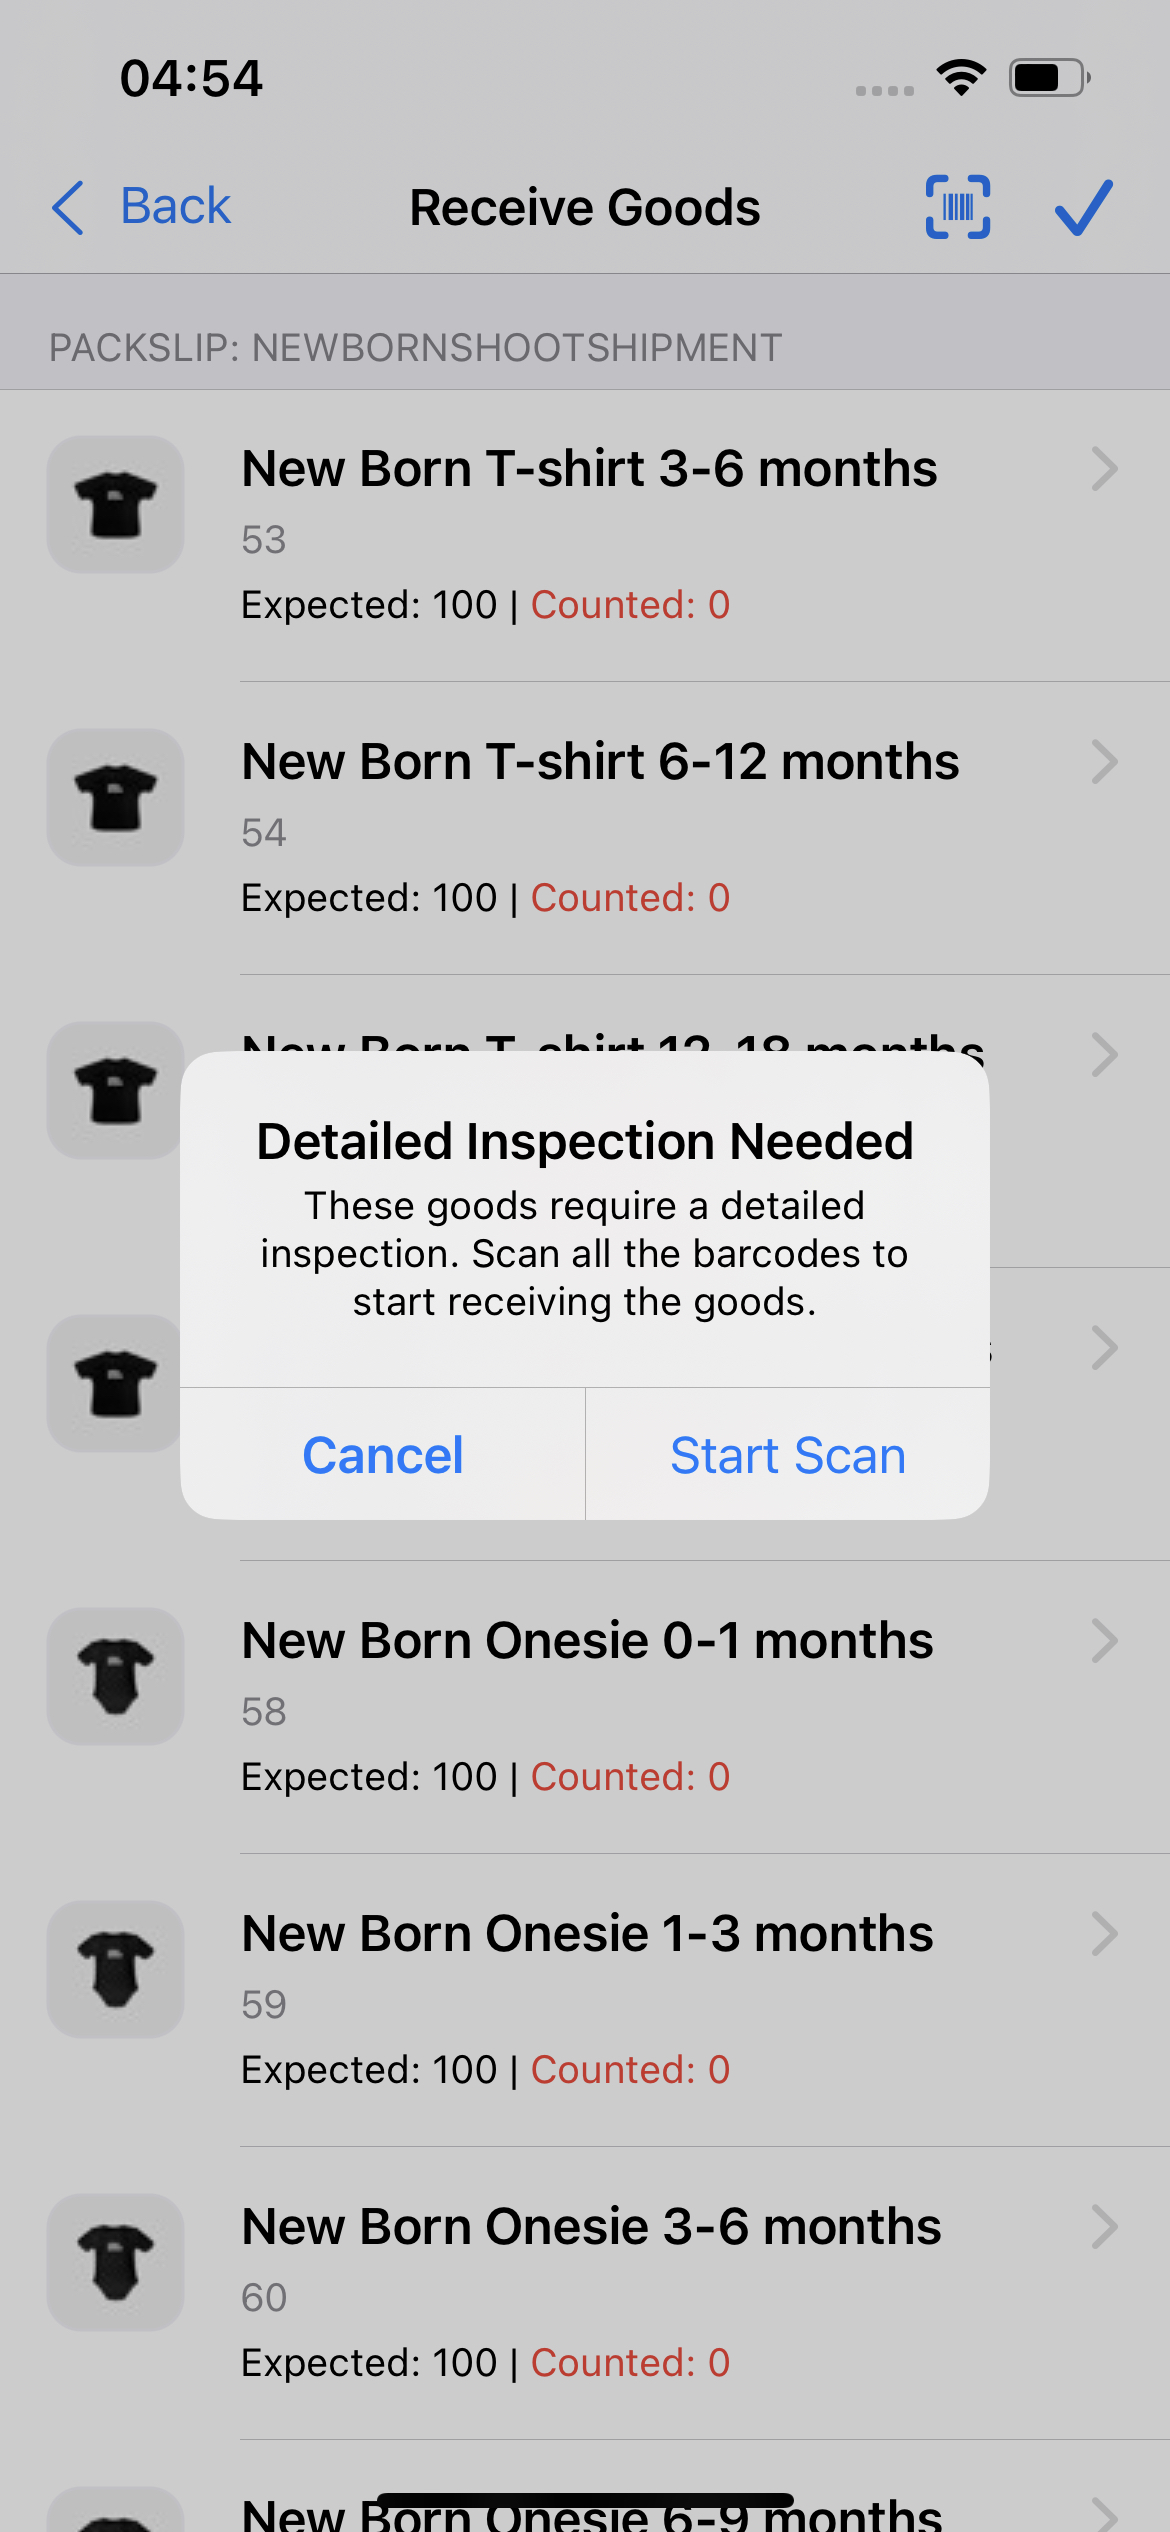
By using the value Manual (value 0) you force your users to perform a detailed inspection of the shipment's goods. This is a time-consuming process and should be used with care.
When scanning a product in the detailed inspection, a product modal will pop up displaying the quantity added and the total quantity. You can either scan all items or scan 1 (or any number of items) and follow up by tapping the scanned item in the task and altering its quantity.
The last product scanned will always be on the top of the list. Once you finish scanning, you will get a final overview page of the received goods which you can accept before adding them to your sellable stock inventory.
Automatic
The receipt method we advise is Automatic (value 1). In that case EVA assumes all goods are available in the shipment and the Tasks App user only has to confirm the receipt.
Even when set to Automatic however, you can still change quantities in the corresponding shipment in the Receive goods chapter in Admin Suite.
Userdefined
You can also set it to Userdefined (value 2), which will allow a user to decide which receive method is best. In that case the Proceed button in the task in Tasks App is available to fully receive the shipment without scanning, while the inspection link is available in case you do want to count the shipment.
Expected Goods
At the top of the Receive goods menu, you can tap the 'Calendar' icon to get an overview of the shipments to expect in the future. You can even see in how many packages the products will be delivered.