Configuring Admin Suite
To see every module of the Admin Suite, you need to ensure that the role you have right now has the option to access these.
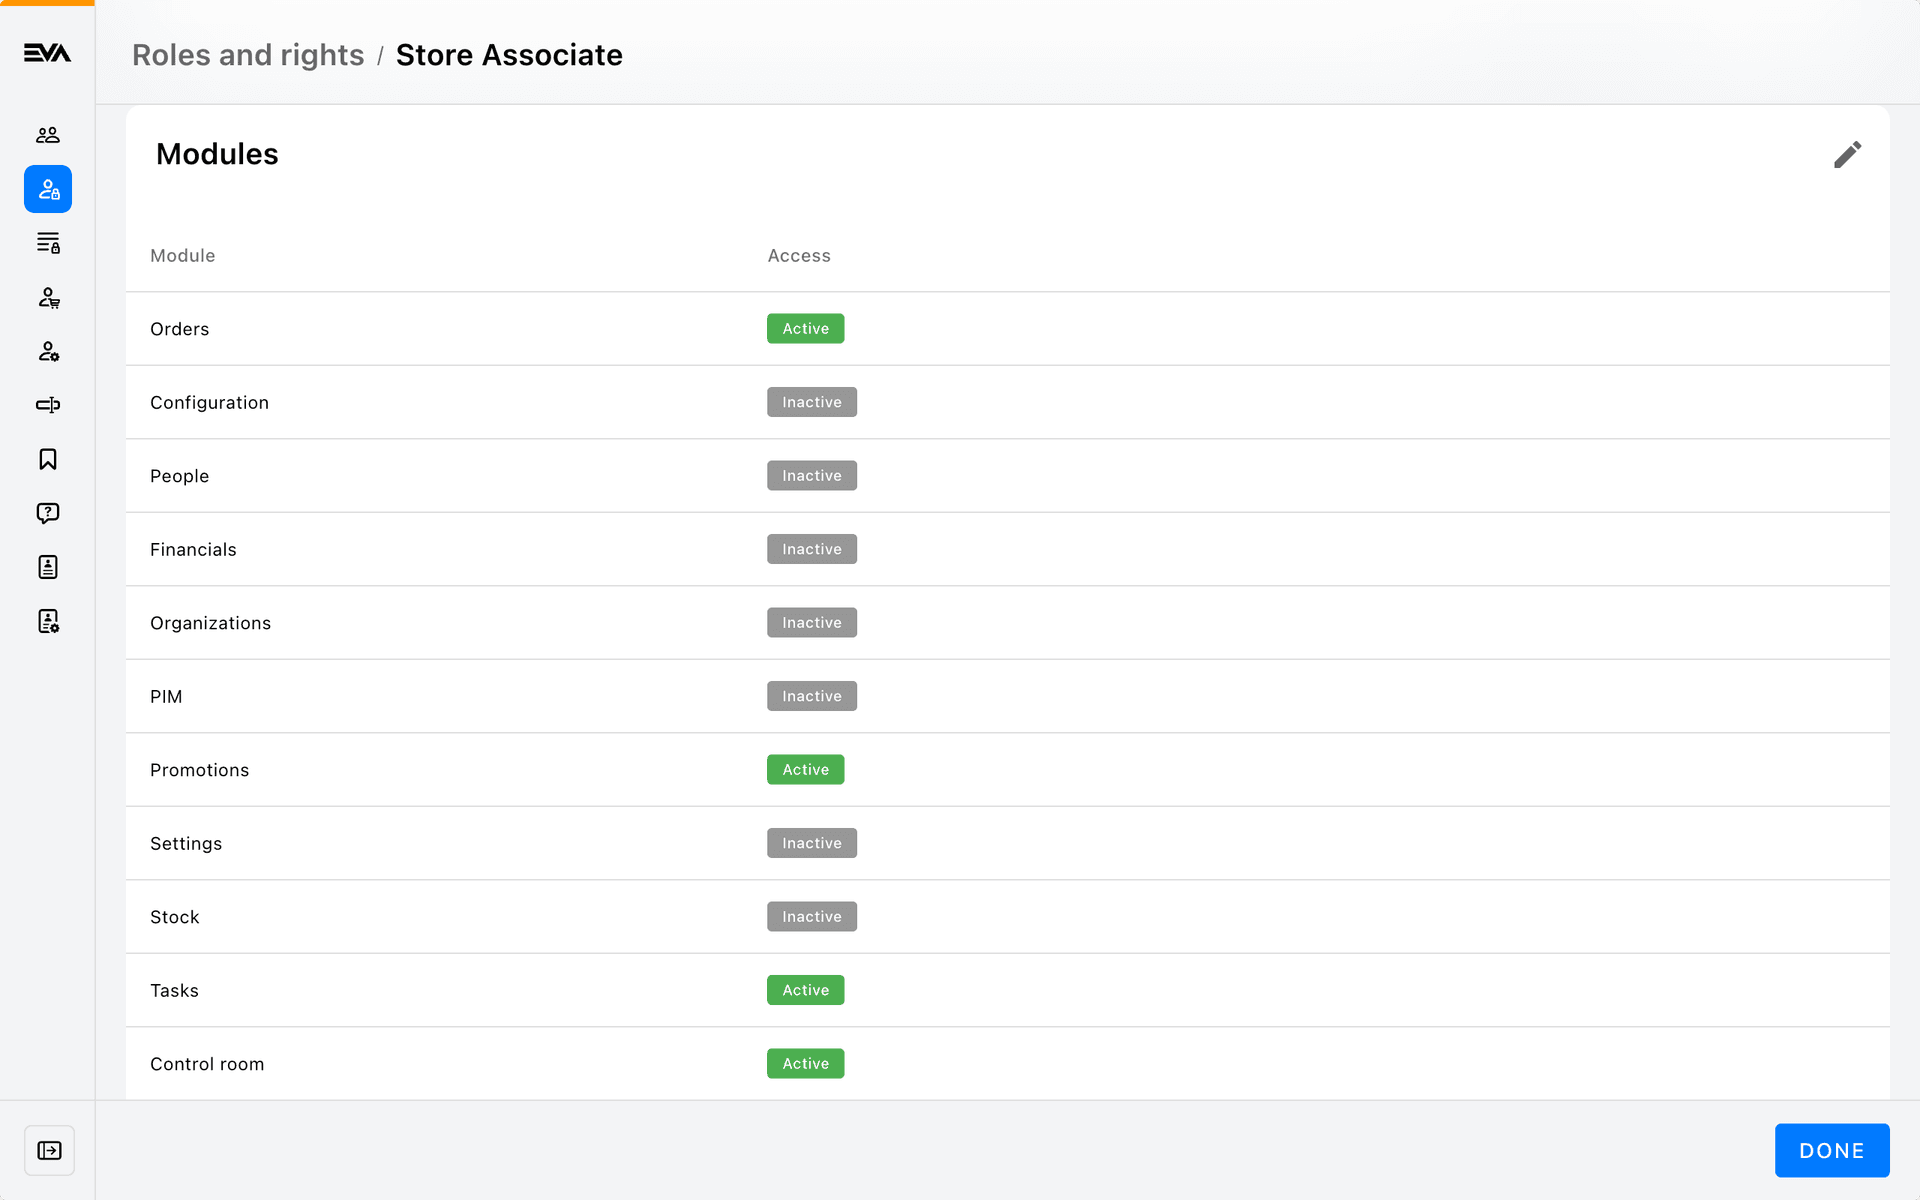
Module availability
To define your available module, go into the People module and open the Roles and rights chapter. Click on a role and tick all the modules you want to give access to. After clicking Done, the configuration is updated.
Profile page
Click the 'User' icon in the top-right to log out or to access your Profile page.
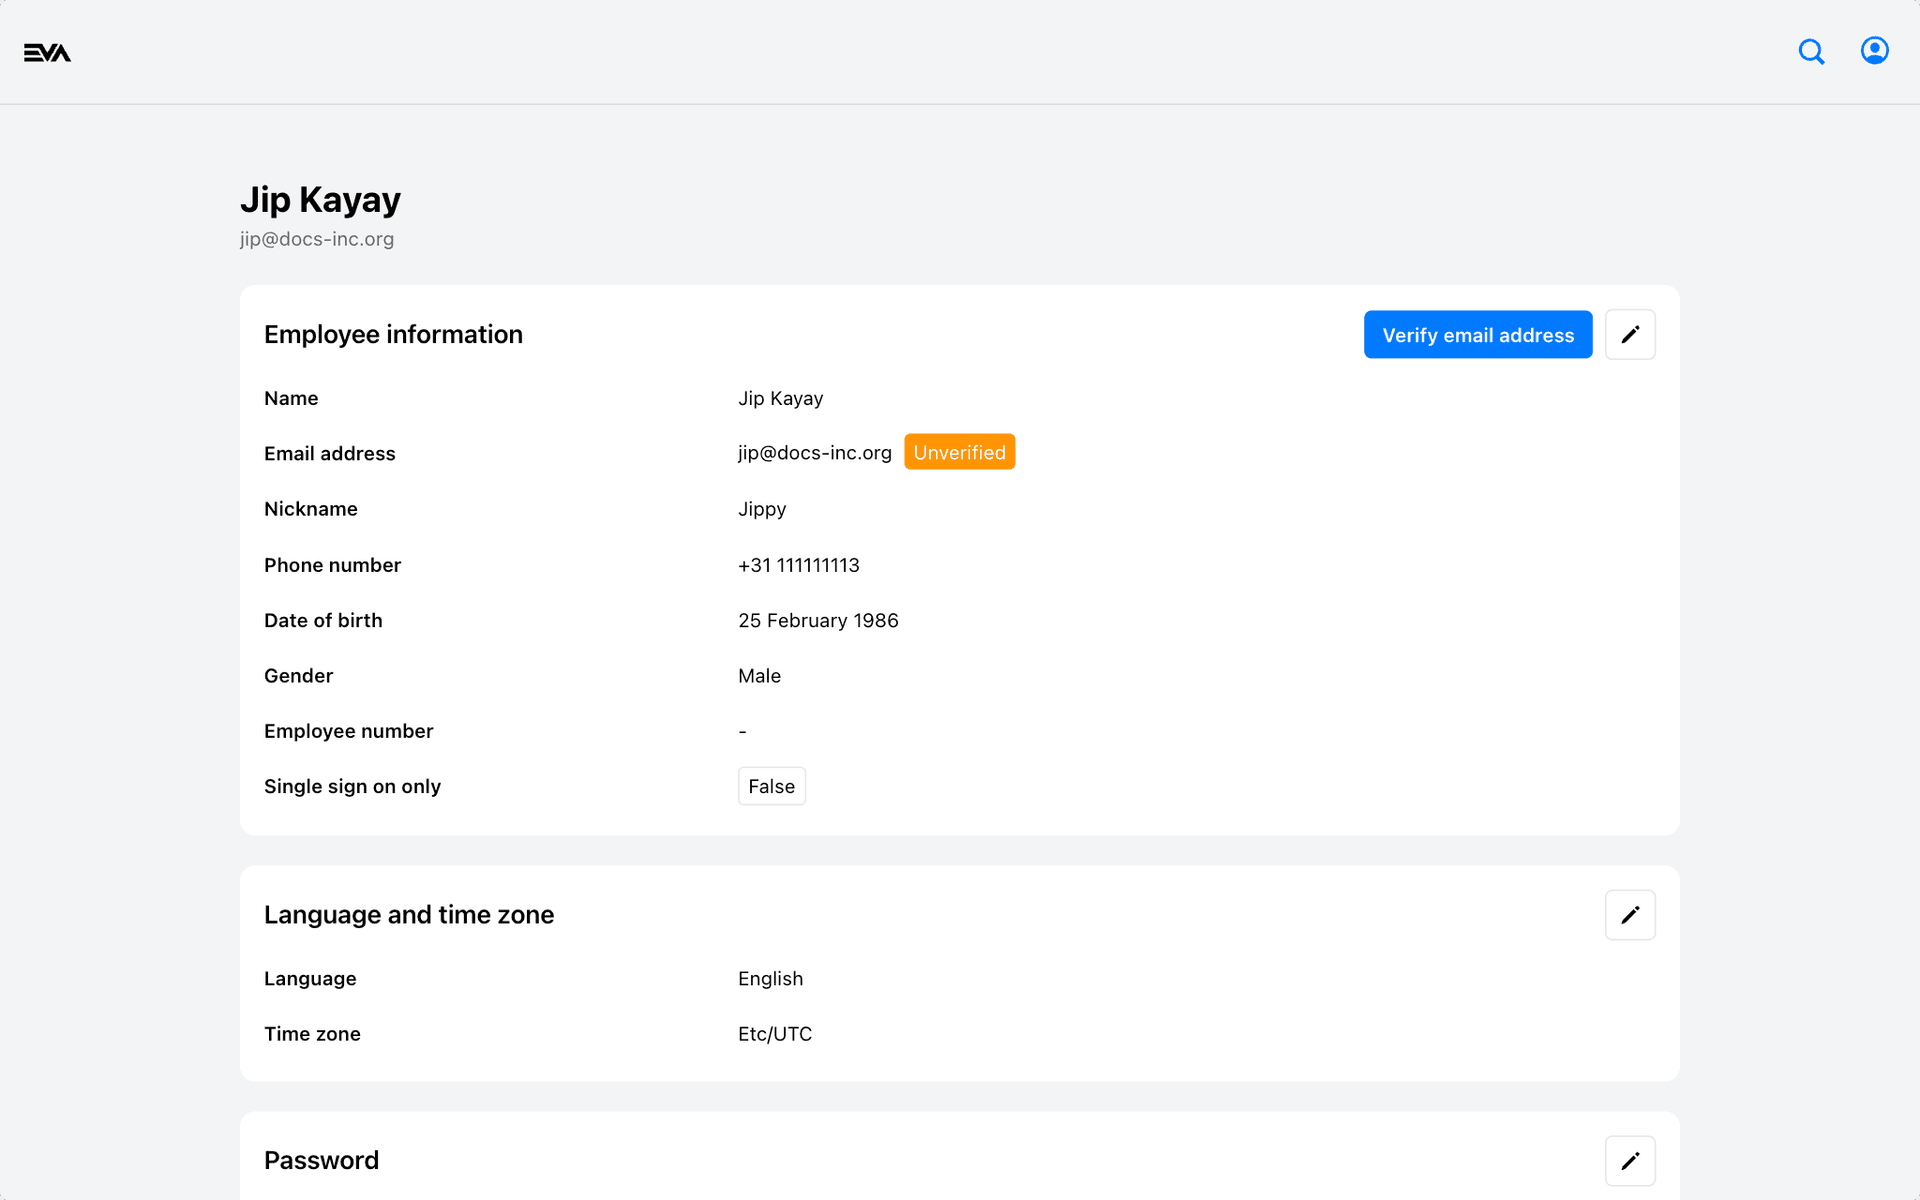
Your profile page displays your personal information and enables you to modify everything except your email address and employee number. However, you can verify your email address by clicking the Verify email address button. An email will be sent to the specified email address with a verification code. Enter the verification code in the prompted window to complete the verification flow. The unverified indication will become a green checkmark, indicating that the email address is verified.
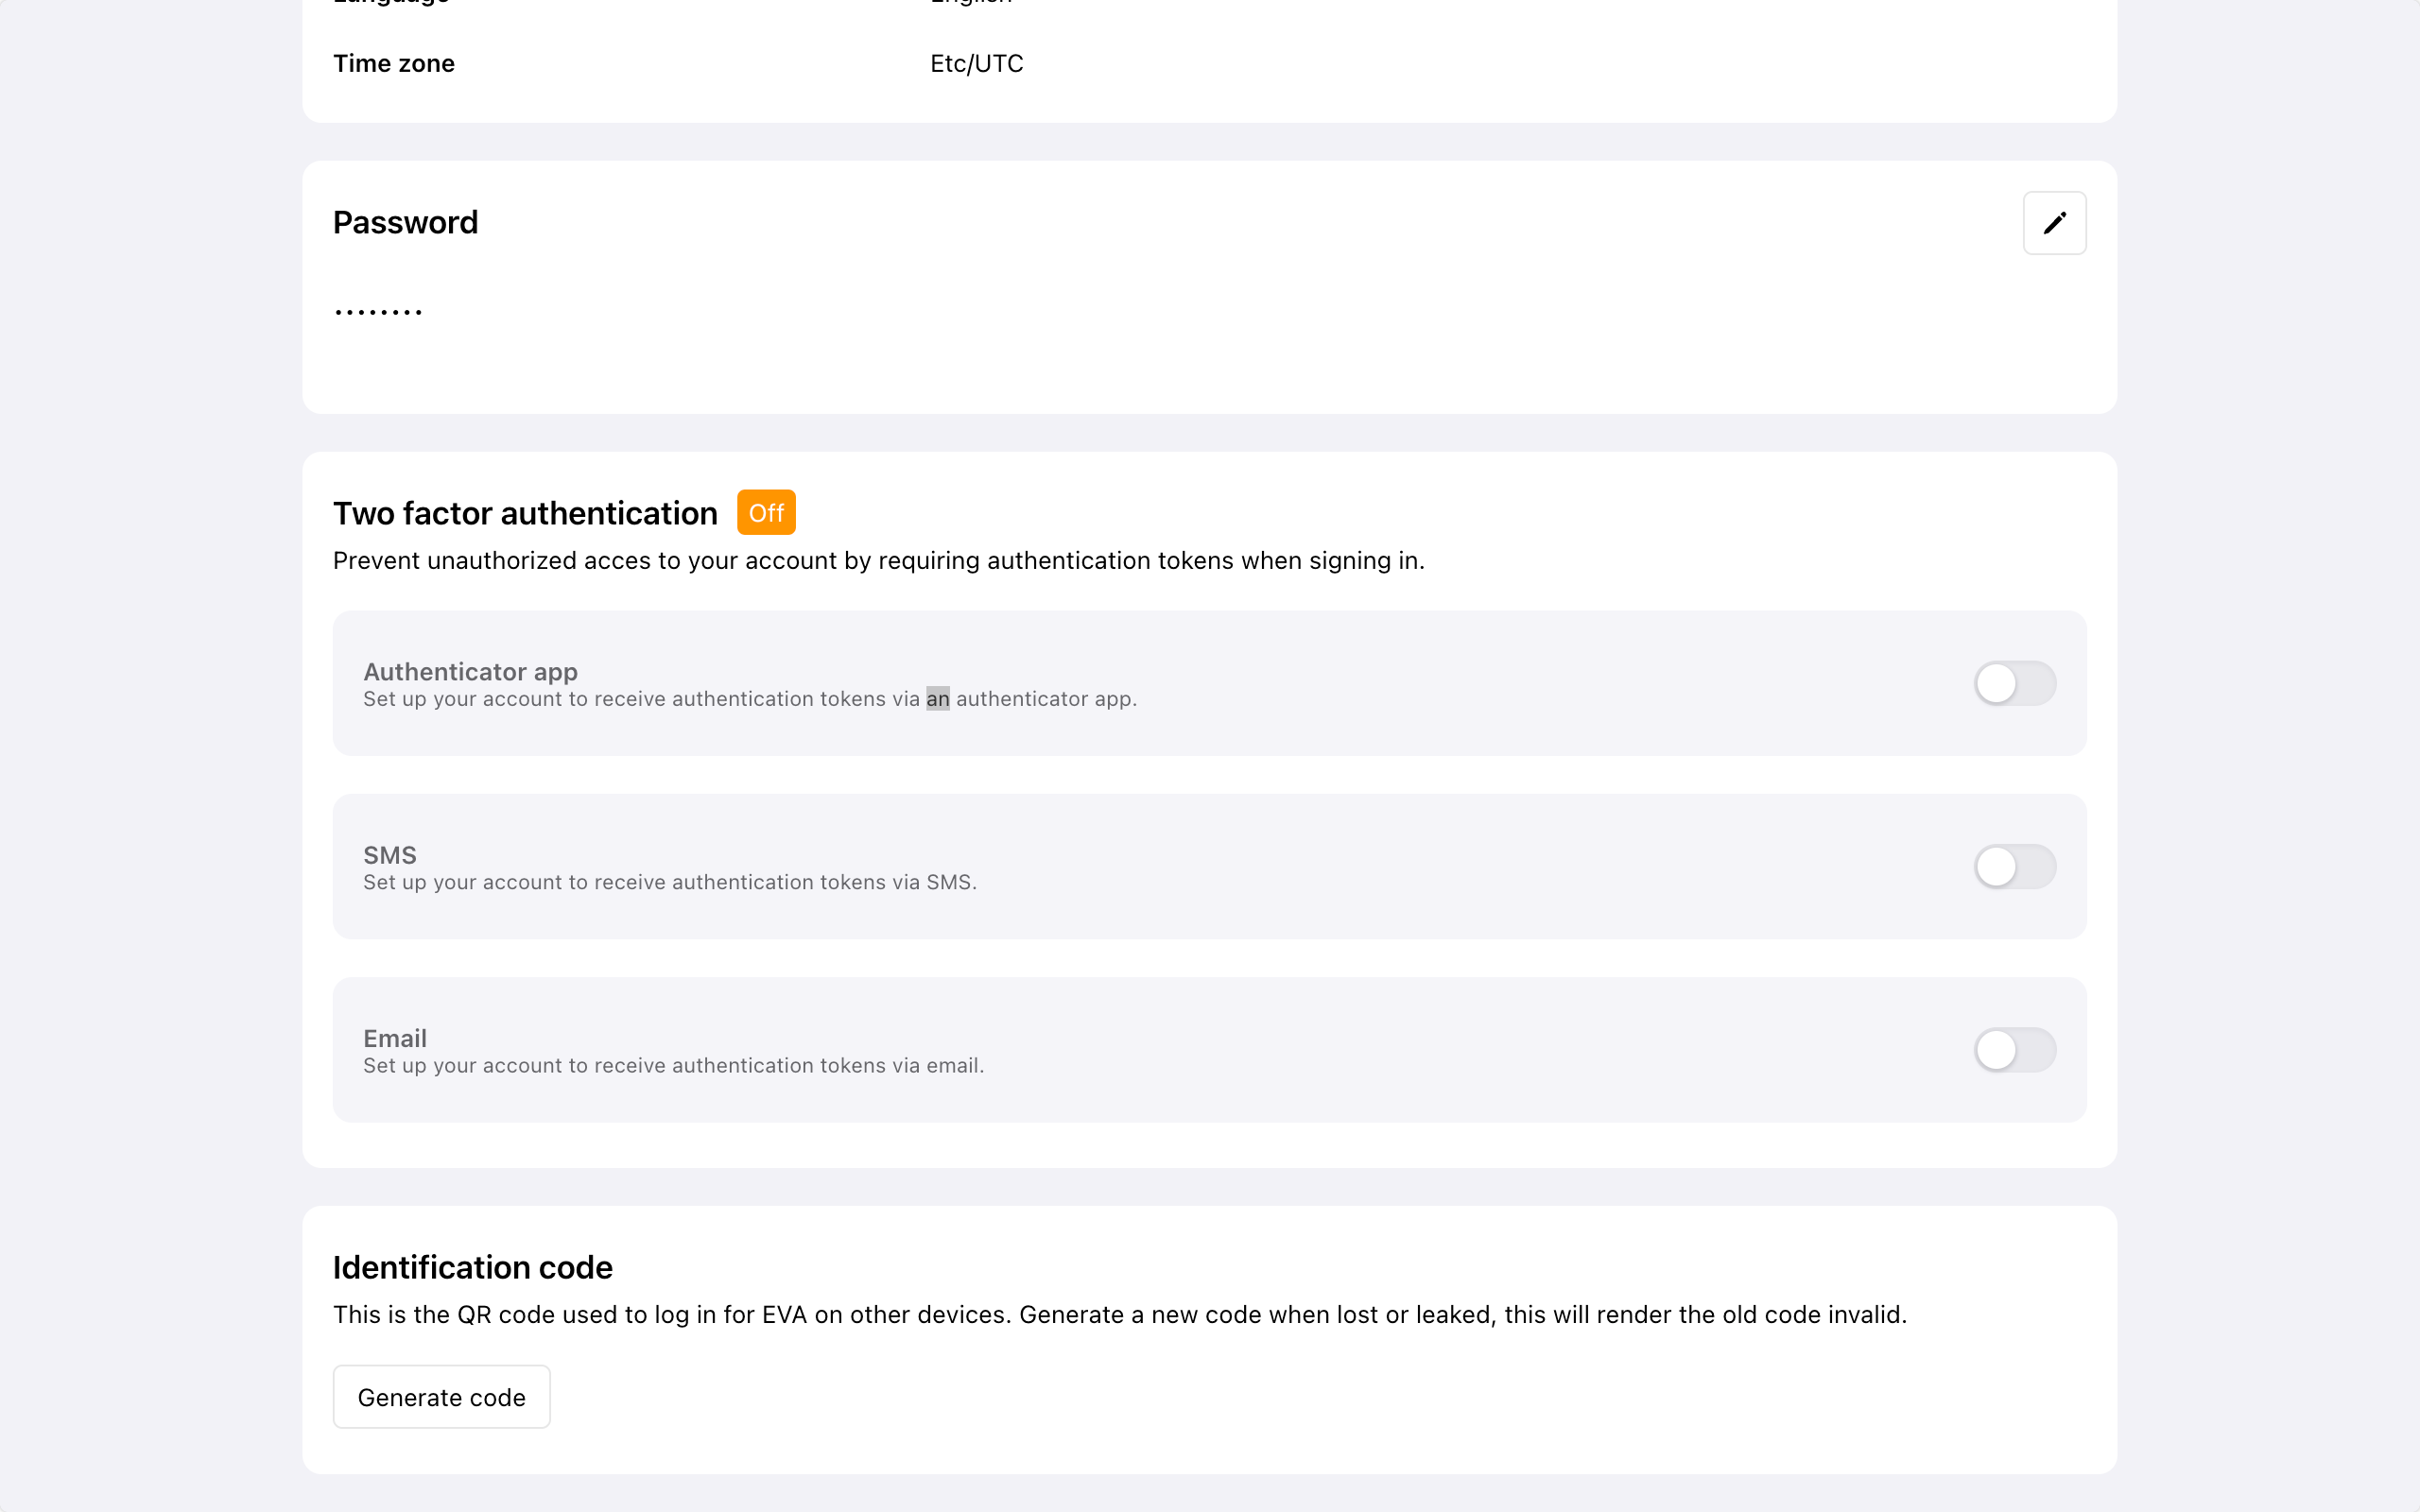
Additionally, you can change your password, enable 2FA, or generate a QR identification code.
Two-factor authentication
We've made it easy to add -or edit- 2FA in your Admin Suite account. Visit your Profile page for an overview of the possible 2FA methods.
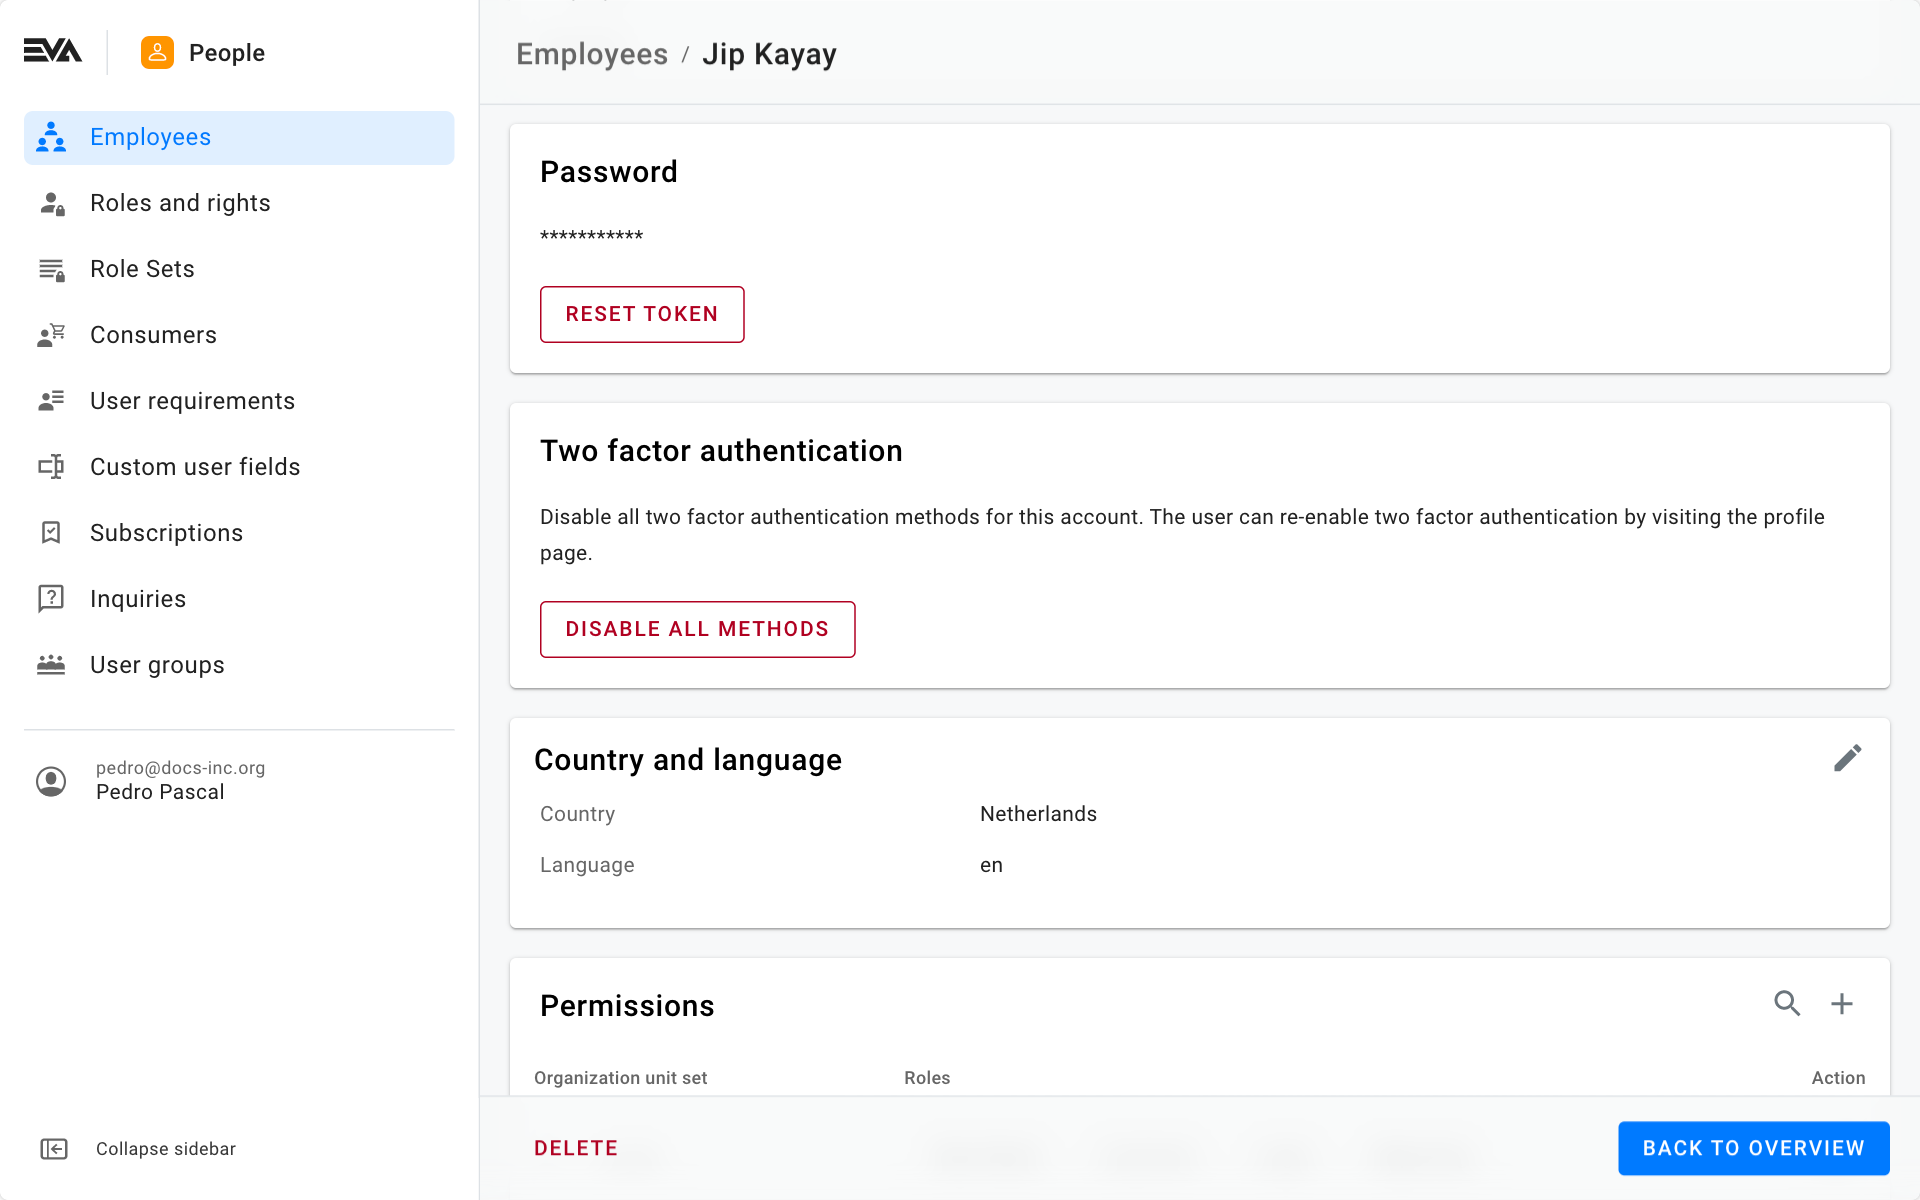
If a user somehow loses access to the necessary 2FA methods, another user (with the Employees functionalities) can reset the user's 2FA methods.
Profile Modal
In addition to the main Profile page accessible from the Admin Suite homepage, you can access specific profile features directly from any module by clicking the 'profile' icon located at the bottom left, adjacent to the displayed version of Admin Suite.
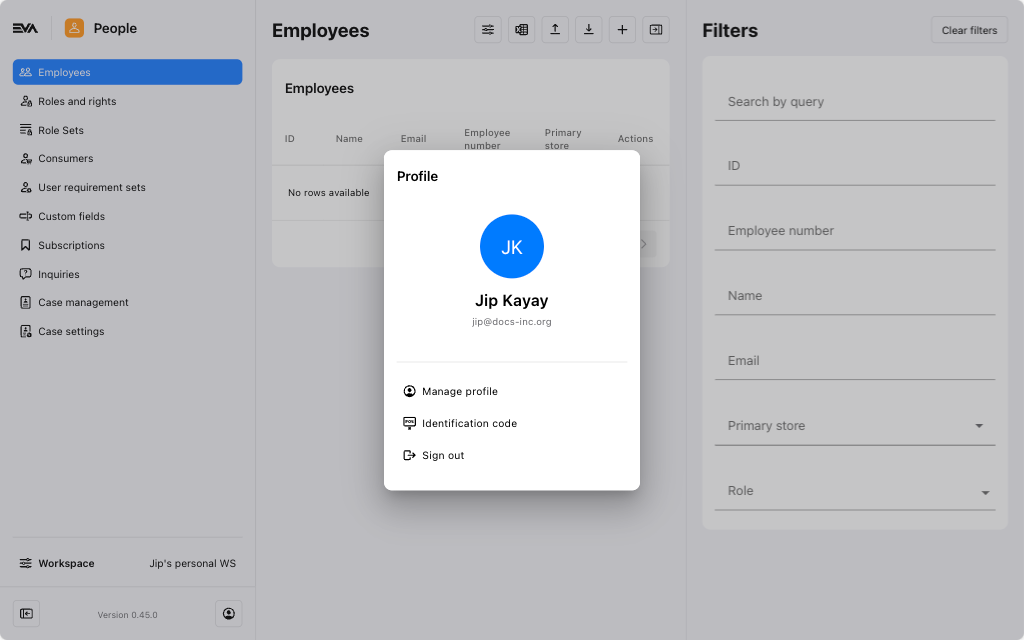
- Manage profile: Navigates you to the main Profile page.
- Sign out: Navigates you to the login page.
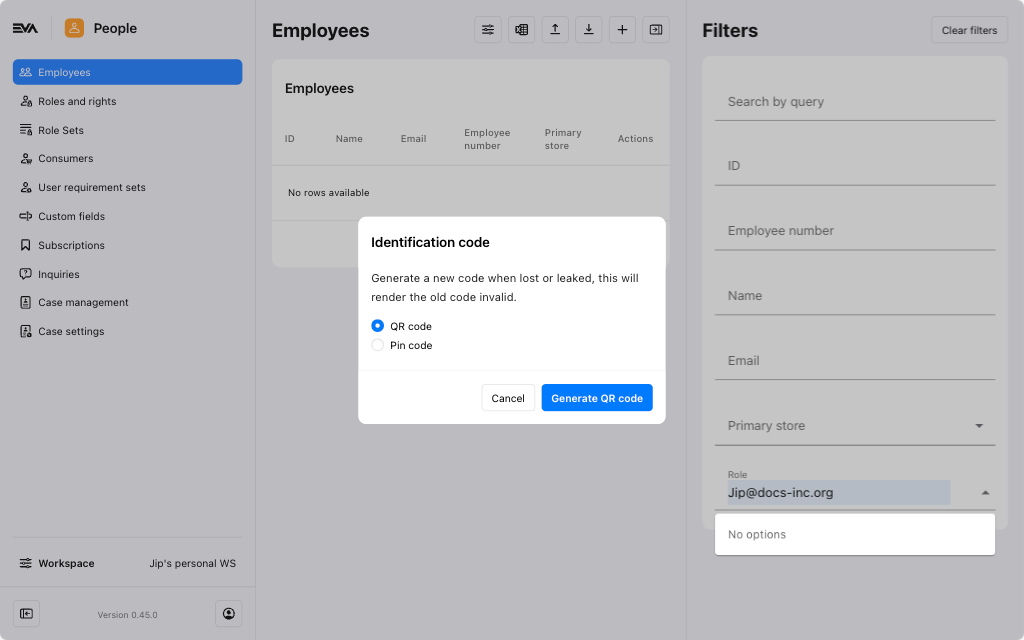
- Identification code: Will consist of two options namely, QR code and Pin code.
The QR code facilitates a quick login process for Suite Apps by allowing users to bypass additional logins since they are already authenticated in the Admin Suite. By using the login method using QR code you will be instantly logged in the Apps.
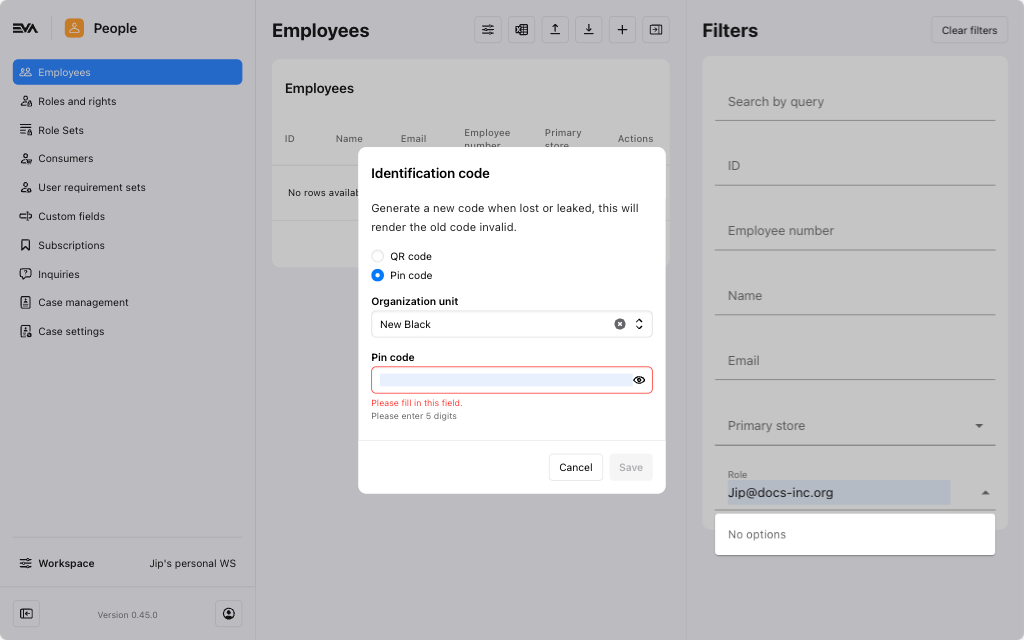
The Pin code initiates a flow to set a pincode. Once set, this pin code allows users to log in or re-login to the Suite Apps.
Useful links
Workspaces
You need the SharedWorkspaces permission to be able to use workspaces.
The workspaces features allows for a customizable layout of data, where you control which data columns you want to see (or don't want to see) and in which order.
The workspaces button can be found in the left sidebar of the following chapters:
- Orders
- Organization units
- Consumers
- Employees
- Purchase orders
- Promotions engine
- Watchtower
Expand to view an example using the "Orders" chapter
Take the workspace of Orders overview as an example. You can reorganize the data columns to display the email address as your first column followed by the name. Or the phone number first then the email, and so forth. You can also add more columns by tapping the columns '+' icon and choosing additional properties from the dropdown list.
Once you've customized a workspace to your taste, clicking the left sidebar Workspace button. Make a choice from the following:
- Save changes to this workspace: This will overwrite the currently used workspaces with the changes you've made.
- Save as new workspace: This will create a new workspace with a new name.
- Reset: This will reset the layout to the saved version (before any changes) or the chapters default layout.
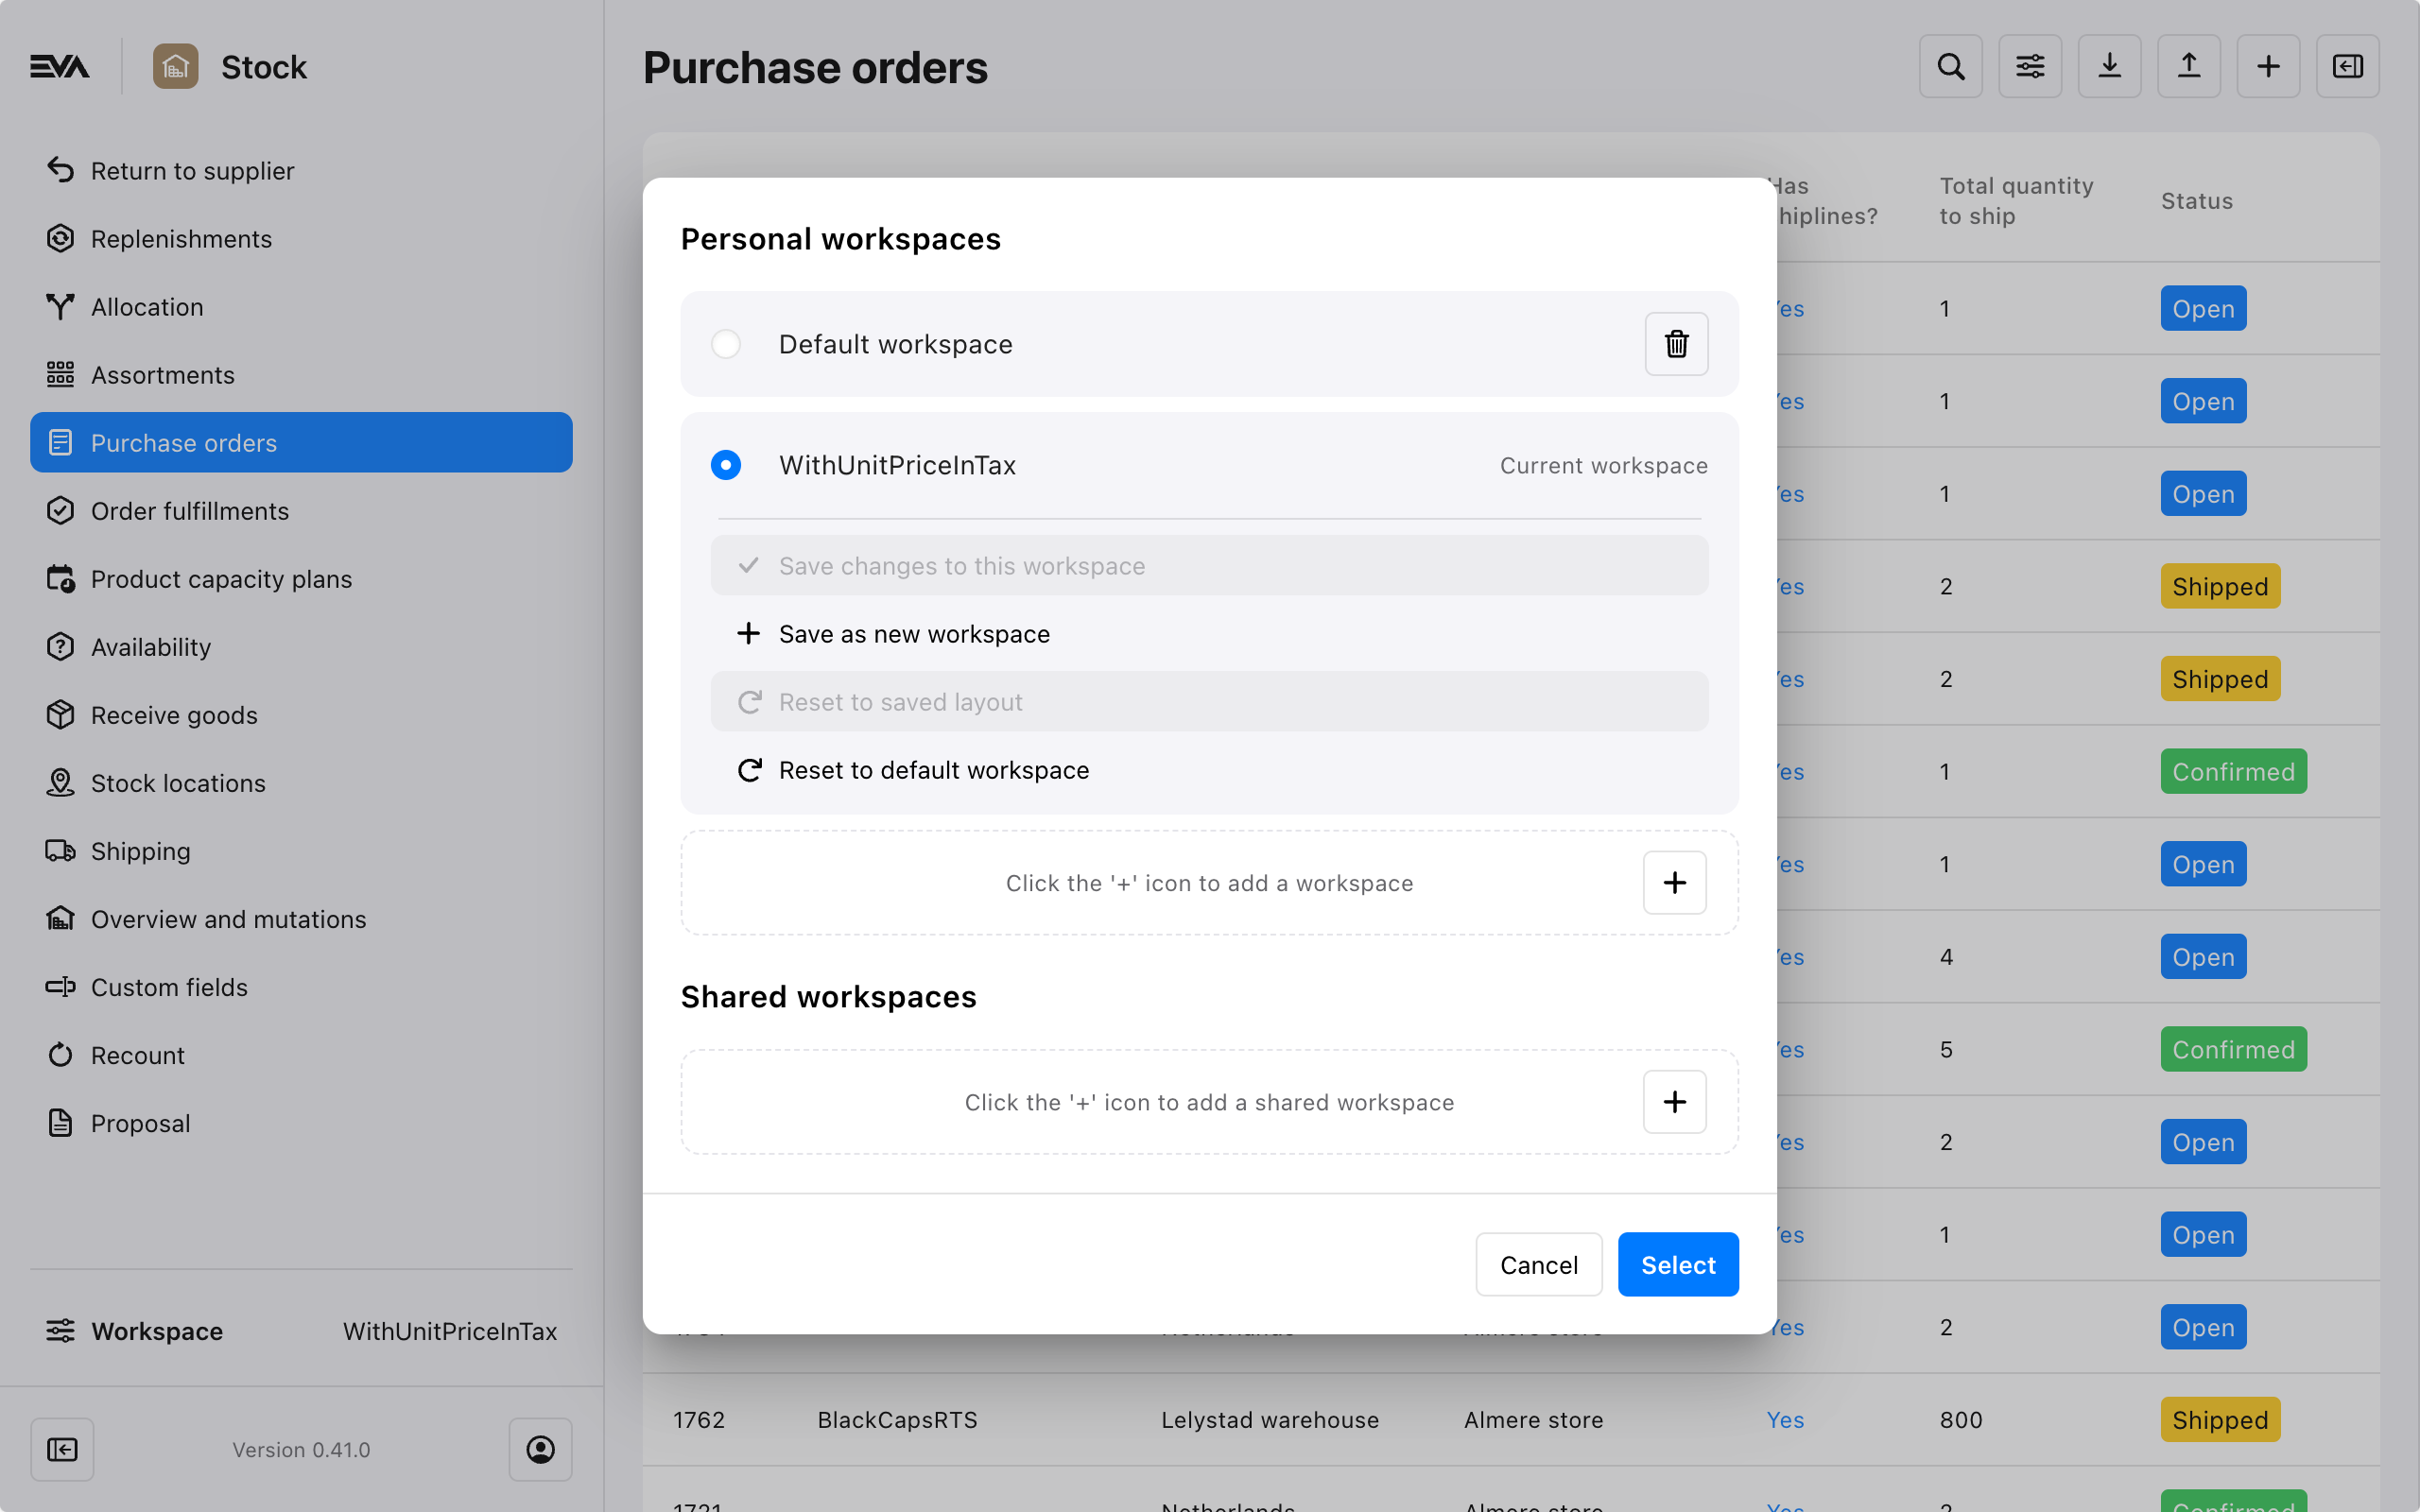
Saving the workspace will add it under Personal workspace. You can also save or add a workspace by using the '+' icon. This will present two options described under the following section.
Sharing a personal workspace
To share a personal workspace, click the '+' icon under Shared workspaces and choose one of the following:
- Create workspace from current layout: This option saves the workspace based on the current layout. You can then specify the Role(s) that can use it and whether the workspace becomes that role's default layout.
- Create default workspace: This creates a new workspace based on the chapter's standard layout.
An overview of a certain role's shared workspaces and default ones can be viewed from the Workspaces card of the Roles and rights chapter.
Deleting or editing a workspace
If you create and share a workspace, only you can edit it. Furthermore, to delete an existing workspace (personal or shared), click the corresponding'trash bin' icon.
Deletion is only allowed if you are the owner/creator of that workspace.