RTS in App Suite
RTS in App Suite/Companion App
Detailed RTS/RMA FlowReturn to Supplier, or RTS, is our process for stores to return products to a supplier, including damaged or unwanted items. This page details the process on the App Suite - namely Checkout and Tasks App. We also included the process for Companion App, where RMA orders are managed by picking and shipping the order lines via the Return to Supplier user tasks.
Right now there are two ways you can return products to manufacturers:
- RTS: Return to Supplier
- RMA: Return Merchandise Authorization
While the RMA method is still accessible in EVA, it offers fewer features compared to RTS. RTS provides more features and settings. These features include the ability to both over- and under-ship products to the manufacturer, the flexibility to include or exclude items from the product pick list, and overall improved efficiency. You can read more about the distinction between the two here.
We'll start this guide assuming you've enabled the settings for creating RTS user tasks and possess the relevant permissions. See Settings for RTS user task for more information.
Creating an RTS order
An RTS order can only be created from an empty order.
- Open the Checkout App.
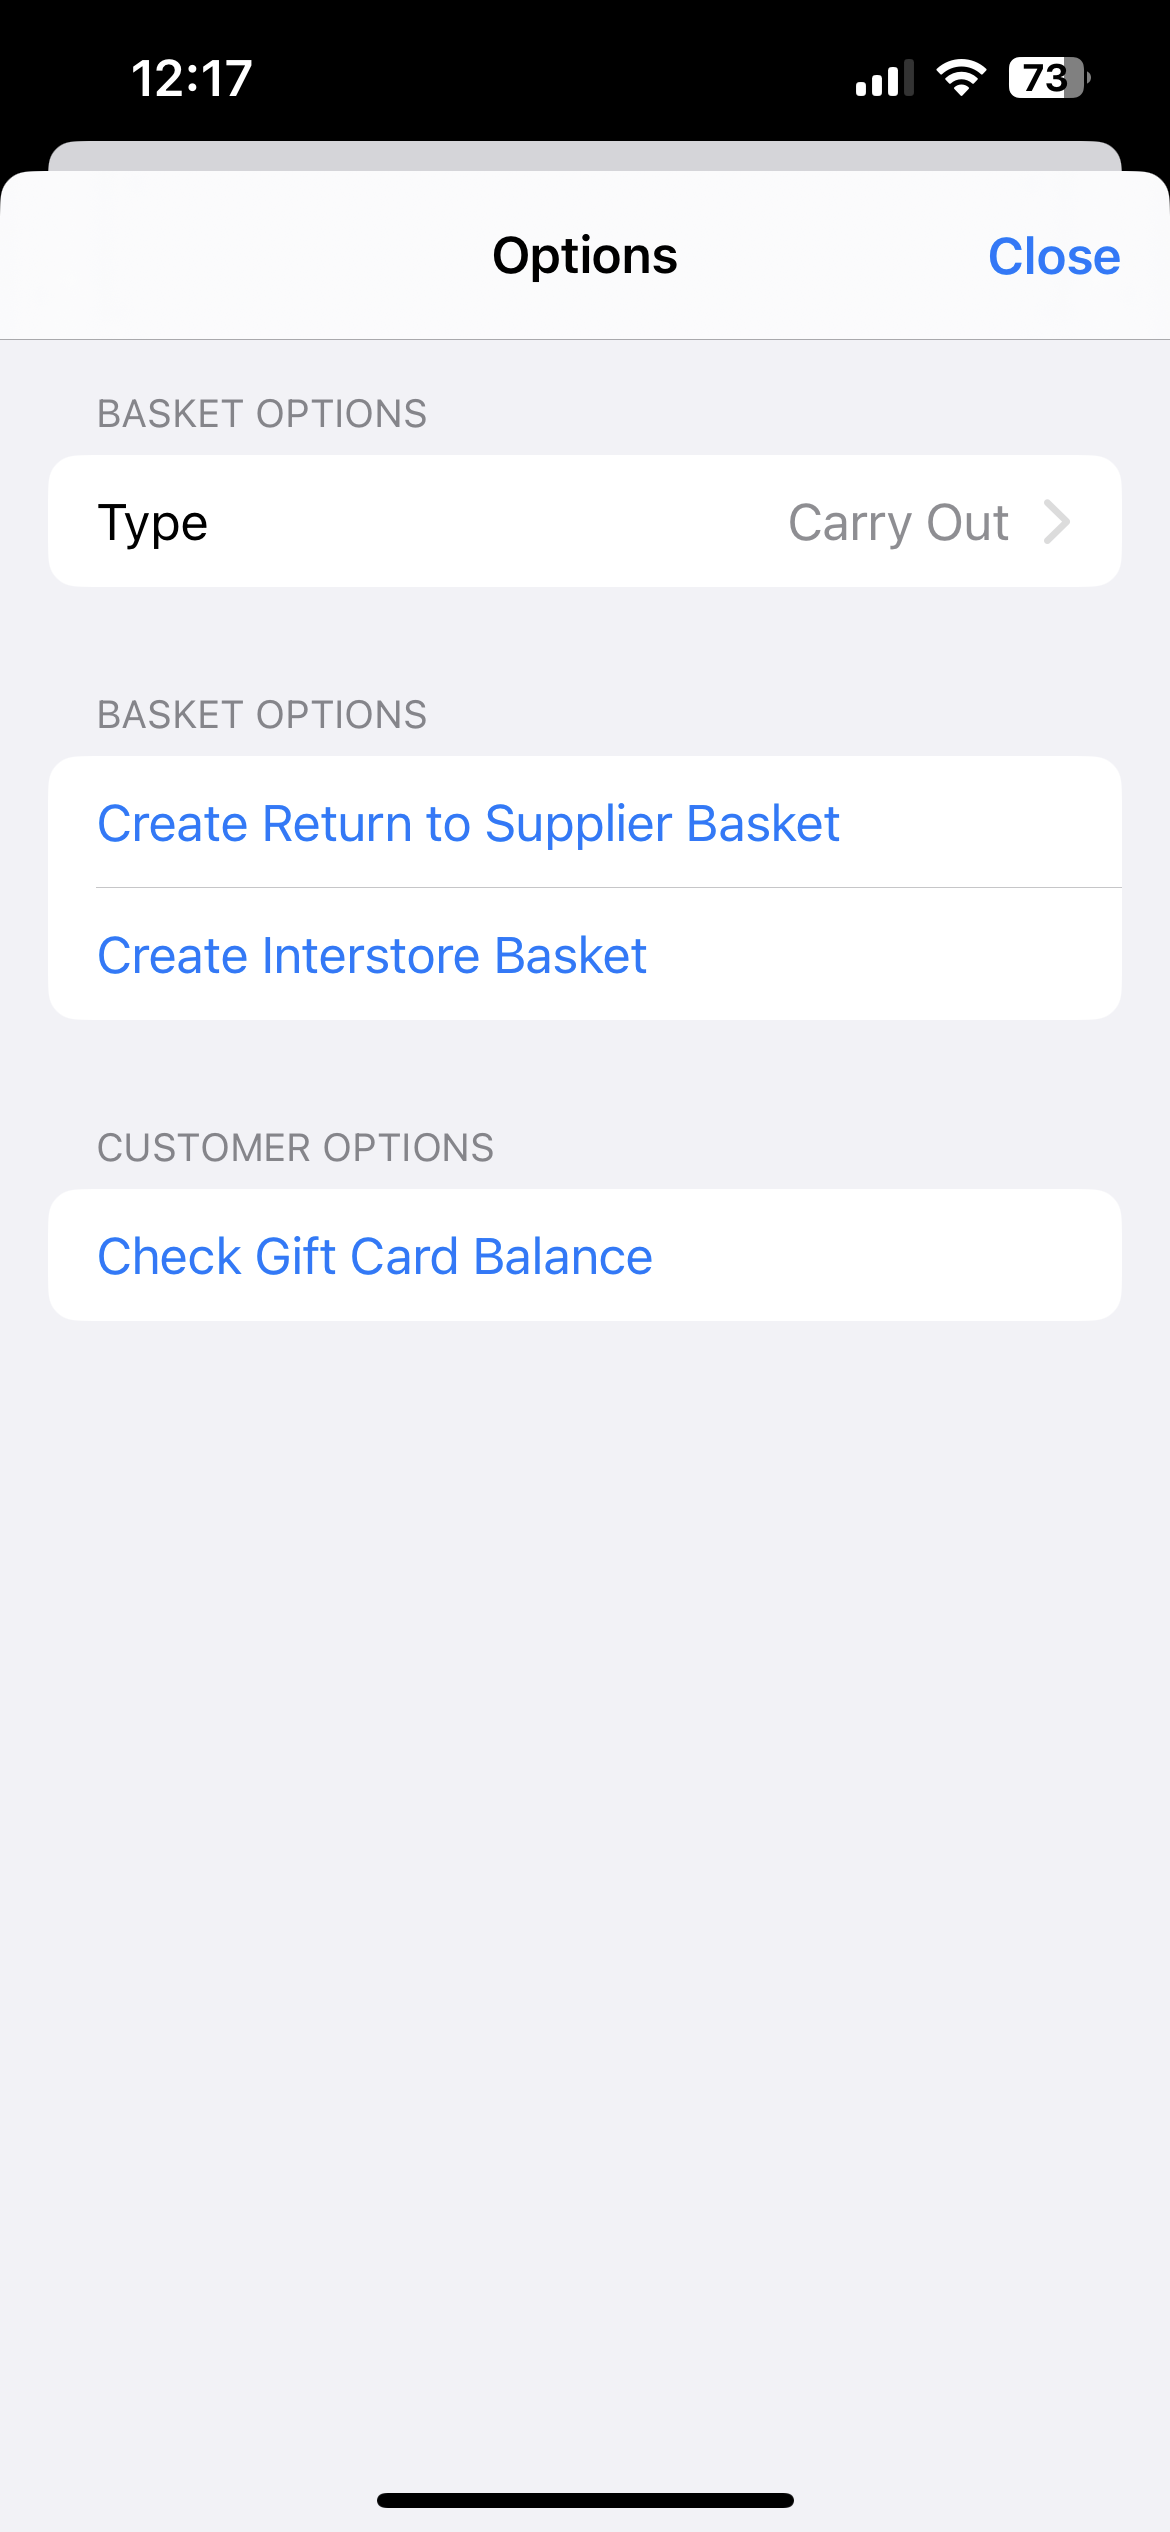
- Open the '...' menu for Basket Options.
- Tap the Create Return to Supplier Basket option.
- Add products to the basket by either scanning them or adding them via product search.
- After adding all the products needed for return, tap Return to Supplier.
- Pick a Return Reason and choose your supplier.
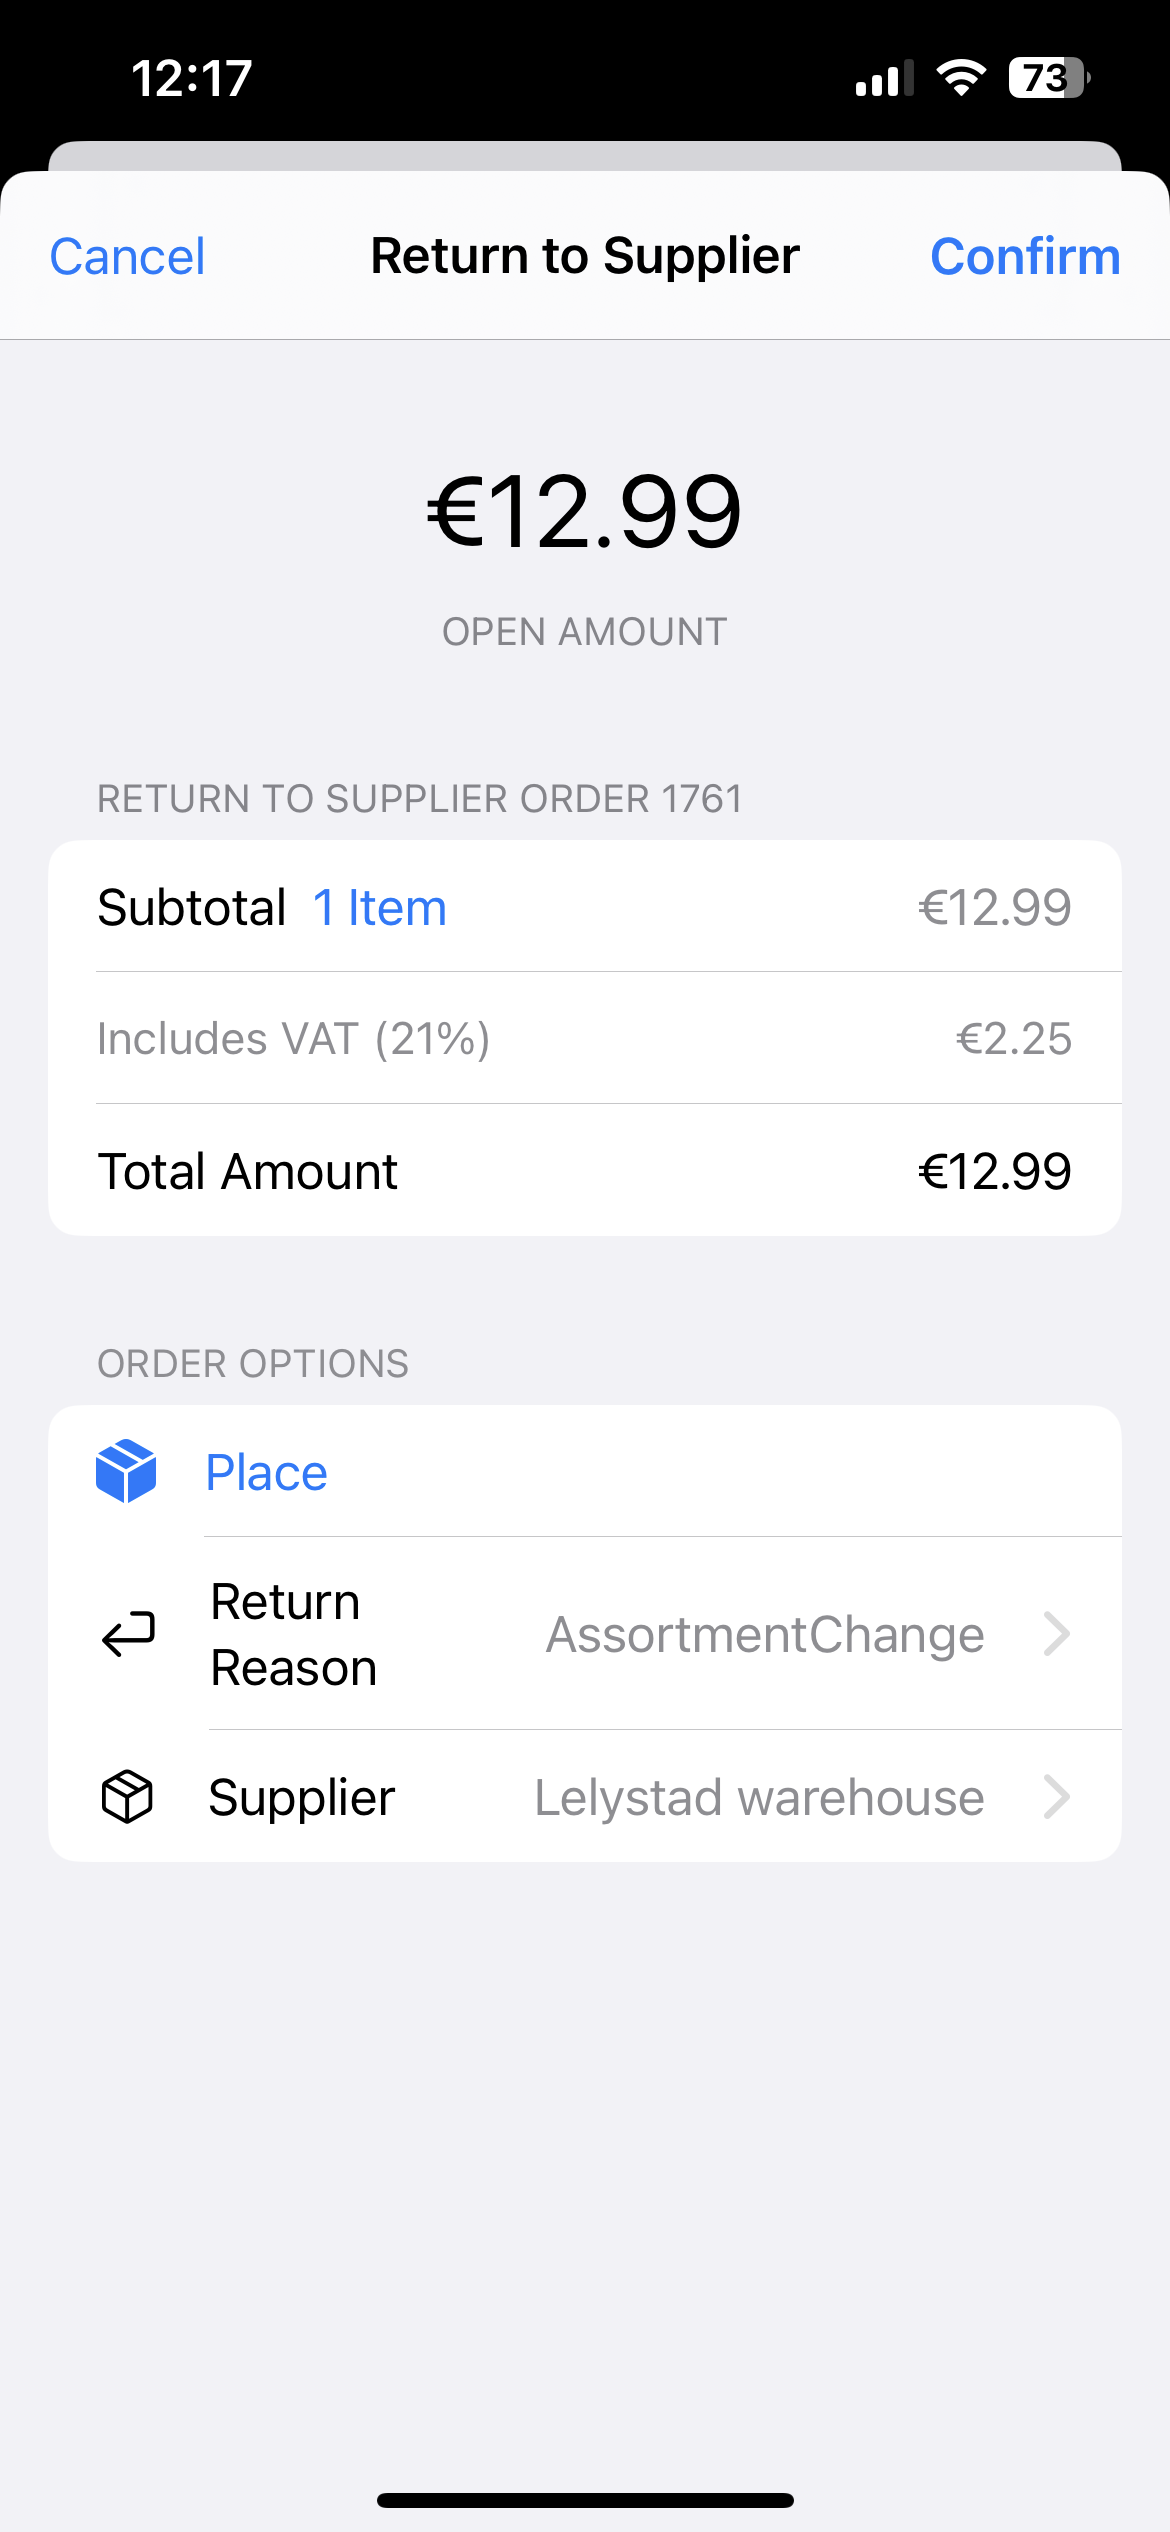
- When all order requirements are met, the Confirm button is enabled.
- You have completed an RTS order. You can download, email, or print order documents if you'd like.
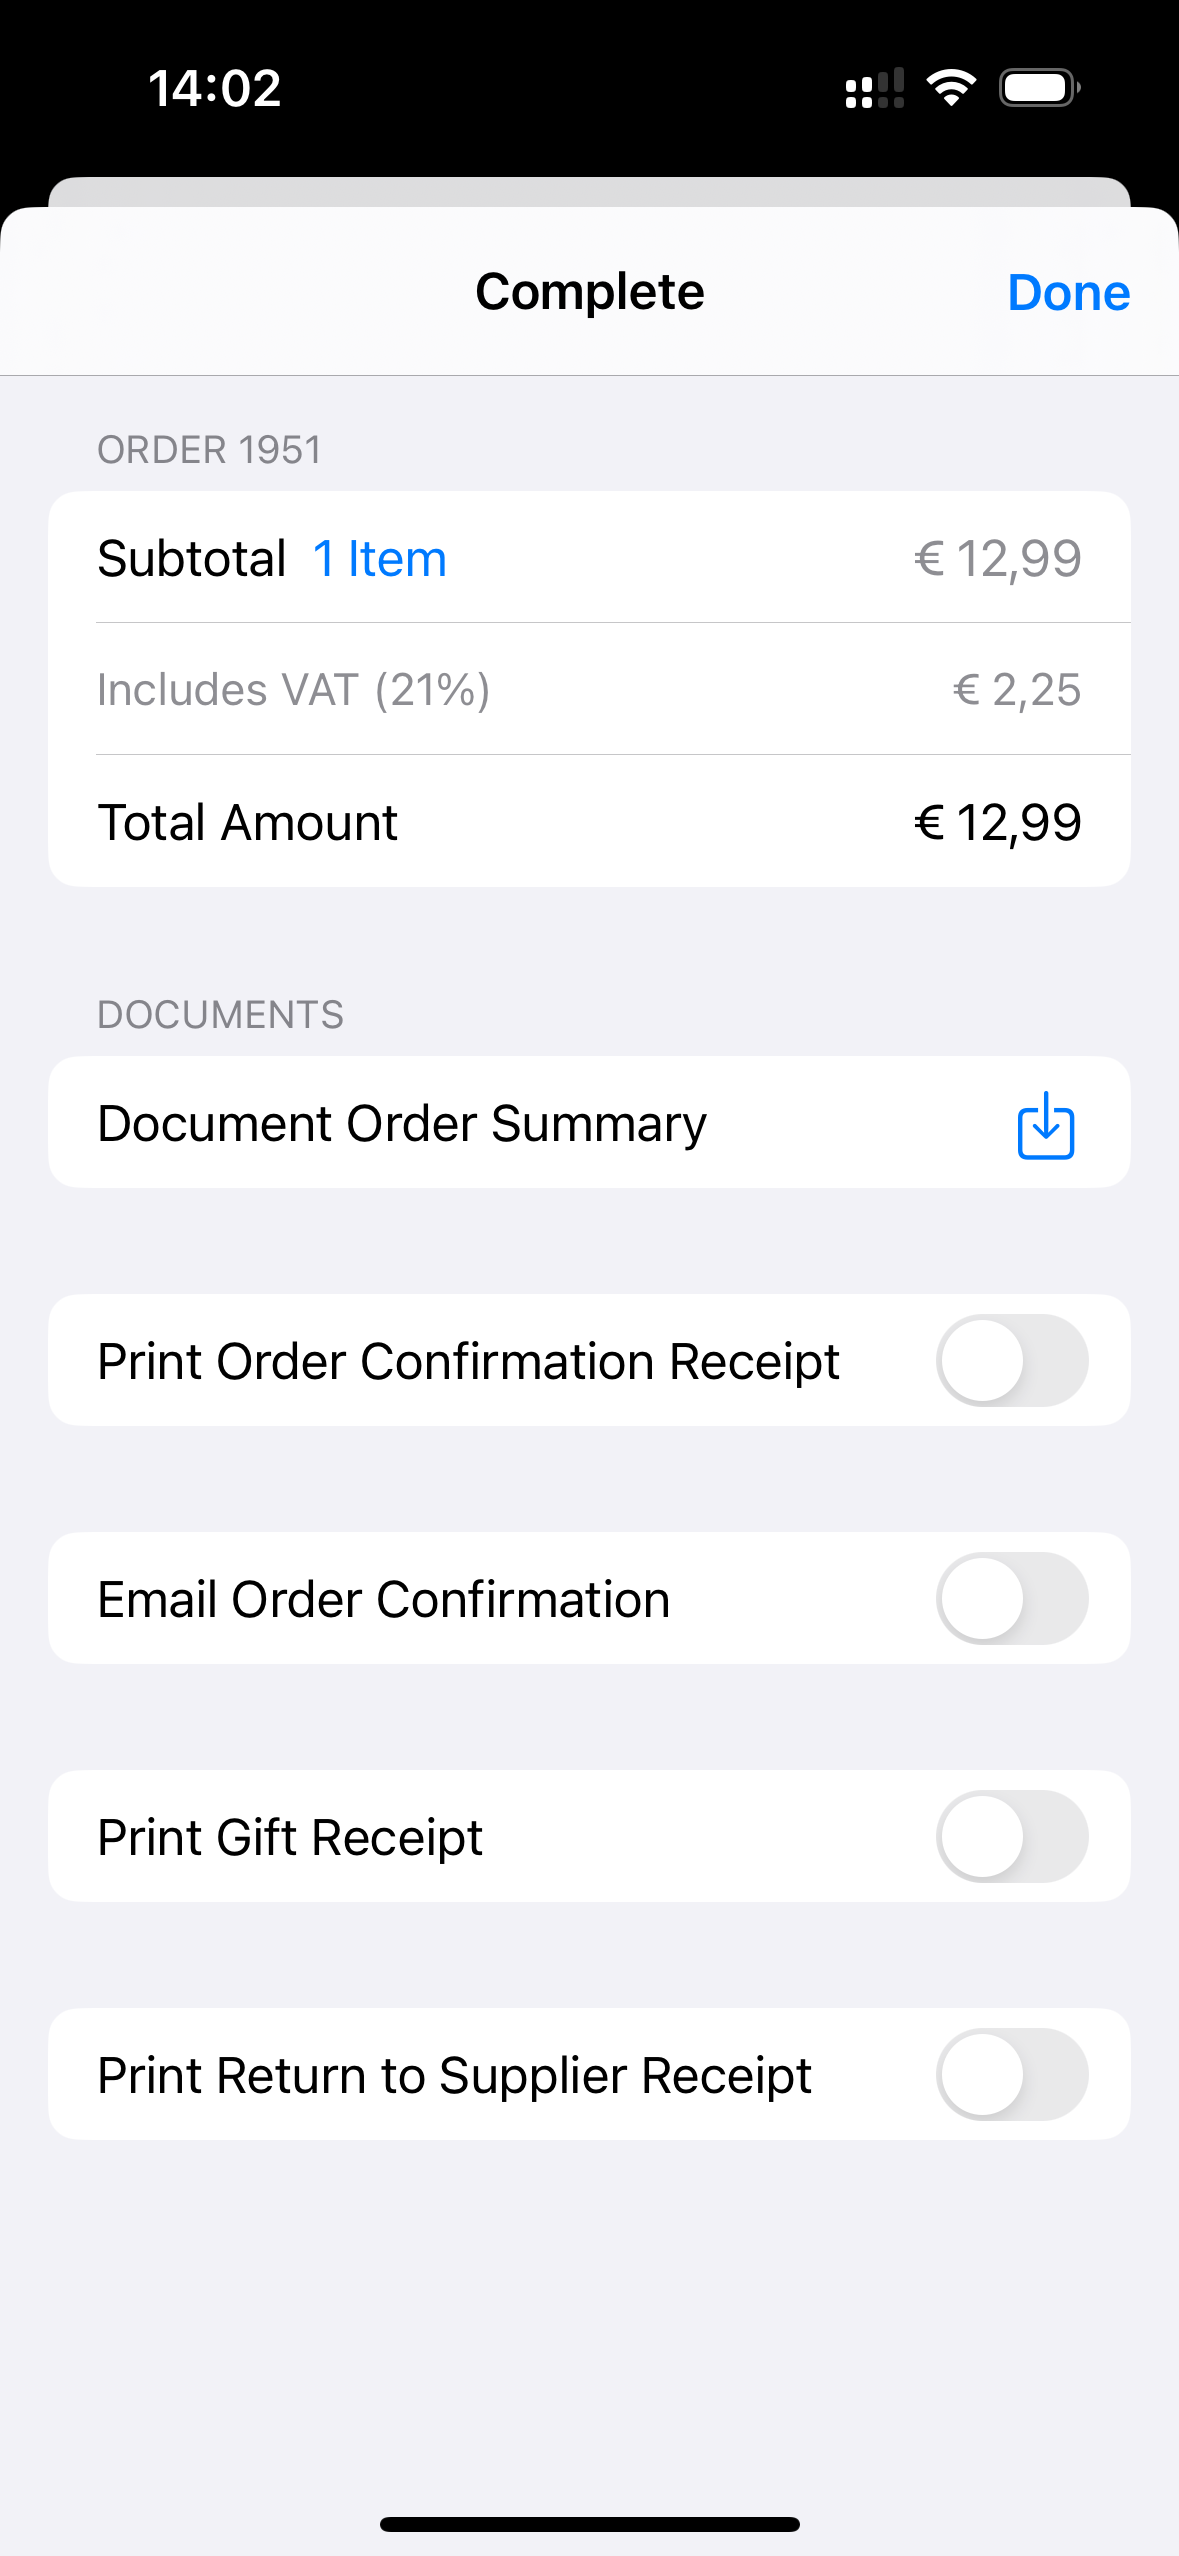
The Return to Supplier Receipt relies on the ReturnToSupplierOrderReceipt being configured as a stencil template.
Navigating the RTS task
- Open the Tasks App.
- Scroll to the All Tasks section, tap Stock Movement.
- Tap Return to Supplier.
- On the All Return To Supplier page, look for the corresponding RTS task and open it.
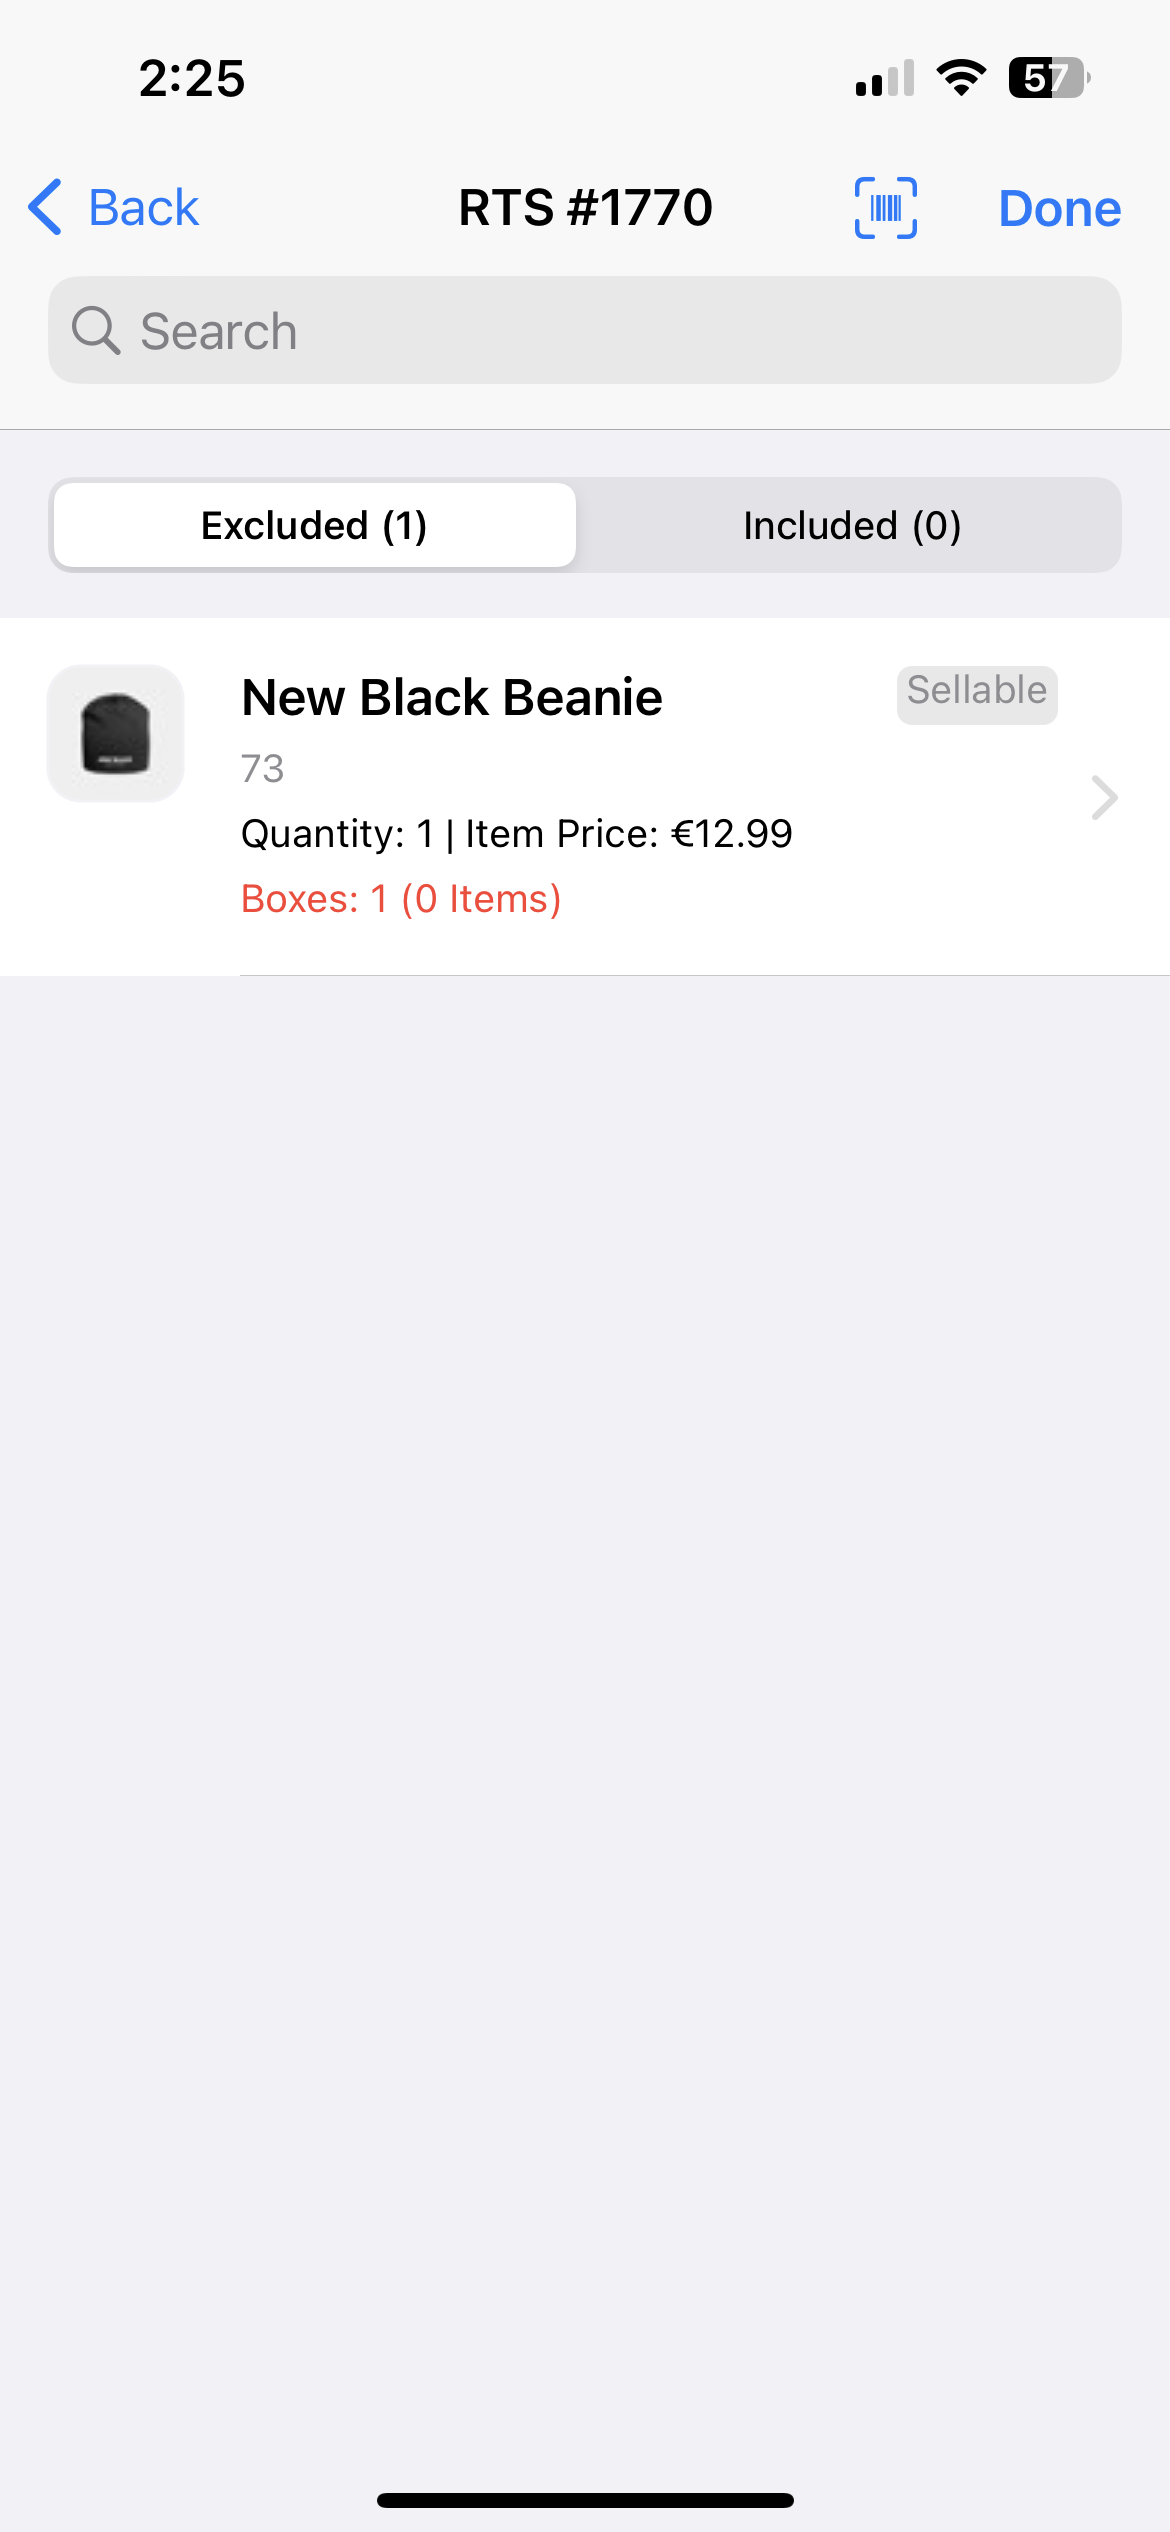
- Here you can pick products by searching or scanning
You either include or exclude products from the shipment when selecting them, this is based on your settings.
- Tap on Done if you want to complete the task.
- Only my task - by not completing the entire task, more products can still be added to this RTS task
- Complete all tasks
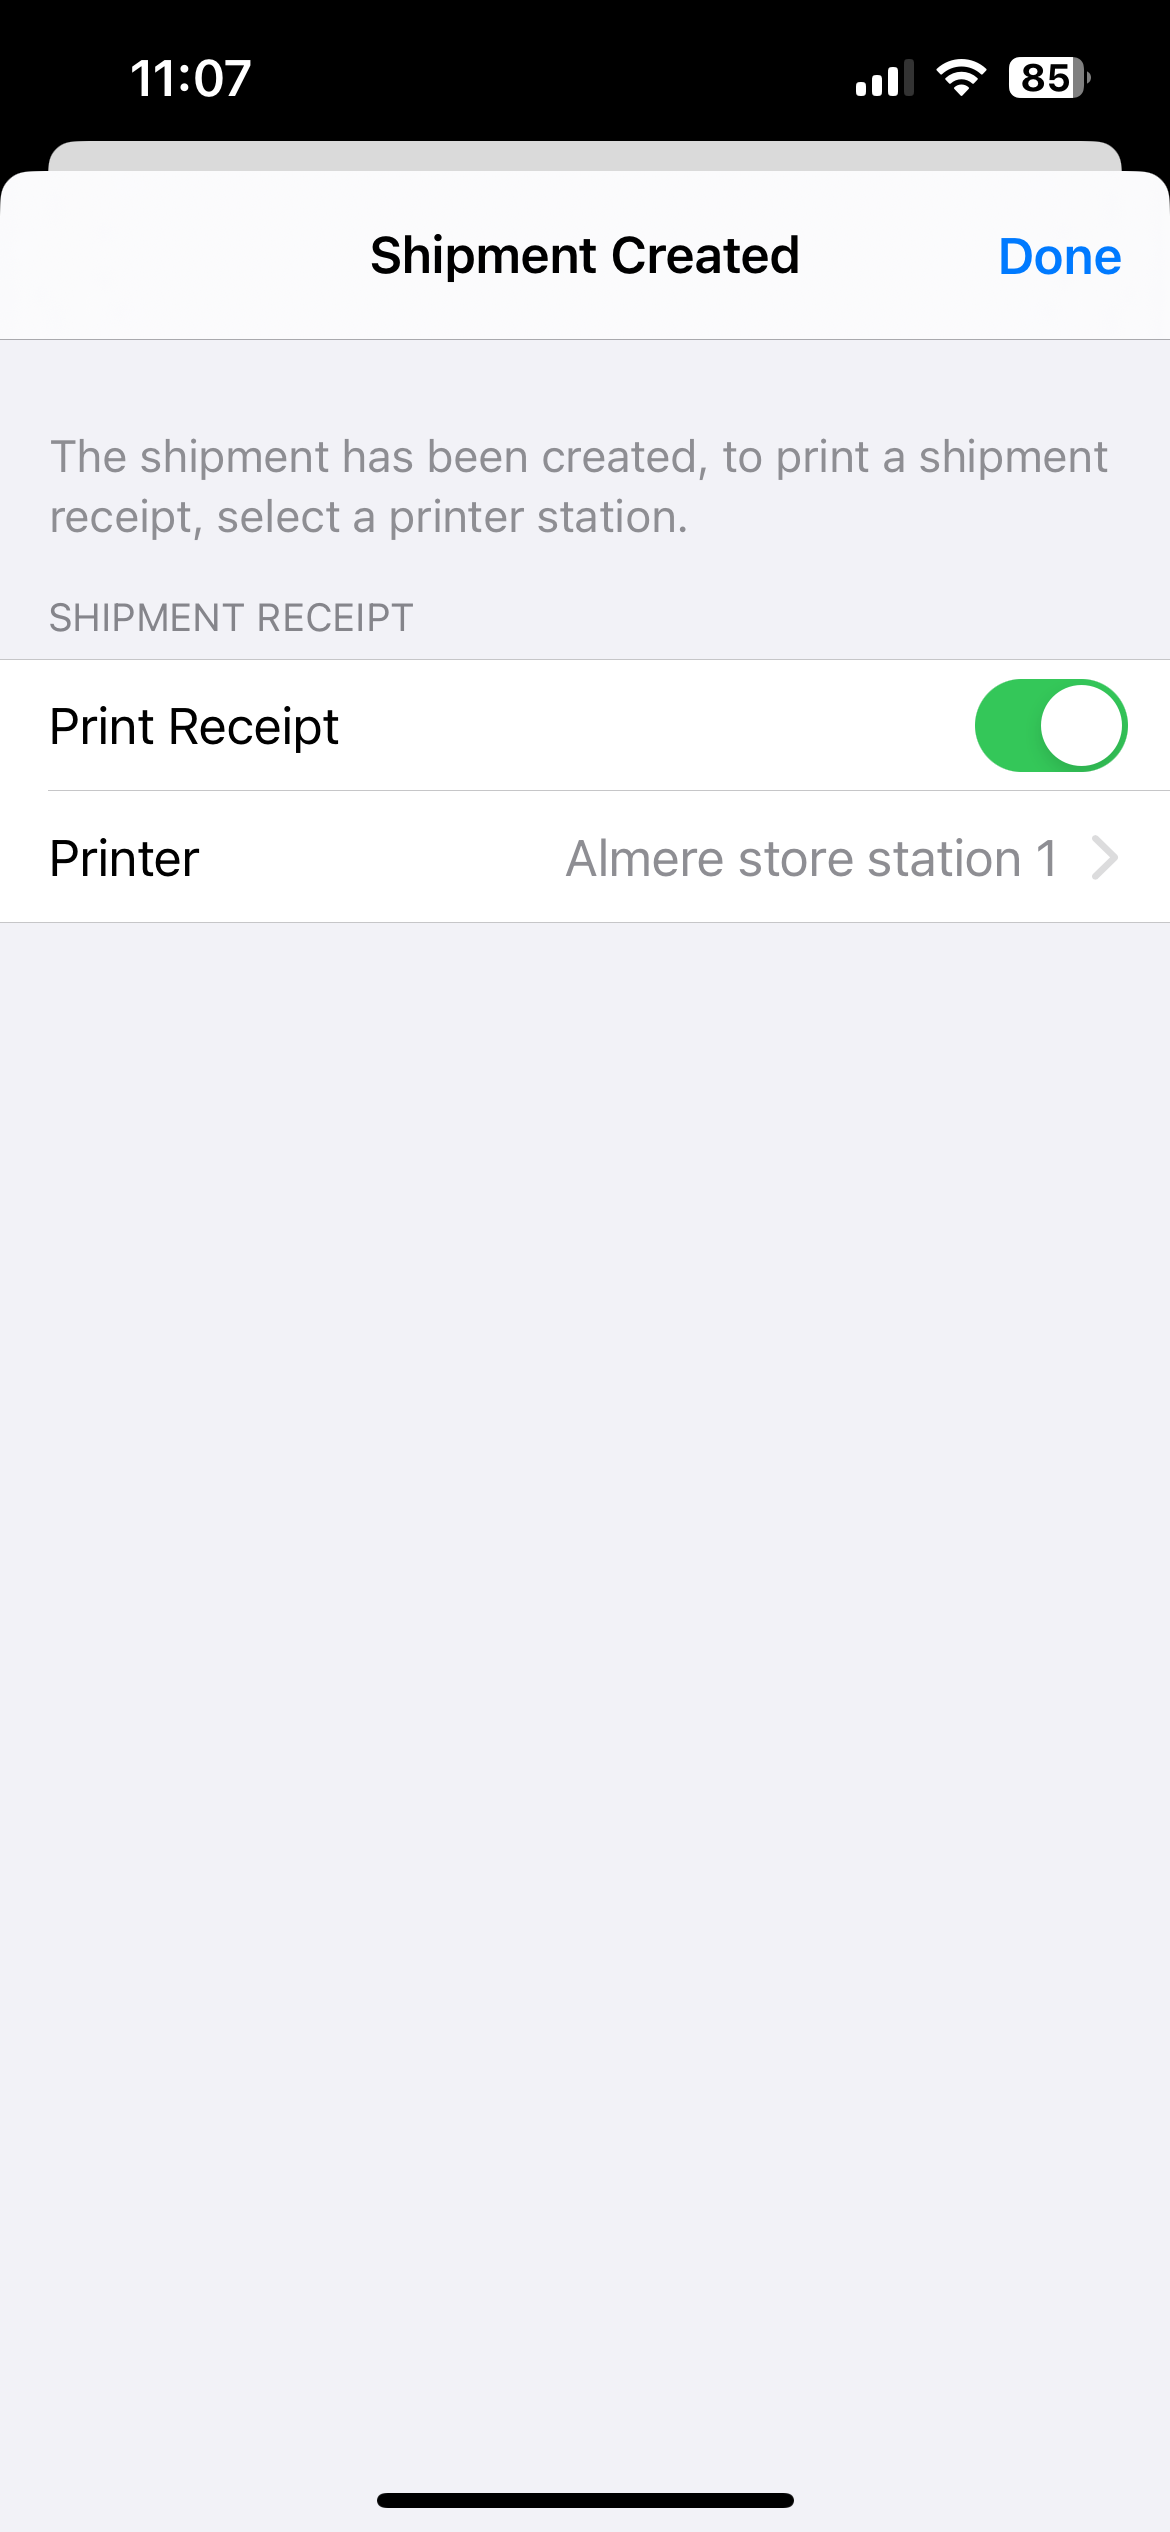
- Once the shipment has been created, you can print a shipment receipt and select a printer station.
- Compared to the RMA flow, where lineactiontype
reserveis used, the RTS flow makes use of lineactiontypeship. - Stock mutations are committed after completing a RTS user task. This can result in a discrepancy in quantities between the RTS user task and the actual active stock in the store, as any carry-out sales that take place between generating the user task and finalizing it impact the stock.
RTS in the Companion App
Creating an RMA order in the Companion App
- Start the Companion App.
- Login on an Organization Unit (e.g. a shop).
- Using the hamburger menu, tap on RMA.
- On the RMA page, a validation toaster "Order type updated to: RMA" pops up
- Add products to the Basket by either scanning them or adding them via product search.
- After adding all the products needed for return, tap the blue button at the bottom of the page containing the number of articles added.
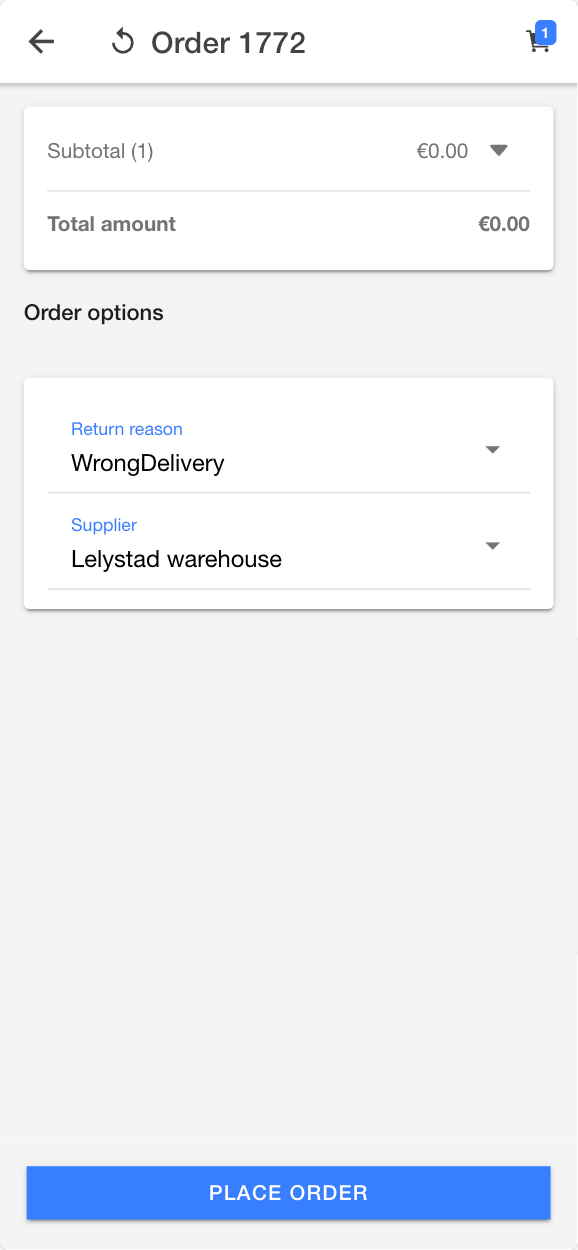
- Pick a return reason and choose your supplier.
- When all order requirements are met, the Place Order button is enabled.
- You have completed an RTS order. You can download, email, or print order documents if you'd like. After this, a Return to Supplier user task gets generated for the originating Organization Unit.
Navigating the RTS task in the Companion App
- When a user initiates a RTS task, EVA duplicates the parent task and assigns it to the user.
- At the same time,a colleague can assist by picking remaining order lines through the corresponding RTS task, creating another duplicate that displays only unpicked order lines.
- Each completed RTS task generates a unique shipment.
- Go to the Tasks tab on the Companion App.
- In the All tasks section, tap Stock movement tasks.
- On the Stock movement tasks page, look for the corresponding RTS user task and open it.
- Here, you can pick products by searching or scanning, then tap Add to Shipment, once you've chosen what you want to include, simply tap on Create Shipment.
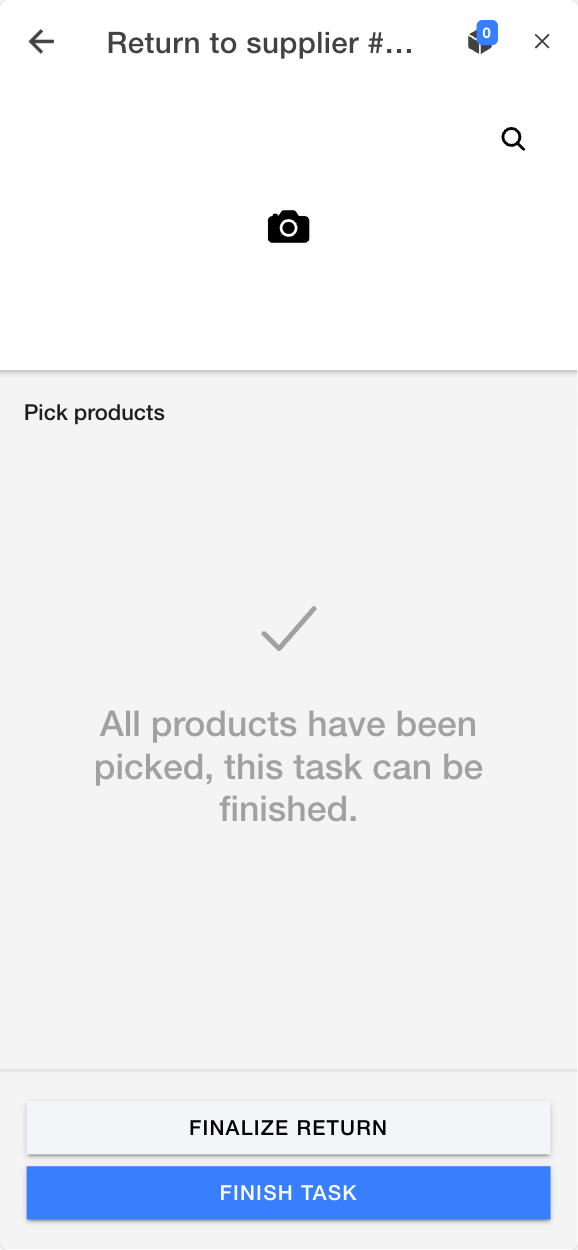
- Select either Finalize Return or Finish Task to create a shipment.
- Once the shipment has been create, you can follow the shipment.
- Go to the Orders tab, look for the corresponding order number and open it.
- In the Shipments section, you'll be able to check details and mark the shipment as Delivered.
- Using the 'Download' icon you can download an invoice, using the 'Print' icon, you can email the invoice or print a receipt. This provides an overview of products and quantities requested by the store.
The above is highly dependent on the settings and users' permissions.
- Products Section: View the order lines and their respective quantities within the RTS order for picking.
- Picking Methods: Products can be picked by scanning their barcodes (where one scan picks all remaining quantities of that order line) or by (multi-)selecting product card(s). After making a selection, a quantity selector appears for partial picking. The Add to shipment button becomes active when product card(s) are selected, moving the chosen product(s) to the Picked Items list.
- Picked Items: An overview of the selected items. You can remove them by clicking Remove from selection after selecting the product card.
- Product Search: Search by product name or number. Picking items operating similarly to the (multi-)selection method described earlier.
- Completing the Task: Click on the Create shipment button. This action will prompt the user to print a shipment receipt. You can do this by selecting a station that has a thermal printer attached.