Organization units
Organization units
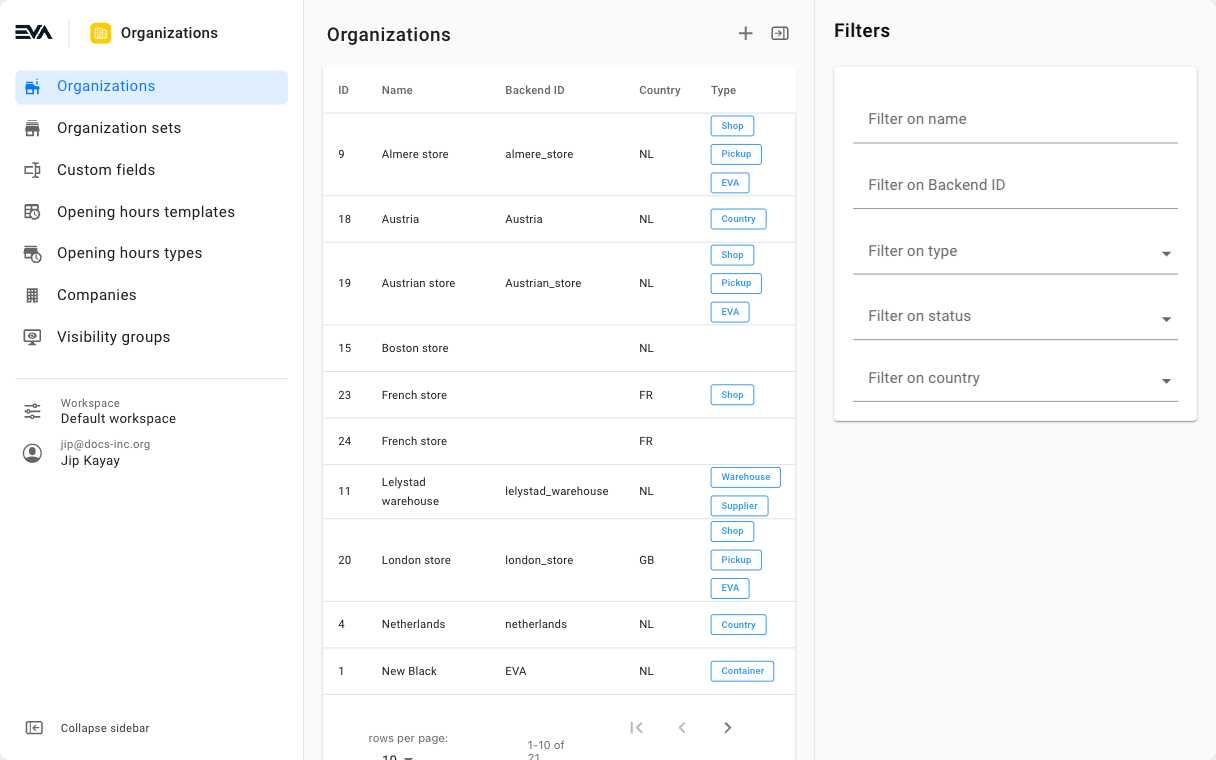
Creating and managing organization unitsThe Organizations chapter gives you an overview of your existing organization units (OUs), the possibility to edit them, as well as the ability to create new ones.
For importing organization units via API, please refer to Import Organization Units docs.
The tabs available to you in each OU can differ based on the OUs type. For example, OUs of type country will show an additional tab called Fiscal settings. While OUs classified as an Airport organization unit will display a Flights tab if the user has the required functionalities/permissions.
Organizations chapter related functionalities
Based on role permissions, each user may have different rights on what can be done within the Organizations chapter. Permissions are managed from the Roles and rights chapter namely, from the functionalities card of a user's role.
The following table provides a list of those permissions and the impact each one has on the users rights within the chapter:
Show functionalities table
| Functionality - Scope | Rights when functionality and scope are not ticked |
|---|---|
| OrganizationUnits:View | Hides the chapter and displays a message "No rights" |
| OrganizationUnits:Edit | User cannot edit any fields. |
| OrganizationUnits:Create | User cannot create organization units. |
| OrganizationUnits:Delete | User cannot delete organization units. |
| OrganizationUnitSettings:View | The fields: BackendID, BackendCompanyID, CountryID, LanguageID, CountrySubdivisionID are hidden and replaced with 10 dots and a descriptive text about the required functionality and scope. |
| OrganizationUnitNotes:View | The field Notes is hidden and replaced with 10 dots and a descriptive text about the required functionality and scope. |
| AppSettings:View | The Flights tab is hidden. |
Creating OUs
Click the '+' icon in the top right of the overview to start creating an OU.
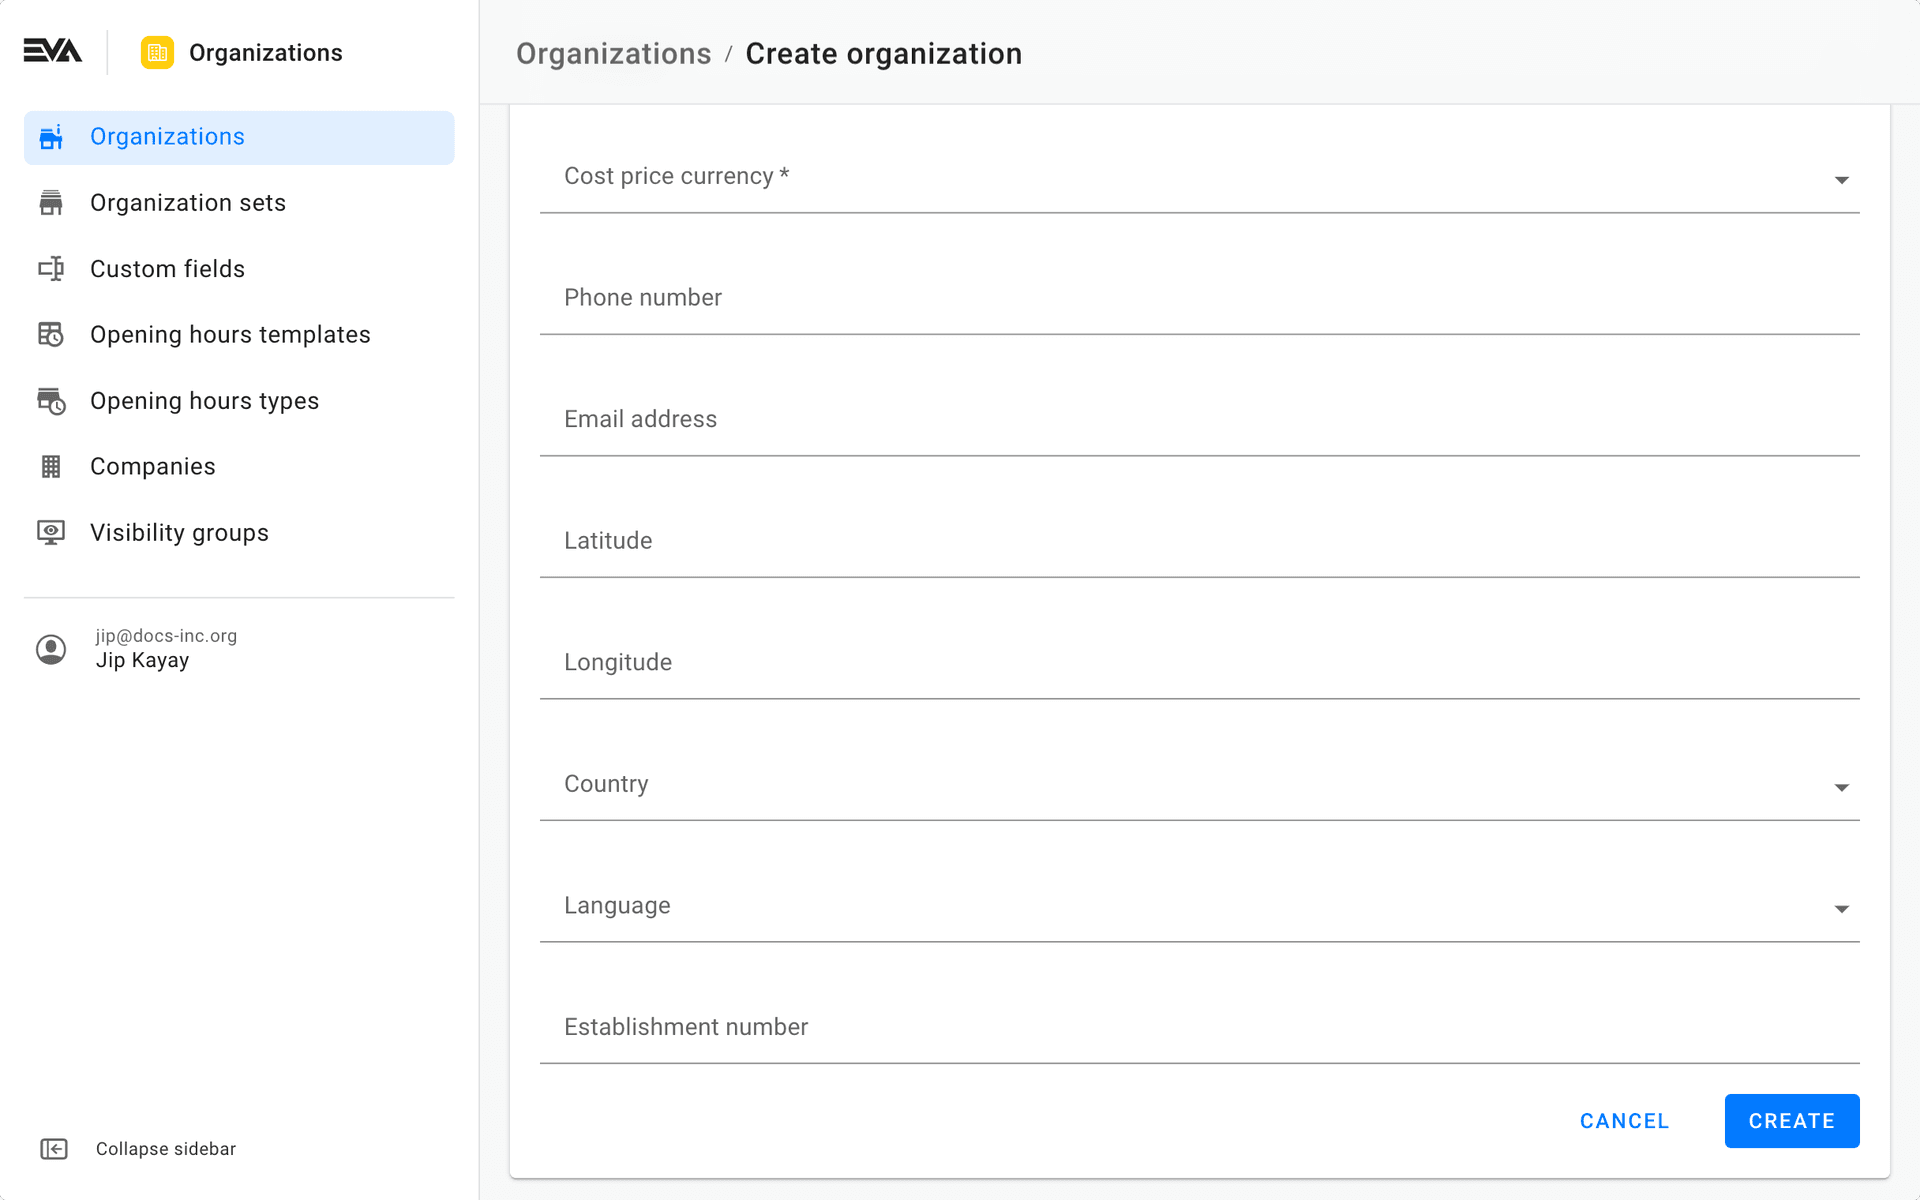
The initial card presented is where you specify the essential information about your OU.
- Name: The name of your OU as desired.
- Organization unit description: An OU description that would, for example, depict the purpose of the OU (if needed) in a few words.
- BackendID: The OU Backend ID as desired - this is an optional field.
- Parent store: Select the parent OU you wish to attach this one to. This is based on your OU structure.
- Company: Select the company you to attach this one to. This is based on your Company configuration.
- Type: Select the desired type of this OU.
Organization unit types list
| Type | Description |
|---|---|
| Container | Container is the top most organization unit level, and is purely used to group other organization units. This allows for easier configuration since children organization units will inherit all configurations set on container level. Generally speaking, a container is given your brands name. See the basic OU structure example. |
| Region | Region is a subdivision of the Container type that represents an organizations hierarchical structure. For example: Container: New Black -> Region: Western Europe. This allows for easier configuration since children organization units will inherit all configurations set on Region level without impacting other regions under the Container. |
| Country | Country is a subdivison of the Container type that represents an organizations hierarchical structure. For example: Container: New Black -> Region: Western Europe -> Country: The Netherlands. This allows for easier configuration since children organization units will inherit all configurations set on Country level without impacting other countries under the Region or other Regions. |
| Franchise | A shop can be flagged as franchise to allow for special configurations. This is also be used for hierarchical purposes whereas, configurations done on this level will be inherited by all children organization units. |
| Shop | Shop represents a physical store where products can be sold. |
| EVA | EVA is combined with type Shop to indicate that a shop is running on EVA. This means that tasks such as Stock Reservation Task could/and will be sent and performed via the Tasks App. On the other hand, organization units of type Shop that do not have EVA type, will instead receive pickup emails since that would mean that they are not running on EVA. |
| Pickup | The Pickup type allows for reservation orders in store. This type can be combined with type Shop to allow reservation orders in the store. See order types for more on what each type entails. |
| WebShop | A WebShop represents an online ecom channel that allows delivery and reservation orders, but not carry out. See order types for more on what each type entails. |
| Warehouse | A warehouse represents an organization unit where delivery orders can be shipped. The stock of these organization units can also be made available for delivery orders from organization unit(s) of type Shop or WebShop. |
| Supplier | Suppliers are used to replenish warehouses or to export back orders. These organization units can have their own set of supplier products, prices and stock. |
| DisableLogin | Organization units with this type combined cannot be selected in any of the Apps login process. |
| Consignment | Some suppliers deliver their stock in consignment. This organization unit type is used for such setups. |
| B2B | For Business-to-business orders this type can be set. Orders made in such organization units will be ex-tax. |
| TestOrganizationUnit | TestOrganizationUnit can be used to test some things in a production environment. The use of this is not advised since such organization unit(s)/store(s) will be excluded from several processes. |
| RepairCenter | Indicate an OU as being capable of repairing products. |
| Mobile | A Mobile unit is a dynamic organization unit type that is designed for mobility, such as pop-up locations. These units can operate independently or as a child of a type Shop organization unit. They primarily focus on pop-up operations. Consequently, their financial period opening/closing verification involves extra steps, including specifying a location, choosing a loyalty program, and selecting employees. More on mobile OUs can be found here. |
Frequently combined organization unit types:
| Types combination | Description |
|---|---|
| Shop, Pickup & EVA | This combination indicates that the organization unit is a shop running on EVA where sales are performed, and one that allows for reservation orders too. |
| Warehouse & Supplier | This combination indicates that the organization unit can accept delivery orders and at the same time, serve as a supplier of goods to certain stores based on the supplier relations configurations. |
| Shop & Mobile | This combination enables a bidirectional stock transfer between the supplier OU (Shop) and the target OU (Mobile). This setup differs from typical unidirectional supplier relationships by allowing a two-way flow of stock, specifically designed to support Mobile OUs. With this functionality, the Shop OU can both supply to and retrieve stock from the Mobile OU. This feature is active only when a supplier relationship between Shop OU type (as supplier) and Shop + Mobile OU type (as target) is configured, and the organization structure between the Shop and Shop + Mobile OU is a parent-to-child relationship. The bidirectional stock relation will trigger automatically if the OU structure involves a Parent OU of type Shop with a Child of OU type Shop and Mobile. Mind that this is part of an upcoming feature which is still in the works. |
Status: Select the OU status (open, closed, opening soon, etc.)
Time Zone: Select the time zone in which the OU will be operating in.
Visibility group: Select the desired visibility group you wish to attach this OU to. This is based on your Visibility group configuration.
Default visibility groupIf you're active with visibility groups, ensure that any newly created organization unit(s) have the appropriate visibility group tagged here. Otherwise, you might end up not seeing them after creation if your lacks the corresponding visibility rights. To stay on the safe side, it is always recommended to add any newly created organization unit to the Default visibility group. This way, there's a way to return to it easily via a user who has rights to the default visibility group since it's one that is available on every environment by default.
Currency: This will be the OU base currency. Once created, the base currency cannot be altered. However, you can specify multiple currencies later if needed.
Cost price currency: This will be the currency used by EVA when performing cost price method calculations (if applicable).
Phone number: The organization units phone number.
Email address: The organization units email address.
Latitude: Latitude coordinates (quite impactful if you're/will be making use of Order orchestration
Longitude: Longitude coordinates
Country: Country where the organization unit is located
Language: Preferred language.
Establishment number: This is a string field where you can specify your unique establishment number (could be the one assigned to you by local regulatory authorities).
Hitting Create will save your work and conclude the initial step of creating an OU. The created OU will now appear in your overview. The newly created OU will consist of a few tabs.
Below a guideline on what each tab represents and could be used for:
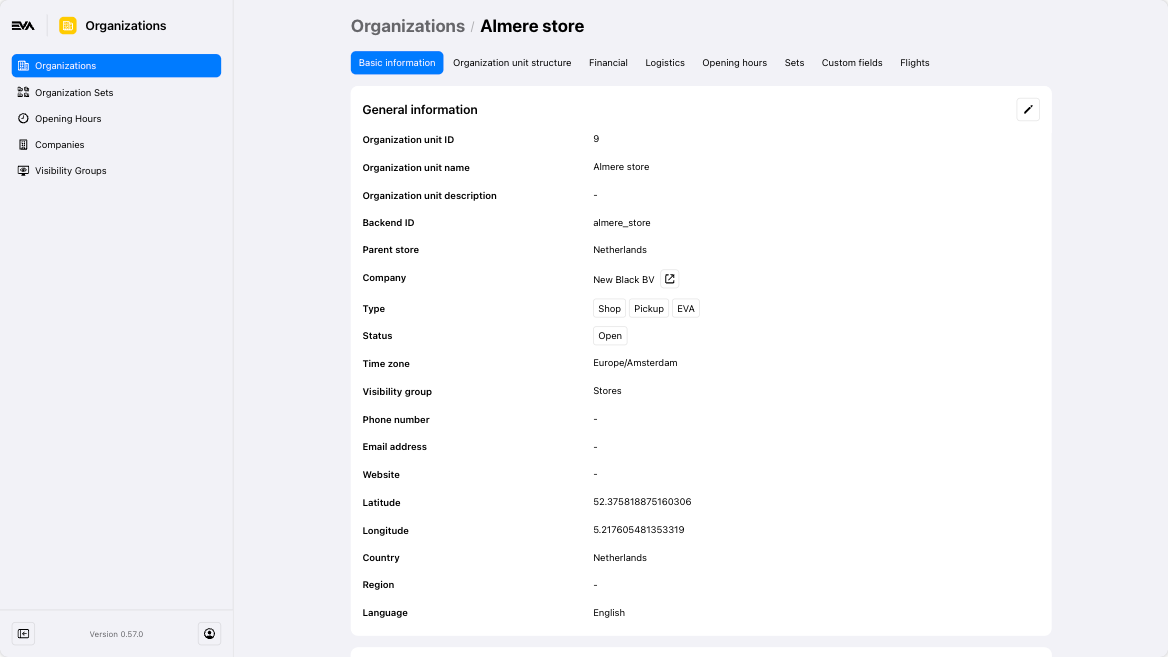
Basic information
In the Basic information tab, you can check and edit the most essential information initially inputted. The tab consists of 4 cards:
- General information
- Address information
- Advanced information
- Languages
More about the Basic information tab
This tab includes information about the OU like Company, Type, Timezone, Visibility group, Return organization unit, Language(s), Country, Region, Establishment number, Website, and more.
You can also edit address information related fields such as the Global location number, latitude and longitude. Those for example might be quite impactful when it comes to Order orchestration calculations. Country and region would be impactful when determining the tax rates, and so forth.
Status is used to label your store for search purposes. It is also quite impactful when it comes to Ship from Store activities since for example, store(s) with a closed status would not be considered as an option for Ship from Store orders.
Attached to user field under the Advanced information is where you can specify users of type employee who would be ones receiving organization unit related email notifications.
To be able to add languages, you need the OrganizationUnitLanguages permission. Permissions are managed from the Roles and rights chapter namely, from the functionalities card of a user's role.
Validate audit configuration
On organization units where the Auditing:Provider setting is configured (a prerequisite for compliant countries - see Country compliance documentation), a Validate audit configuration button will be visible in the top right corner.
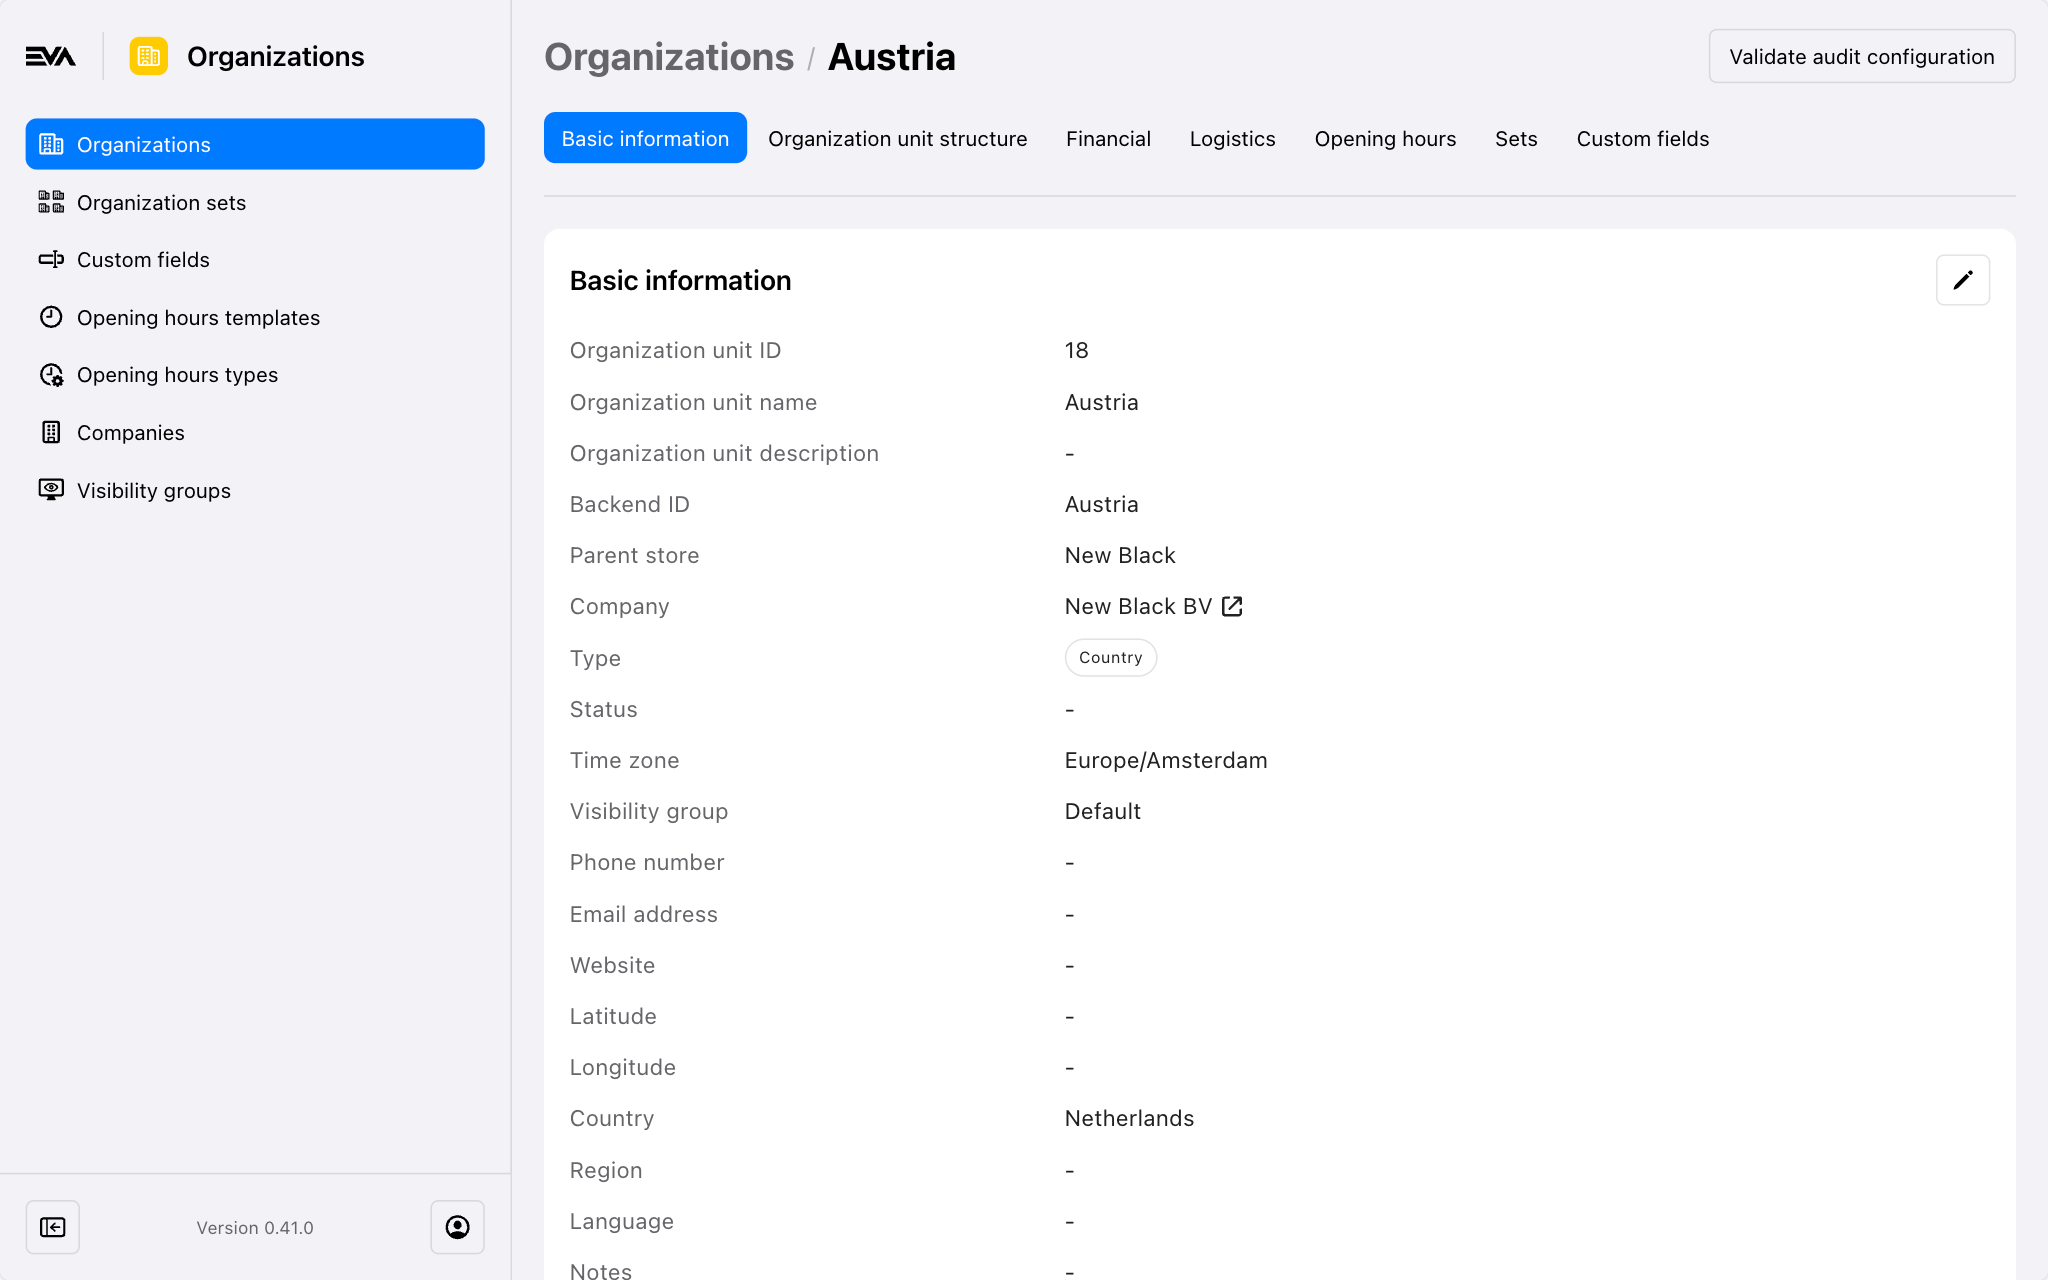
Clicking this button will check if any compliance-related steps have been missed. If any missing configurations or data are found, they will be displayed for your further action. If the validation is successful, a confirmation message will be prompted stating a successful validation.
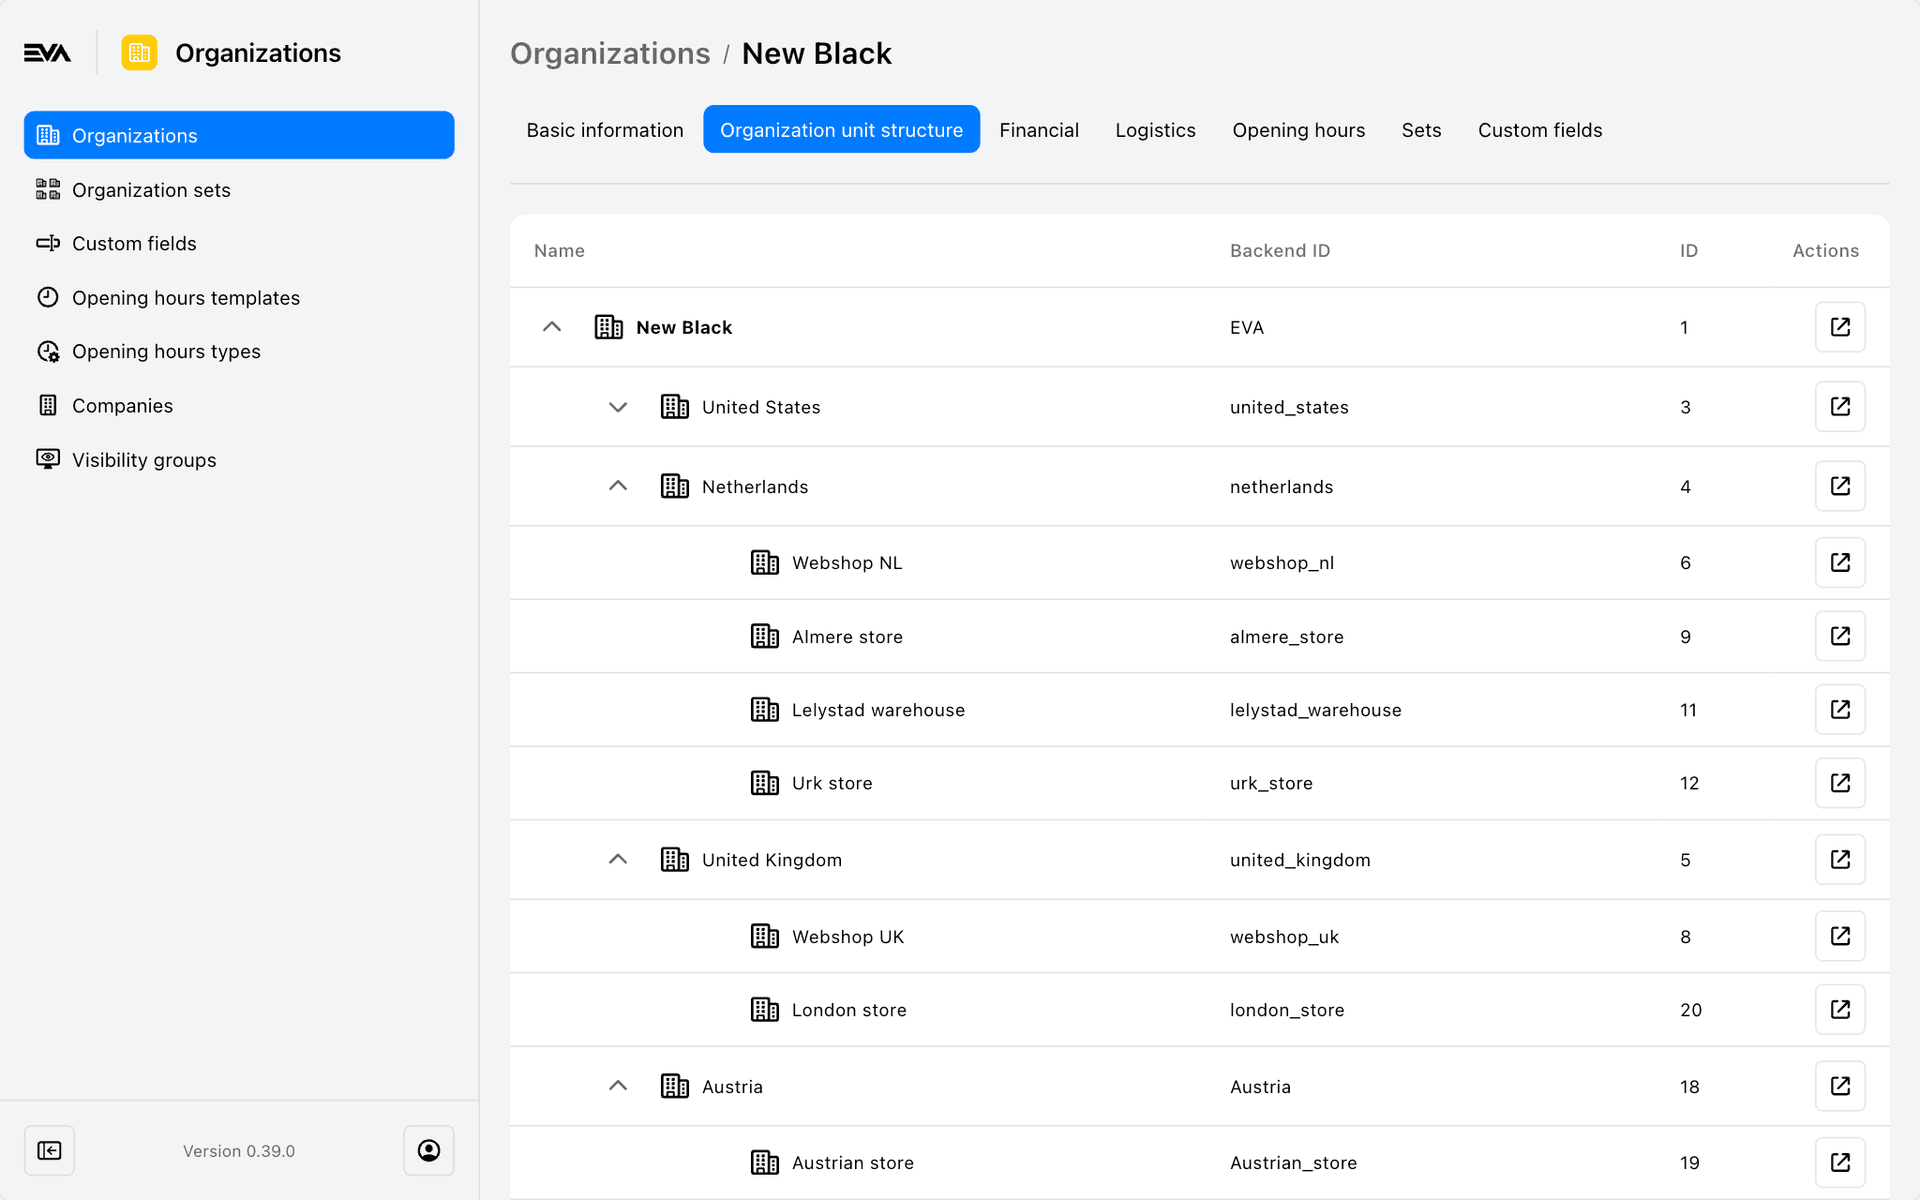
Organization unit structure
The Organization Unit Structure tab provides a hierarchical view of the organization structure, displaying a parent-child overview.
Clicking the Action button will open the corresponding organization unit in a new tab.
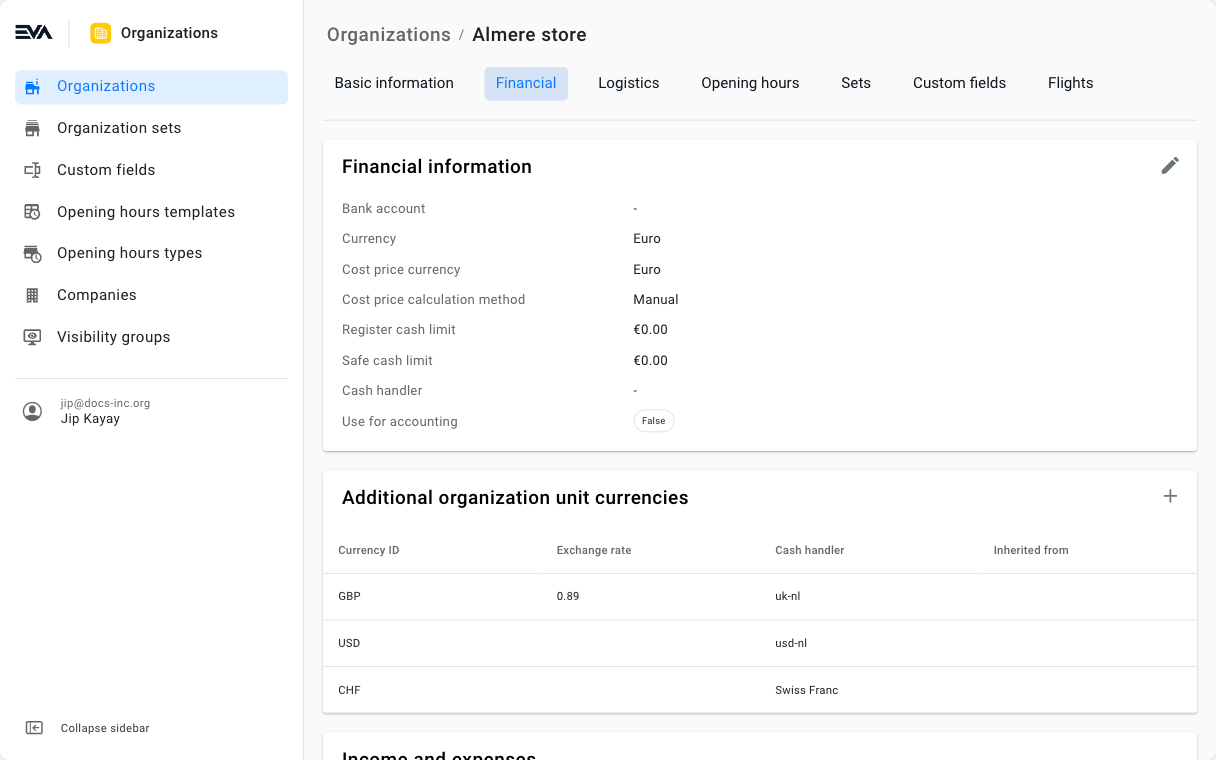
Financial
In the Financial tab, you can find all basic finance-related information, including management of multiple currency OUs.
More about the Financial tab
Cost price currency, safe and register Cash limits, and whether an OU is being used for account purposes or not (the Use for accounting checkbox). Furthermore, there's the Income and expenses and an overview of the Payment types configured for this OU.
You can also get an overview of the connected price lists to the OU.
For full access to the Payment types and Pricelists card, you need the OrganizationUnitSetPaymentTypes and the Pricing permission. Permissions are managed from the Roles and rights chapter namely, from the functionalities card of a user's role.
Managing multiple currencies
If you want to accept multiple (cash) currencies in your store(s) this can be done from the Financials tab.
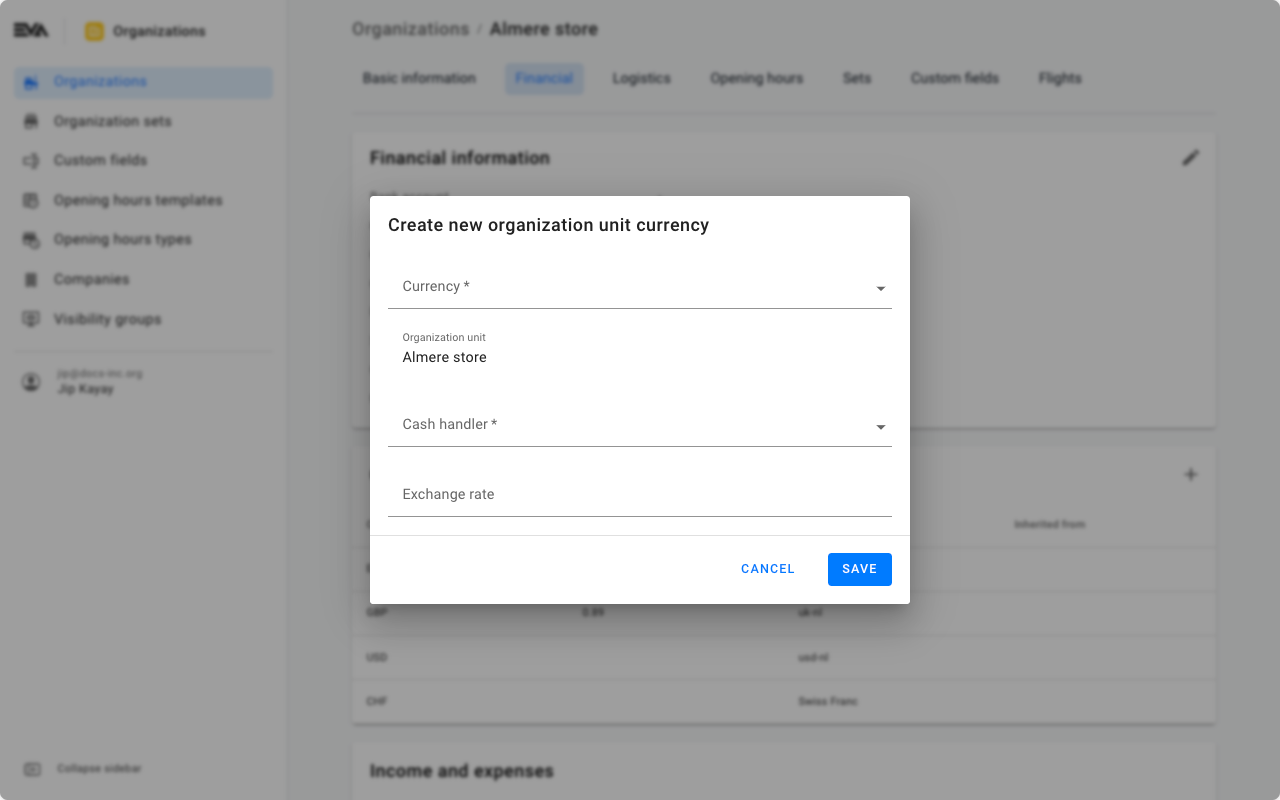
Apart from the main organization unit currency specified under the Financial information card, additional currenices may be specified using the Additional organization unit currency card.
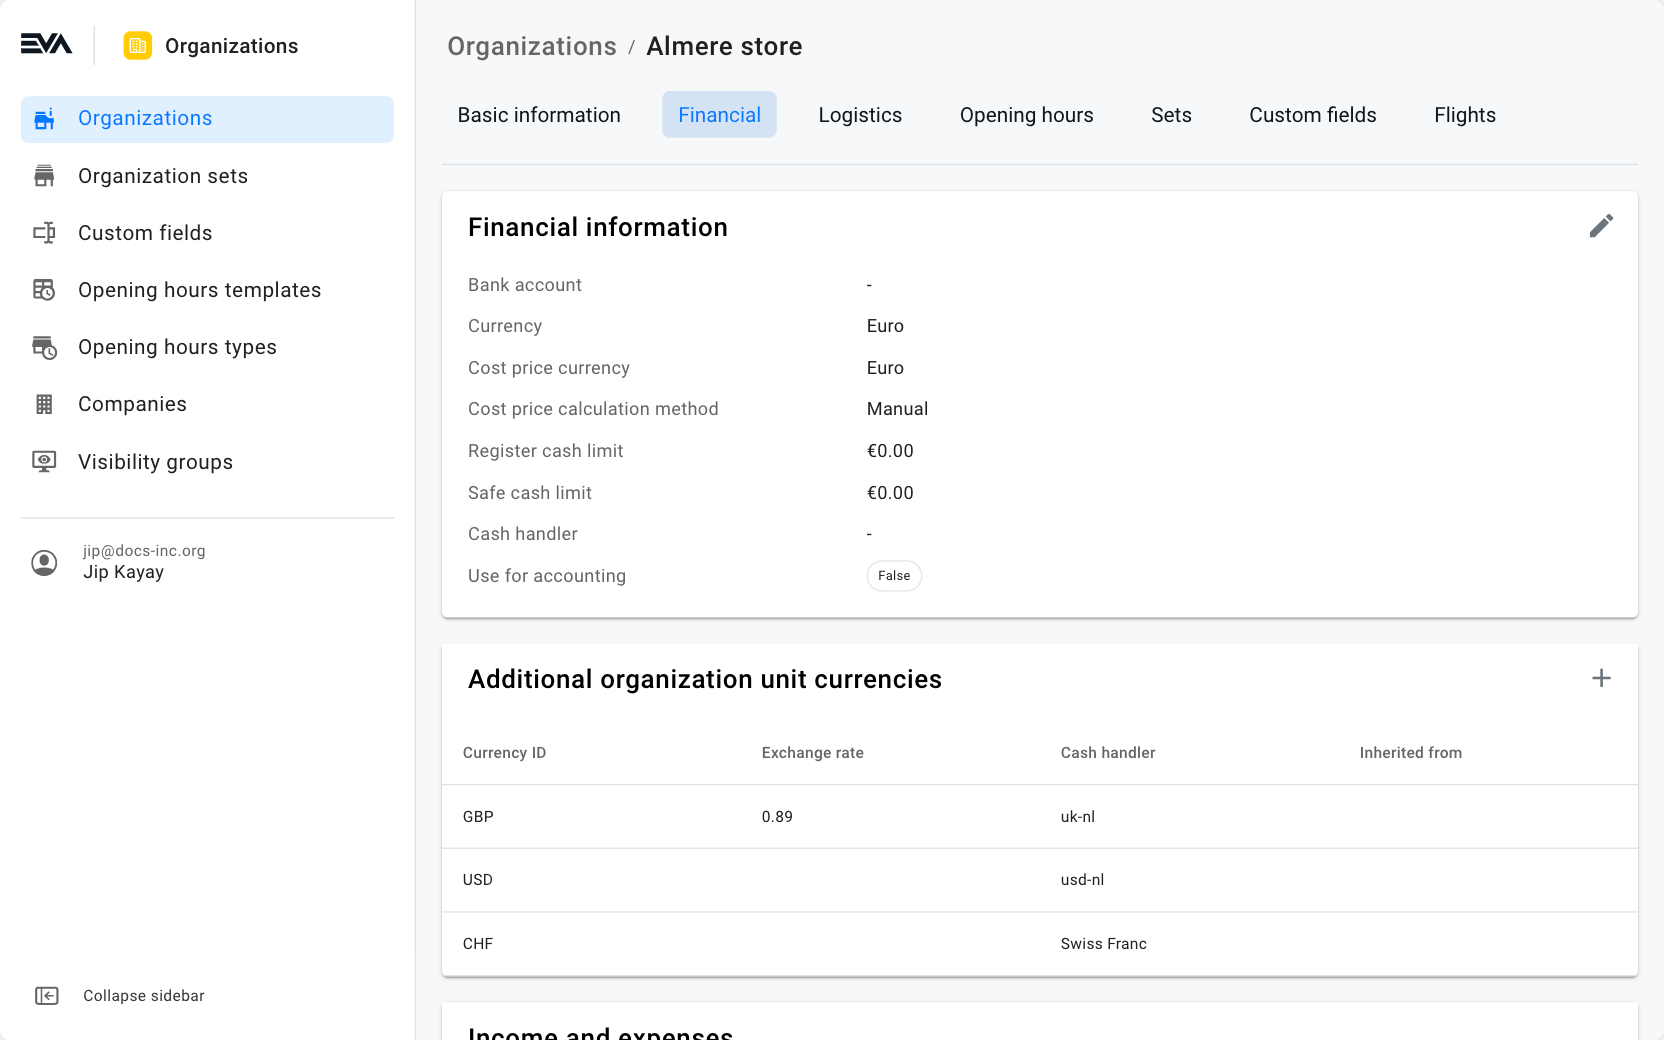
Multiple currency setups are done per organization unit. In other words, the setup process should be done seperately for each organization unit where you wish to accept multiple currencies.
Specifying the Currency and Cash handler are mandatory fields, while exchange rate is optional.
Exchange rates
When it comes to the exchange rate field, there are two possible scenarios "leave it blank" or "specify a rate".
Leave it blank: EVA will automatically determine a conversion rate based on an integration we have with Fixer.io. Rates are then automatically updated on a daily basis at 00:00 UTC based on Fixers published rates.
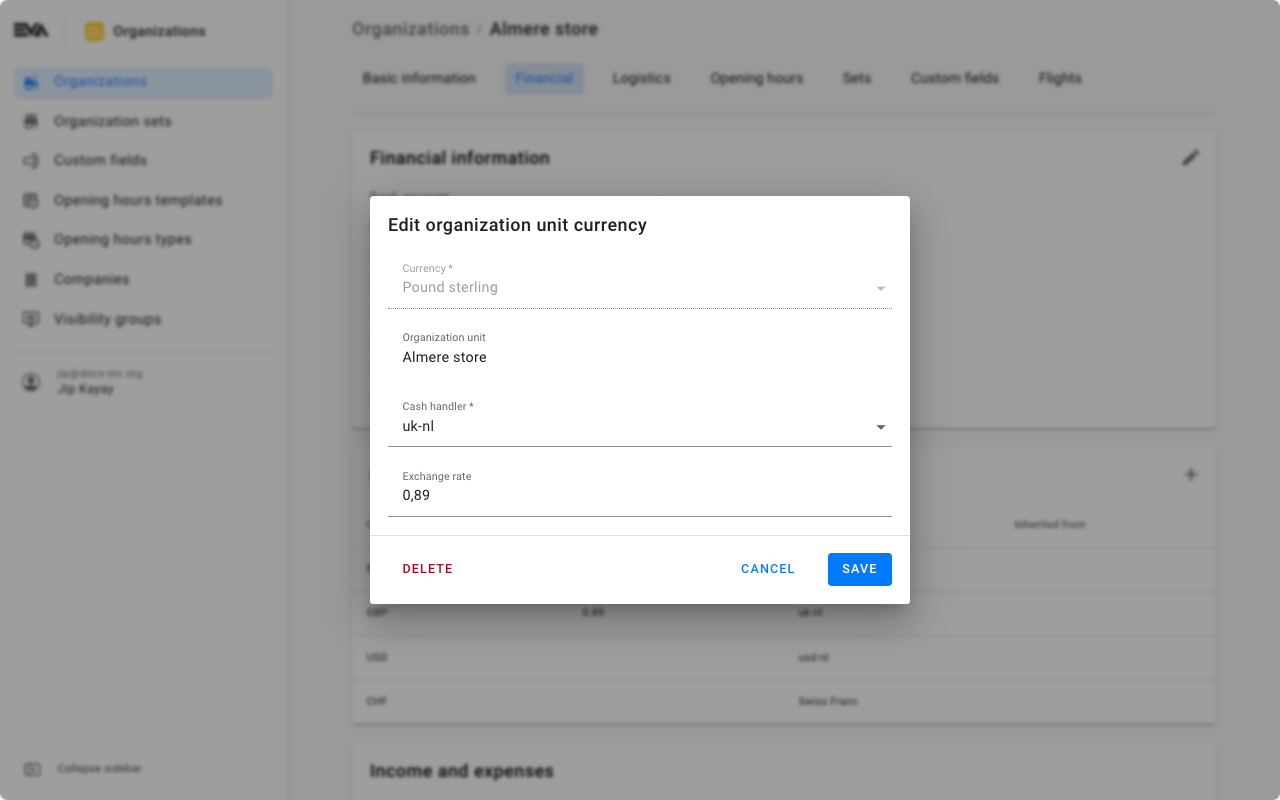
Specify a rate: EVA will always perform the conversion calculations based on the rate you input. Here is an example where GBP was configured as an additional currency under the Additional organization unit currency card with a specified exchange rate of 0.89:
- OU base currency: Euro (specified under the Financial information card).
- Product selling price: €1.99
- Exchange rate: 0.89
- Payment currency desired by customer: £
- Due amount: £1.76
The due amount of £1.76 is simply the original selling price of €1.99 multiplied by the specified conversion rate of 0.89.
If you later wish to edit the exchange rate, simply click the desired currency from the Organization unit currency card.
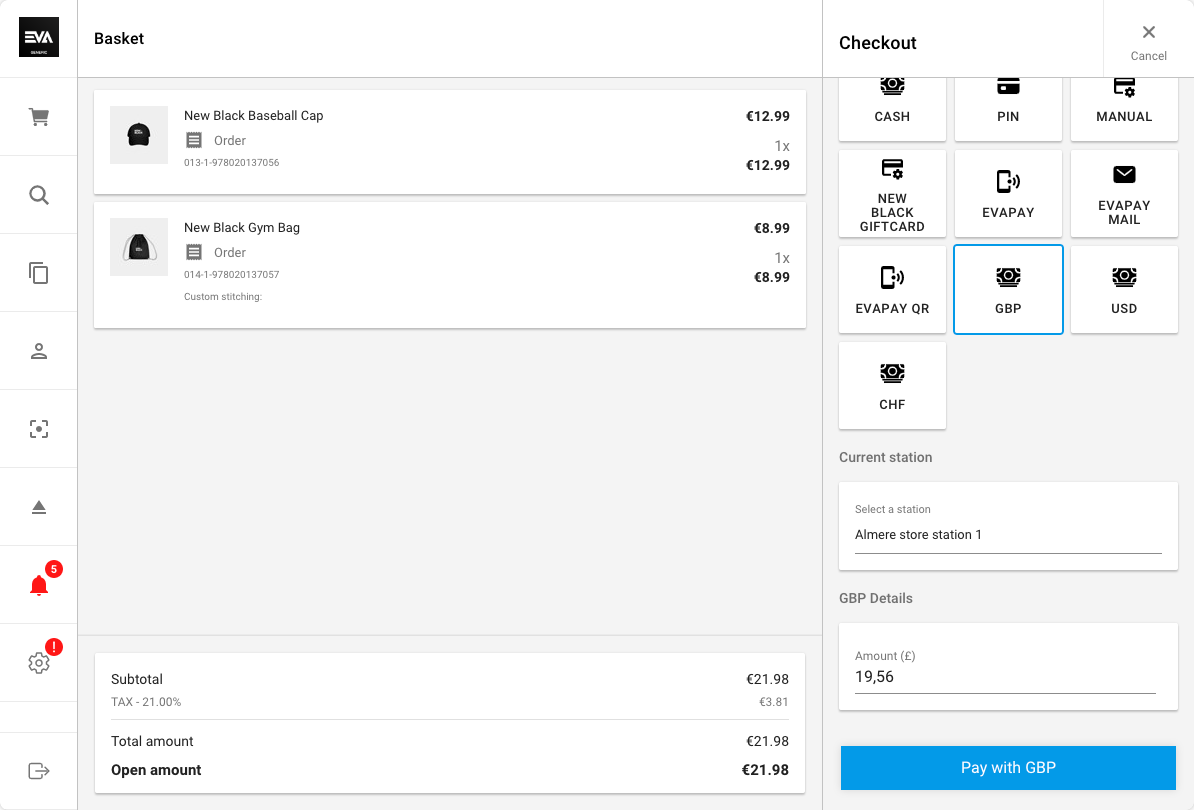
Once you've added a currency, this will appear on our front end applications and conversions will be done instantly. Here is an example on POS where the OU base currency is Euro and the OU accepts GBP, USD, and CHF. The various currencies will be visible in the checkout flow under payment methods.
Register cash floats
The Register Cash Float field dictates the suggested amount to be moved to the safe when counting the cash drawer during day close. The cash float represents the amount to keep in the cashdrawer, so the suggested amount to be moved will be the counted amount minus the cash float.
Logistics
In this tab, you can get an overview of Available countries for shipping and the associated shipping methods, costs, and restrictions. You can also check the supplier warehouses for stores and address requirements.

The address requirements card is for information purposes only. The card displays the address requirement(s), including the respective visibility (optional, required & not visible), minimum length, and maximum. The requirements and respective information is determined based on the CountryID of the GetAddressRequirement call being made.
Sets
In the sets tab, you will get a clear overview of the sets an OU is a part of. For more details go to the Organizations Sets chapter.
To be able to add a language, you need the OrganizationUnitSets permission. Permissions are managed from the Roles and rights chapter namely, from the functionalities card of a user's role.
Custom fields
You can edit configured custom fields for the OU in the custom fields tab. To add new ones and set them up, go to the Custom Fields chapter.
Flights
The Flights tab comes with a download option for a template. To get the template, hit the 'download' icon in the top right. After you have filled it out, you can then use the 'plus' icon to upload it and add flights to the OU. They will then appear in this tab.
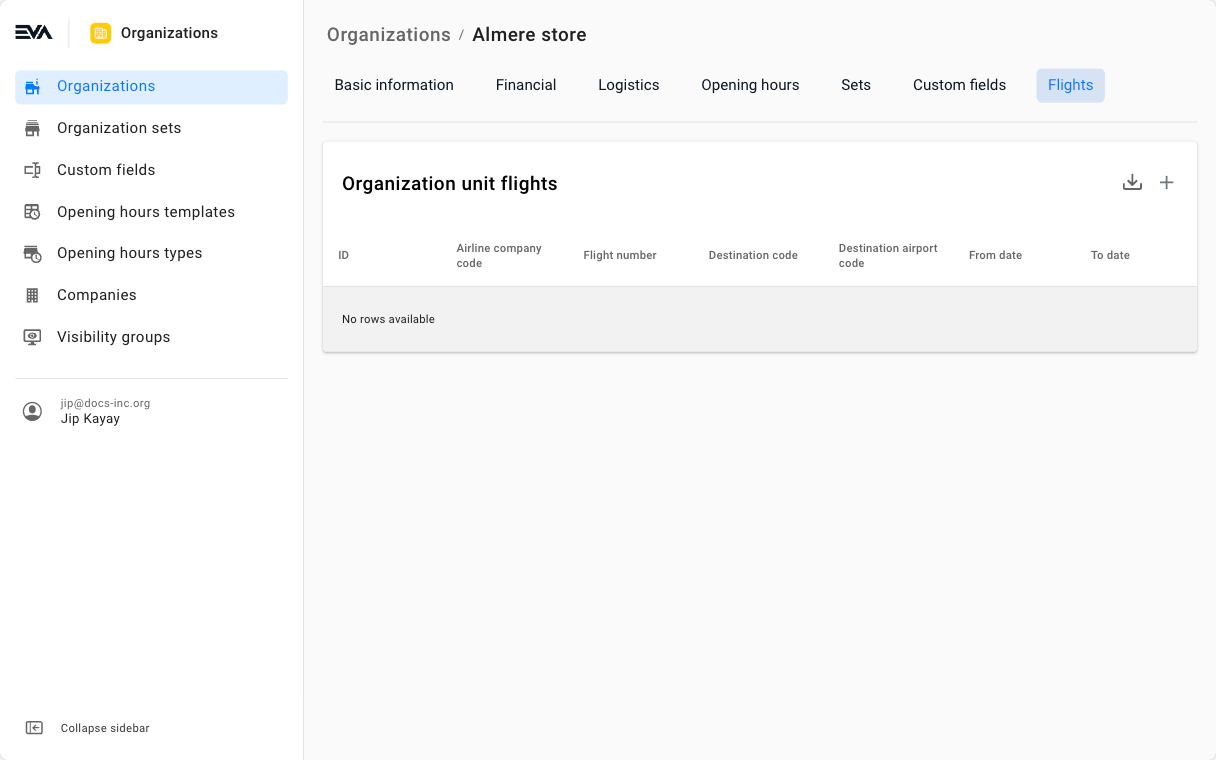
For the flight tab to display, you need to set the value of the App setting App:OrganizationUnit:AirportOU for the airport OU to true (default is false).
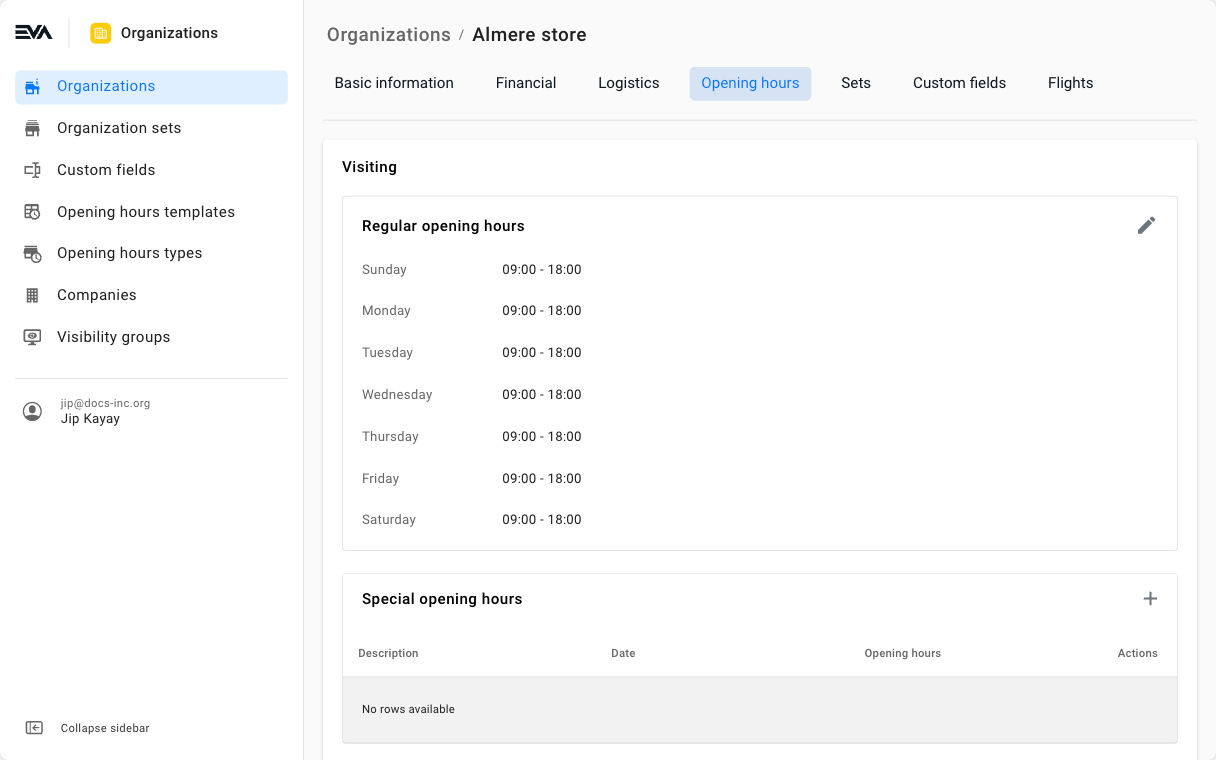
Opening Hours
The best way to configure opening hours is by using the Opening hours templates chapter and preparing a template to apply to a set of OUs.
Enabling Opening Hours Templates
To enable opening hours template usage across all organization units, set the following setting to true: OpeningHours:EnableOpeningHoursTemplates. If a store generally follows a template but needs different hours on certain days, you can modify the template directly in the organization unit or add special hours.
More about the Opening hours tab here
To edit the hours, click the respective 'pencil' icon in the top right, change the times to your desire, and hit the 'save' button.
A yellow 'Warning' symbol next to the opening hours or special opening hours will signal a deviation from the configured opening hours template (if applicable). We recommend using the Opening hours templates to edit the opening hours of multiple OUs simultaneously. If you want to go back to the attached template, you can always click View template (view only) or Restore template to restore opening hours of the open OU back to template inputs in scenarios where it did not match.
To access this tab, you need the OpeningHoursTemplates permission. Permissions are managed from the Roles and rights chapter namely, from the functionalities card of a user's role.
Special opening hours
Special opening hours are quite useful if you adopt extended shopping hours during holiday seasons for example. It is where you can specify opening and closing times that would then be valid for a specific moment in time only as specifying a date is mandatory.
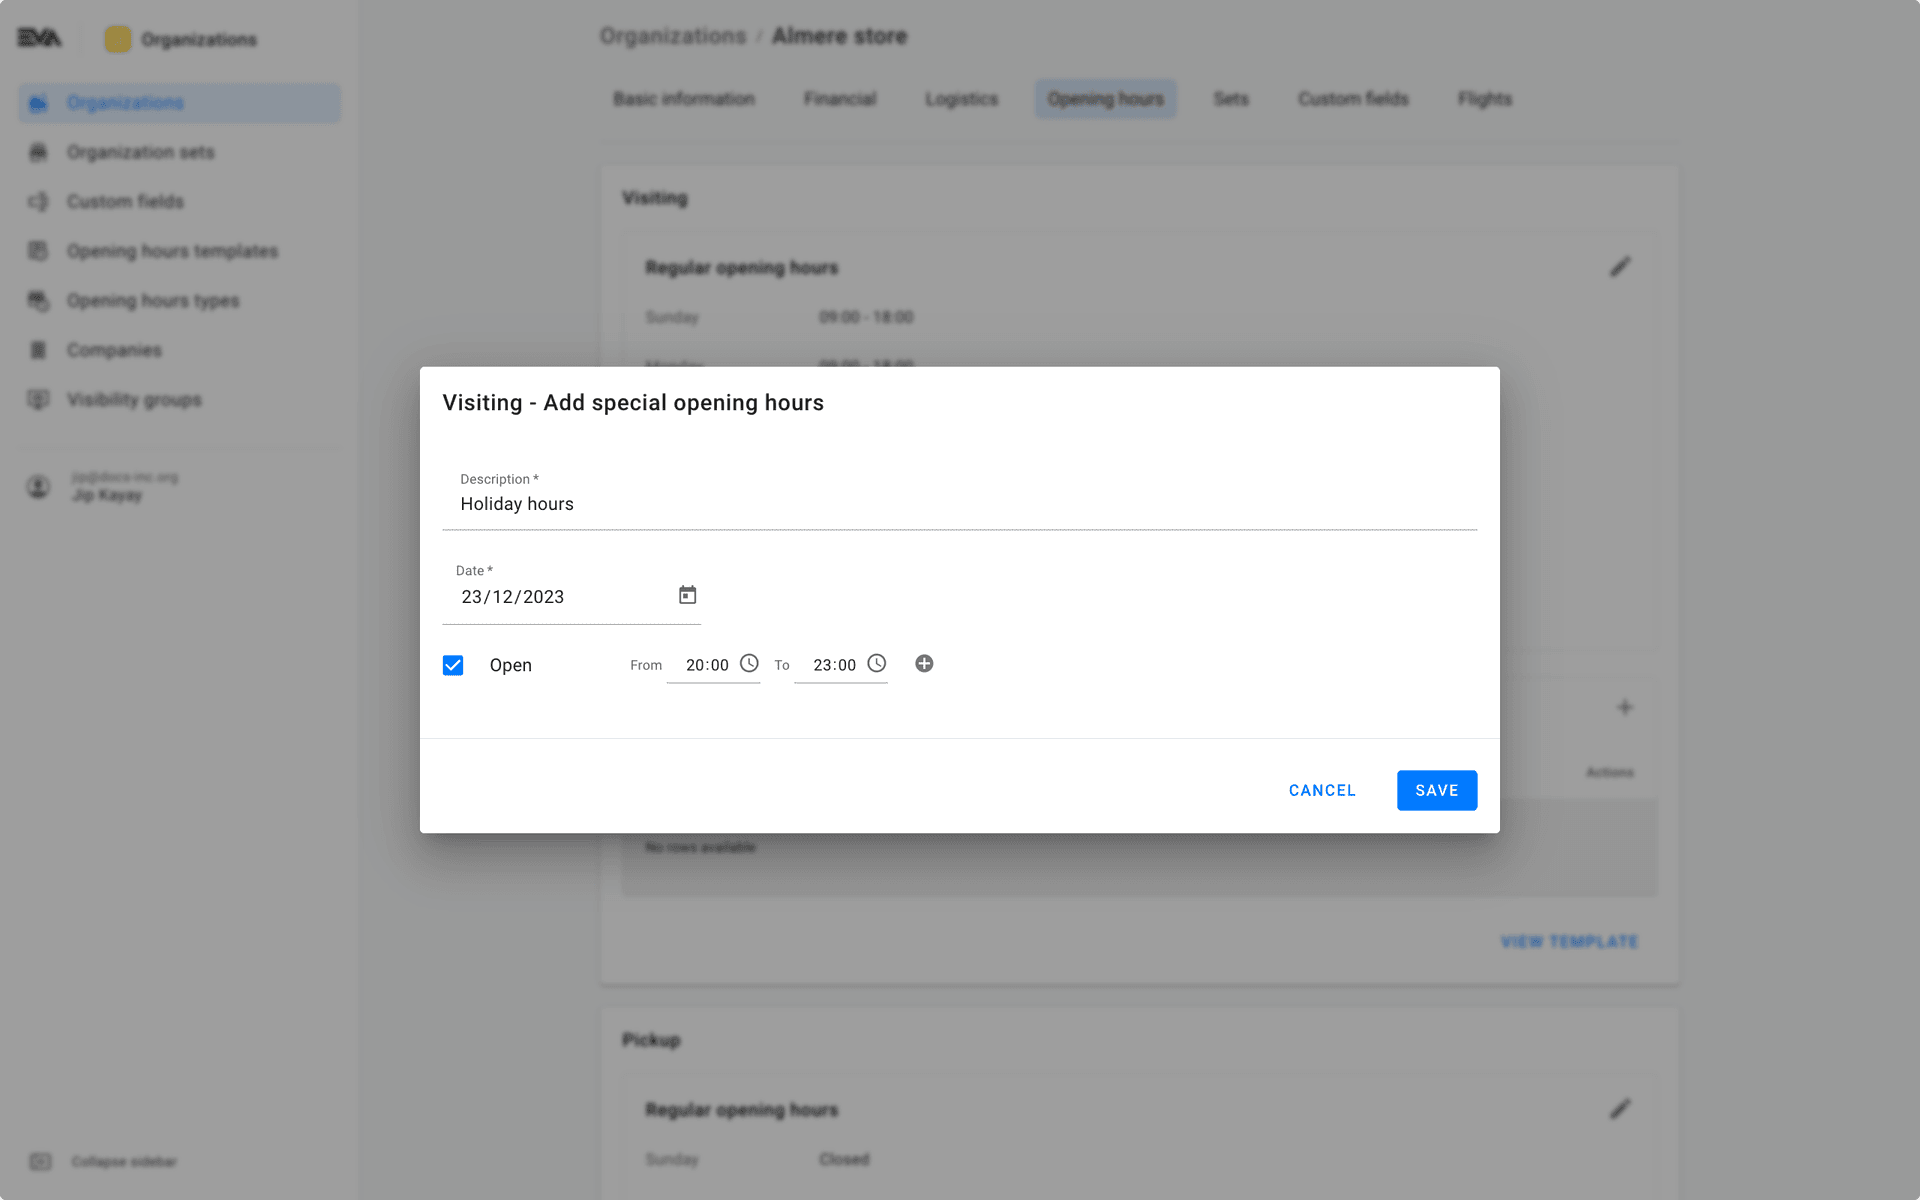
Special opening hours is done on OU level (local level) and is not applicable to multiple OUs at once such as via the use of templates.
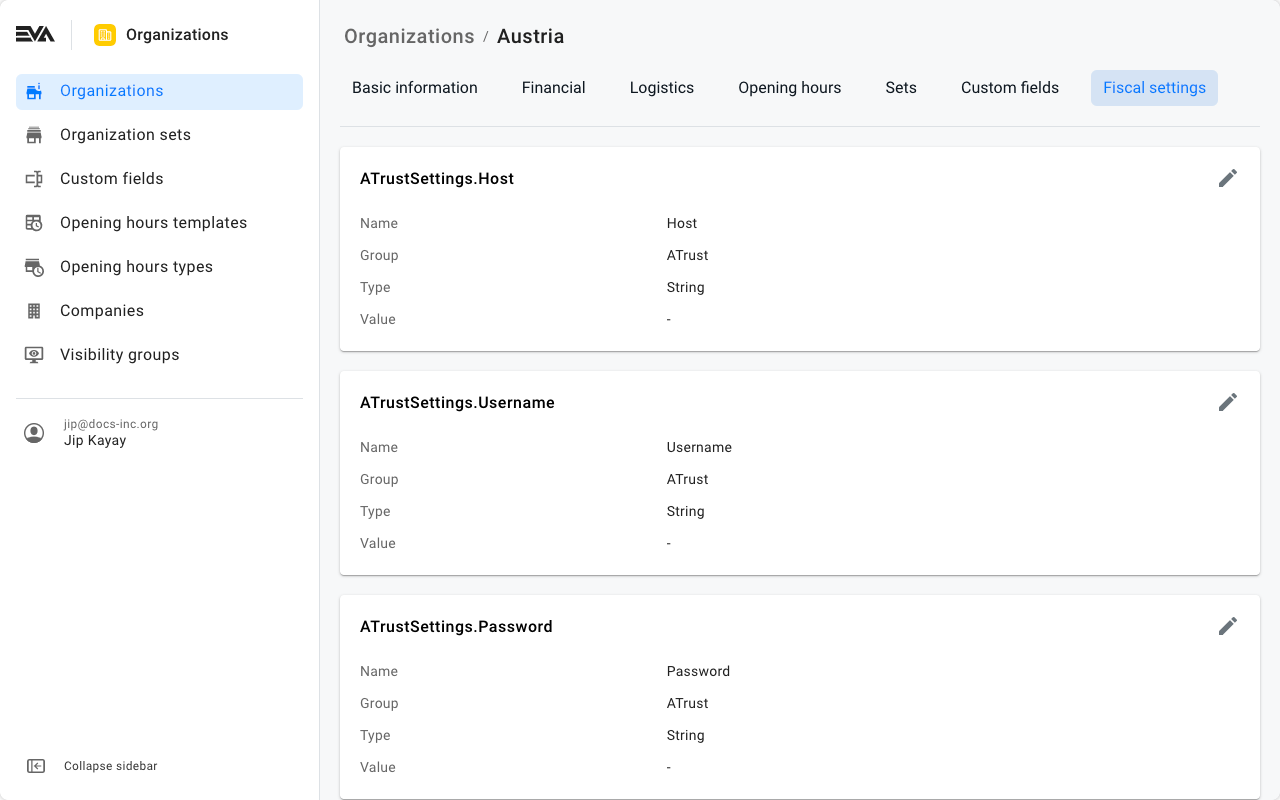
Fiscal settings
This tab is only visible when applicable i.e. when the OU is of type Country.
When it comes to the fiscal settings tab, apart from having the OU type specified as Country, the Auditing:Provider setting also needs to be configured in order for this tab to appear.
The value of the Auditing:Provider setting differs based on the country of operation. More on this can be found under Compliance documentation and the respective country of choice.