RTS Requests
RTS Requests
Managing your RTS RequestsReturn to Supplier Requests
Returning products to suppliers is something unavoidable. Sometimes a range of products turns out to have issues, while other times you just need to free up space for the new season's products. Whatever the case is, EVA's got your back when it comes to managing the return of these items.
We differentiate these returns in two ways:
- RTS requests initiated by HQ and sent out to specific stores - these are listed in Recalls
- RTS initiated by stores themselves, which we also call RMA - Requested returns.
There a lot of settings that allow you to customize these flows in RTS/RMA settings and permissions.
You can find our guide to initiating RTS/RMA tasks in stores through the Checkout App in RTS in App Suite.
The permission ReturnToSupplierRequests is required specifically for employees that need to be able to manage RTS requests in Admin Suite.
RTS chapter overview
This overview shows you all new and pending RTS requests.
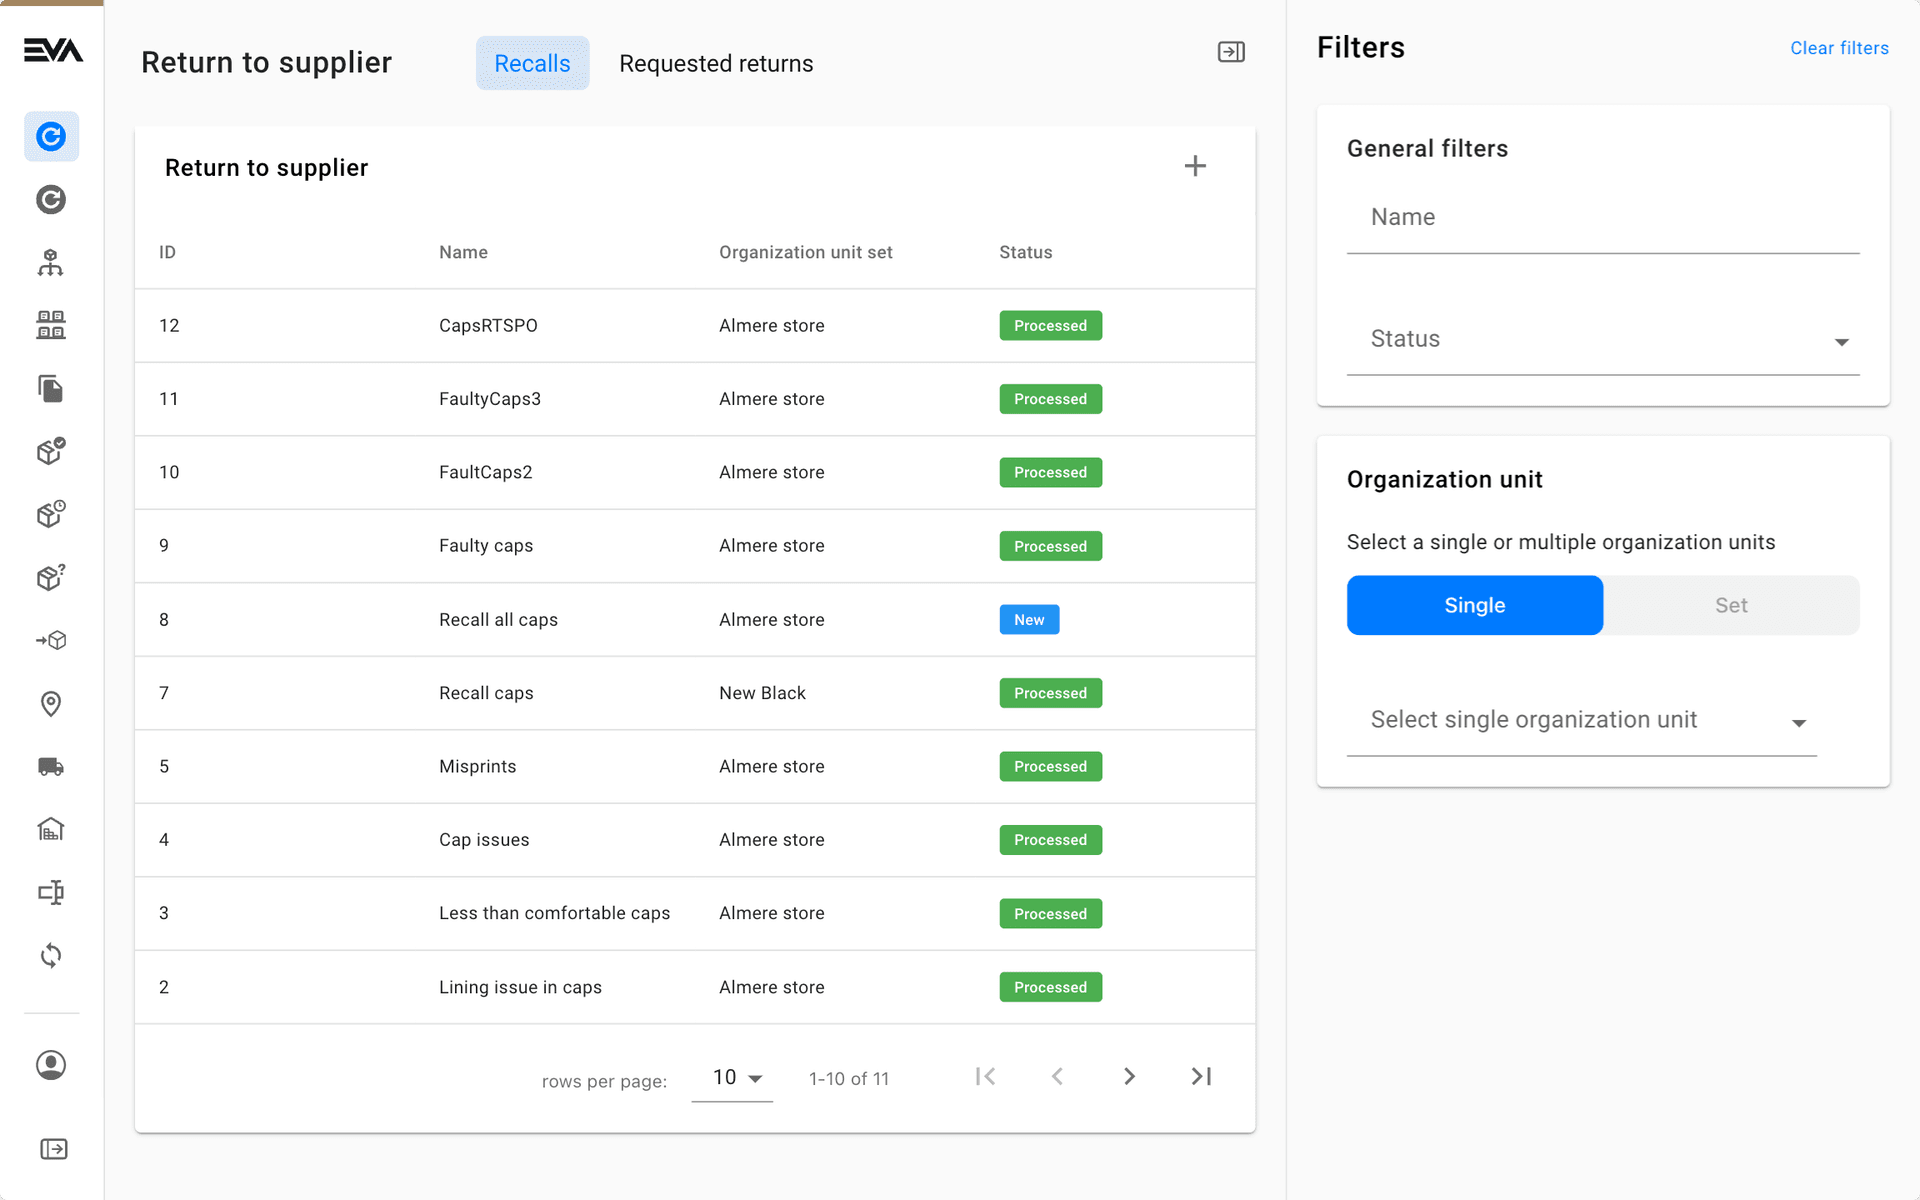
Creating a recall
You can initiate a new RTS request by clicking the '+' icon, which will lead you to the following overview.
- Name your new RTS request;
- Choose between a single OU or an OU set;
- Select a Return reason from your configured list of return reasons;
- Use Recall percentage to specify the proportion of products that has to be returned to the supplier.
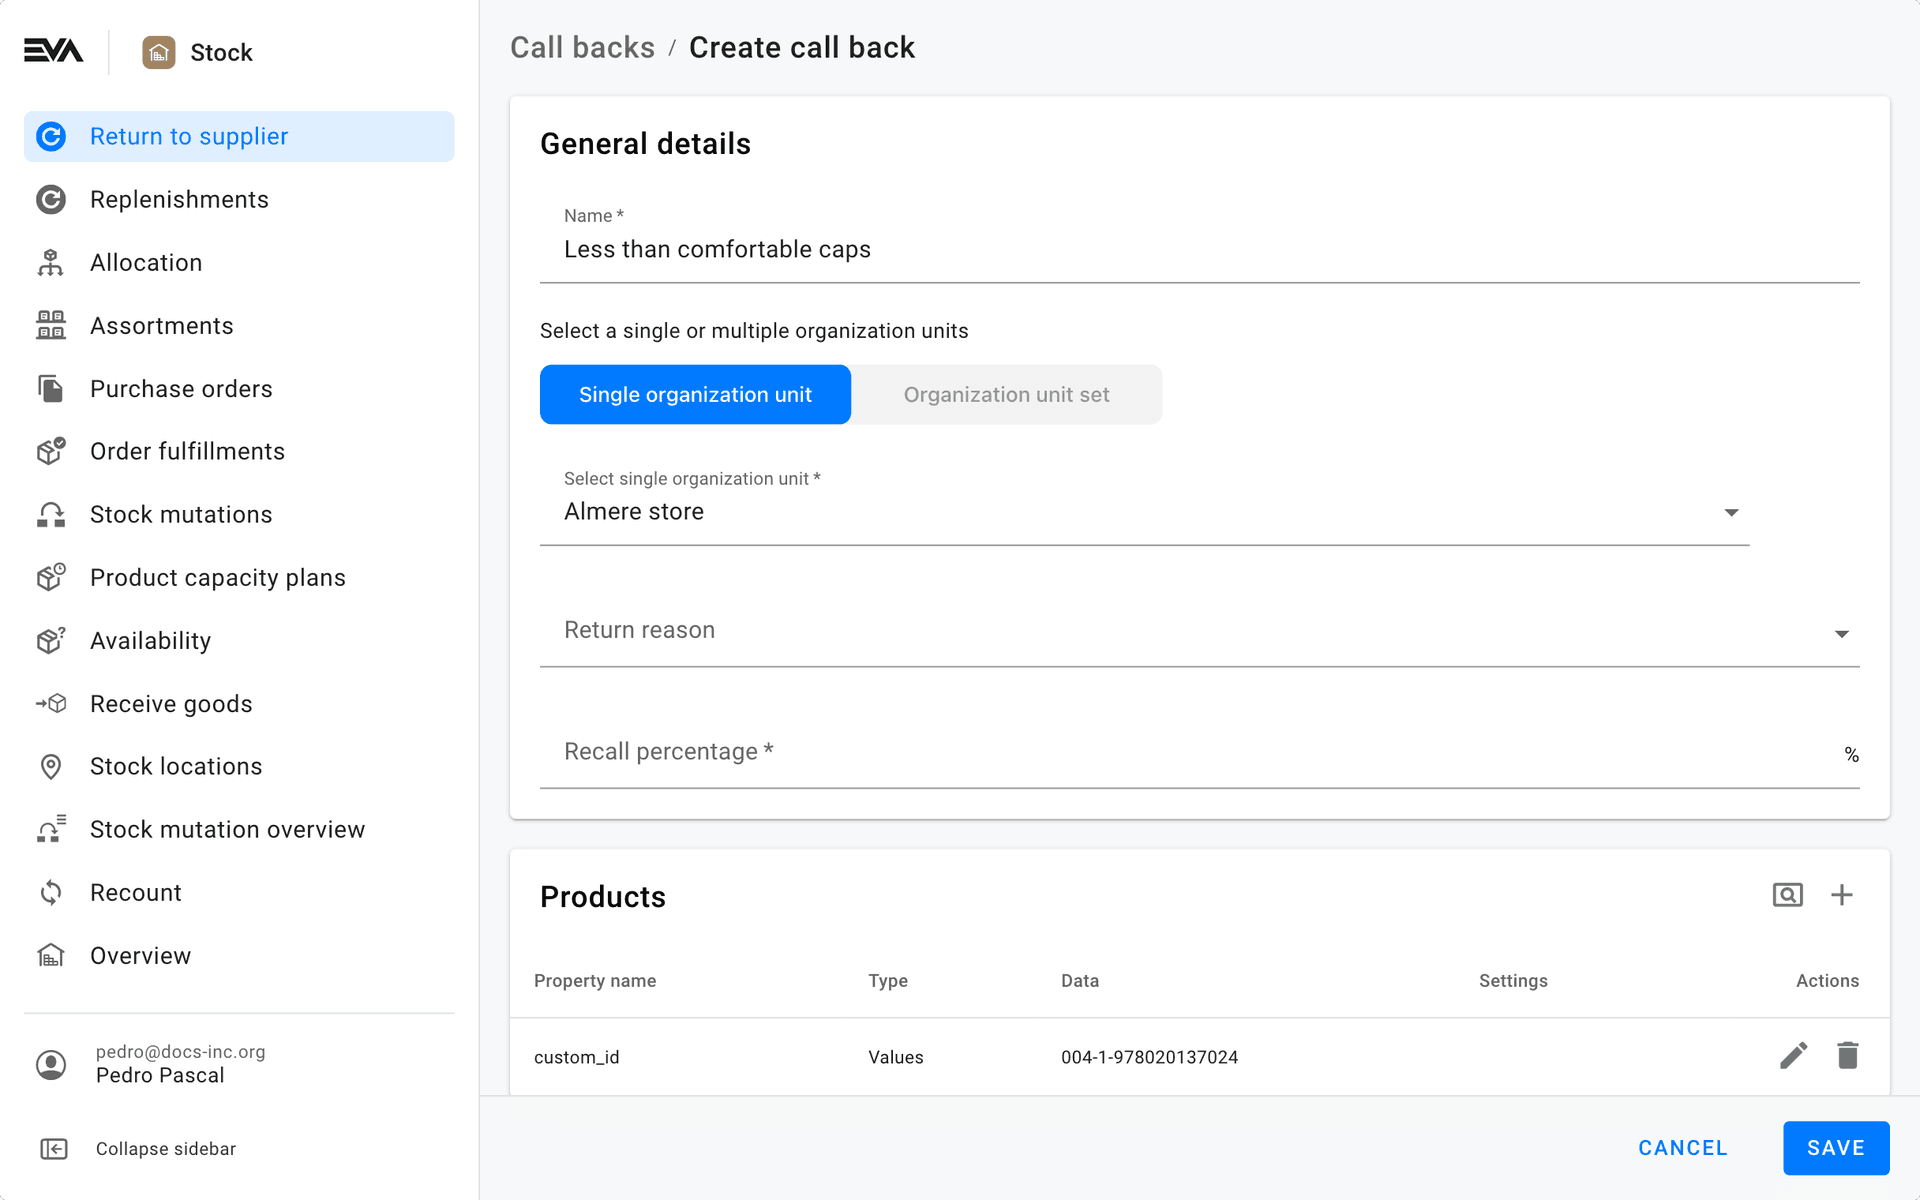
Selecting products
There are several ways to select products for the recall. By clicking the '+' icon you can see three different tabs:
Values
Choose a Product property type, such as Color, and optionally select a specific value for the property. For instance, if you pick Black as value, you might get both black t-shirts and black teacups in your recall.
There are some advanced settings available here:
- Exact match: This allows you to specify a specific variant of a product, such as the 500 ml version instead of all variants
- Negation: This enables you to exclude specific items
- Include missing items
Range
Pick a Product property type, followed by the From and To fields. This only works for properties which have a range defined.
The same advanced settings are applicable here.
Prefill
Pick a specific product search template AKA Product set that was previously created.
Selecting your supplier
Once you press Save in the call back creation screen, your RTS request will be created. It will then have the status New - meaning it's not active yet. You can only Delete the request while it has this status.
During this step you can select your relevant supplier - bear in mind that you can only choose a supplier from your previously configured supplier relations AKA Allocation.
You can now either click Done - which will simply take you back to the overview - or Process. The latter will set this RTS request into motion and start making the relevant (Purchase) orders.
Requested returns
This overview shows you all purchase orders corresponding to the successfully created recalls, along with any sales orders resulting from store-initiated returns.

Depending on your verification configuration (see RequireOrderValidation), the Verification column will show whether an order needs to be verified before it can be processed.
The Actions button will lead you to either the corresponding purchase or sales order. The latter of which will display a Verification at the bottom of the order if necessary.