Purchase orders
Main view
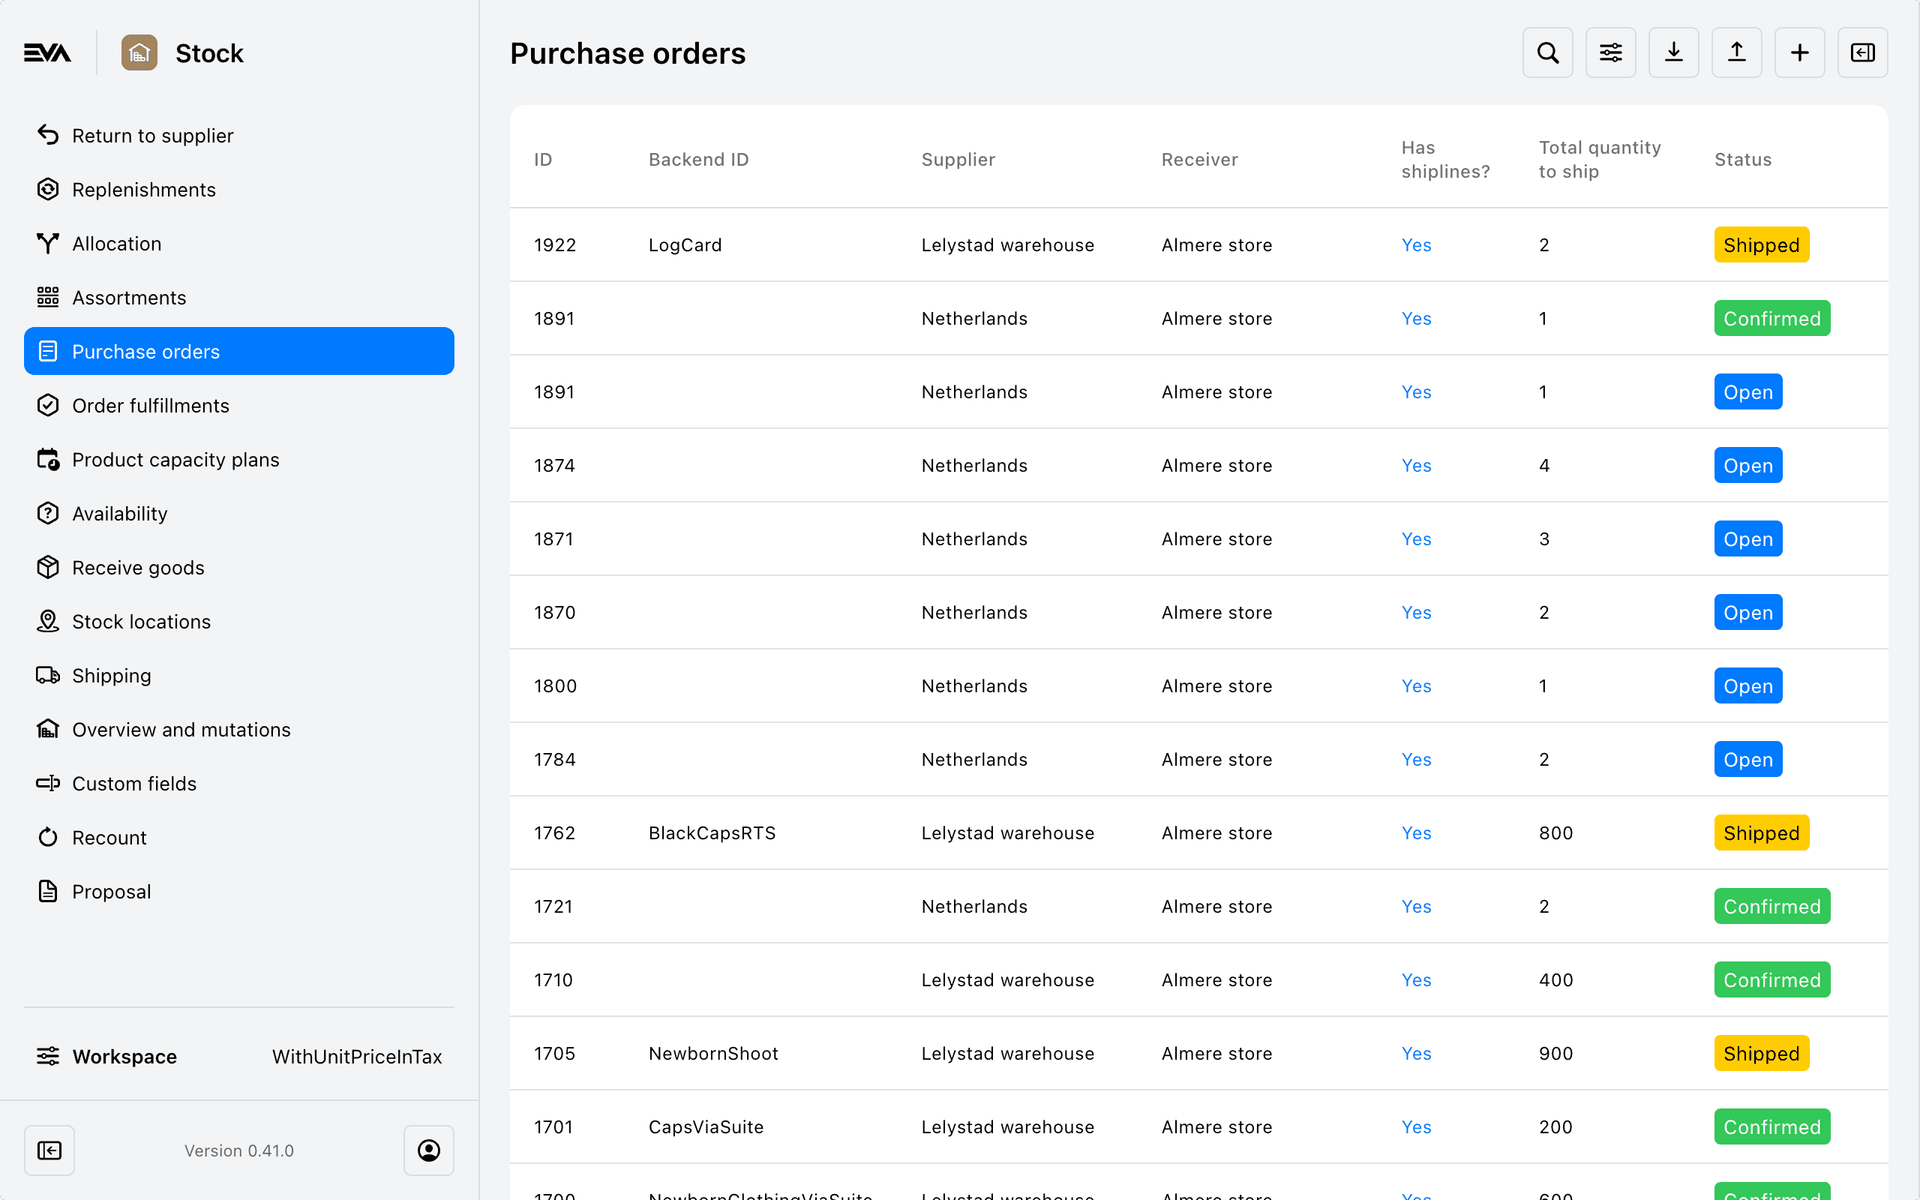
The purchase orders chapter gives you an overview of all purchase orders and their current states. Most columns speak for themselves, but as a reminder, the following states are possible for POs:
Open, placed, confirmed, paid, shipped and completed
You can either create a new purchase order directly, or upload an Excel file instead. The upload functionality is also used to provide your stores' initial inventories.
In order to be able to access this chapter, you need the PurchaseOrders permission. Additionally, the InitialReplenishment is specifically required for uploading stores' initial inventories.
As always, the right side of the screen has an array of filter options to easily search across purchase orders.
Uploading purchase orders or initial inventory
When using the upload icon, you can choose to either Upload purchase order Excel or to Upload initial inventory.
While the former is simply another way of efficiently uploading a purchase order (compared to using the UI in the next section), the latter is different in that it is more of a one-time thing. Like the name indicates, you only use it to provide stores their very first products.
These kinds of uploads can be extremely large, which is why we offer this specific functionality. When uploading an Excel via Upload initial inventory, EVA will split it up into as many purchase orders as needed to ensure it can be processed smoothly. Additionally, these purchase orders are then automatically shipped and received - which is not the case for regular purchase orders.
Creating purchase orders directly
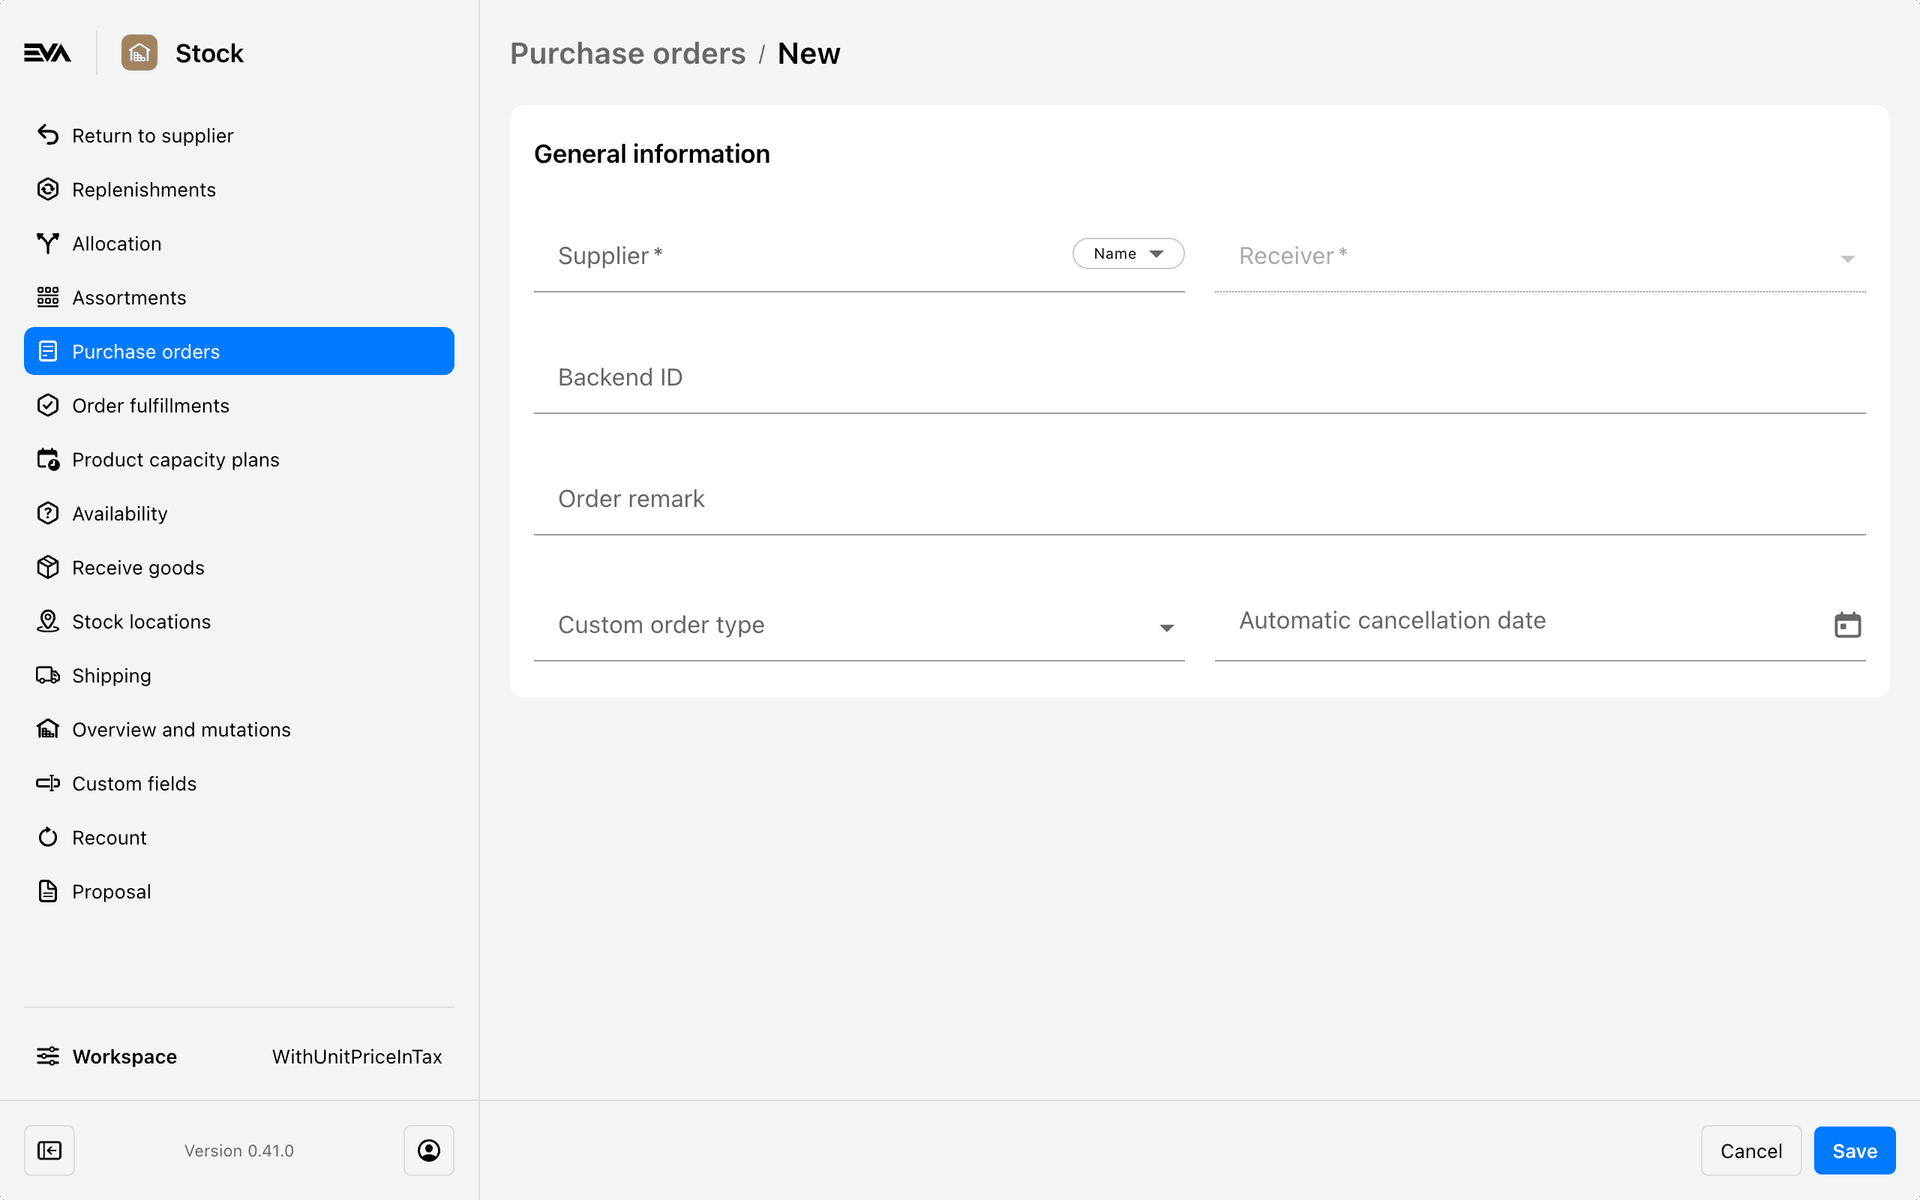
- The supplier dropdown list will only display applicable suppliers based on your Organization Unit setup. Those OUs marked as supplier will show up here for you.
- The receiver is filtered based on your setup of supplier relations.
- The custom order type lets you select one of your existing custom types.
- The automatic cancellation date lets you select a date after which -if nothing happened to the order- it will be cancelled by the periodic task.
- Note that the setting
AutomaticOrderCancellationTimeInDayscan be used to set a predetermined cancellation value on suppliers. If a shipment is created, then a new cancellation date is automatically set based on the setting.
- Note that the setting
- The prices of the purchase order lines are derived from the respective pricelists attached to that supplier organization unit. Keep in mind that your price will be zero if there is no price list attached to the 'Sold from' organization unit.
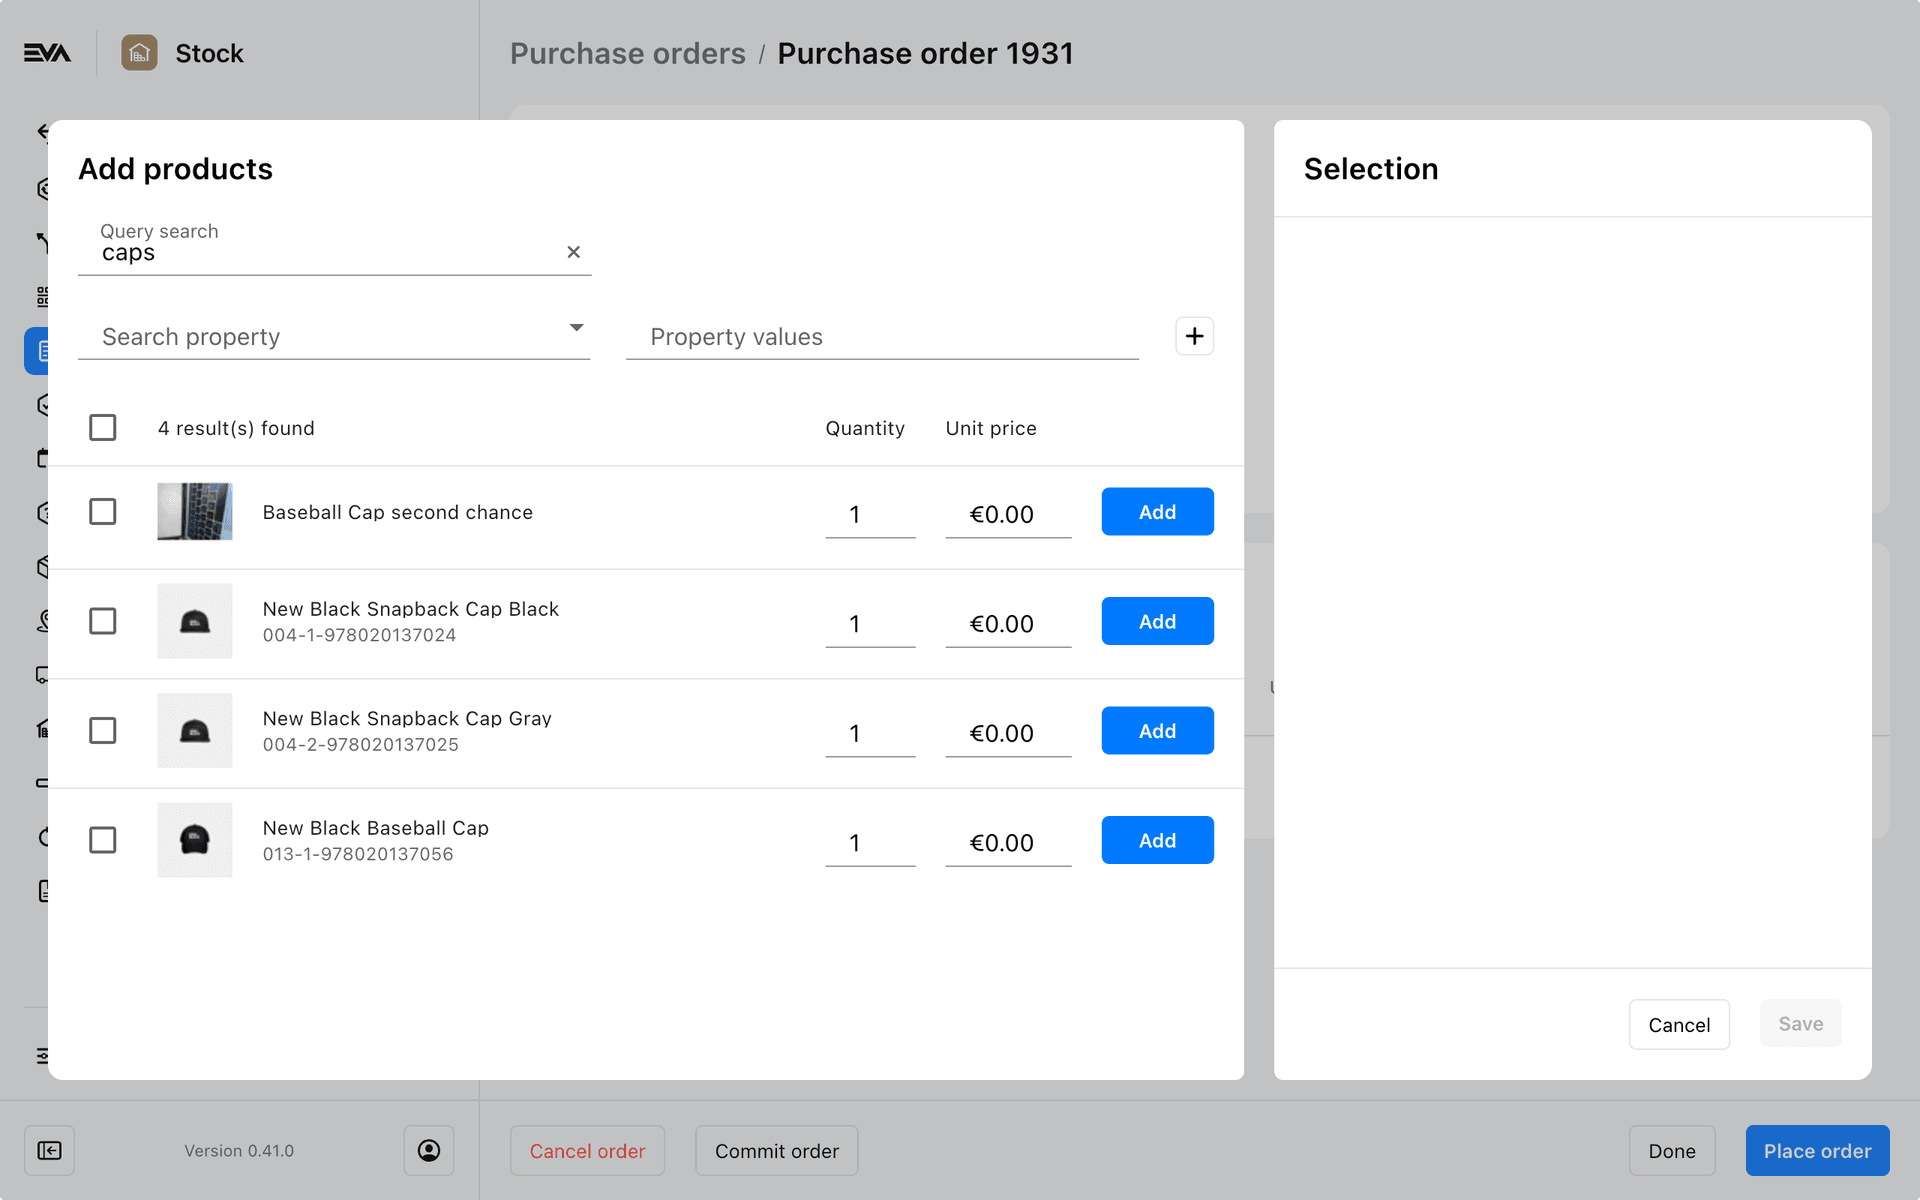
Selecting products
The product selection process is done based on (partial) names or product properties. This way you can add multiple properties to search with and customize your search as you go, allowing you to select a multitude of products at once.
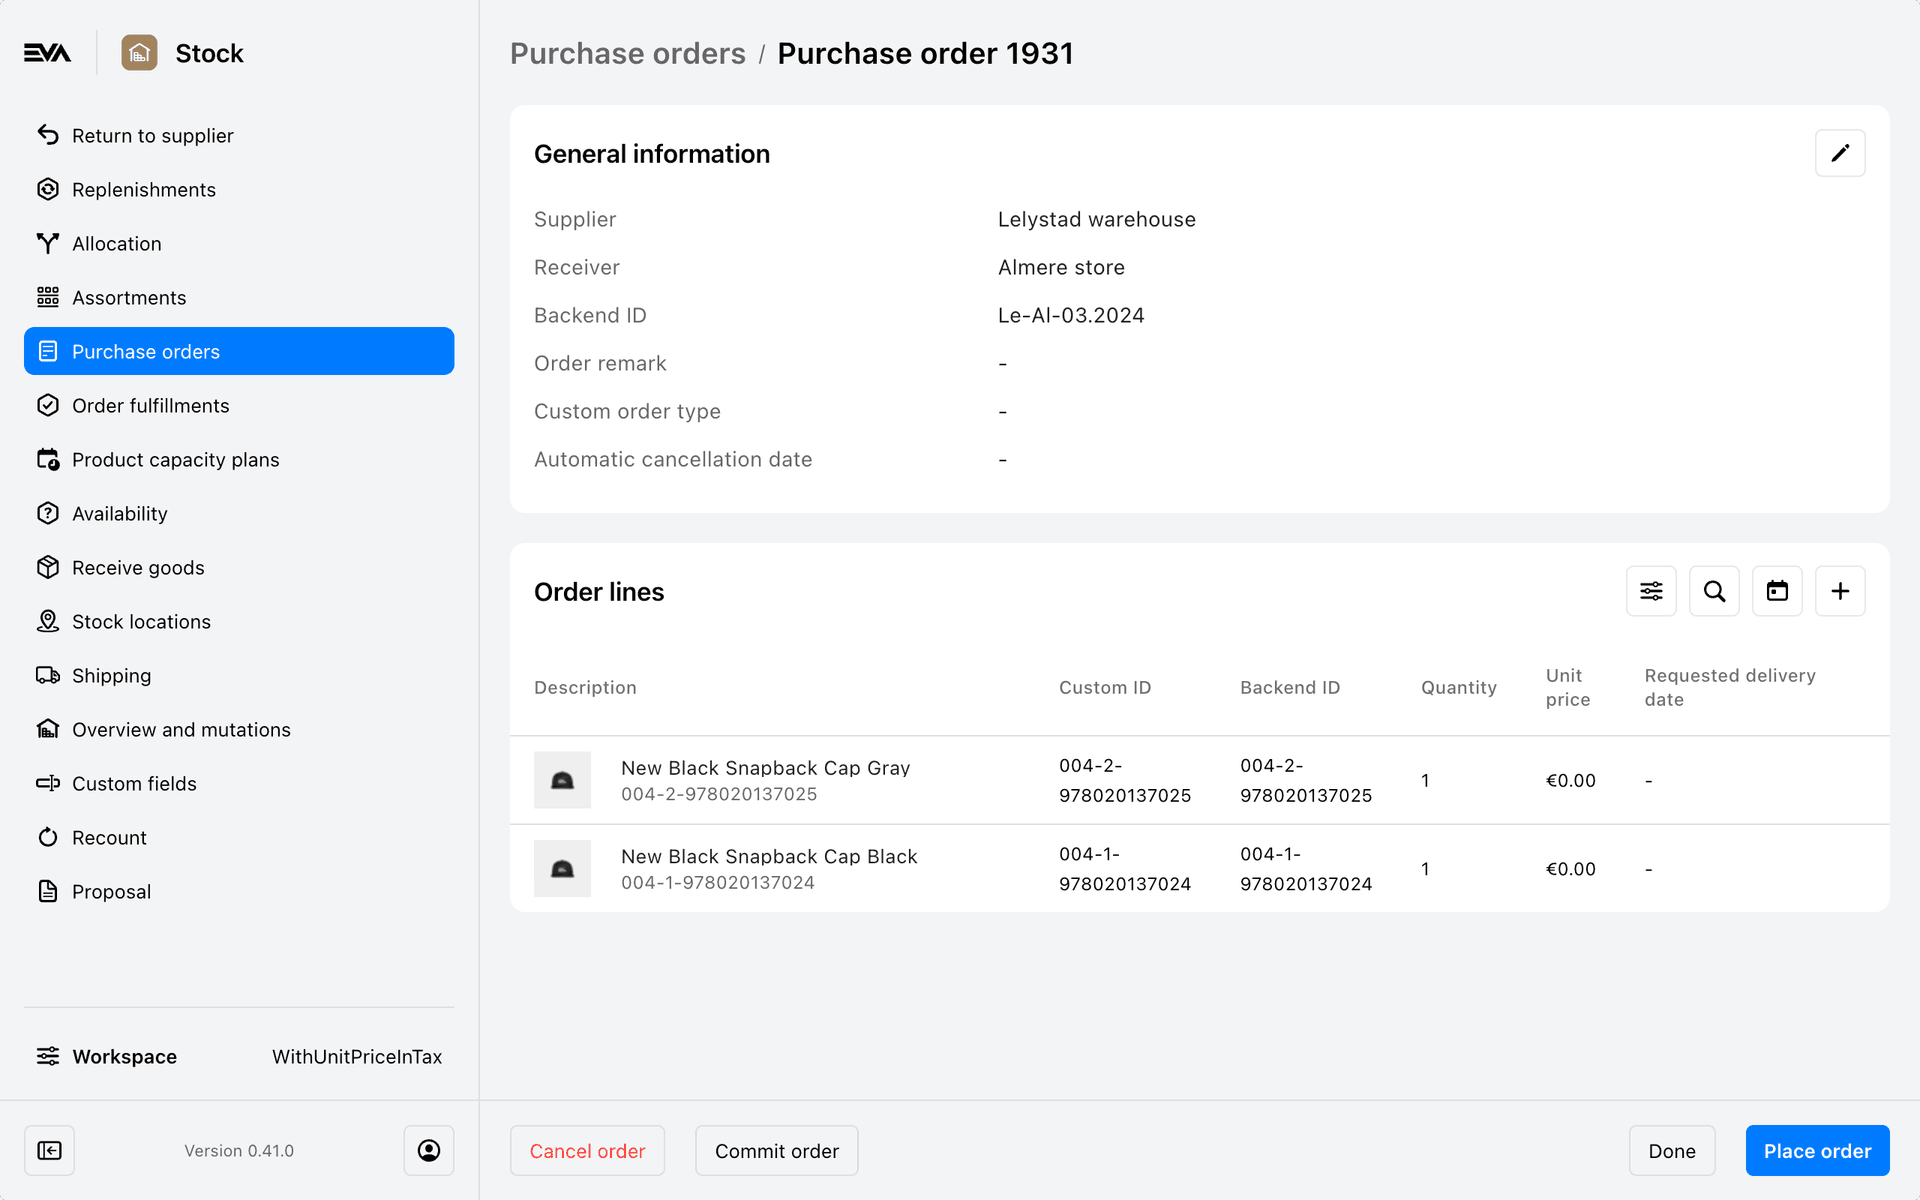
Open orders
Your order status will remain open and editable as long as it is not placed and not confirmed.
The order lines table offers the following three action buttons:
- 'looking glass' icon: for particularly large tables, you can use this functionality to search products within this table
- 'calendar' icon: the calendar functionality lets you edit the requested date for all order lines
- '+' icon: this icon will call up the product selection modal, to add more order lines
The following action buttons will be available in the order's footer based on its status:
- if unplaced: Commit, Cancel, Done & Place order - while unplaced you are also able to edit the following general details:
- Order remark
- Custom order type
- Automatic cancellation date
- if placed: Commit, Done & Confirm order
- if placed & confirmed: Commit & Done
Note that Done does not act as a save button, it just takes you back to the overview. Each order line has its own specific save option.
Placing and confirming order
Your next step is to click the Place order button. You will then be prompted with a screen whether or not you also want to confirm the order. Tapping Yes, will set your order status to Confirmed and No will set your order status to Placed. Either way you can no longer make edits on the order lines.
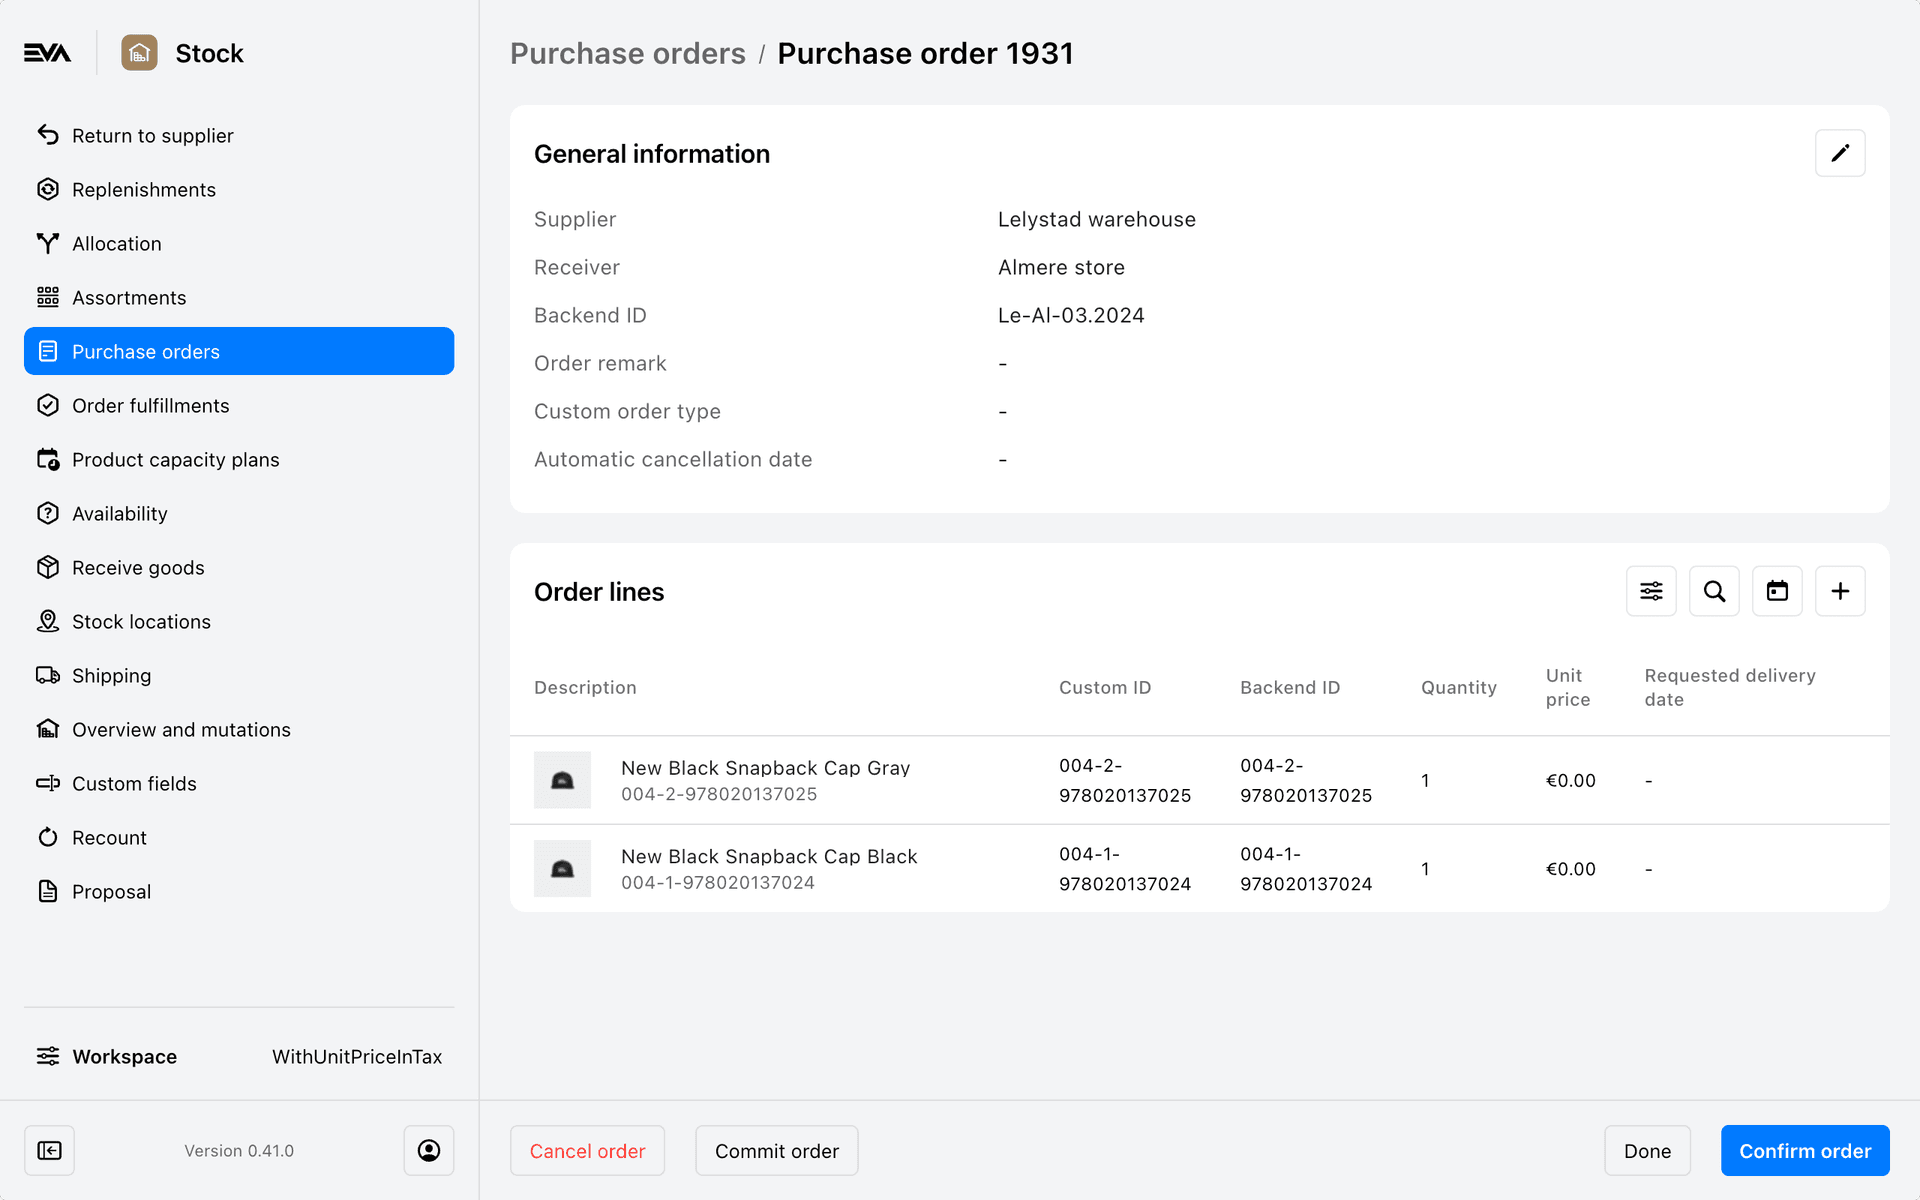
Prior to placing and confirming, please don't forget to input the requested date of your shipment in the relevant field for each order line(s).
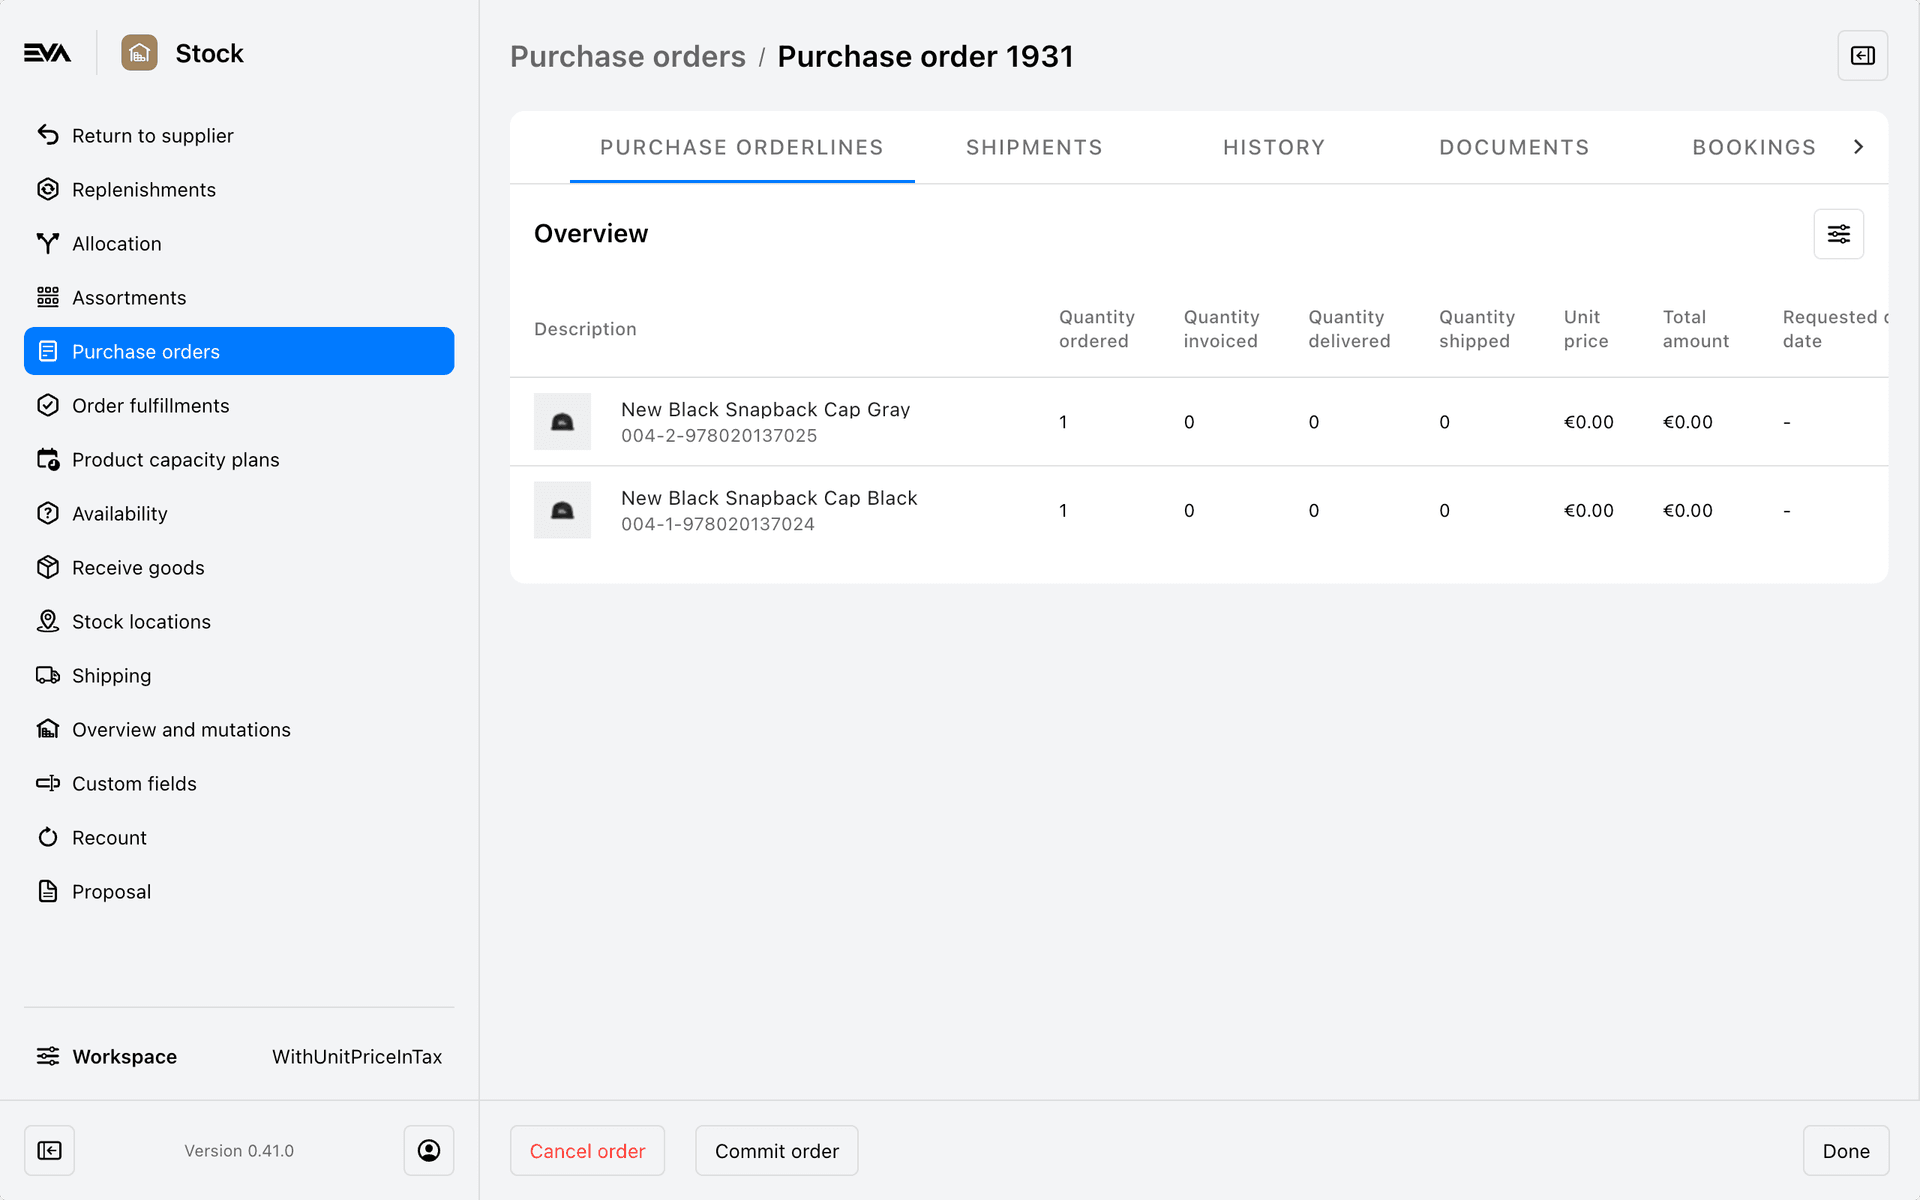
View existing placed or confirmed purchase order
Tapping an existing or confirmed purchase order will present you with a bunch of tabs:
- OrderLines
- Payments
- Shipments
- Related orders
- History
- Documents
- Bookings
- Exports
- Interaction logs
These function similarly to the ones seen on the order overview chapter, except for the following caveat: so long as an order remains open (more specifically it was not Confirmed when placing the order), you can still edit the lines or remove them altogether. The latter will simply lower quantity to 0.
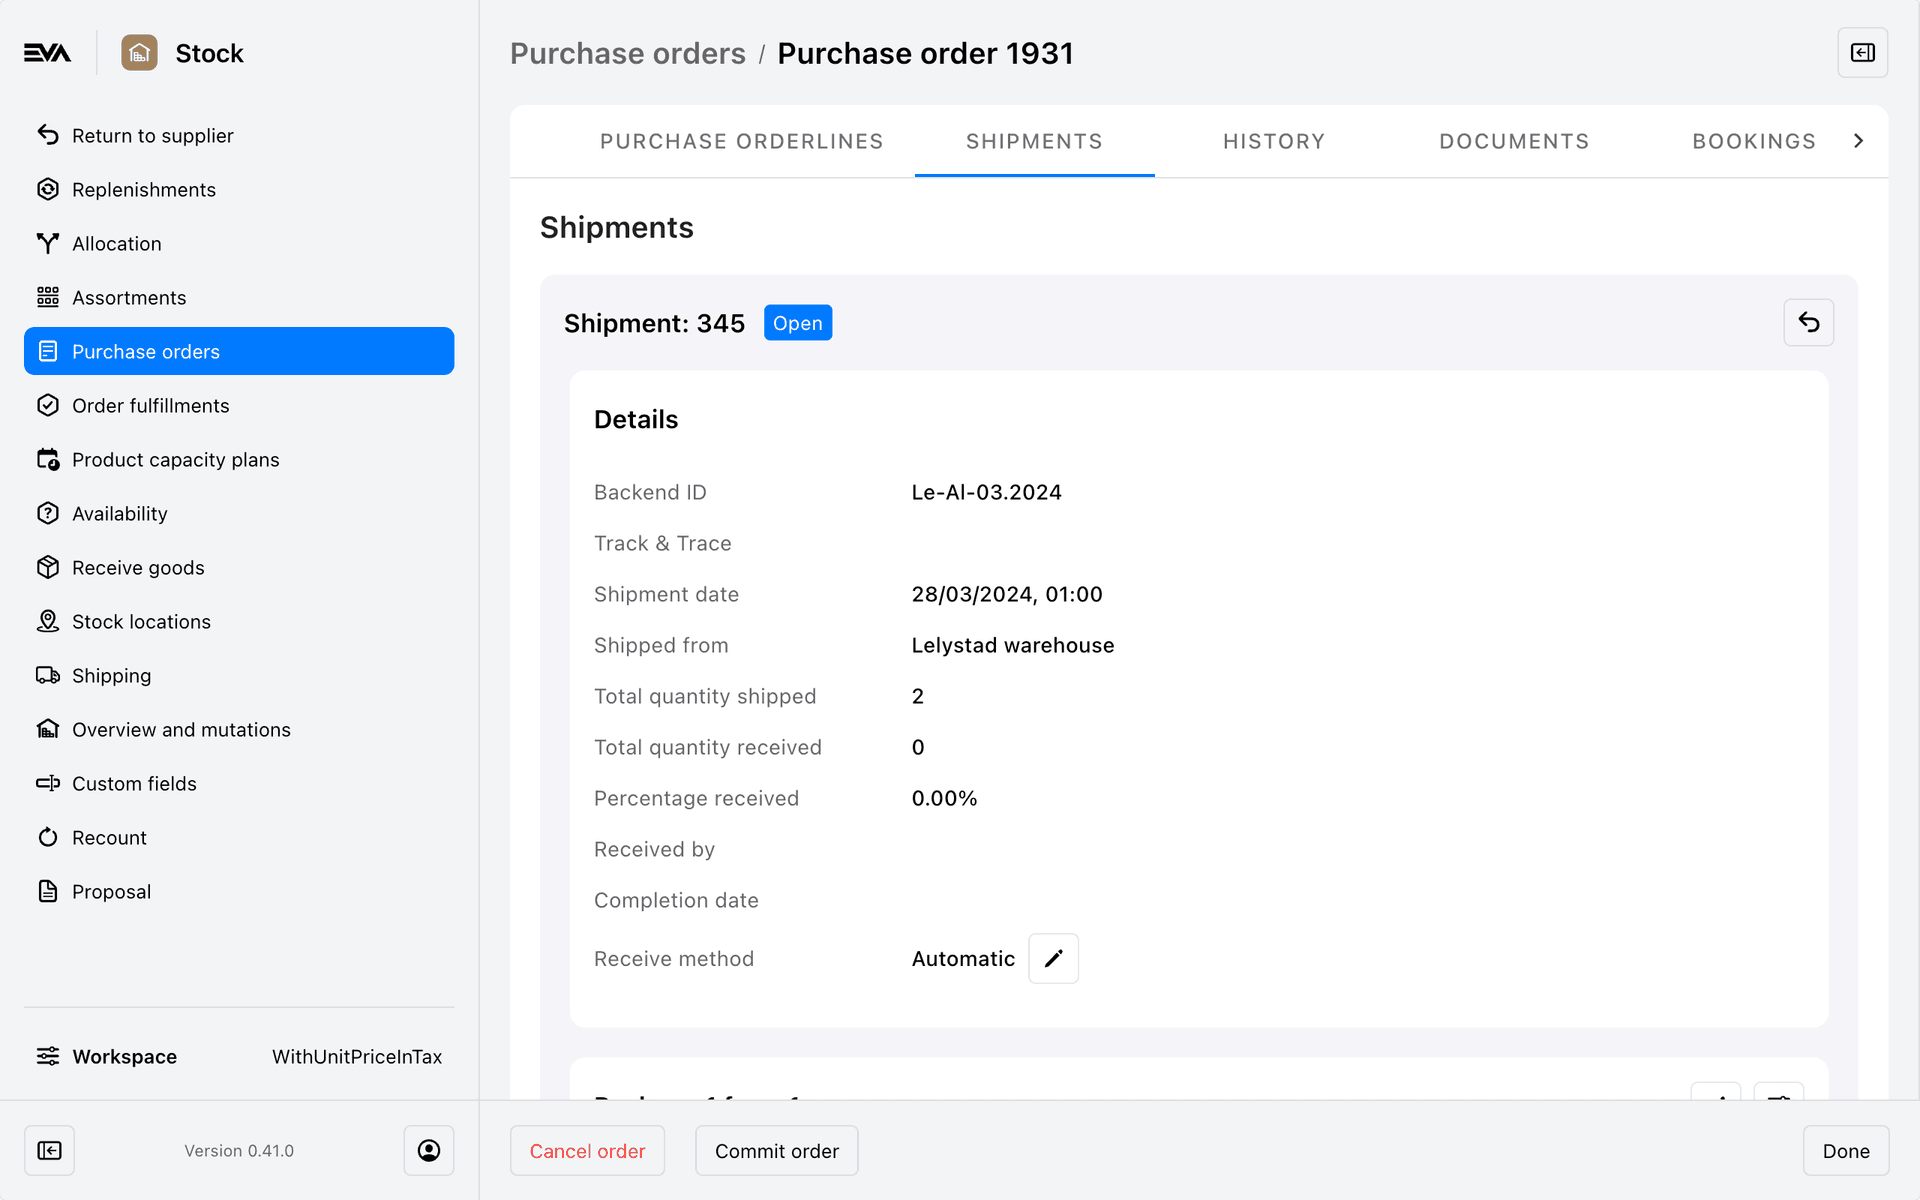
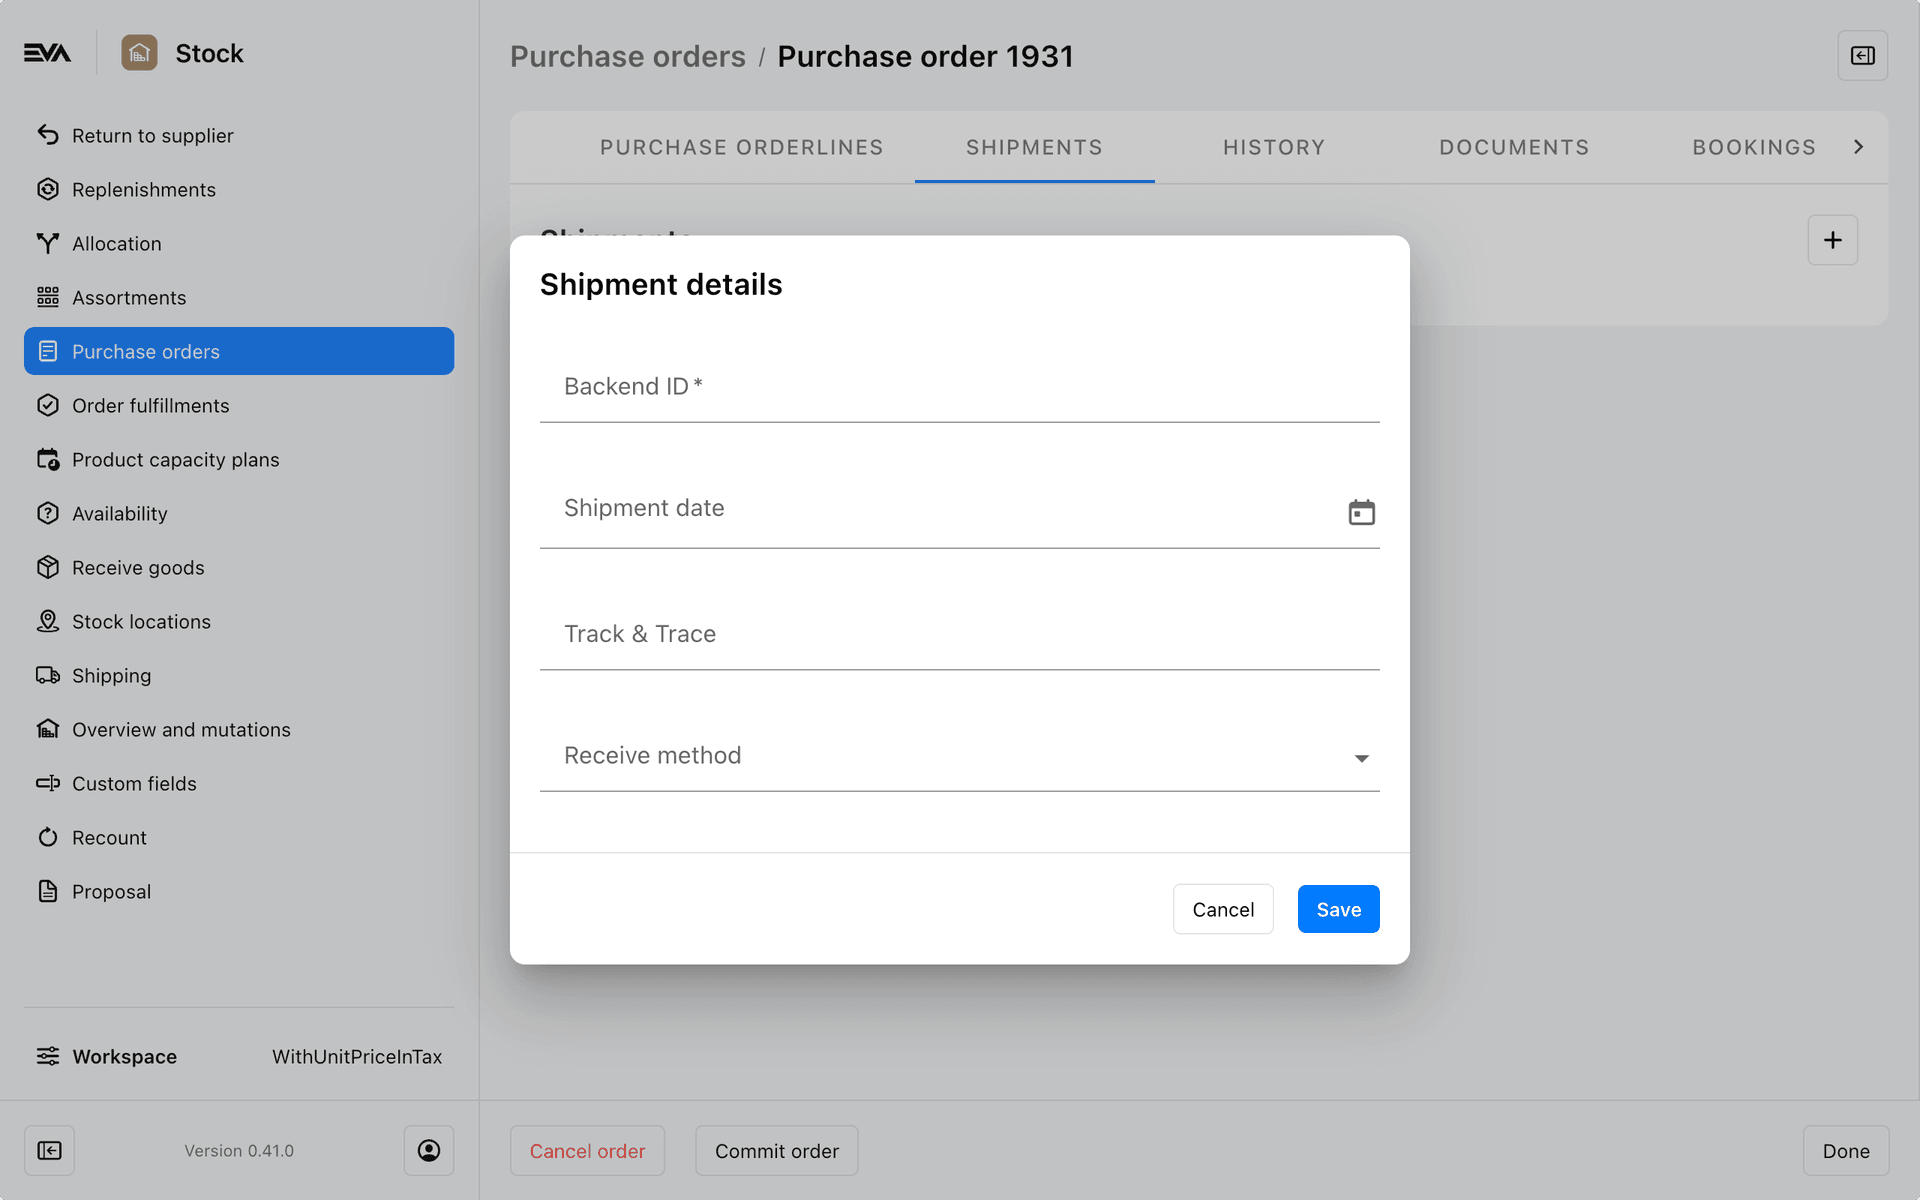
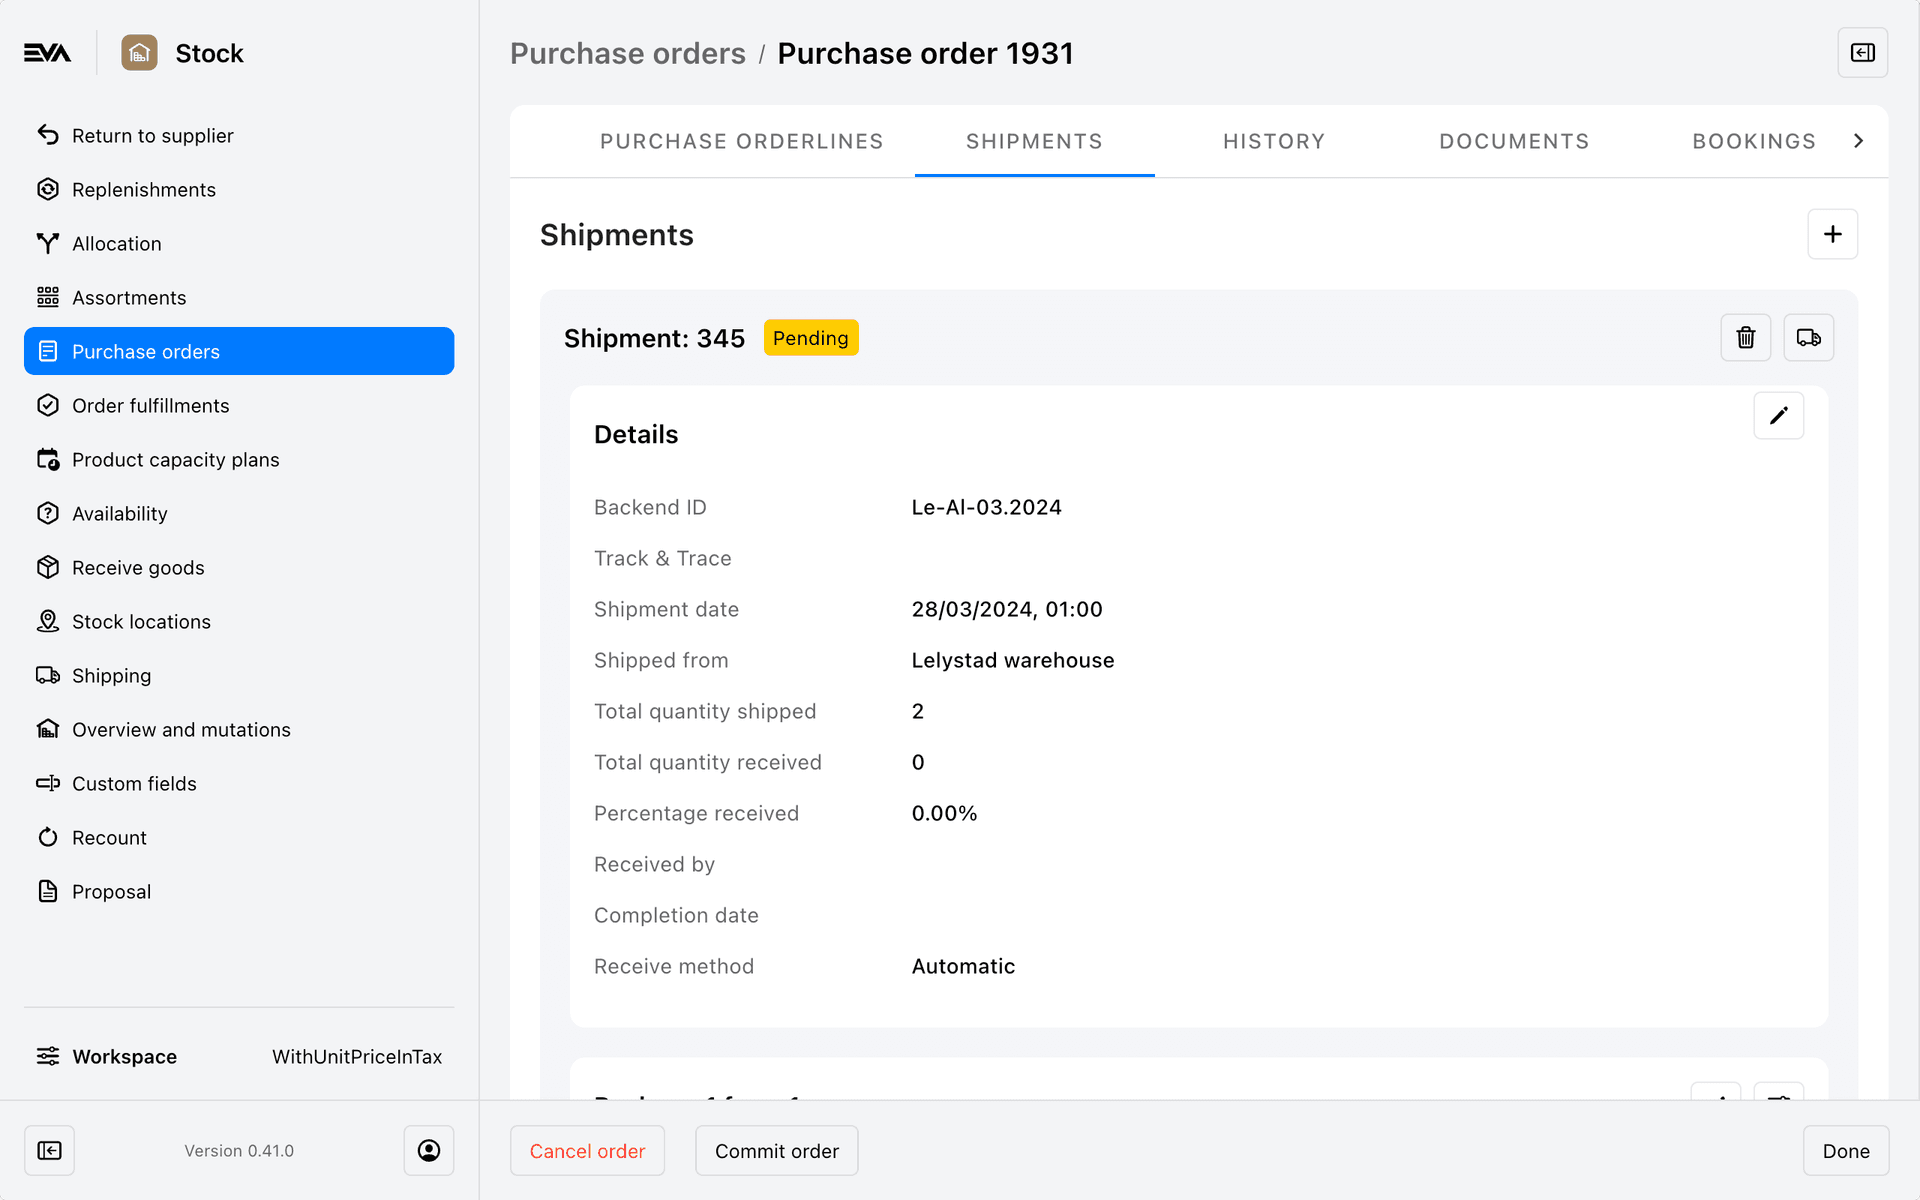
Once a purchase order is confirmed, you can start with its shipments. Once again, this is all very similar to adding shipments for a regular order. Note that the shipment's Backend ID will be turned into the packing slip ID later on.
Once the shipment has been created, there are a few options available to you depending on the shipment's status:
- Pending (shipment created but unshipped)
- Perform the shipment by means of the 'truck' icon
- Delete the shipment by means of the 'bin' icon
- Open (shipment underway)
- Undo the shipment with the 'revert' icon - mind that this also undoes the stock mutation
- (Not shown in this overview) Receive the shipment by completing the corresponding Receive task on the destination OU or receive it via Admin Suite's Receive goods chapter.
Both Completed and Cancelled shipments no longer offer any such options.