Repairs
Repairs
After-sale repair tasksThe Repairs task is a vital part of *Case management*, allowing you to select a case and initiate and manage a corresponding repair from A to Z.
Repairs can be created in Admin Suite - as described on this page - or via the Tasks App.
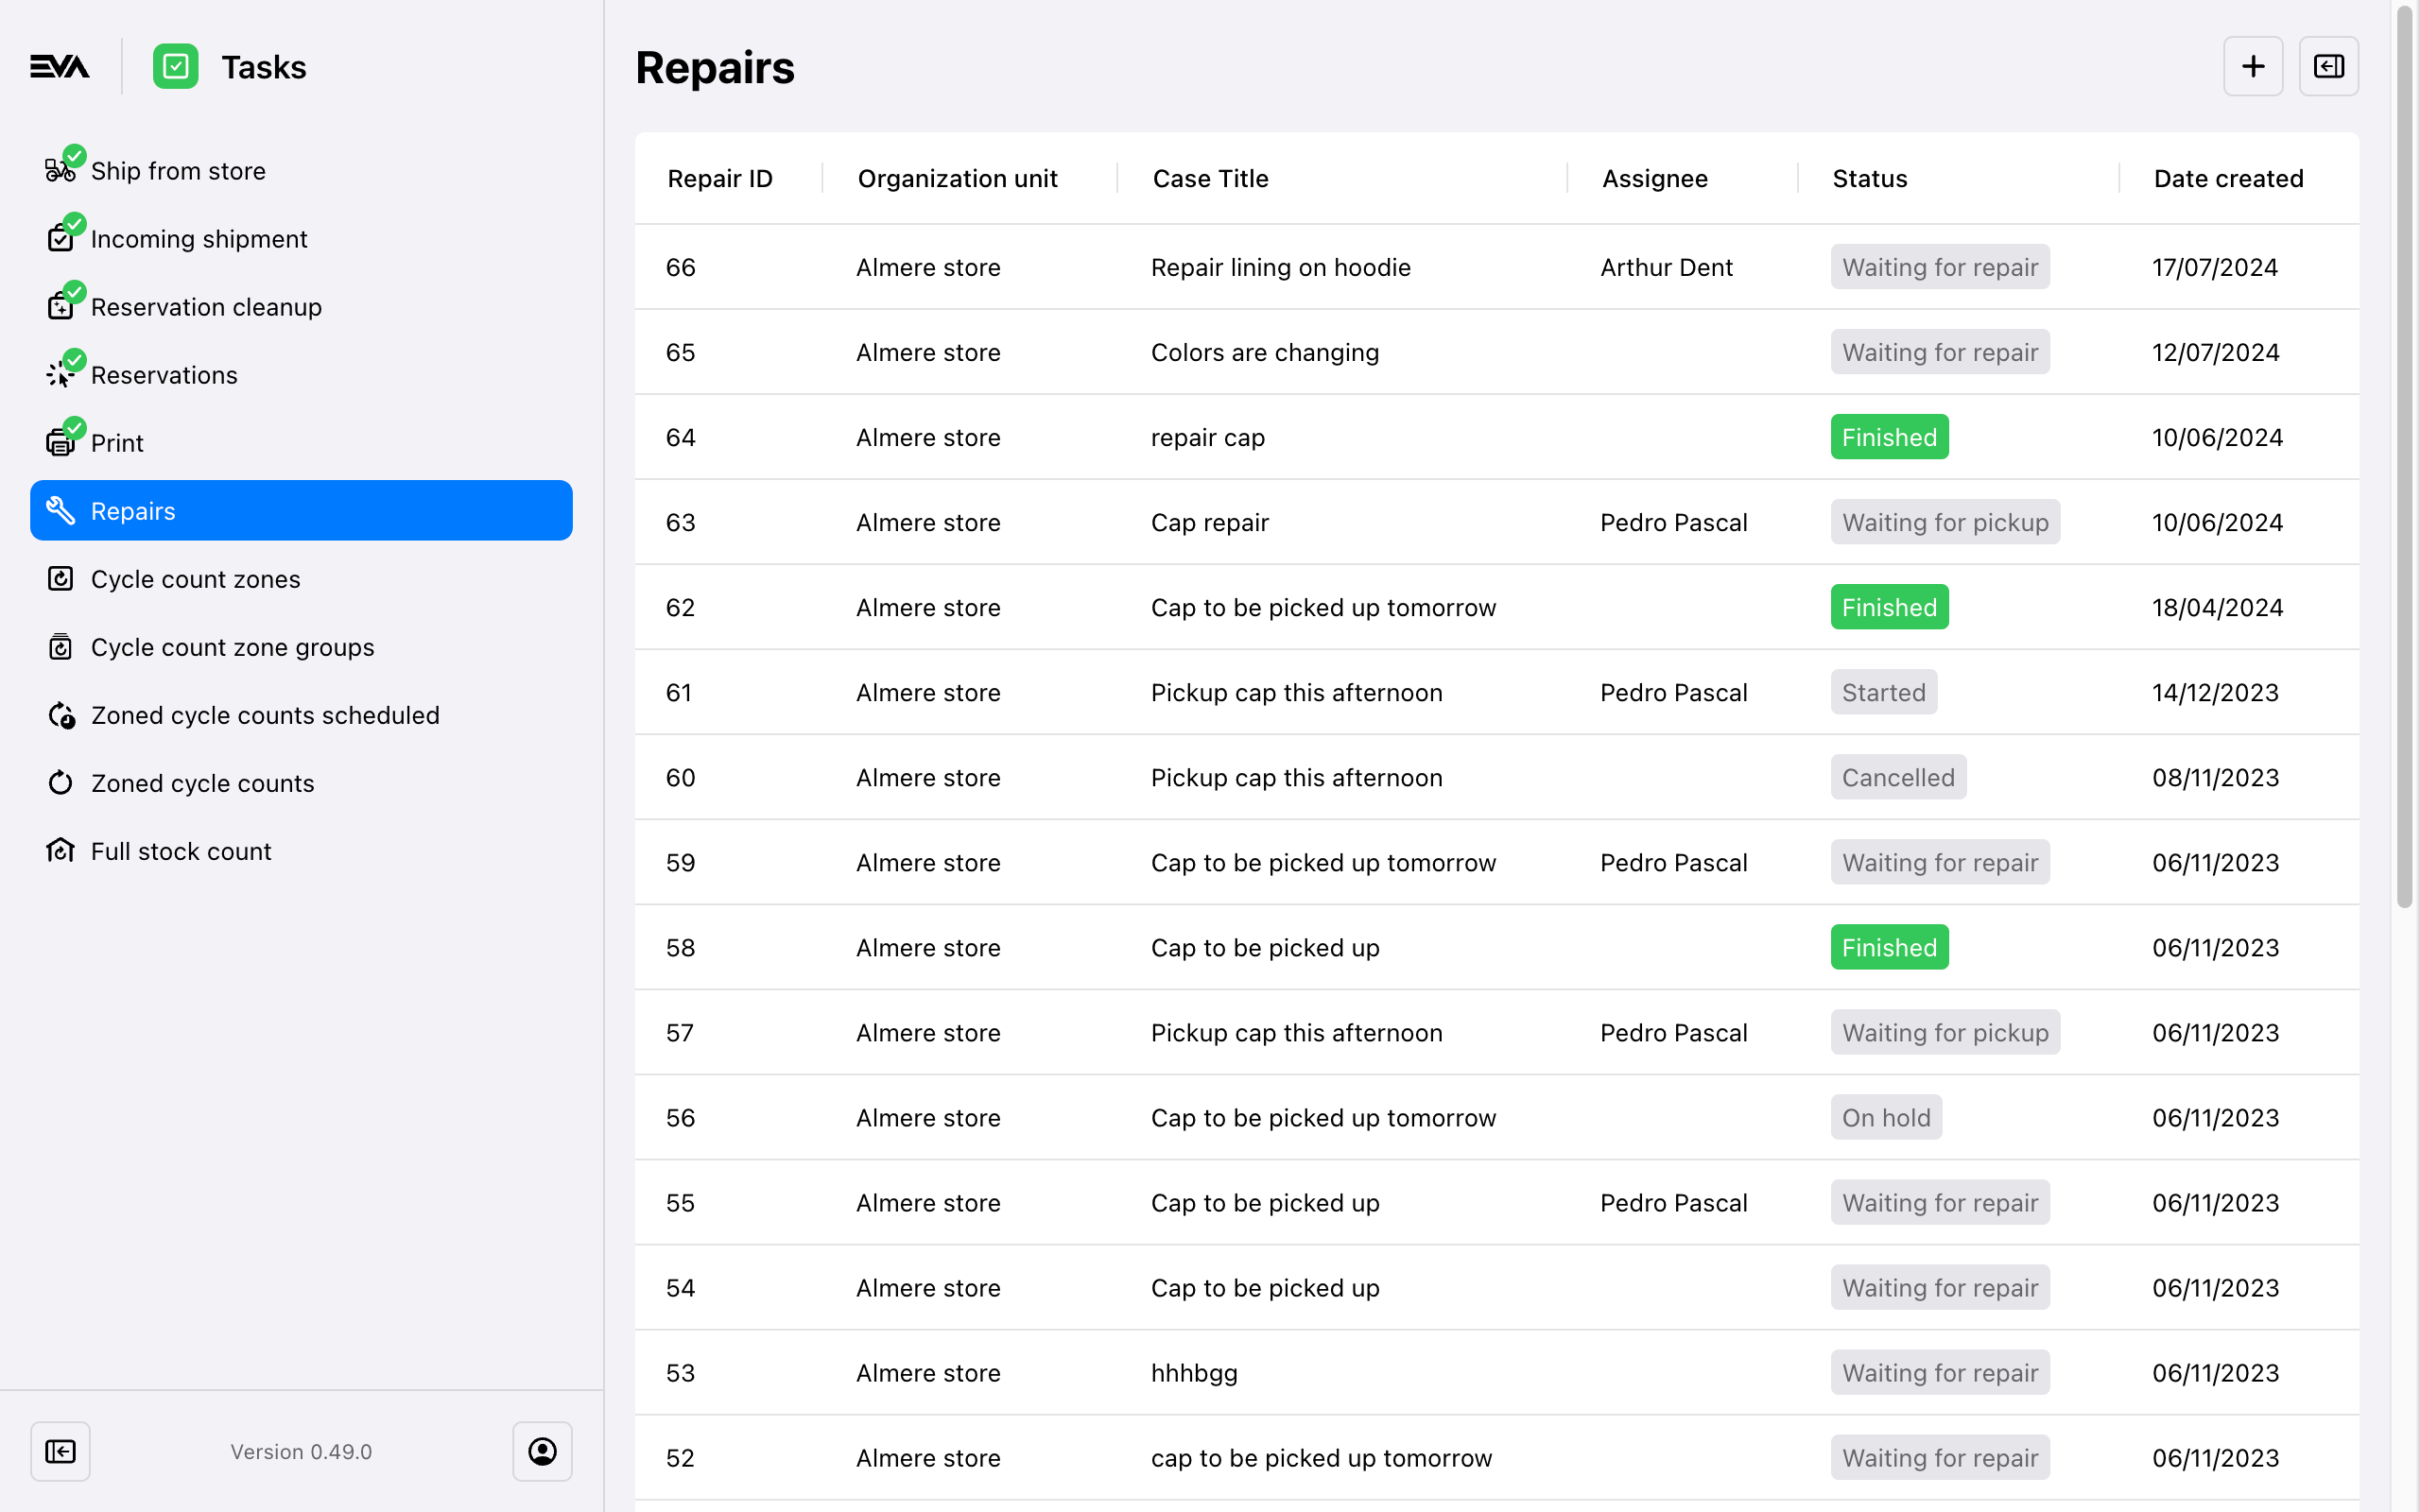
The Repairs overview provides a list of all repairs and can be filtered as you'd like. The list displays ID's, OU's, Assignees and statuses.
Both cases and repairs are created for a single product and every repair must be tied to a Case. Either the case itself will lead to the creation of a repair task, in which case you can skip straight to Managing a repair, or you will have to create the repair yourself.
When creating a repair manually via Suite, make sure that the the corresponding case has already been created in the Case management chapter in Suite so you can select it in the repair.
Working with the Repairs chapter requires your role to have the Repairs permission. Permissions are managed from the Roles and rights chapter namely, from the functionalities card of a user's role.
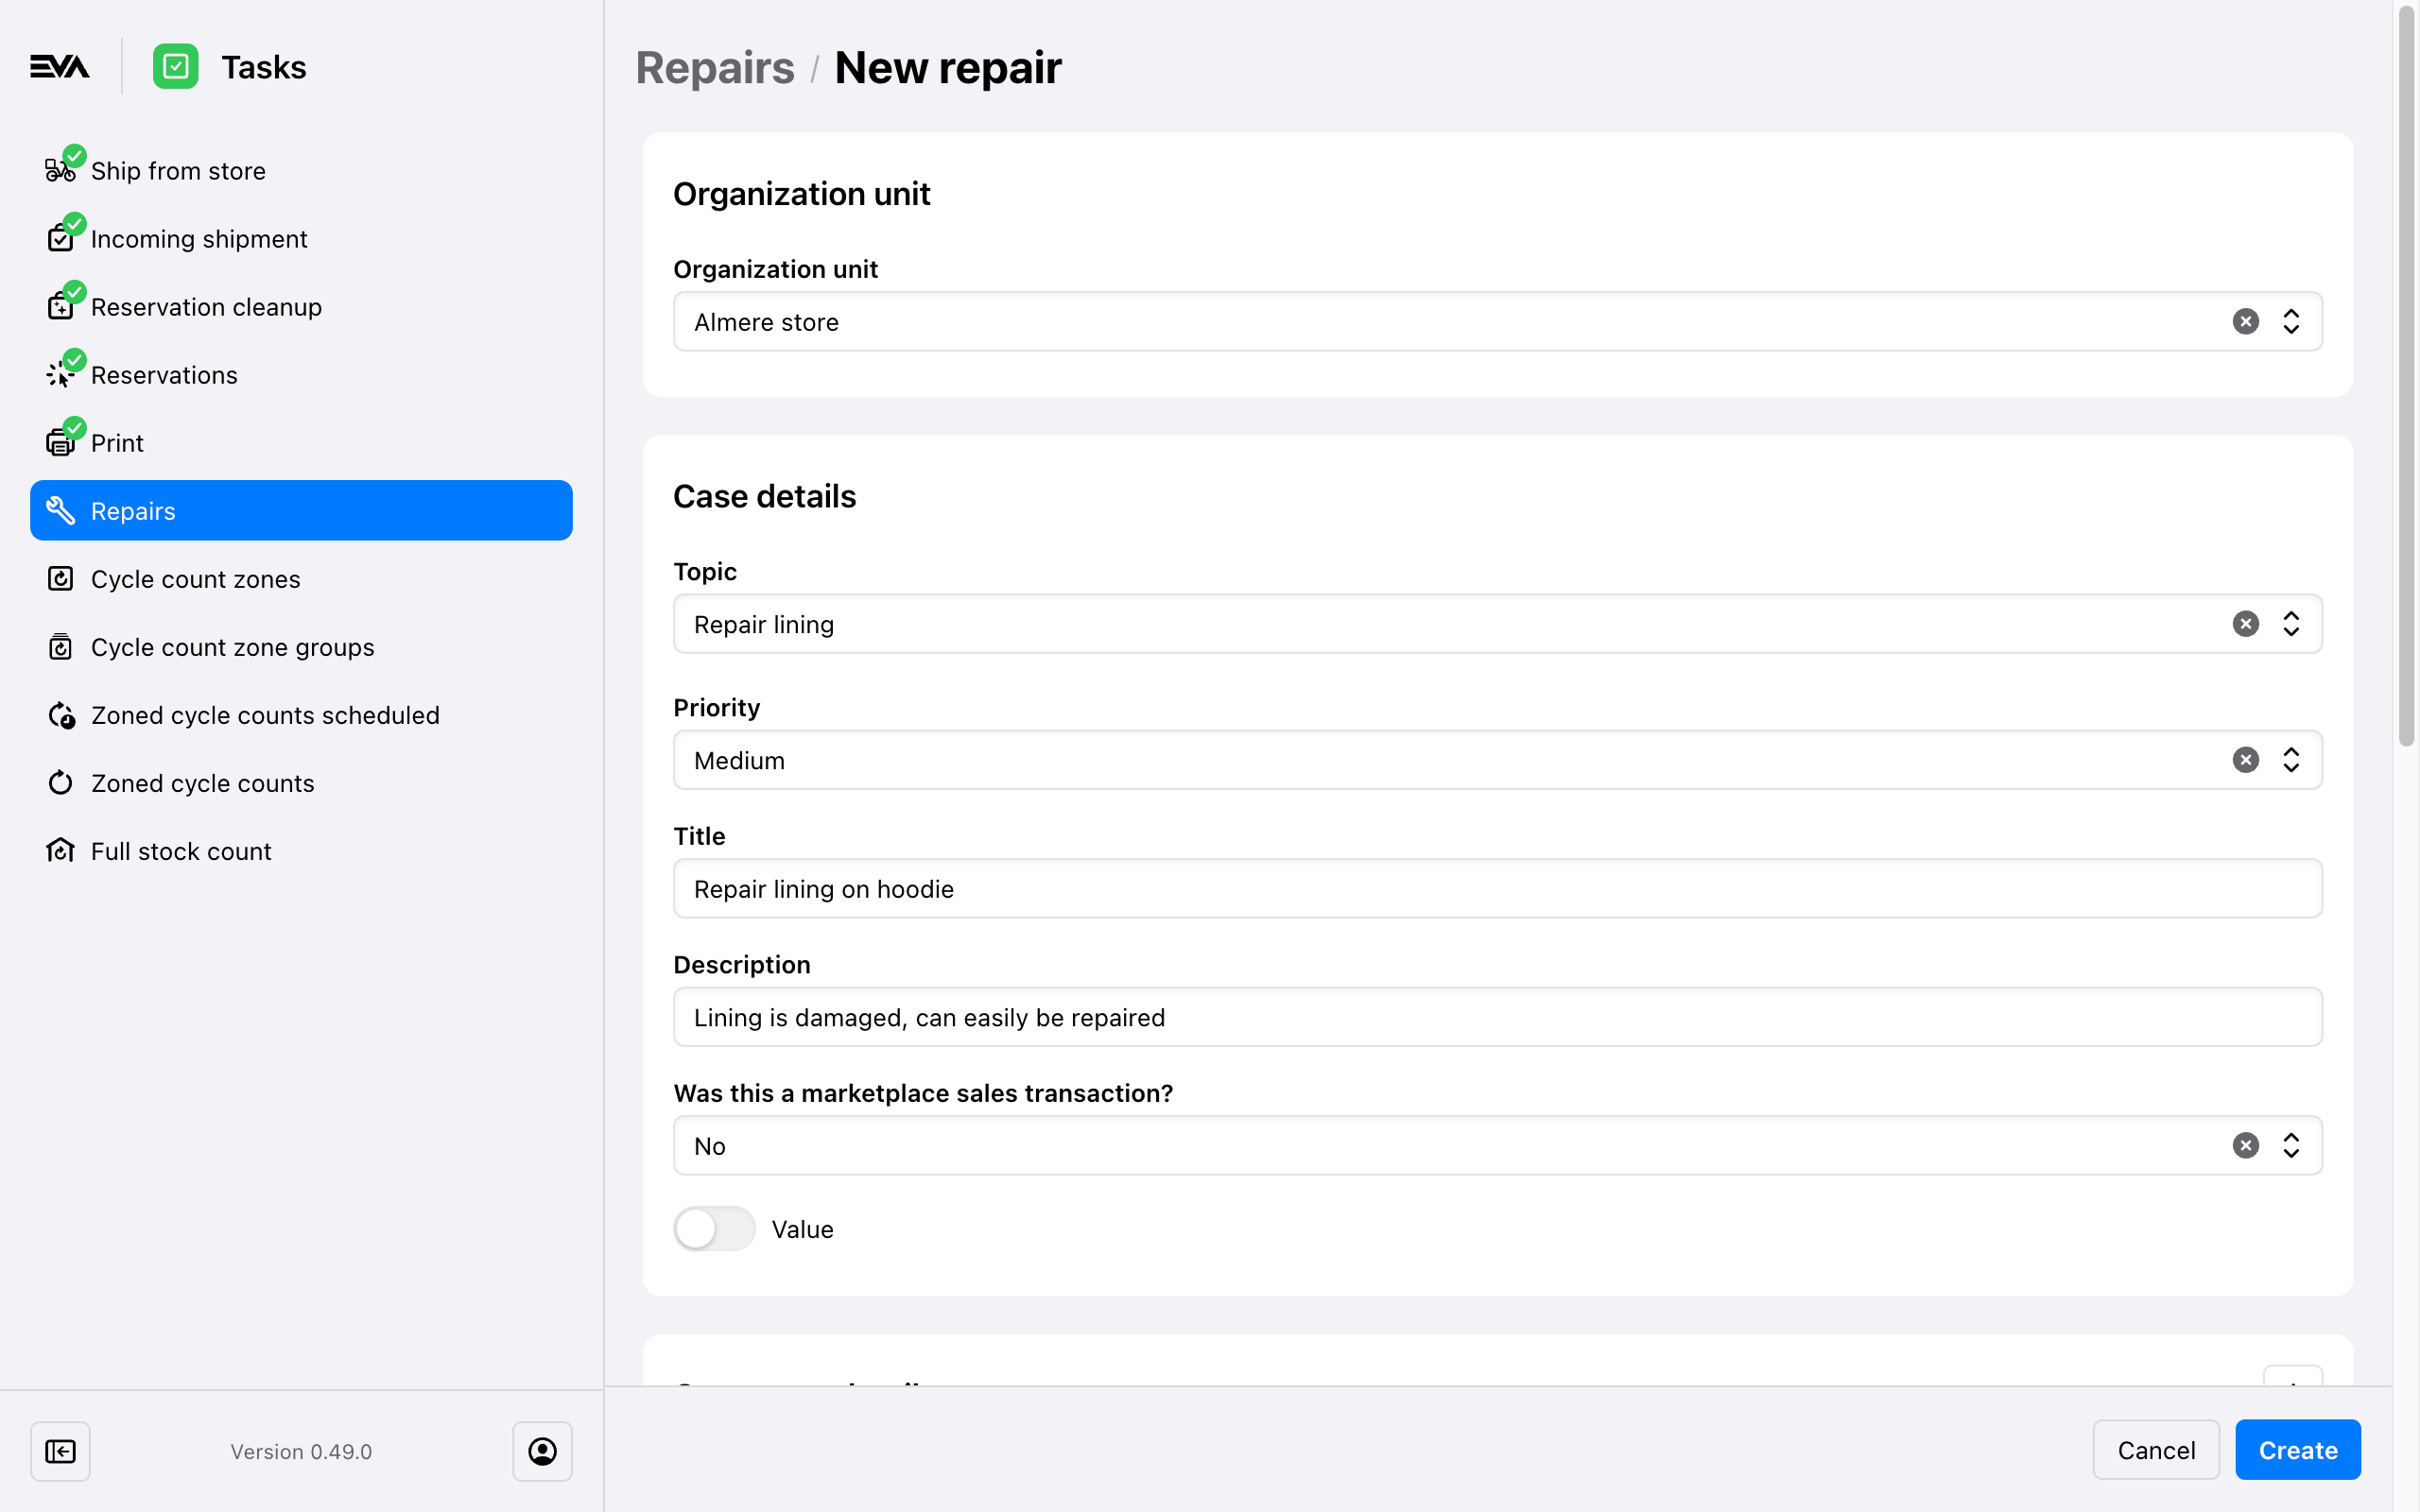
Creating a repair
Creating the actual repair task is very intuitive, simply select the OU where the product will be repaired and attach its case. Indicate whether the item in question is already present or needs to be shipped still. In case of the latter, a new label Expected date will be shown.
By creating a repair task, its Status will automatically be set to In Progress.
Managing a repair
Now you can start adding details to your repairs task. These include the:
- Products to use in the repair (up to 10 in Select products for repair)
- Assignee;
- Relevant images and documents.
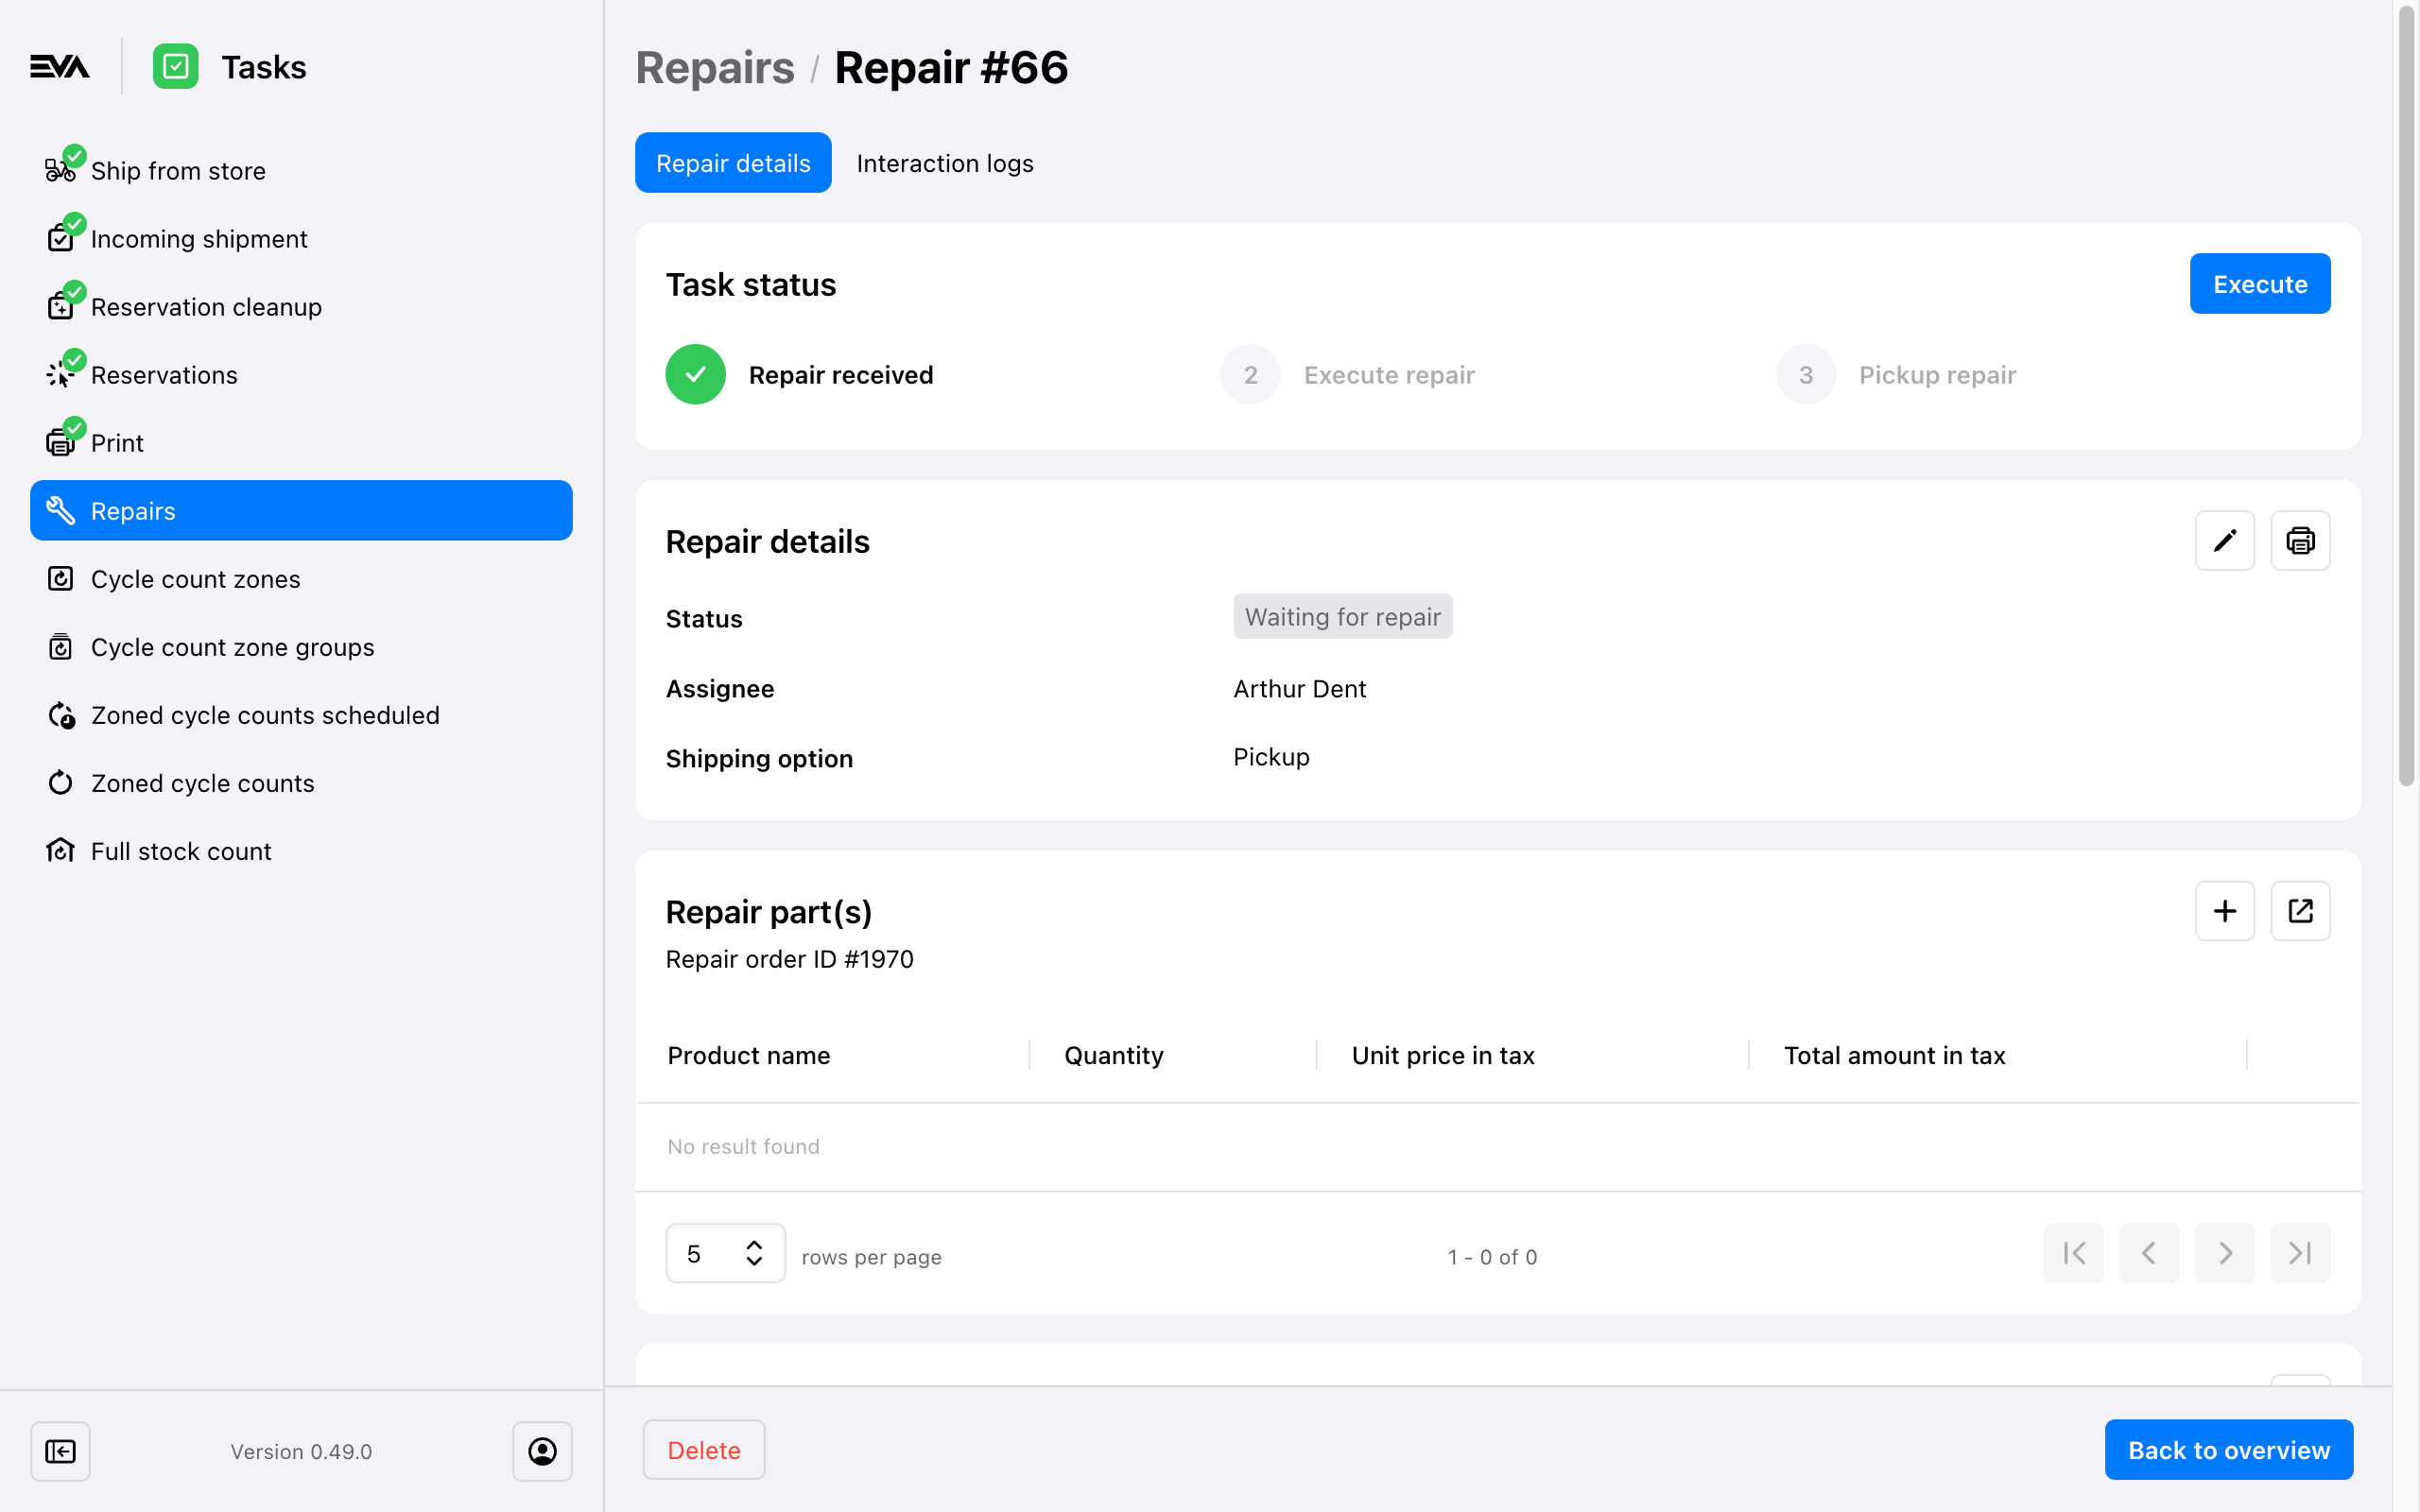
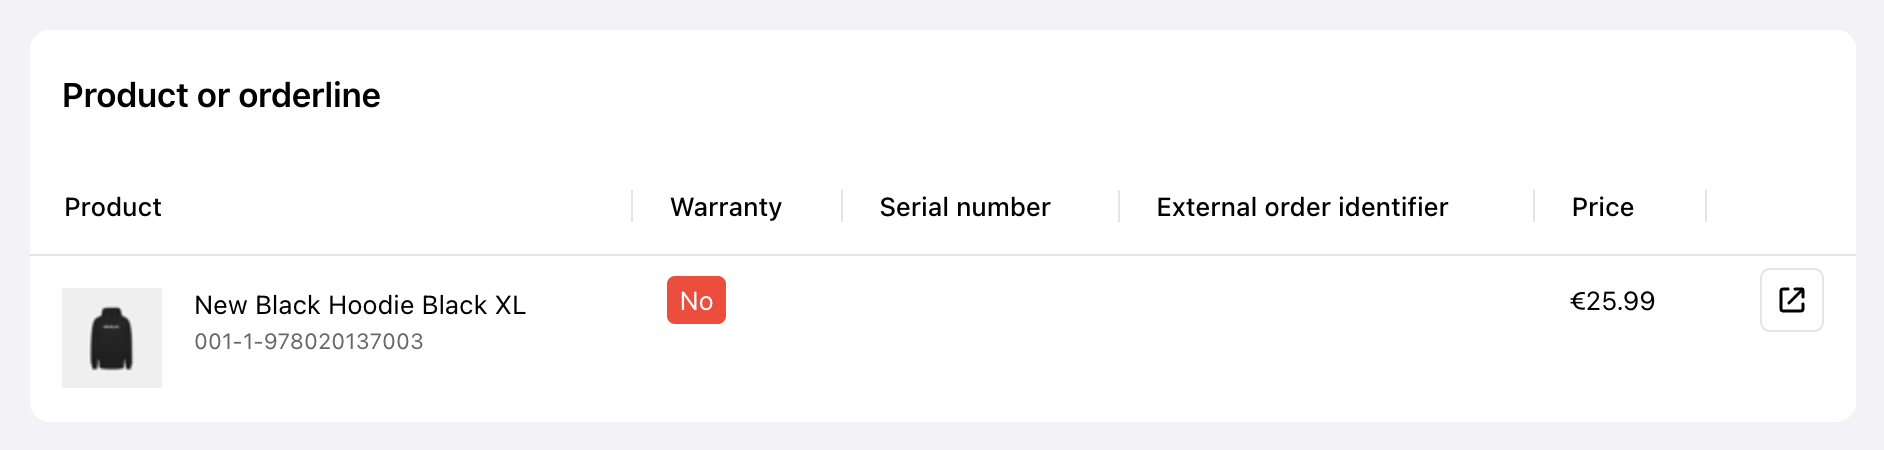
The Case card shows you the details of the case, including the order at heart of the repair. The product from that order will be displayed at the bottom of the card, including its warranty state.
The Repair order card in the bottom-right of the overview shows you the Order ID of the order that has been created for this repair specifically. Any items you select for use during the repair will be stored on the order.
Additionally the item to be repaired is shown in this card. The item's Warranty state is for information purposes only and cannot be changed.
The interaction log
There are a few types of interaction logs that could be displayed under the Interaction logs card, and things could get quite messy especially if it's a complicated case or repair.
By clicking the Settings icon, you can filter the logs and either show all, or just show private, public, system, or repair related interaction logs.
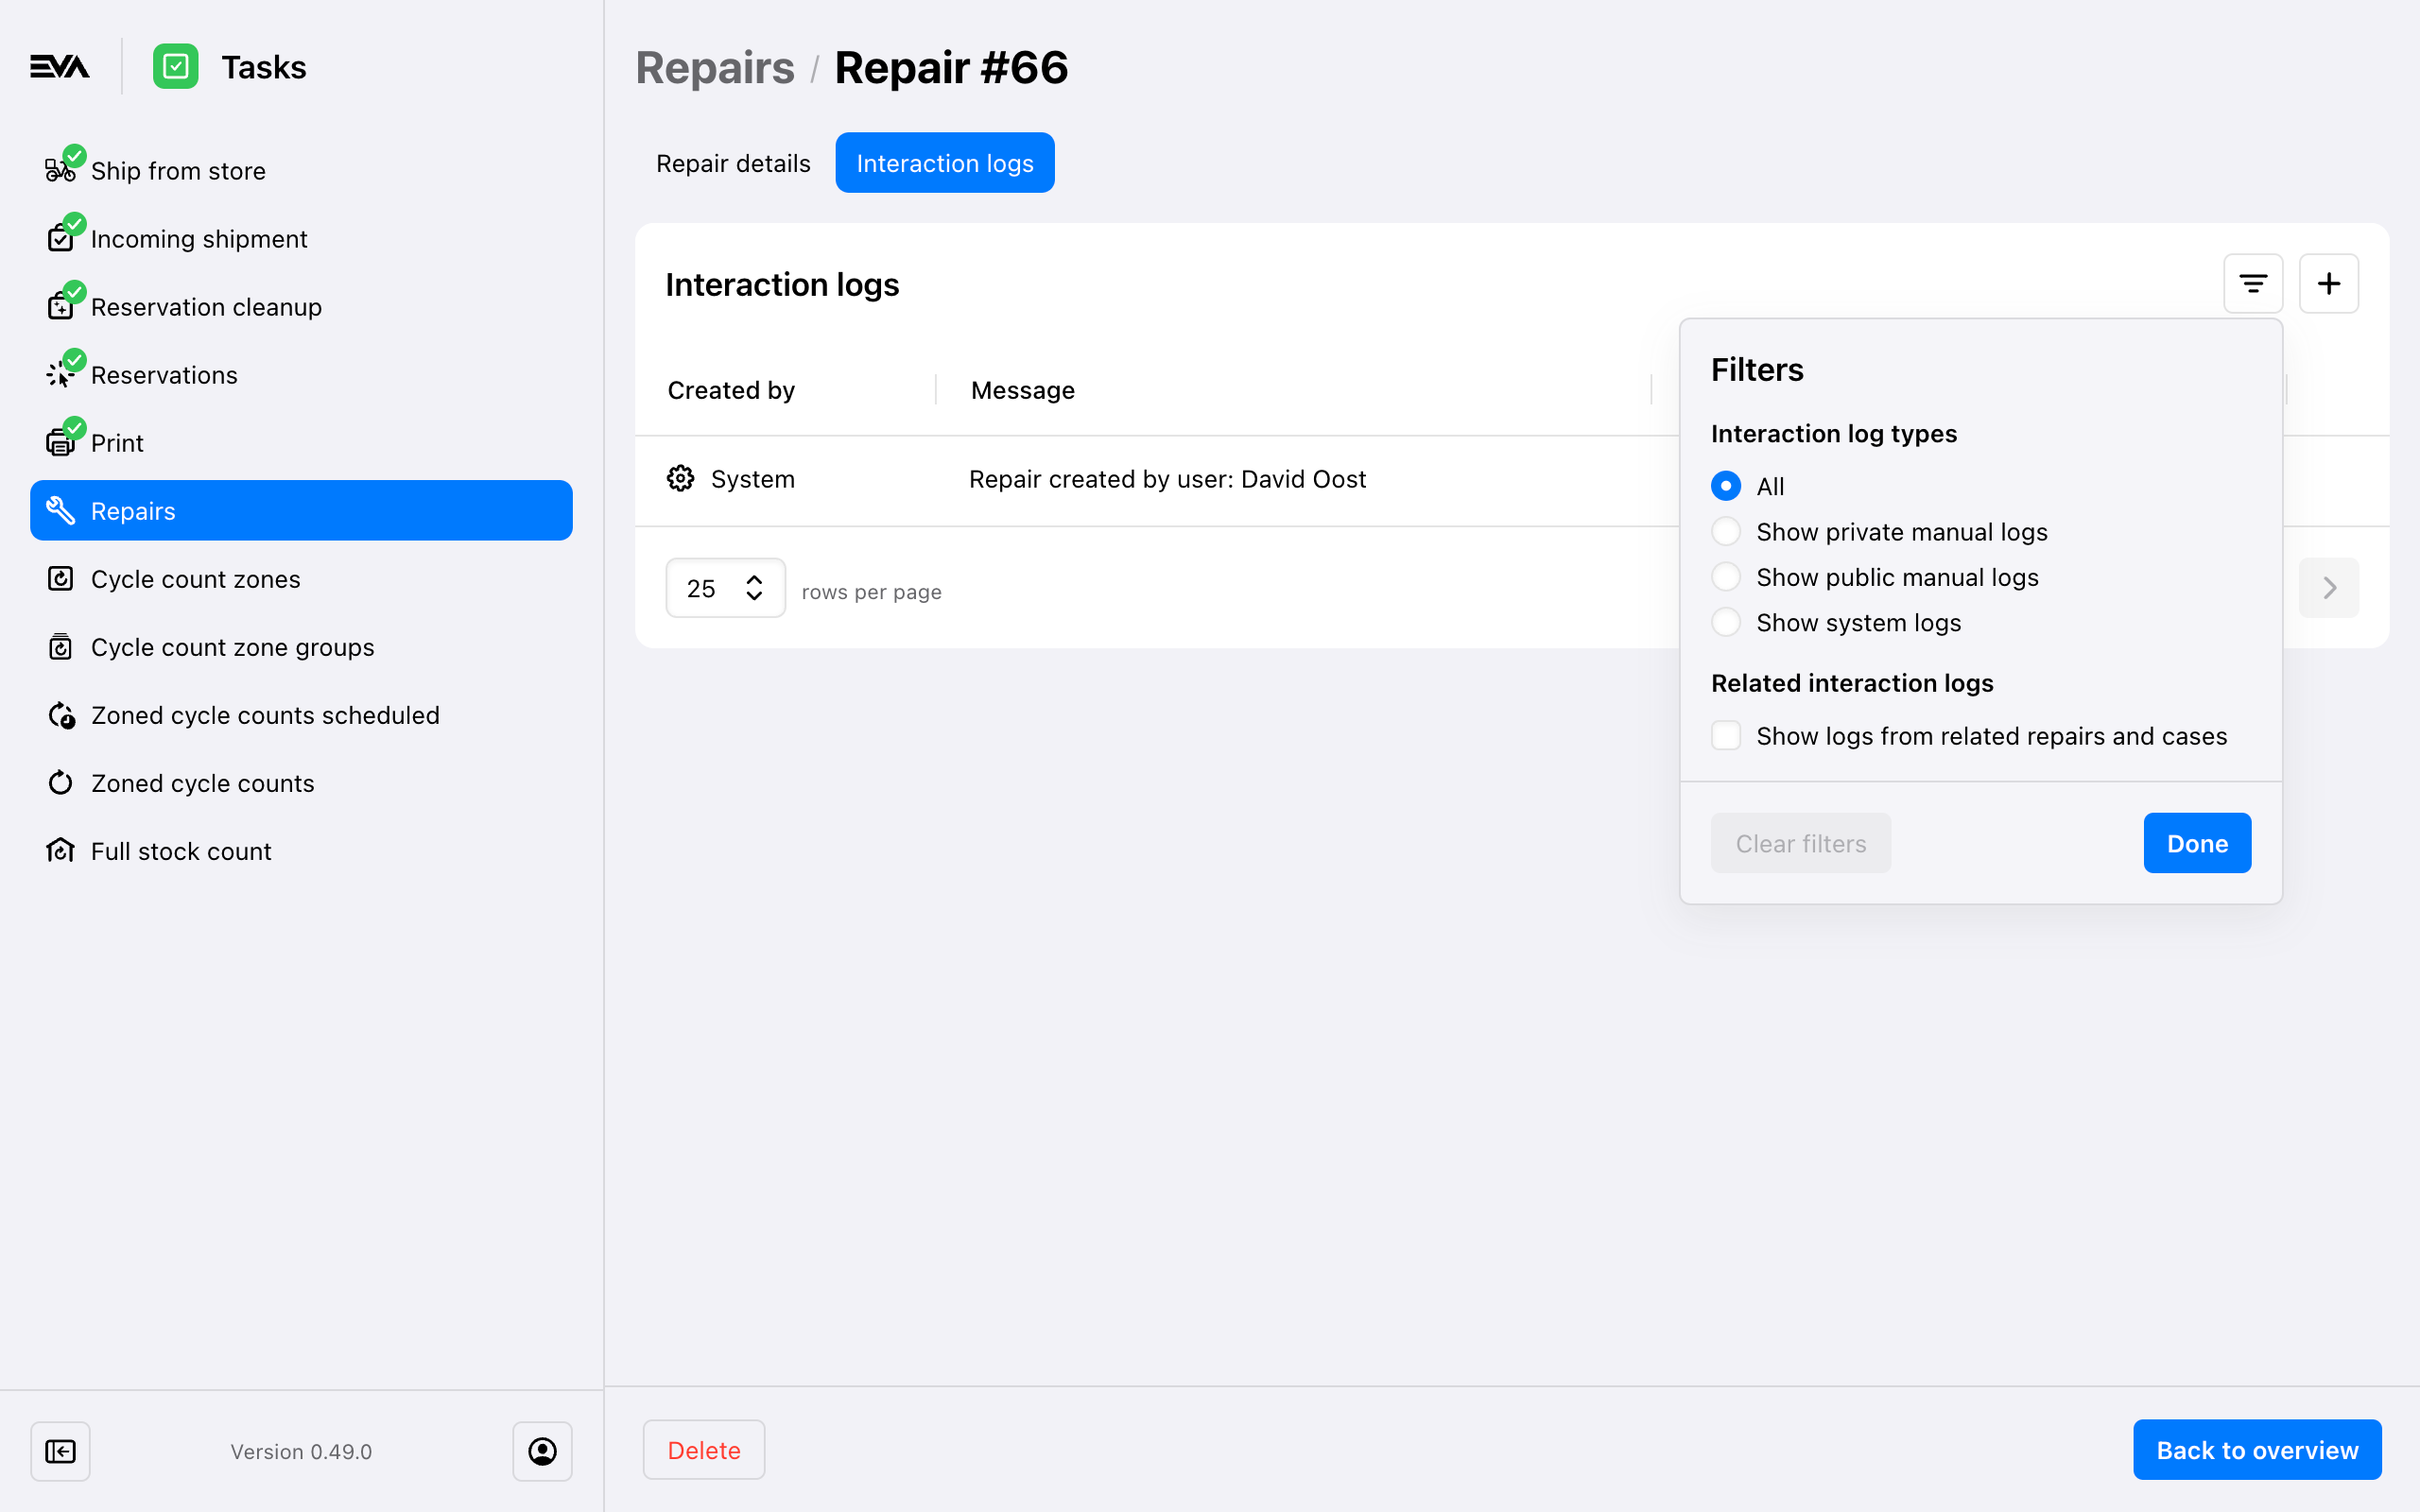
You can create messages for either internal use or to be public, i.e. sharing them with a customer. If you want a message to be shared with the customer, you'll have to do so specifically by means of the action button. The message then gets sent to the customer by email.

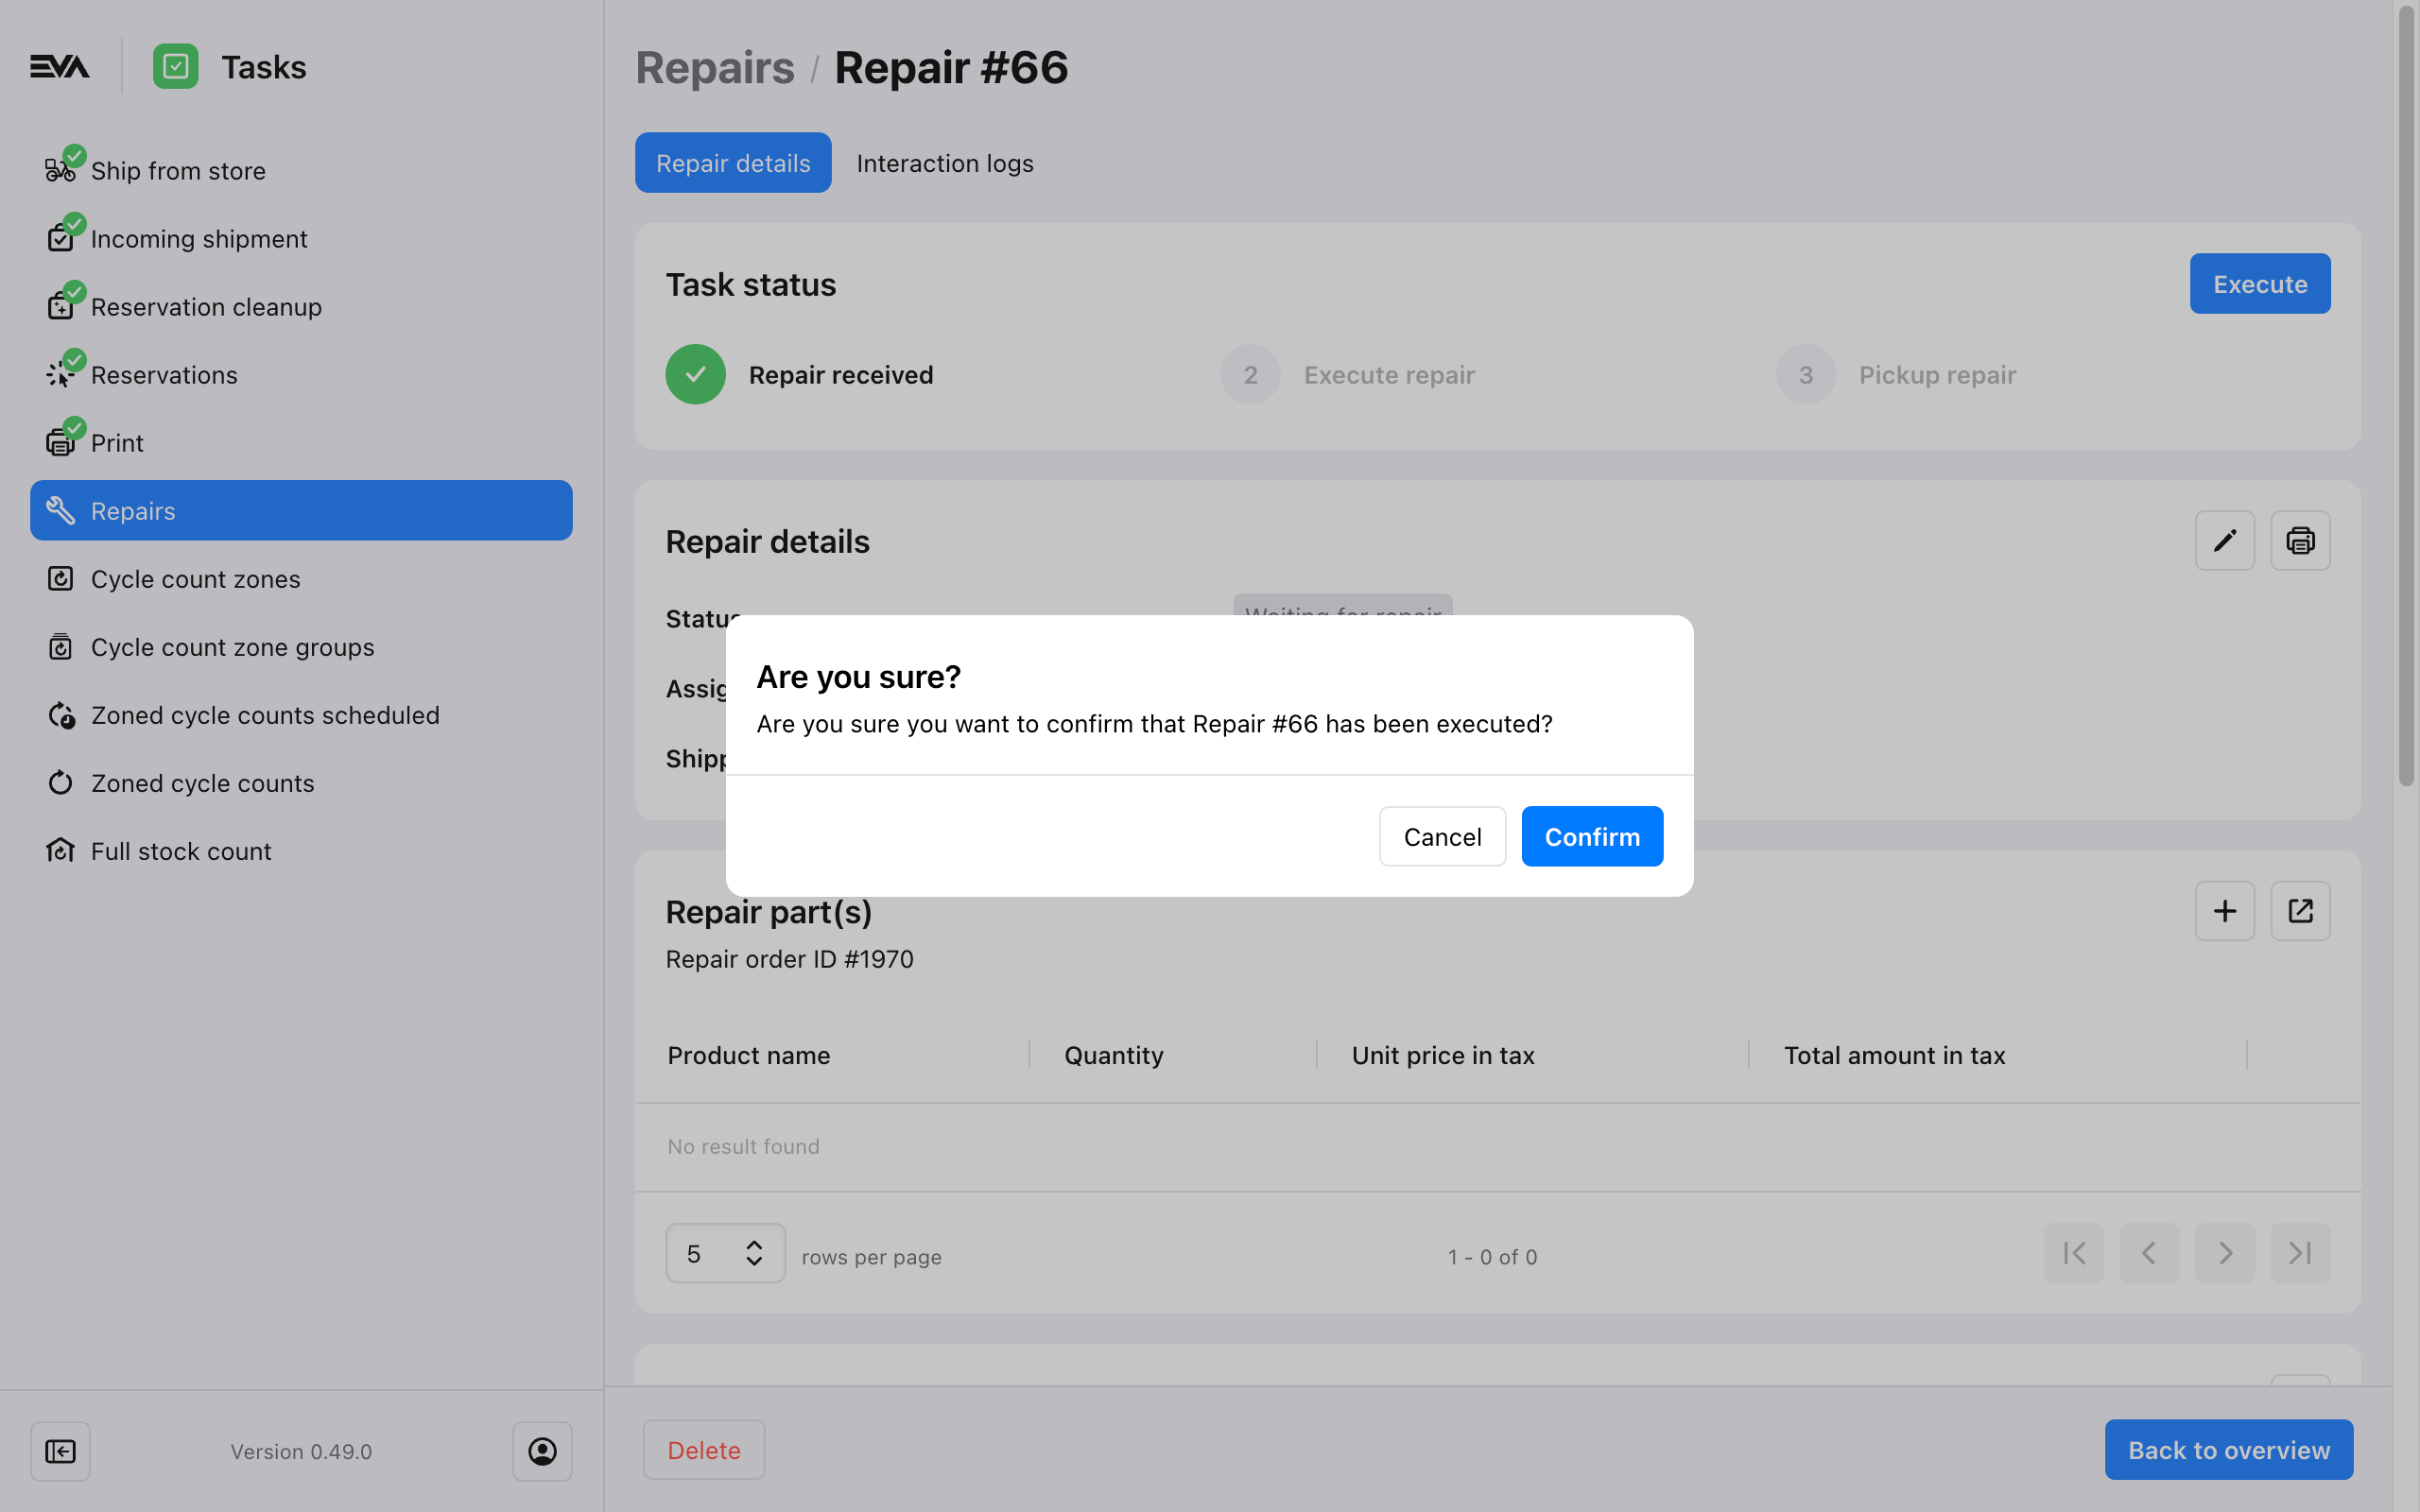
Completing a repair
Completing a repair gives you a full overview of the repair and comes with a range of (required and optional) choices.
After completion of the repair task, you'll be automatically forwarded to the corresponding order (which was attached and visible in the overview as well) allowing you to request payment for any open amounts.
Getting the product to the customer
Depending on what you selected during the execution of the repair in the Tasks App, the product is either shipped back to the customer, or the customer is expected to pick it up.
Whichever you picked, after completion of the repair, its task will be displayed in the corresponding tab in the main overview in Admin Suite. You can then indicate whether it's completed easily by means of giving it a checkmark.
Currently only the Tasks App supports the selection for shipping/pickup of the repair.
Configuration of the pickup task and the corresponding message templates are described in the Tasks App section.
Repair Request Status Tracking with Stencils
Using stencil templates you can set up a consumer-focused repair request tracking system.
Below is a table of stencils available for implementing this tracking system. These templates help ensure that consumers receive timely updates throughout the repair process.
| Template Name | Purpose | Trigger Moment | Format |
|---|---|---|---|
| PrintCreateRepair (only applies if the Receive method selection was “Goods are present” or when the item is received in case Receive method selection was “Goods will be shipped"). | Repair request received. | When a repair request is received. > Task status: “Repair received”. > Status in overview: “Waiting for repair” | Thermal print |
| ImmediateRepairCreated (only applies if the Receive method selection was “Goods are present”) | Repair request received. | When a repair request is received. > Task status: “Repair received”. > Status in overview: “Waiting for repair” | |
| DeferredRepairReceived (only applies if the Receive method selection was “Goods will be shipped”) | Repair item received. | When a repair request is received. > Task status: “Repair received”. > Status in overview: “Waiting for repair” | |
| RepairCompleted | The repair process is complete. | The repair status is “Completed”. > Task status: “Repair executed”. > Status in overview (if Shipping option selection is “Pickup”): “Waiting for pickup” > Status in overview (if Shipping option selection is “Delivery”): “Waiting for shipment” | |
| RepairReadyForPickup (only applies if the Shipping option selection was “Pickup”) | The item is ready for pickup. | The repair status is “Ready for Pickup”. > Task status: “Repair collected”. > Status in overview: “Finished” | |
| RepairShipped (only applies if the Shipping option selection was “Delivery”) | The item is ready & has been shipped to the registered address. | The repair status is “Shipped”. > Task status: “Repair collected”. > Status in overview: “Finished” | |
| RepairCancelled | The repair process is cancelled. | The repair status is “Cancelled”. |