Employees chapter
Employees
Managing employee (user) records on Admin SuiteAdding and editing users is best done in Admin Suite's Employees chapter.

To access this chapter, you need the Employees functionality.
Permissions are managed from the Roles and rights chapter namely, from the functionalities card of a users role.
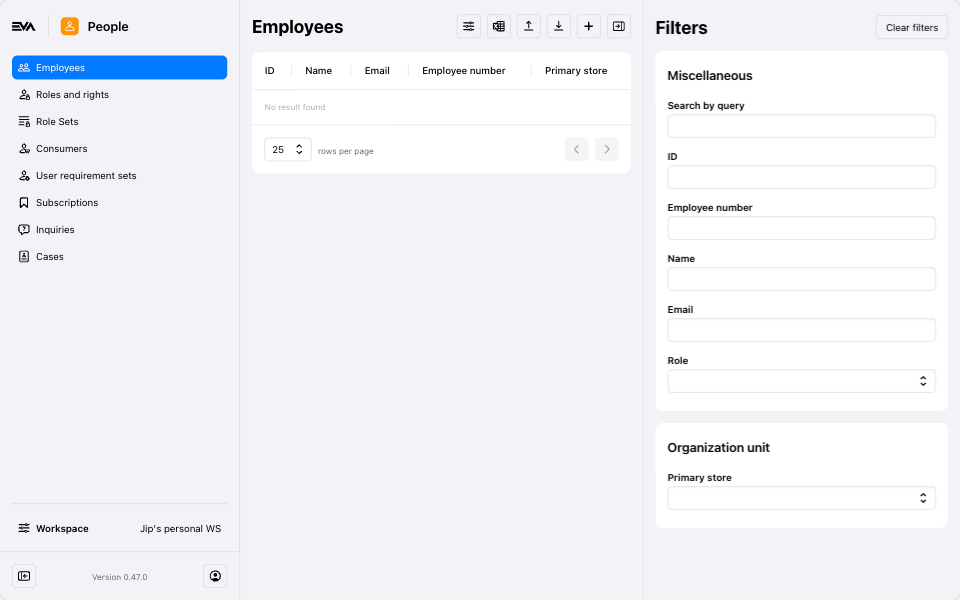
The filtered employees overview will only display employees where:
- The inquiring/logged-in user has the View Employee scope, and
- The OU is part of the inquiring/logged-in users permissions.
Adding a new user
One at a time
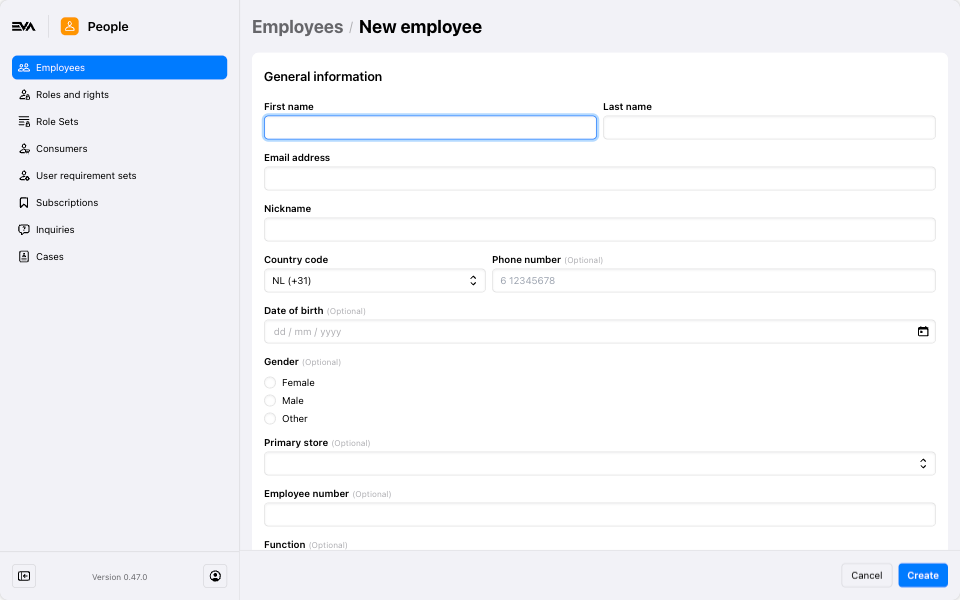
If you want to add a user, click the '+' add button. Mandatory fields are marked with an asterisk (*).

Note that although Email address and Nickname are required at first, adding either will remove the requirement for the other field.
Permissions for the user are set after creation, see the next section Editing an existing user
You will only be able to create employees if you have the required rights in the OU you want to make them.
Bulk uploads
If you want to add bulk employee uploads, use the 'Download employee sample file' and 'Upload employee sample file' icons. Fill in the required details in the employee sample file you downloaded (First name, Last name, Email address and/or Nickname are mandatory fields), then use the 'upload' icon.
The user would need a specific permission called UploadEmployees for this feature to be available for use.
Permissions are managed from the Roles and rights chapter namely, from the functionalities card of a users role.
Take the following in mind when uploading employees:
- Re-download the employee sample file each time you want to upload users; do not use a pre-saved/older version of the file you may have used in the past;
- Never change the formatting of the excel file.
If the creation is blocked because of user requirements, you can use the Ignore user requirements checkmark in the upload to override that.
If your upload goes well, you'll see a toaster stating "Successfully uploaded employee sample file".
Editing an existing user
Select a user from your list to edit personal details and preferences, set permissions, request a password reset, delete, and more.
To edit an employee email address or nickname, or to recover an employee account, the user must have the RecoverEmployeeAccount functionality.
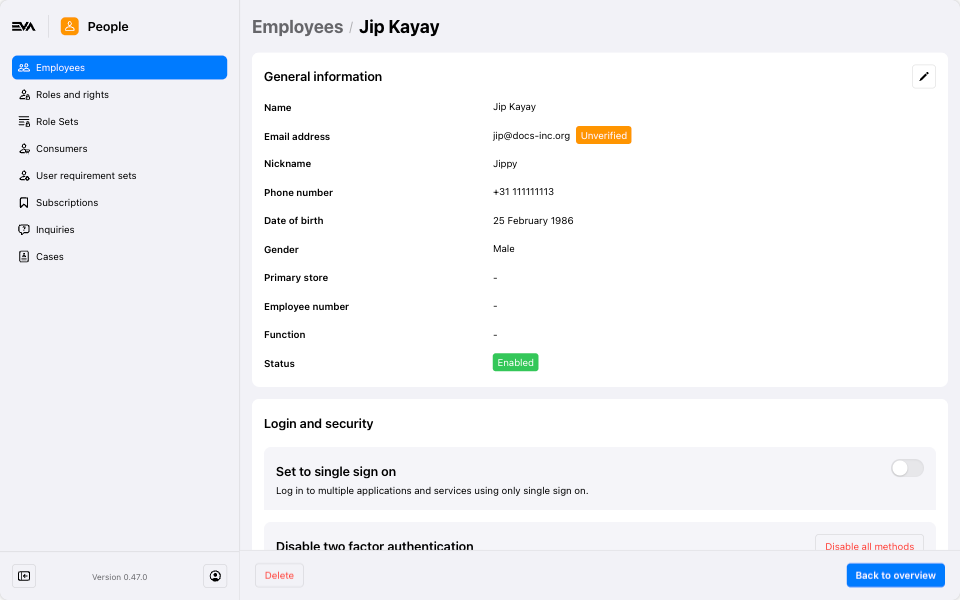
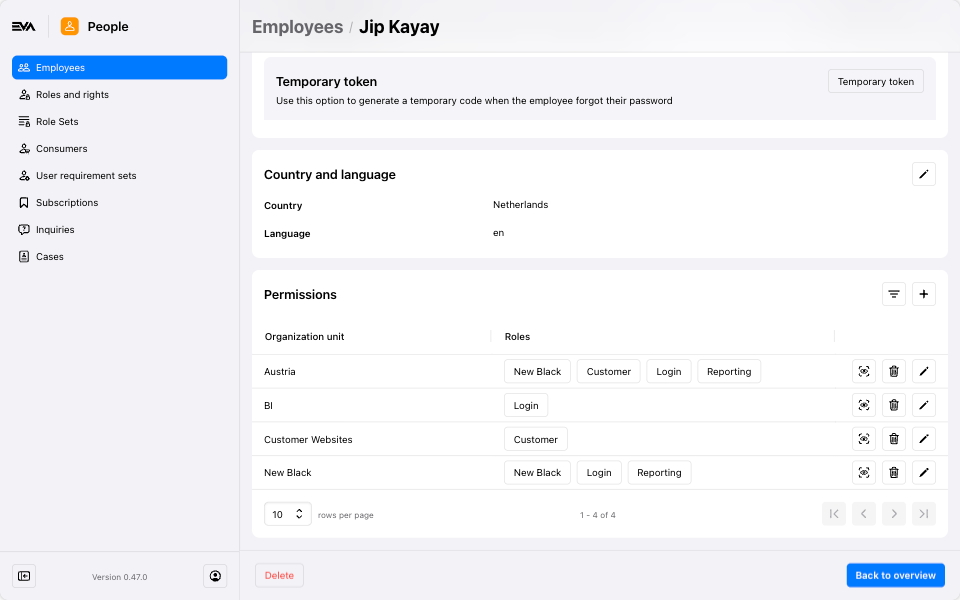
By clicking on any of the existing users, you'll be presented with four cards:
- Employee information: Edit personal details. Tip: The email address can be verified by the employee himself from his/her profile page.
- Login and security: Here you can:
- Disable two-factor authentication - can be used in cases where a user gets locked out of their account and a reset to the basic authentication flow of password is needed.
- Single sign-on - Enabling this will allow only SSO as the sign-in method for the user. Check Single sign-on docs for more.
- Recover account - used when the user no longer has access to his email address and needs to recover account.
- Temporary token - quite handy if the user forgot password. The 6-digit code prompted can be temporarily used to sign-in. Don't forget to change the password once they're in again.
- Country and language: Quite self-explanatory, you can set/change those preferences here.
- Permissions: Set/edit user permissions.

You also have a filter option on the right side pane where you can refine the search results of existing users.
Primary store field dropdown
When editing an existing employee user, you can change a user's Primary store. Setting such a store leads to the following functionality:
- The Sold by Checkout option only displays users with that store set as their primary store.
- EVA will preferably log users into into their primary store. Only if a user has a higher (parent) OU configured, will the user be logged into that store. The latter is to facilitate management options.
This dropdown list includes an informative text stating "If the organization unit you expected isn't available in this list, please create a new employee to access other visibility groups". This is to hint users about any Visibility group configurations in place that might be impacting such list of available OUs to choose from.
Permissions
User permissions can be set under the add or edit modals. The available selection for roles would be based on your existing setup of roles and rights. The same applies to the available selection you'll have here for organization units.

Download the employee list
You can download a list of employees by clicking the 'Download' icon in the top right of the overview. Select the desired organization unit or leave the selection empty to download a complete list of employees. This list will also show each employees assigned role(s).
After you click the Download button, an Excel file will download with all the information.