Orders
The Orders tab gives you an overview of all orders associated with your OU.
A few actions can also be performed (if appliacable) like:
- Create a return
- Create a basket
- Manage Cases
- Manage Subscriptions
But wait, there's more!
View Orders
To view all Orders, tap the Orders button on the main screen.
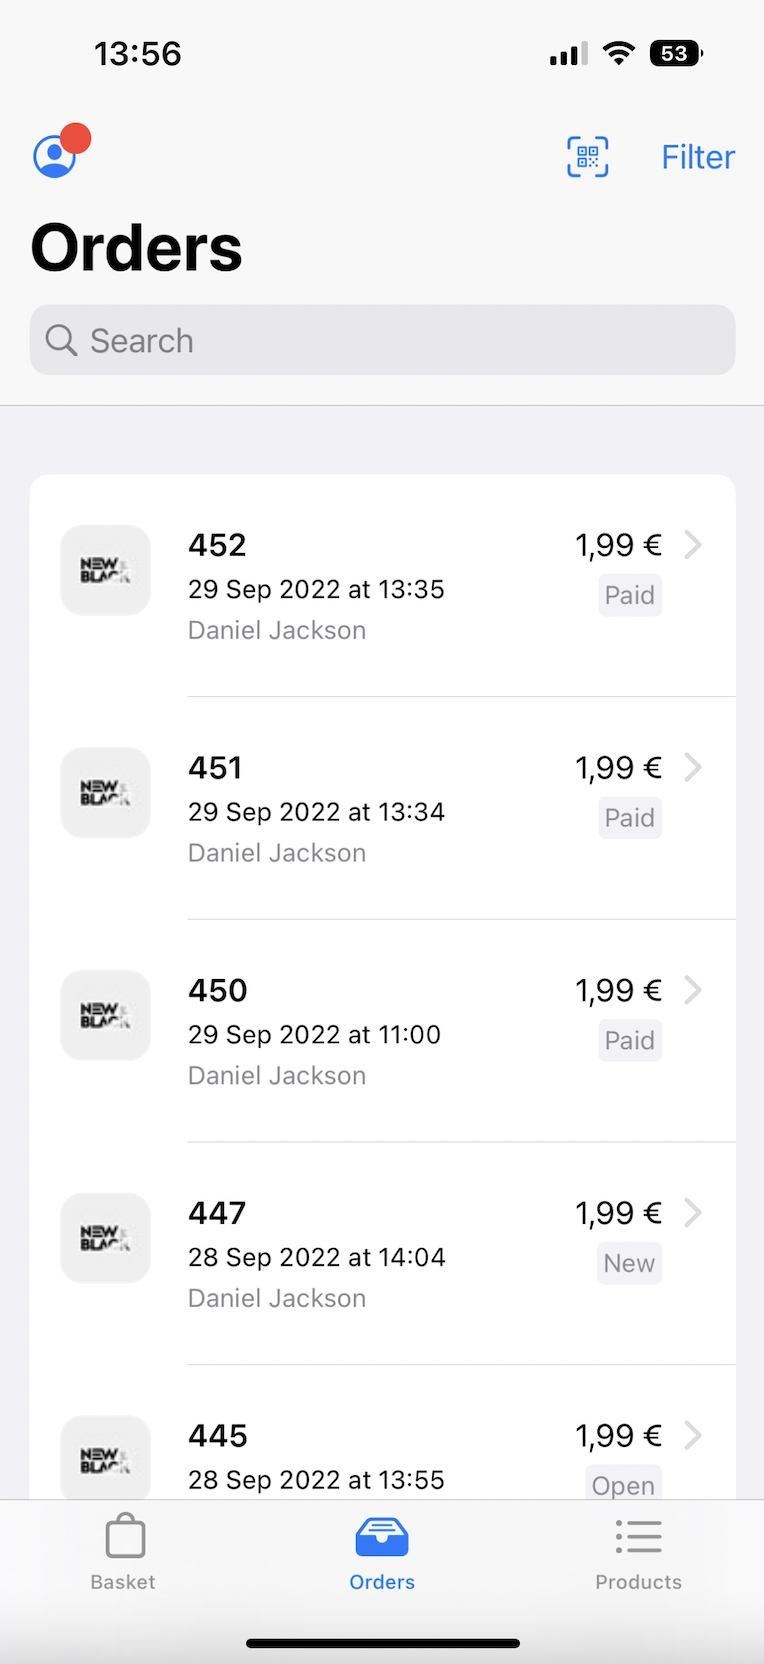
Make use of the search feature where a name find or a QR-Code scan is possible to quickly find an order.
If you want to know more, check the documentation on the search feature of the Loyalty App which operates in the same way.
Filtering
The Filter button in the top right can be used to narrow your search result. This button will present you with various options to filter on like Order status, Creation date, and more. If you want to clear all the applied filters, you can simply use the Clear All Filters button.
If you'd like to focus on your sales order, you can filter out the internal transfer orders. When App:Orders:HideTransferOrders is set to true, transfer orders are filtered out by default. When set to false or unset, we don't filter out transfer orders.
A number will appear next to the filter button in the main overview specifying the number of filters applied.

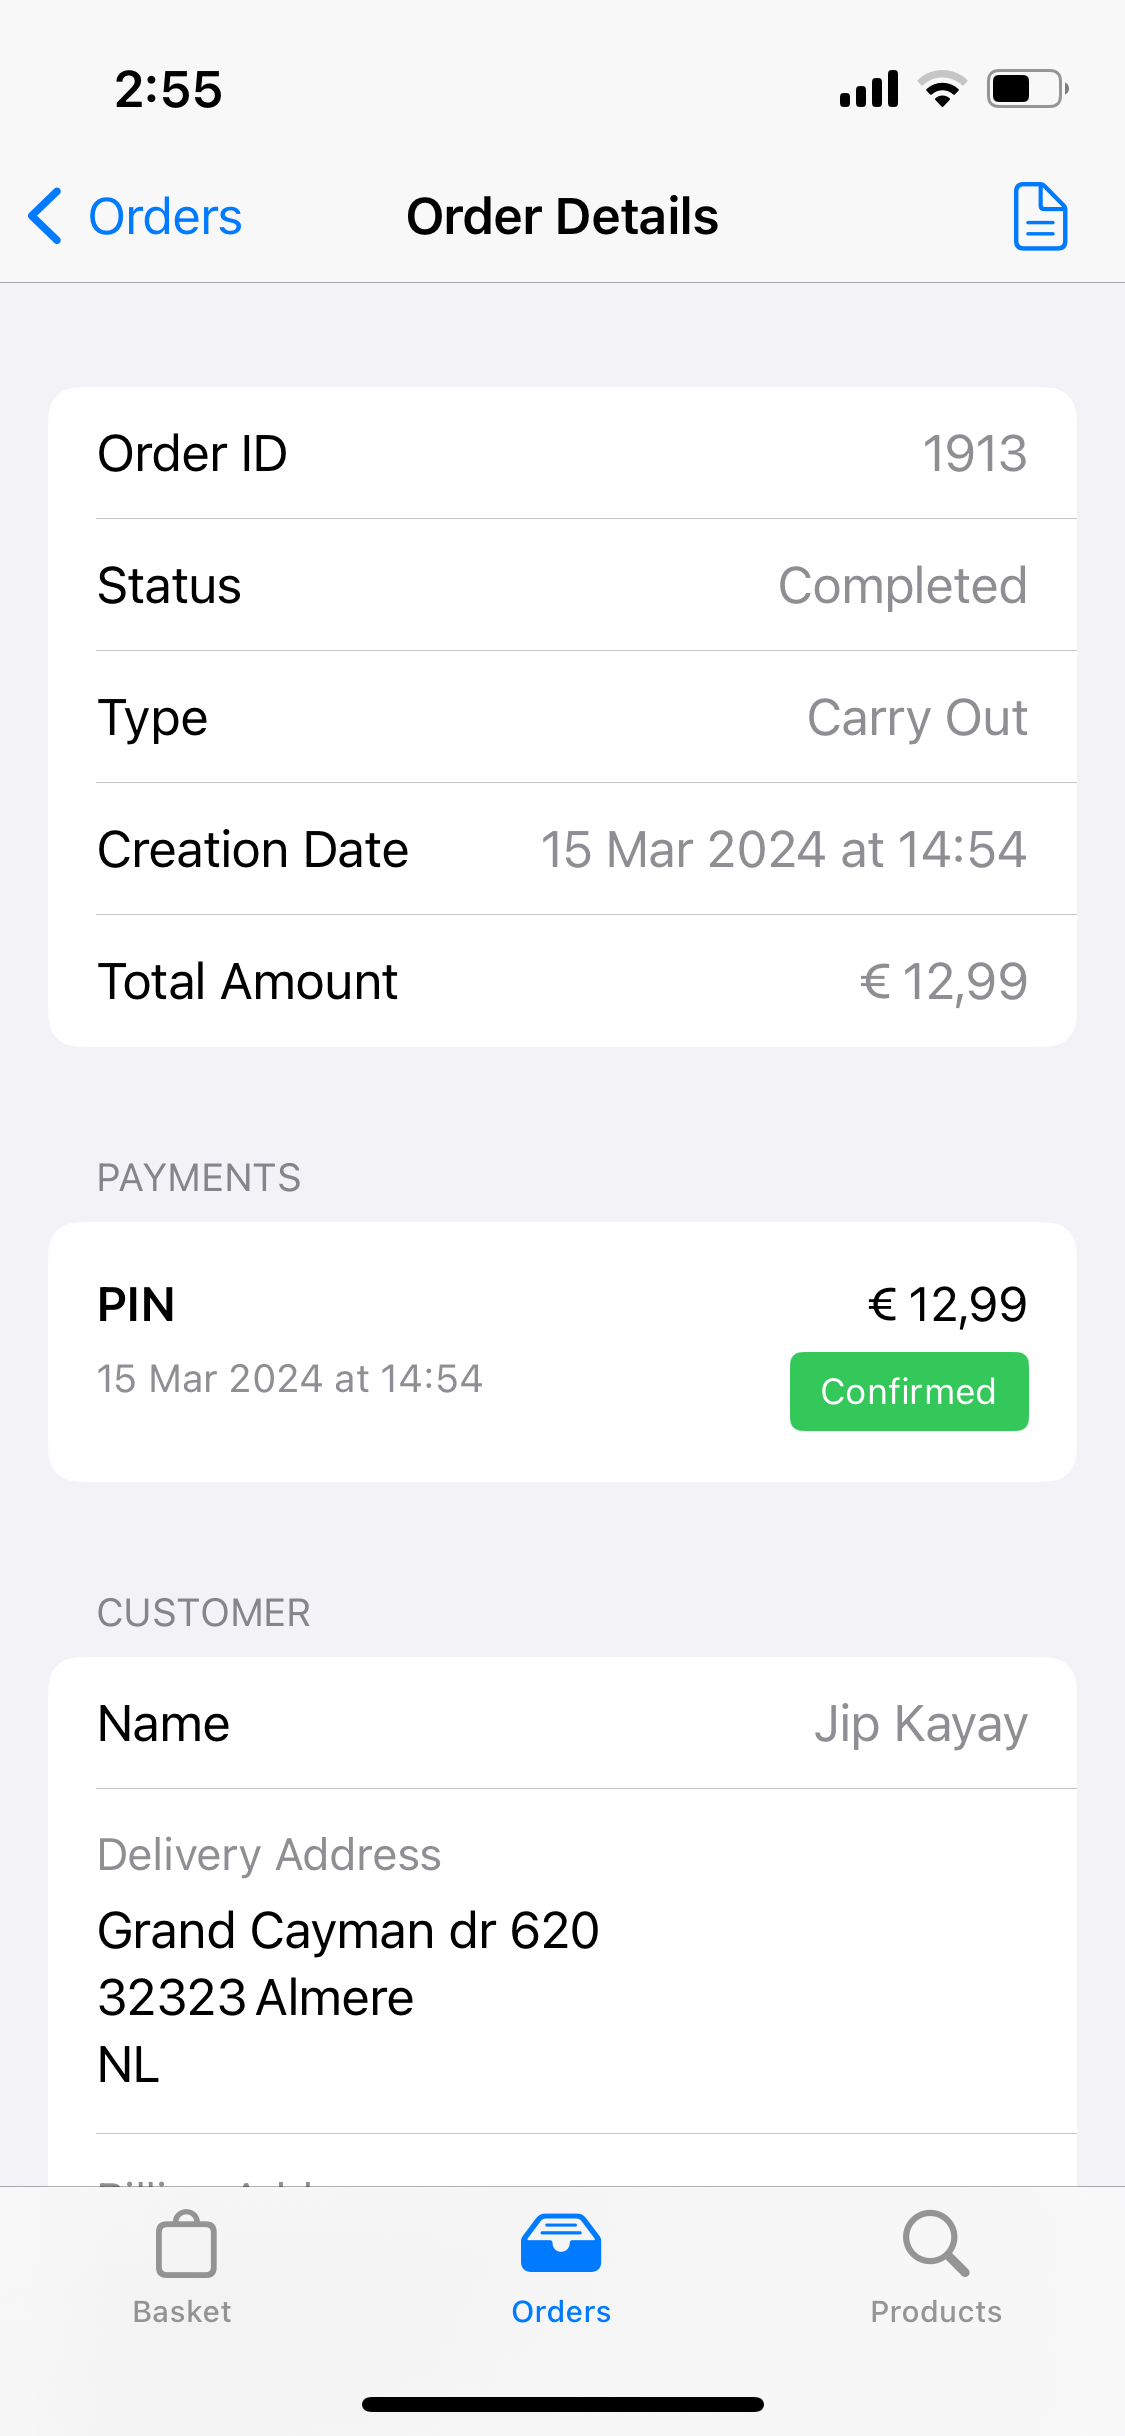
View Order Details
Tapping an order will open the Order Details page (ID, status, type, product lines, etc.).
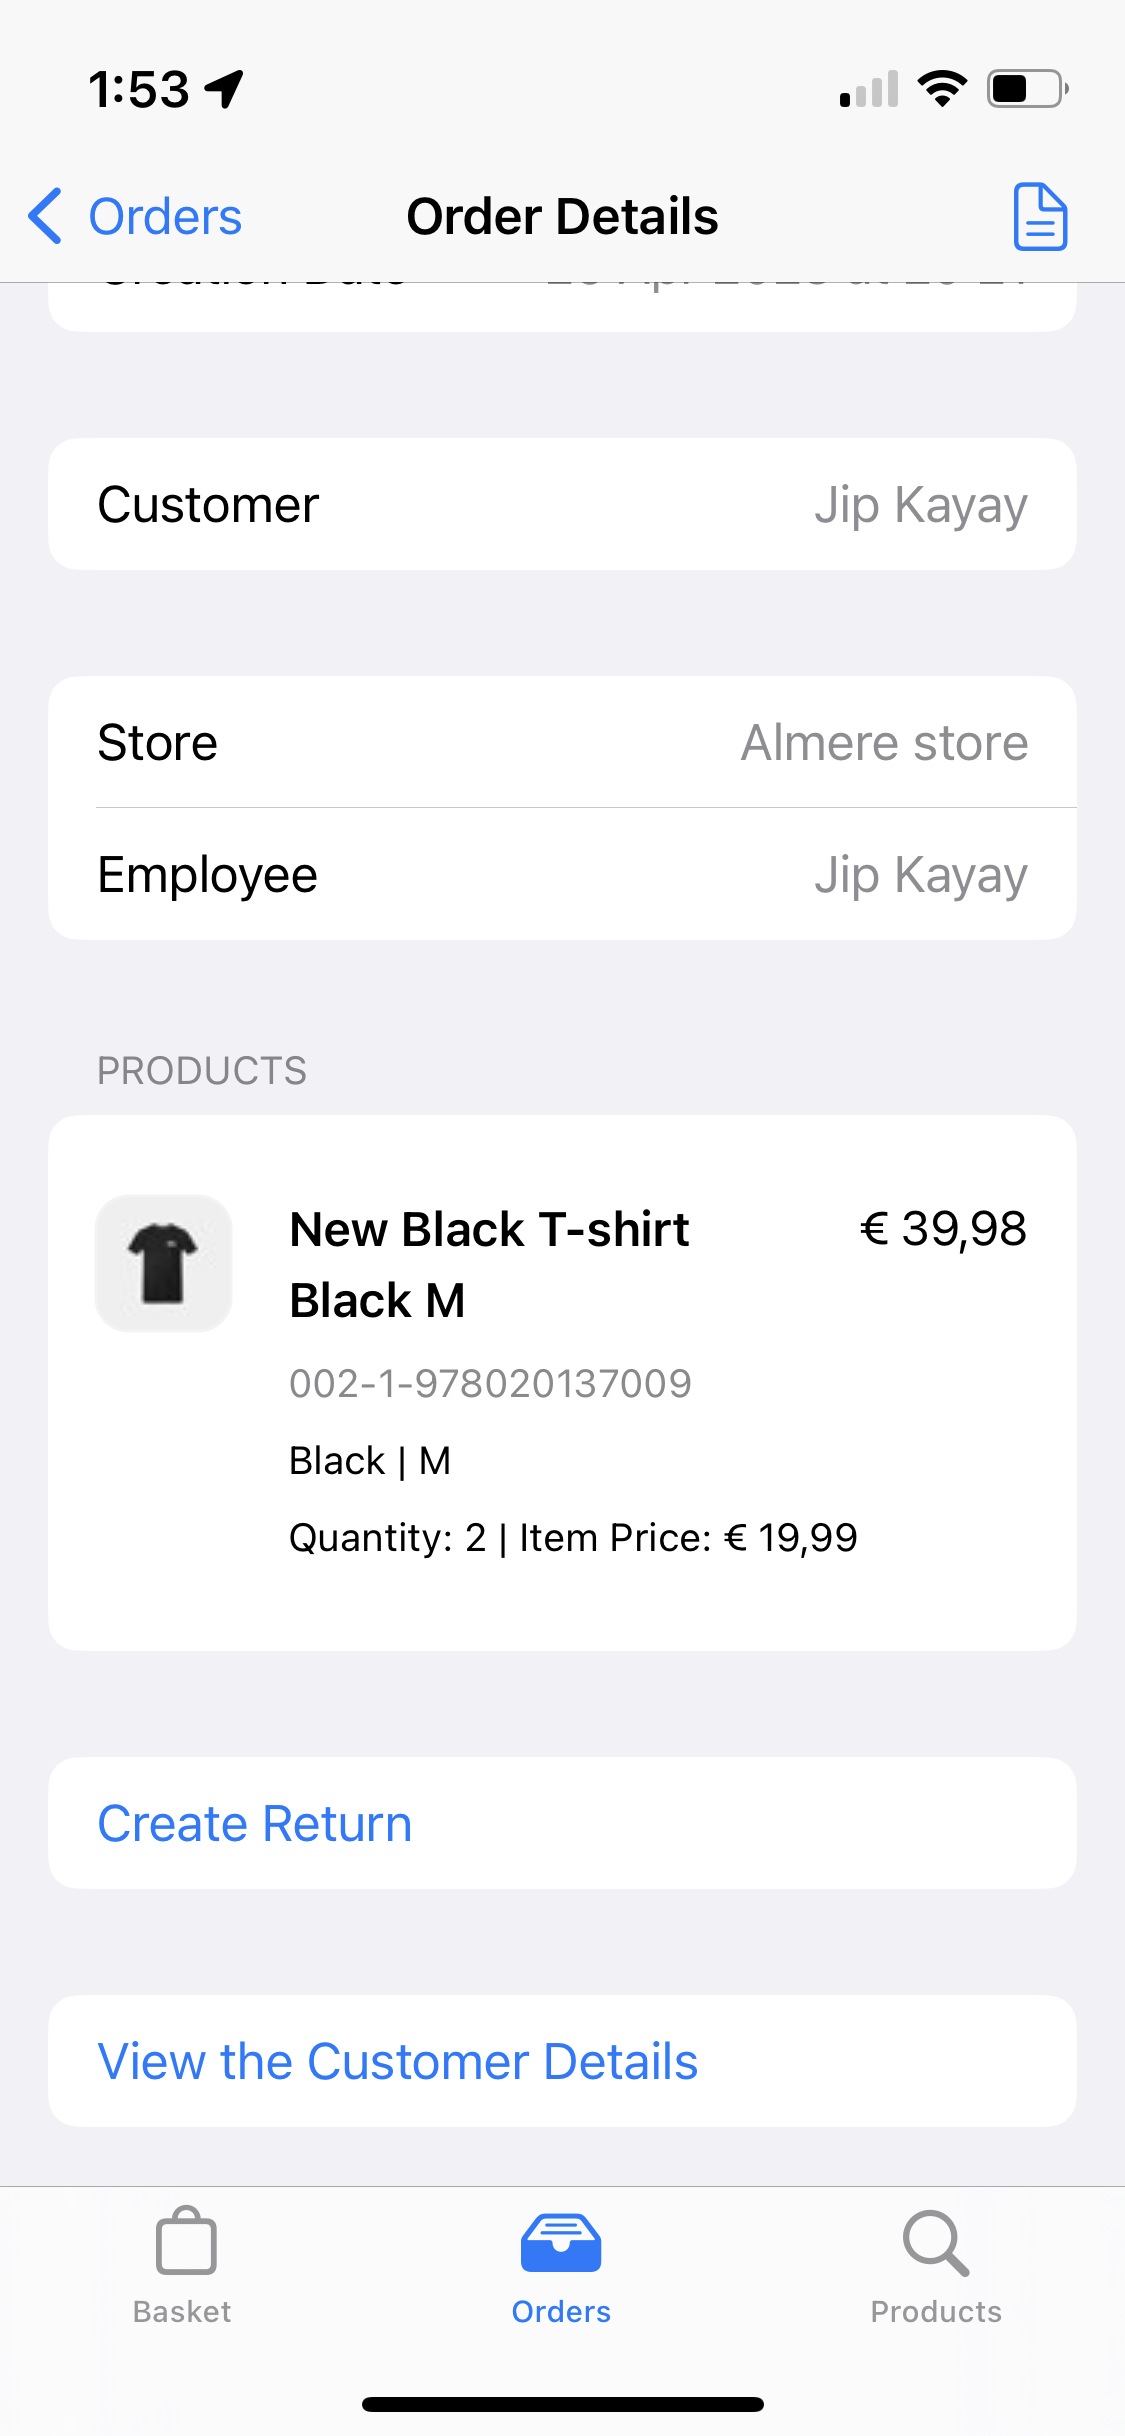
Next to the details, you'll also have a few options like, Create Basket, Create Return, View the Customer Details, the created by/sold by employee name, and more.
Payments
The payments section shows the used payment method(s) and the respective status.
Expand to see possible statuses
The buttons for Create Basket or Create Return will differ based on the order status. An order with a Completed status will only display the Create Return button, while other order statuses will only display Create Basket.
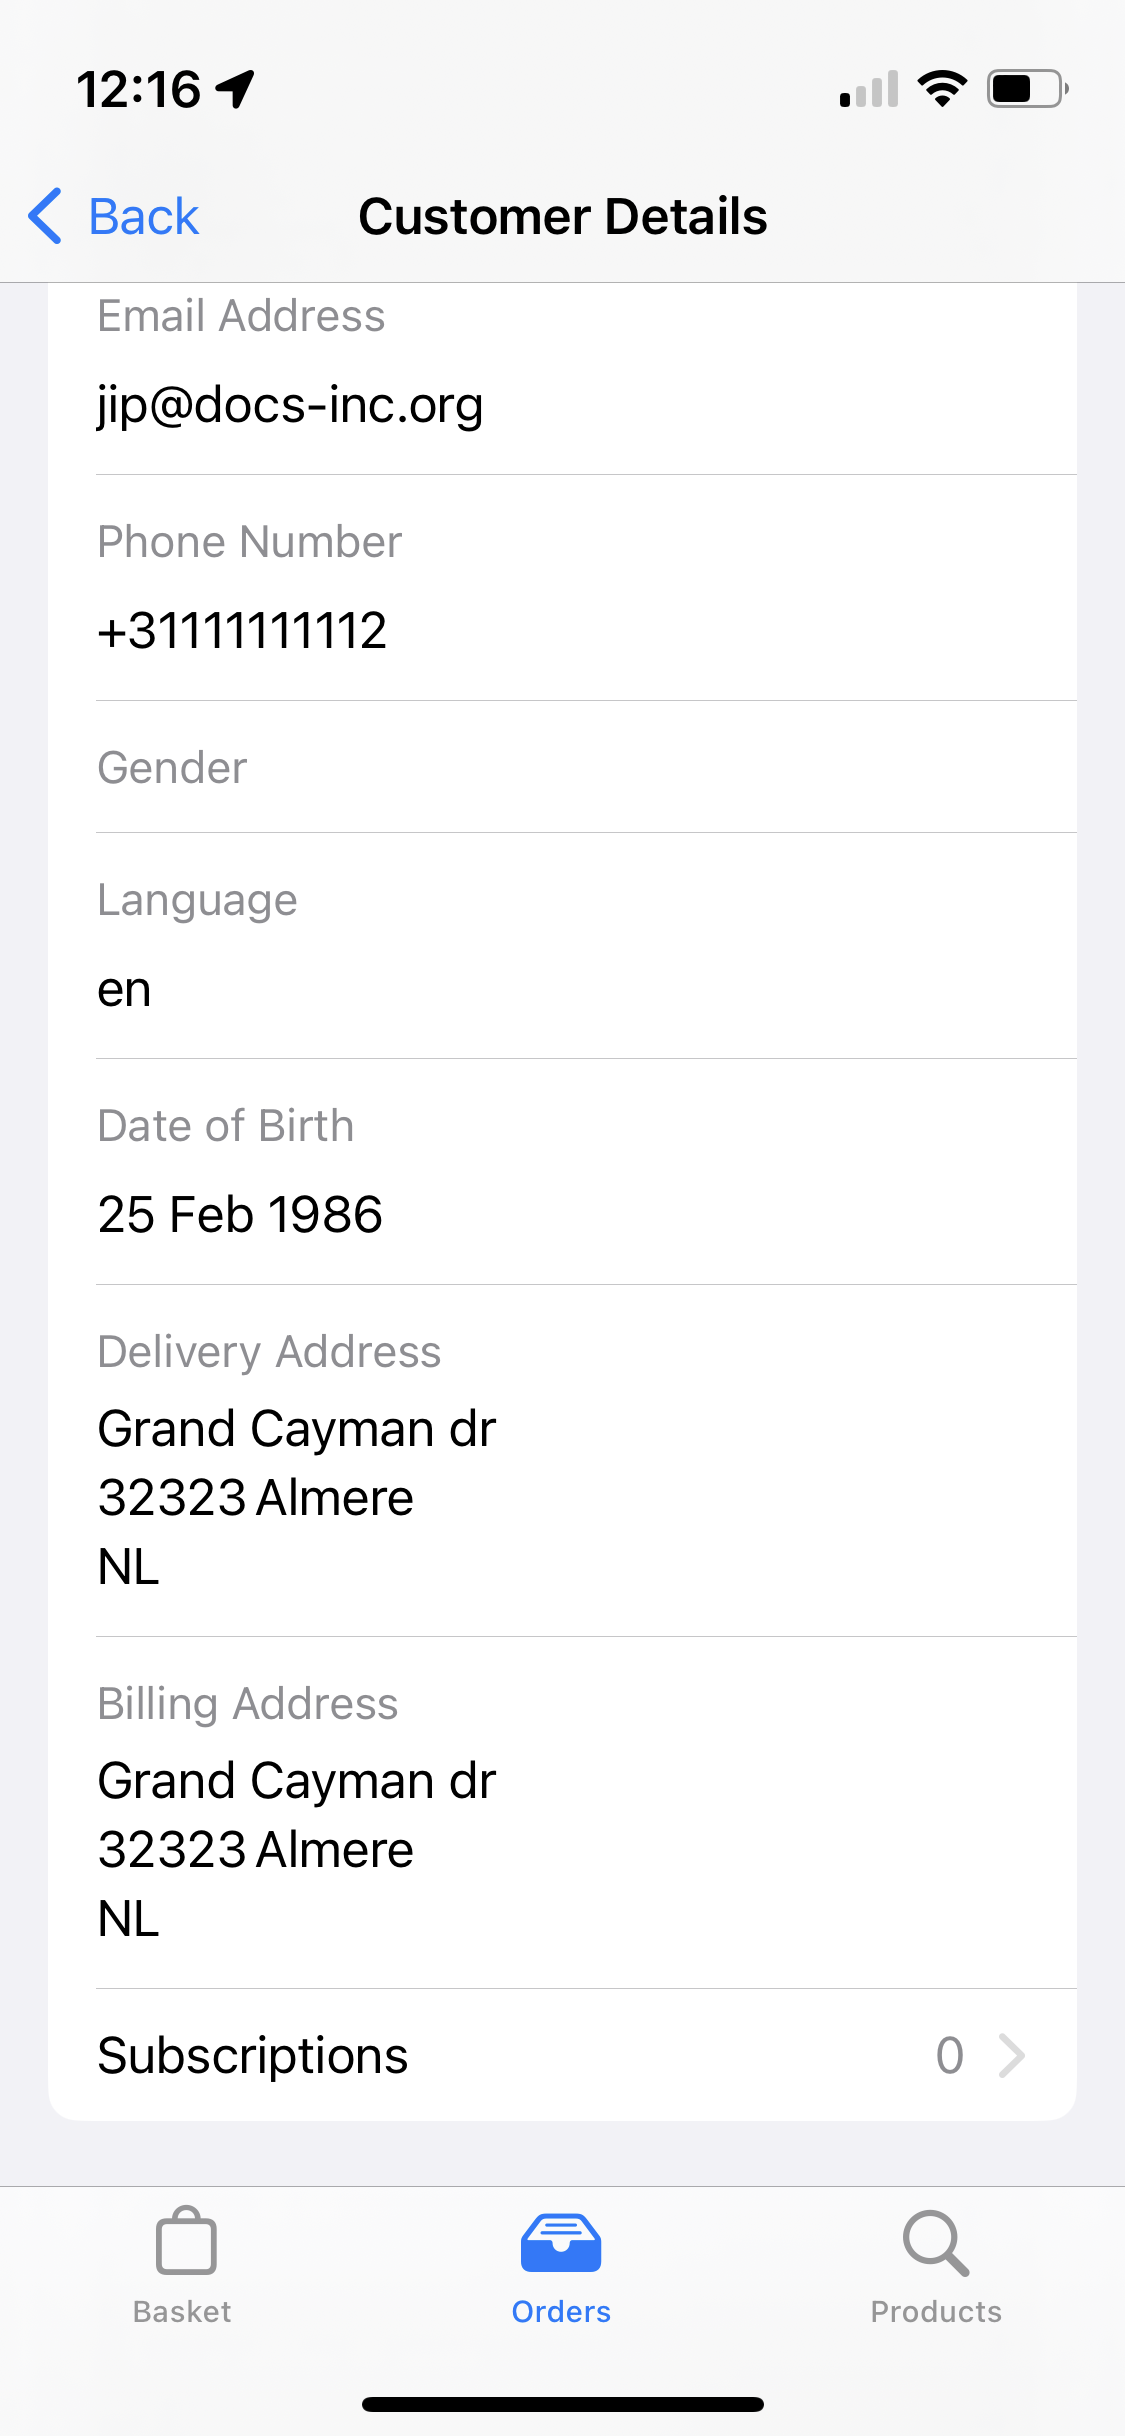
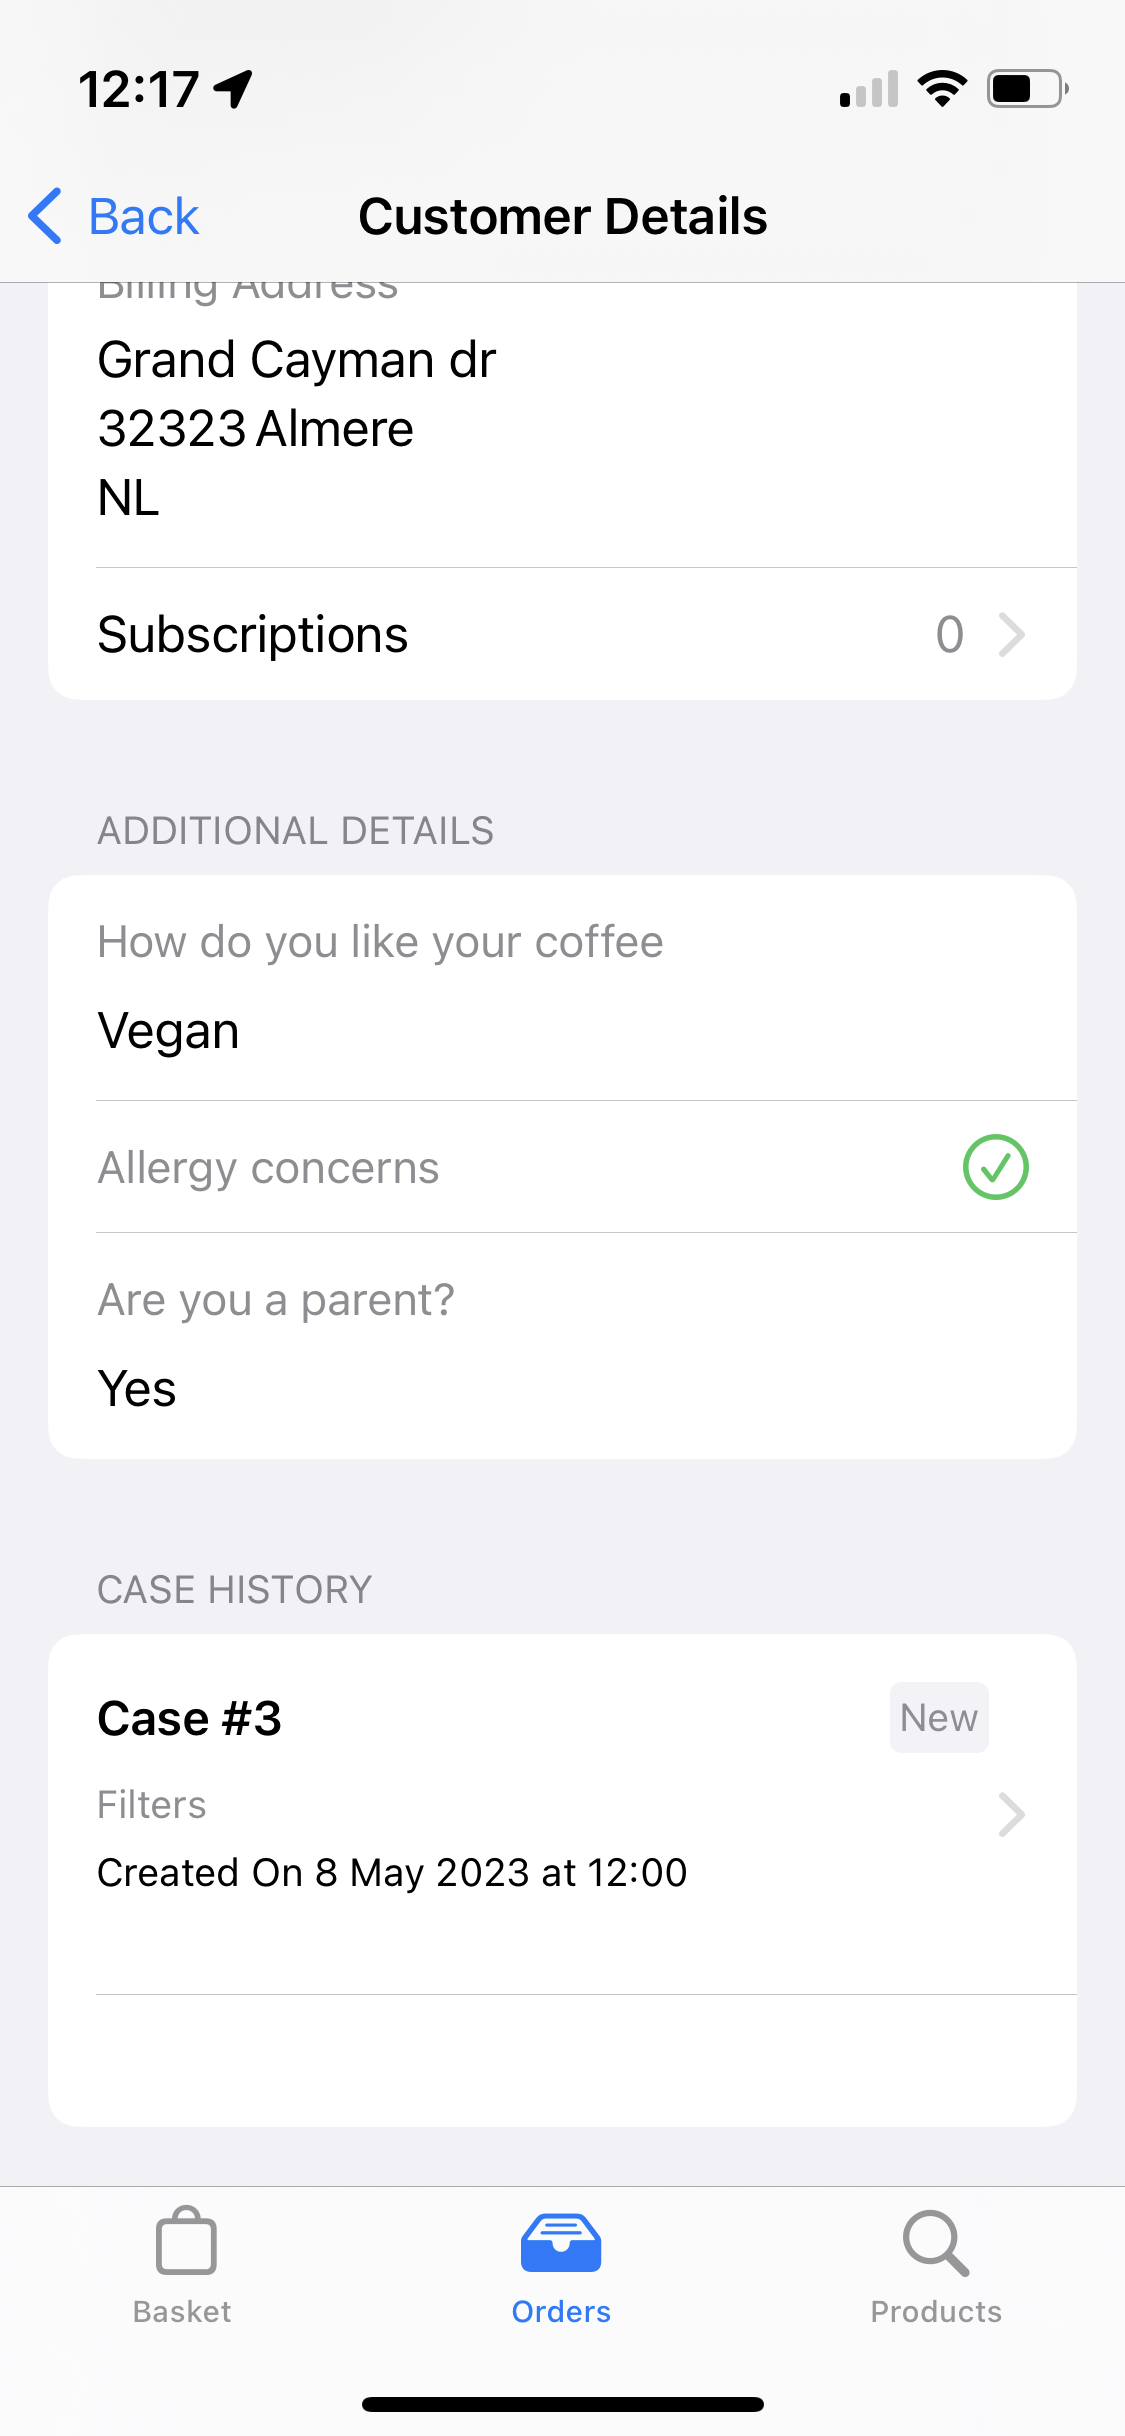
View Customer Details
To get the customer details, tap on View the Customer Details at the bottom of the order.
You can't edit customer details here. For that, please use the Customer App. However, some aspects related to subscriptions and cases can be performed from here.
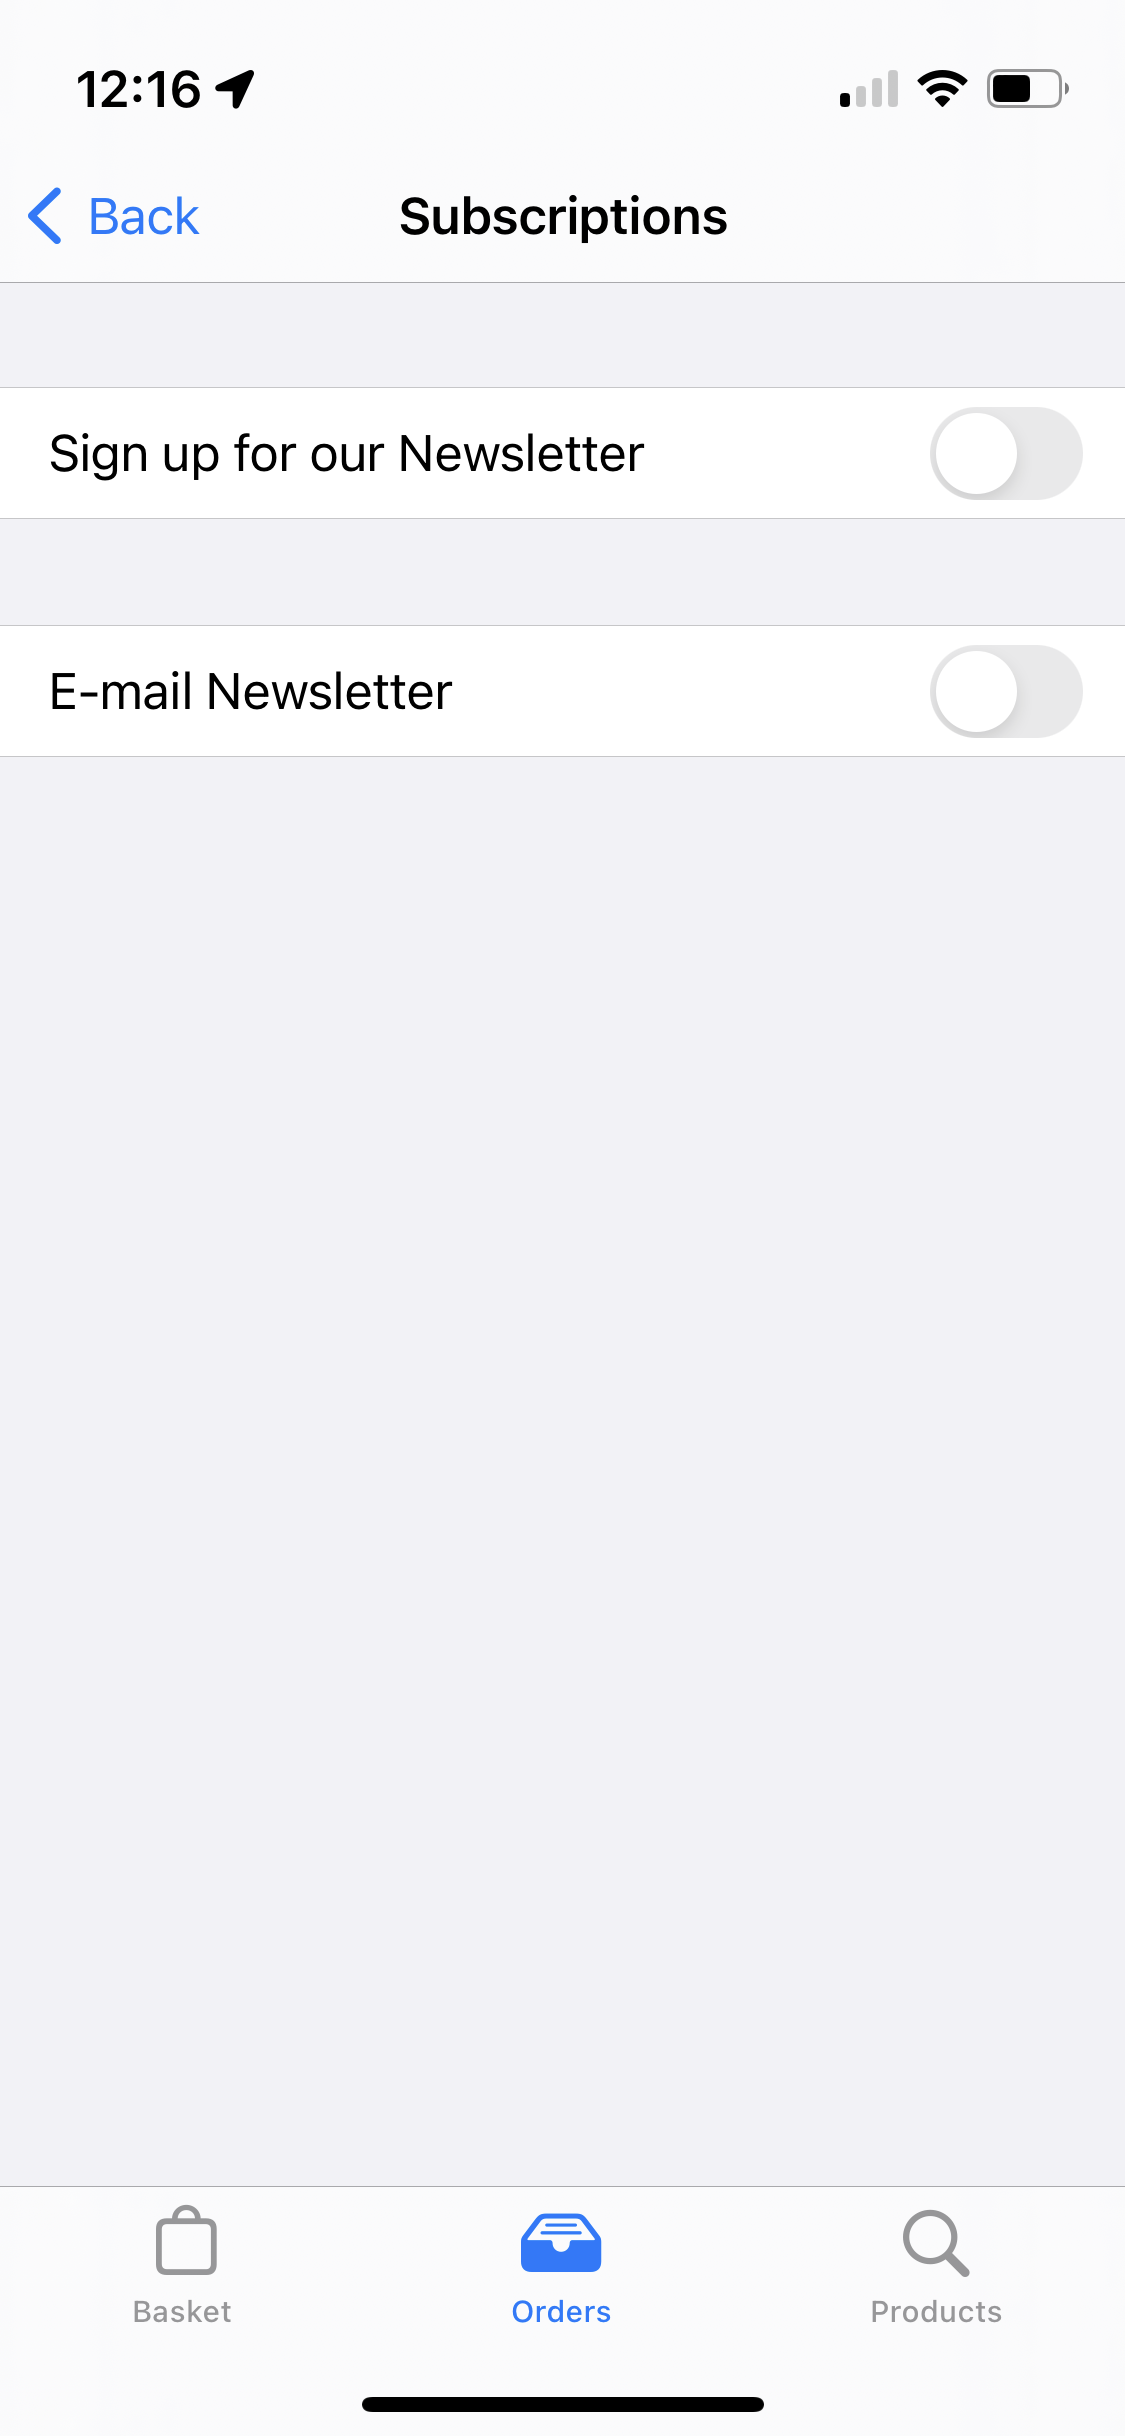
Subscriptions
Manage customer subscriptions by using the Subscriptions button.
From there, you can subscribe or unsubscribe the customer from the list available subscriptions.
Cases
In order to be able to view cases, you need the Cases permission with scope View. Other scopes like Create, Edit, and Delete are needed to perform their respective actions.
Permissions are managed from the Roles and rights chapter namely, from the functionalities card of a users role.
Manage existing customer case(s) by tapping the desired case under Case history.
To create a new case head over to Cases in the Loyalty App.
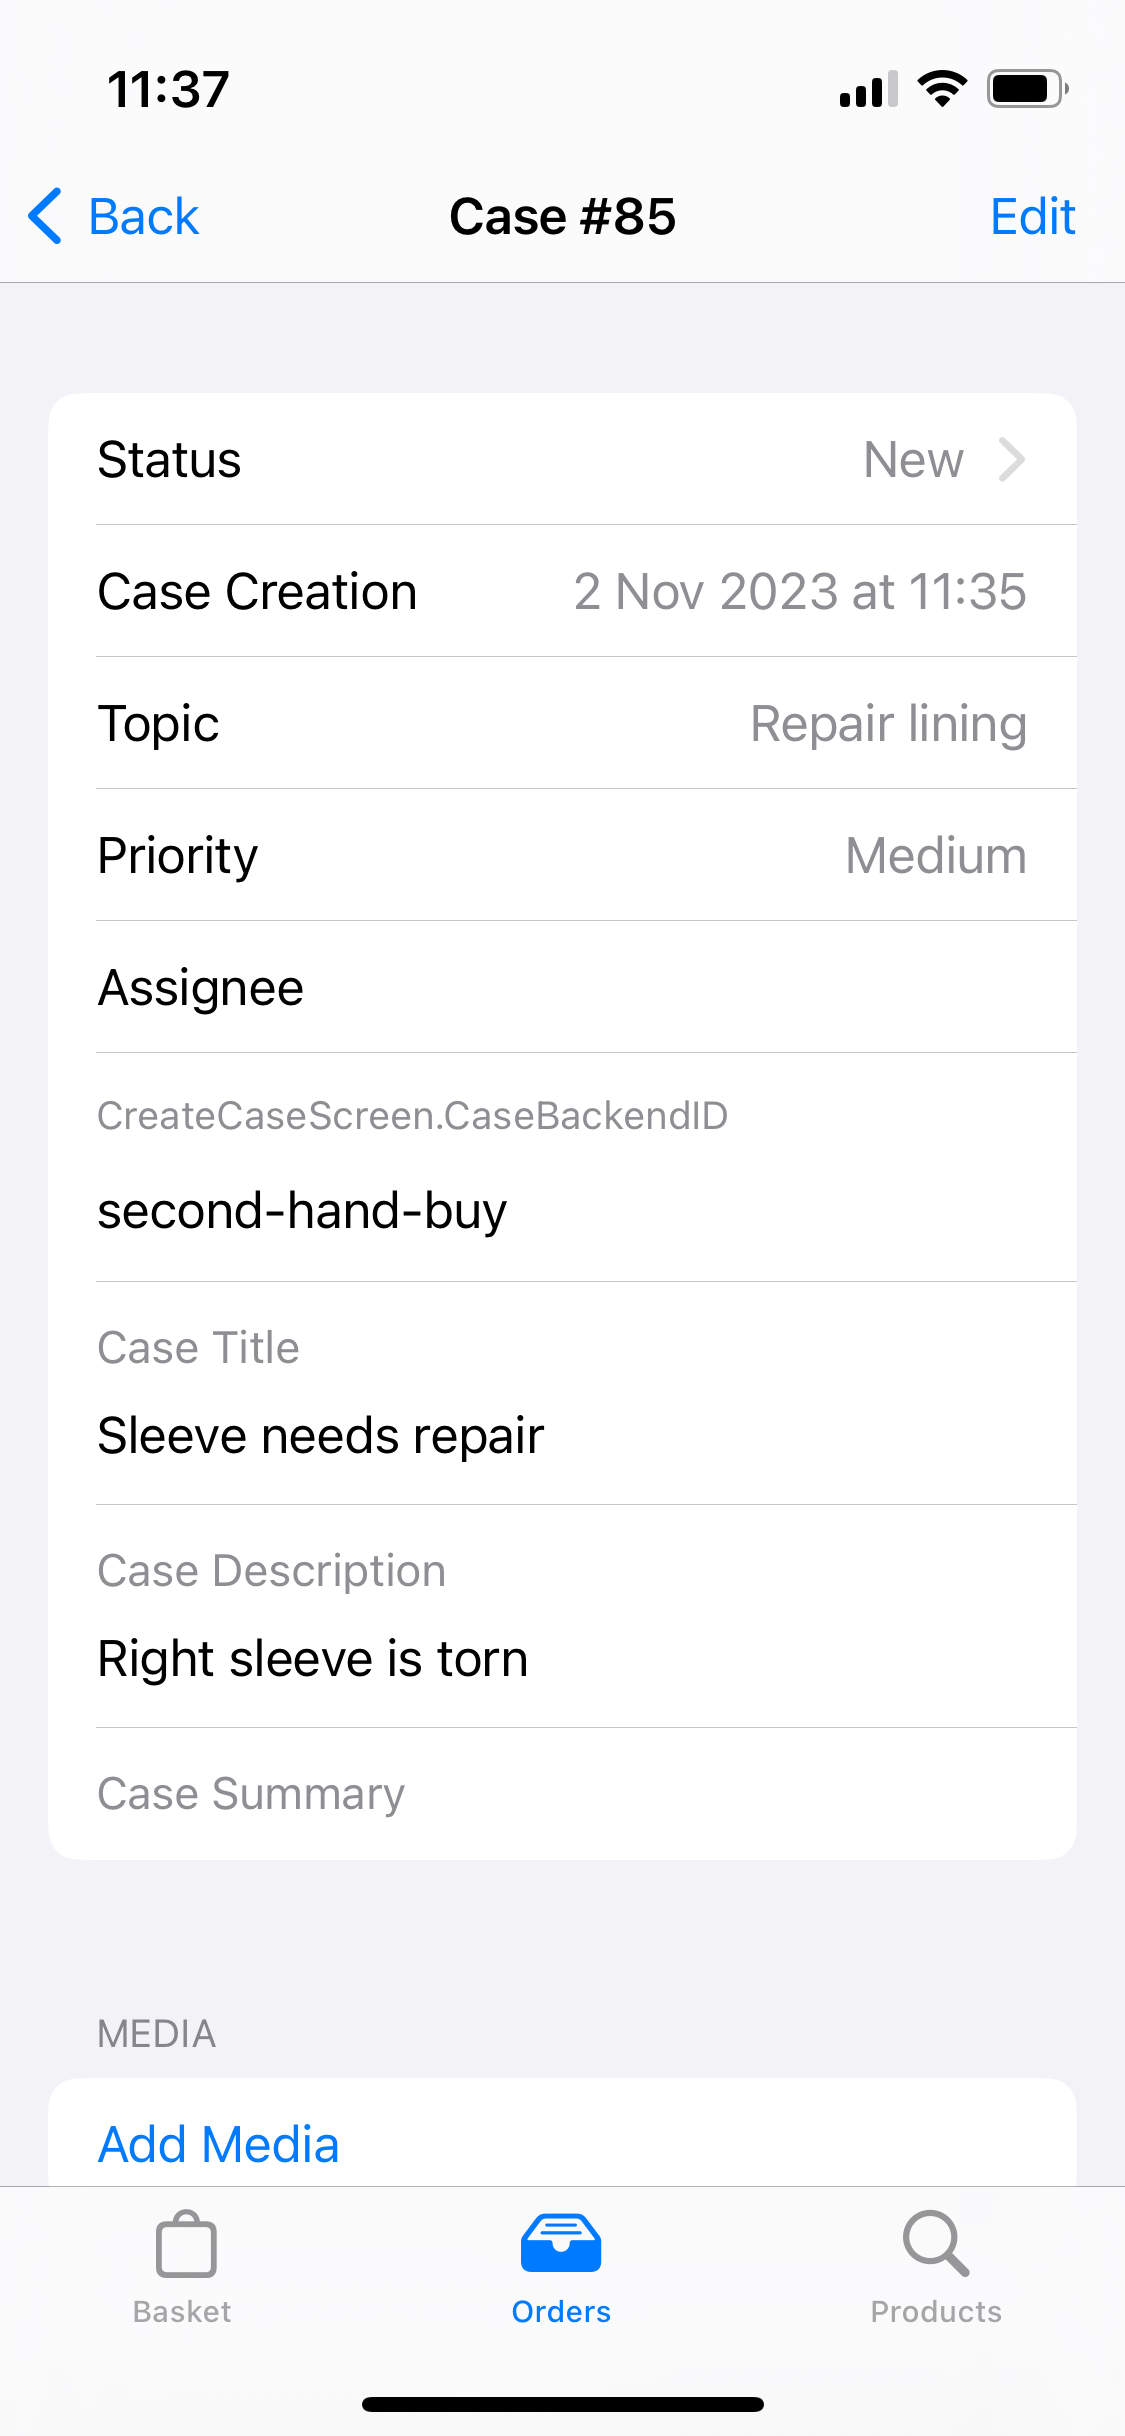
Tapping a case provides an overview, where things like the tagged customer, date of case creation, the topic, and much more can be viewed. Further, you have the option to Add Media (take or upload photo or document), change Case Status, or Edit case details.
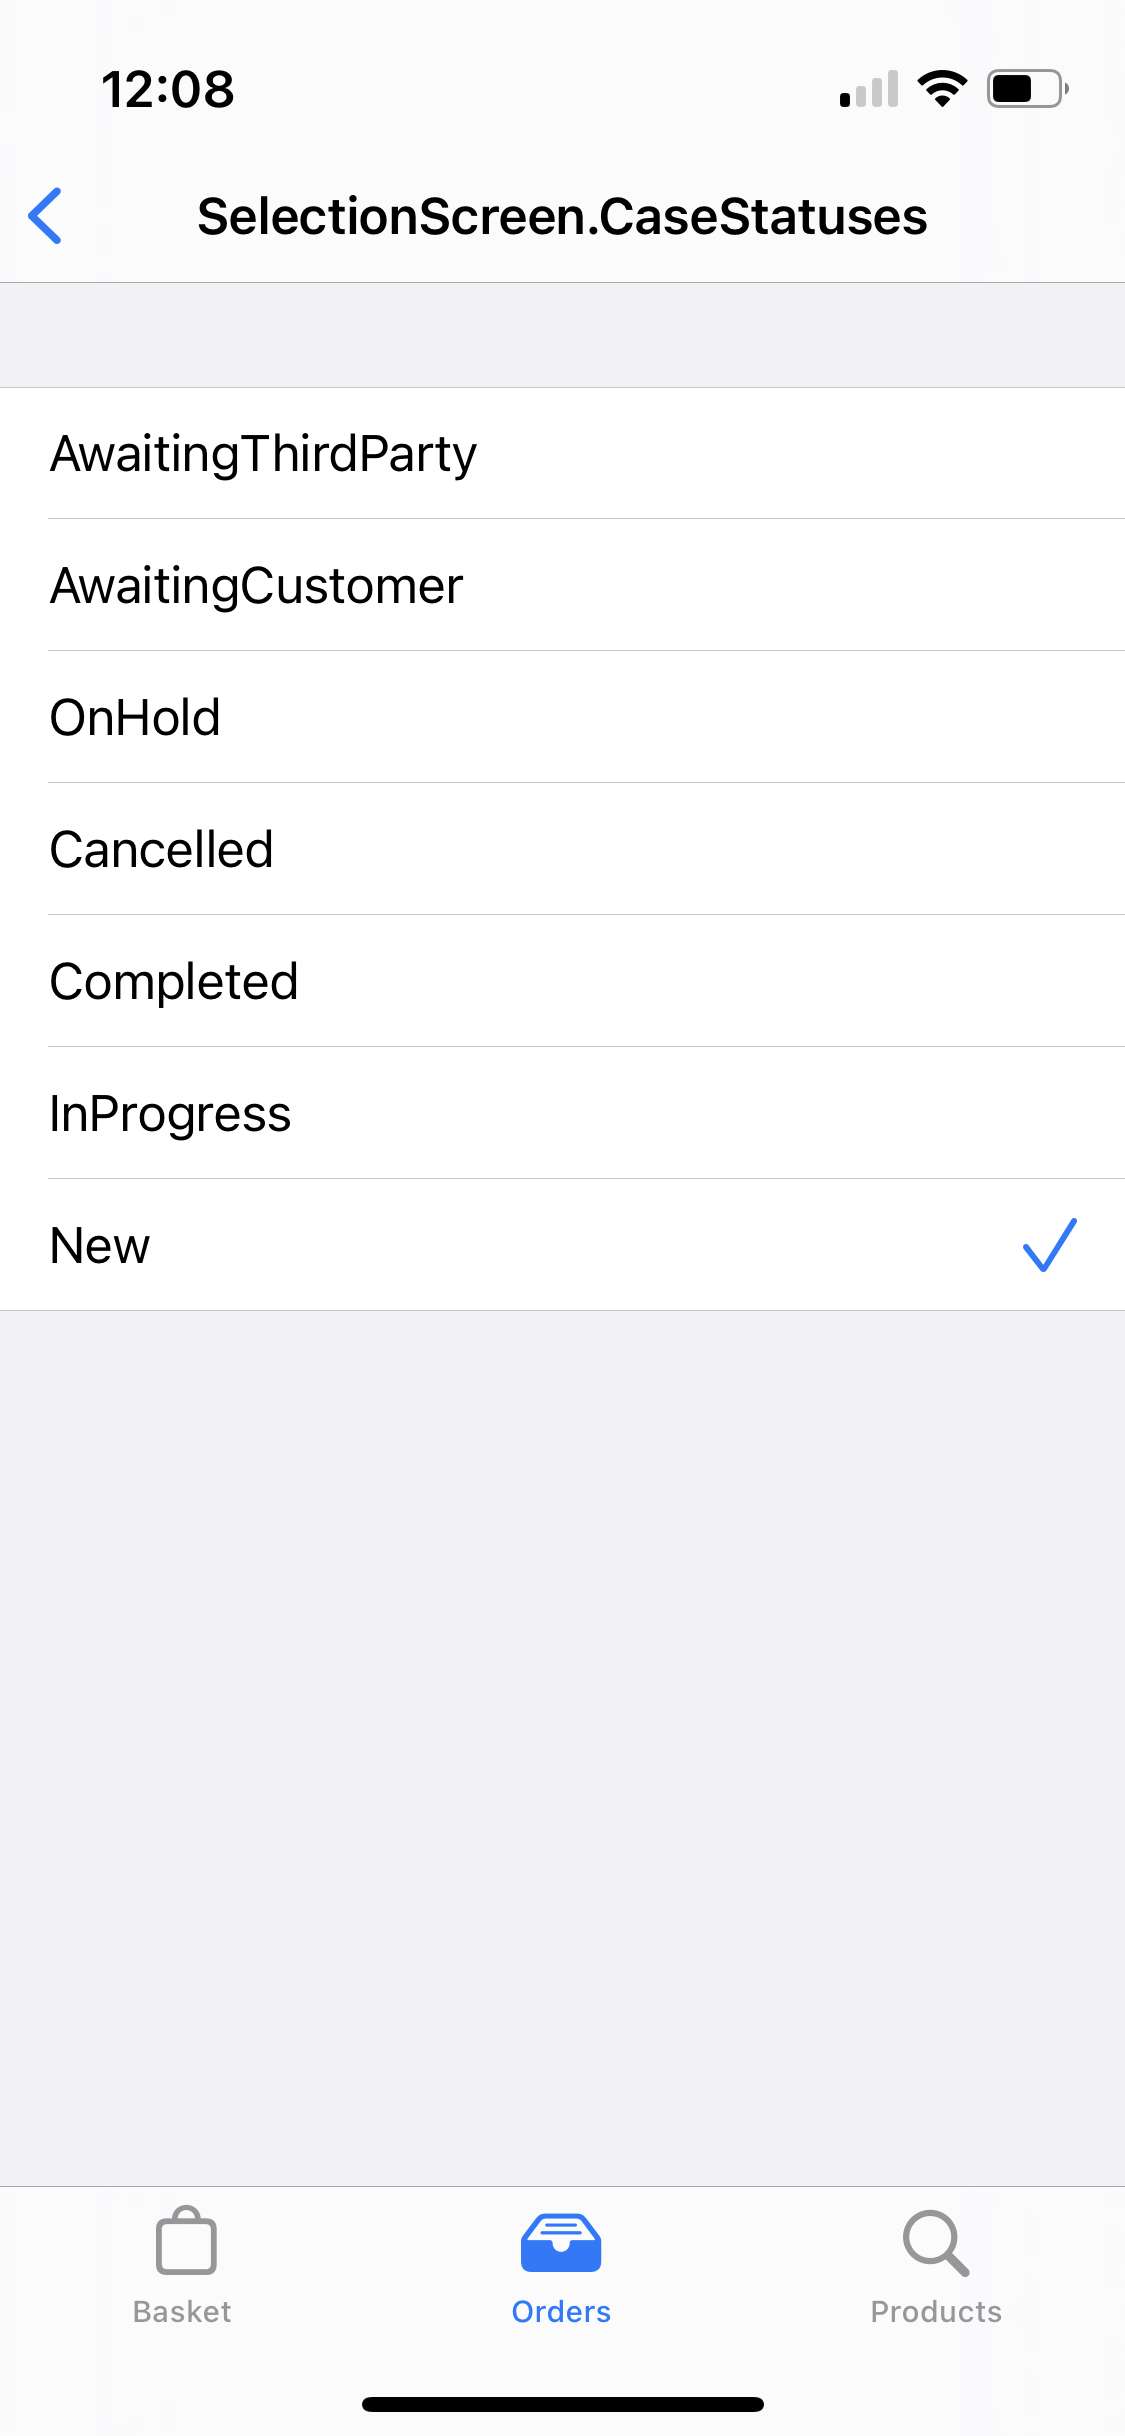
The Case Status button provides a dropdown list with all available options. From there, you can change the status as desired.
The Edit button located on the top right provides you with the option to change a few values such as, topic and Priority, change/add a case description or summary, and edit/specify any custom field input. Further, you can Archive Case.
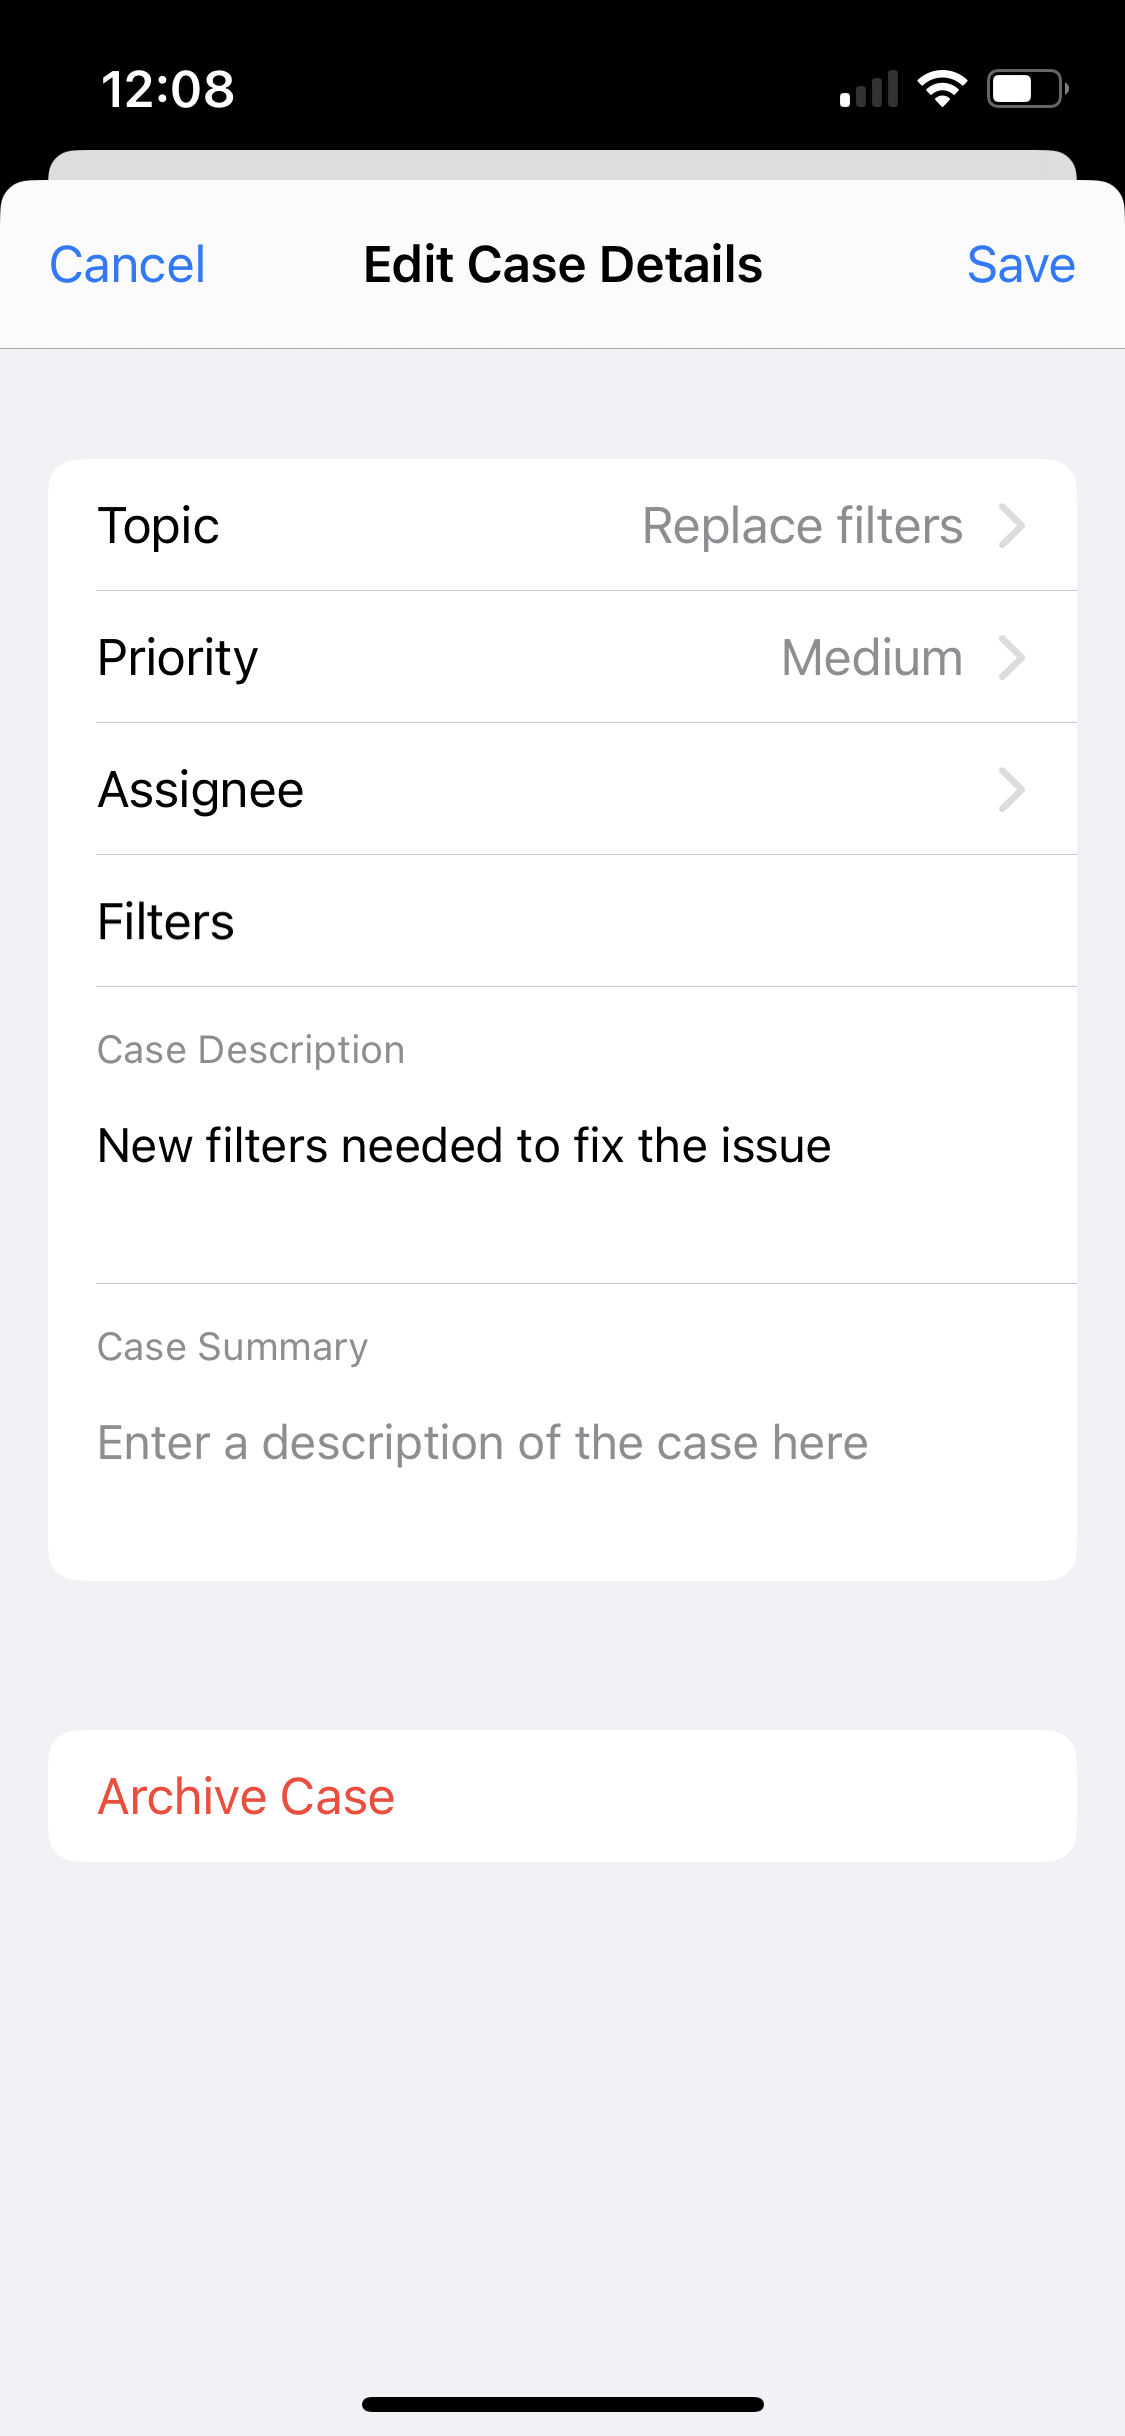
Archive case will only be possible if the Case status has been set to closed or cancelled.
Create Basket
Tap the Create Basket button in the order to move the order over to the Basket tab where you can then proceed with a checkout.
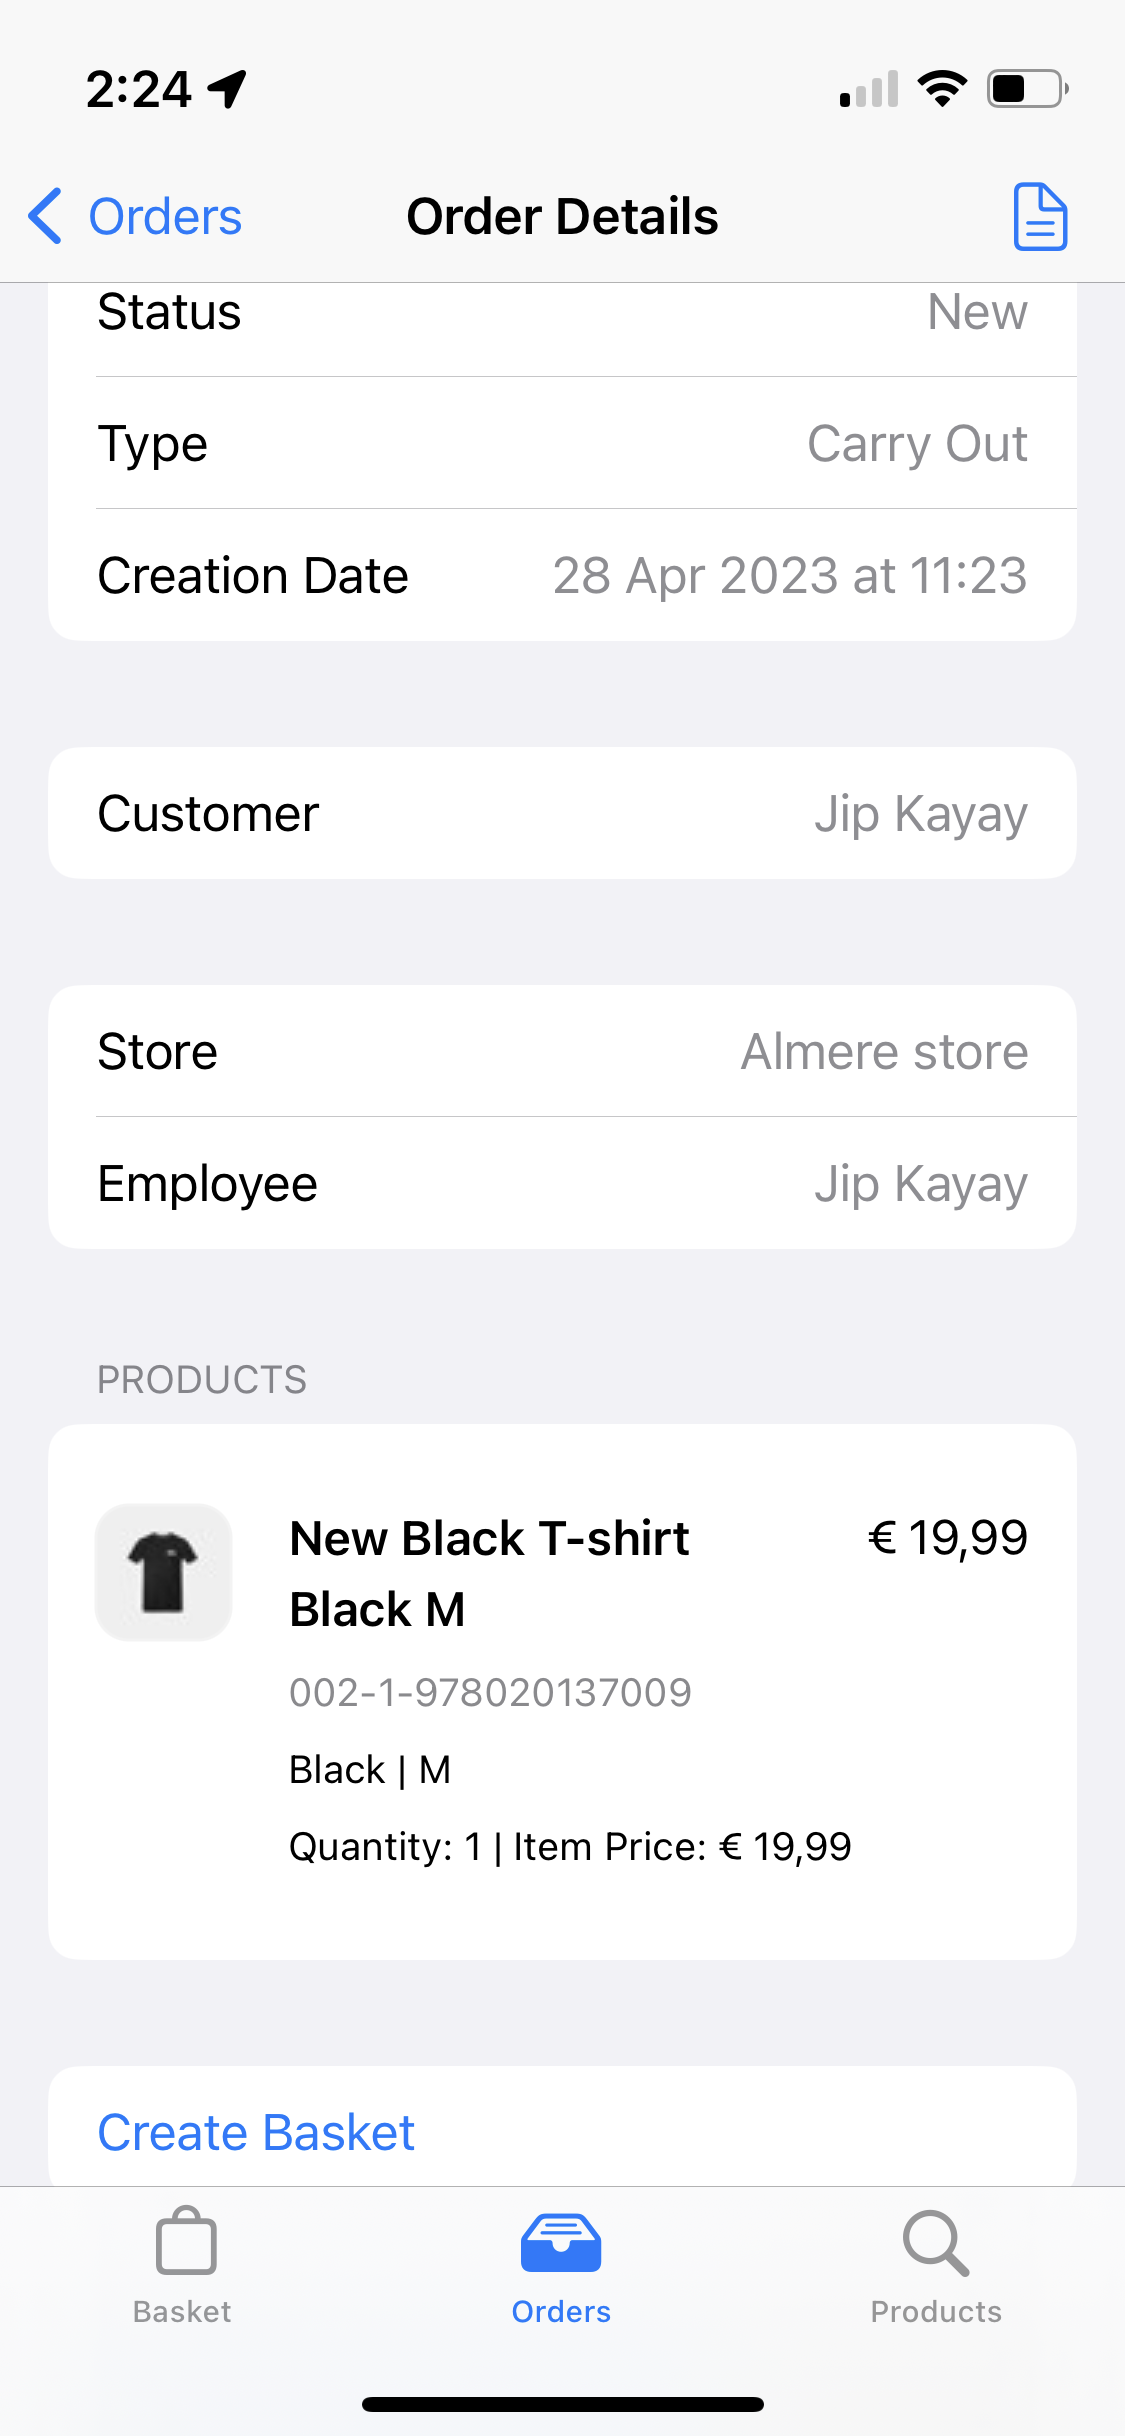
Notice how the order has the status New hence, the Create Basket button is the one available and not Create Return.
Orders exceeding the maximum order line
For instances of large orders, you can limit the amount of order lines that are displayed for the user in the Checkout App. This can be done using a setting called App:Order:MaxLineCount. Its default value for this setting is 50.
If the order exceeds the maximum number of order lines, the Create Basket button is disabled.
This applies to both return & sales order flows.
Create Return
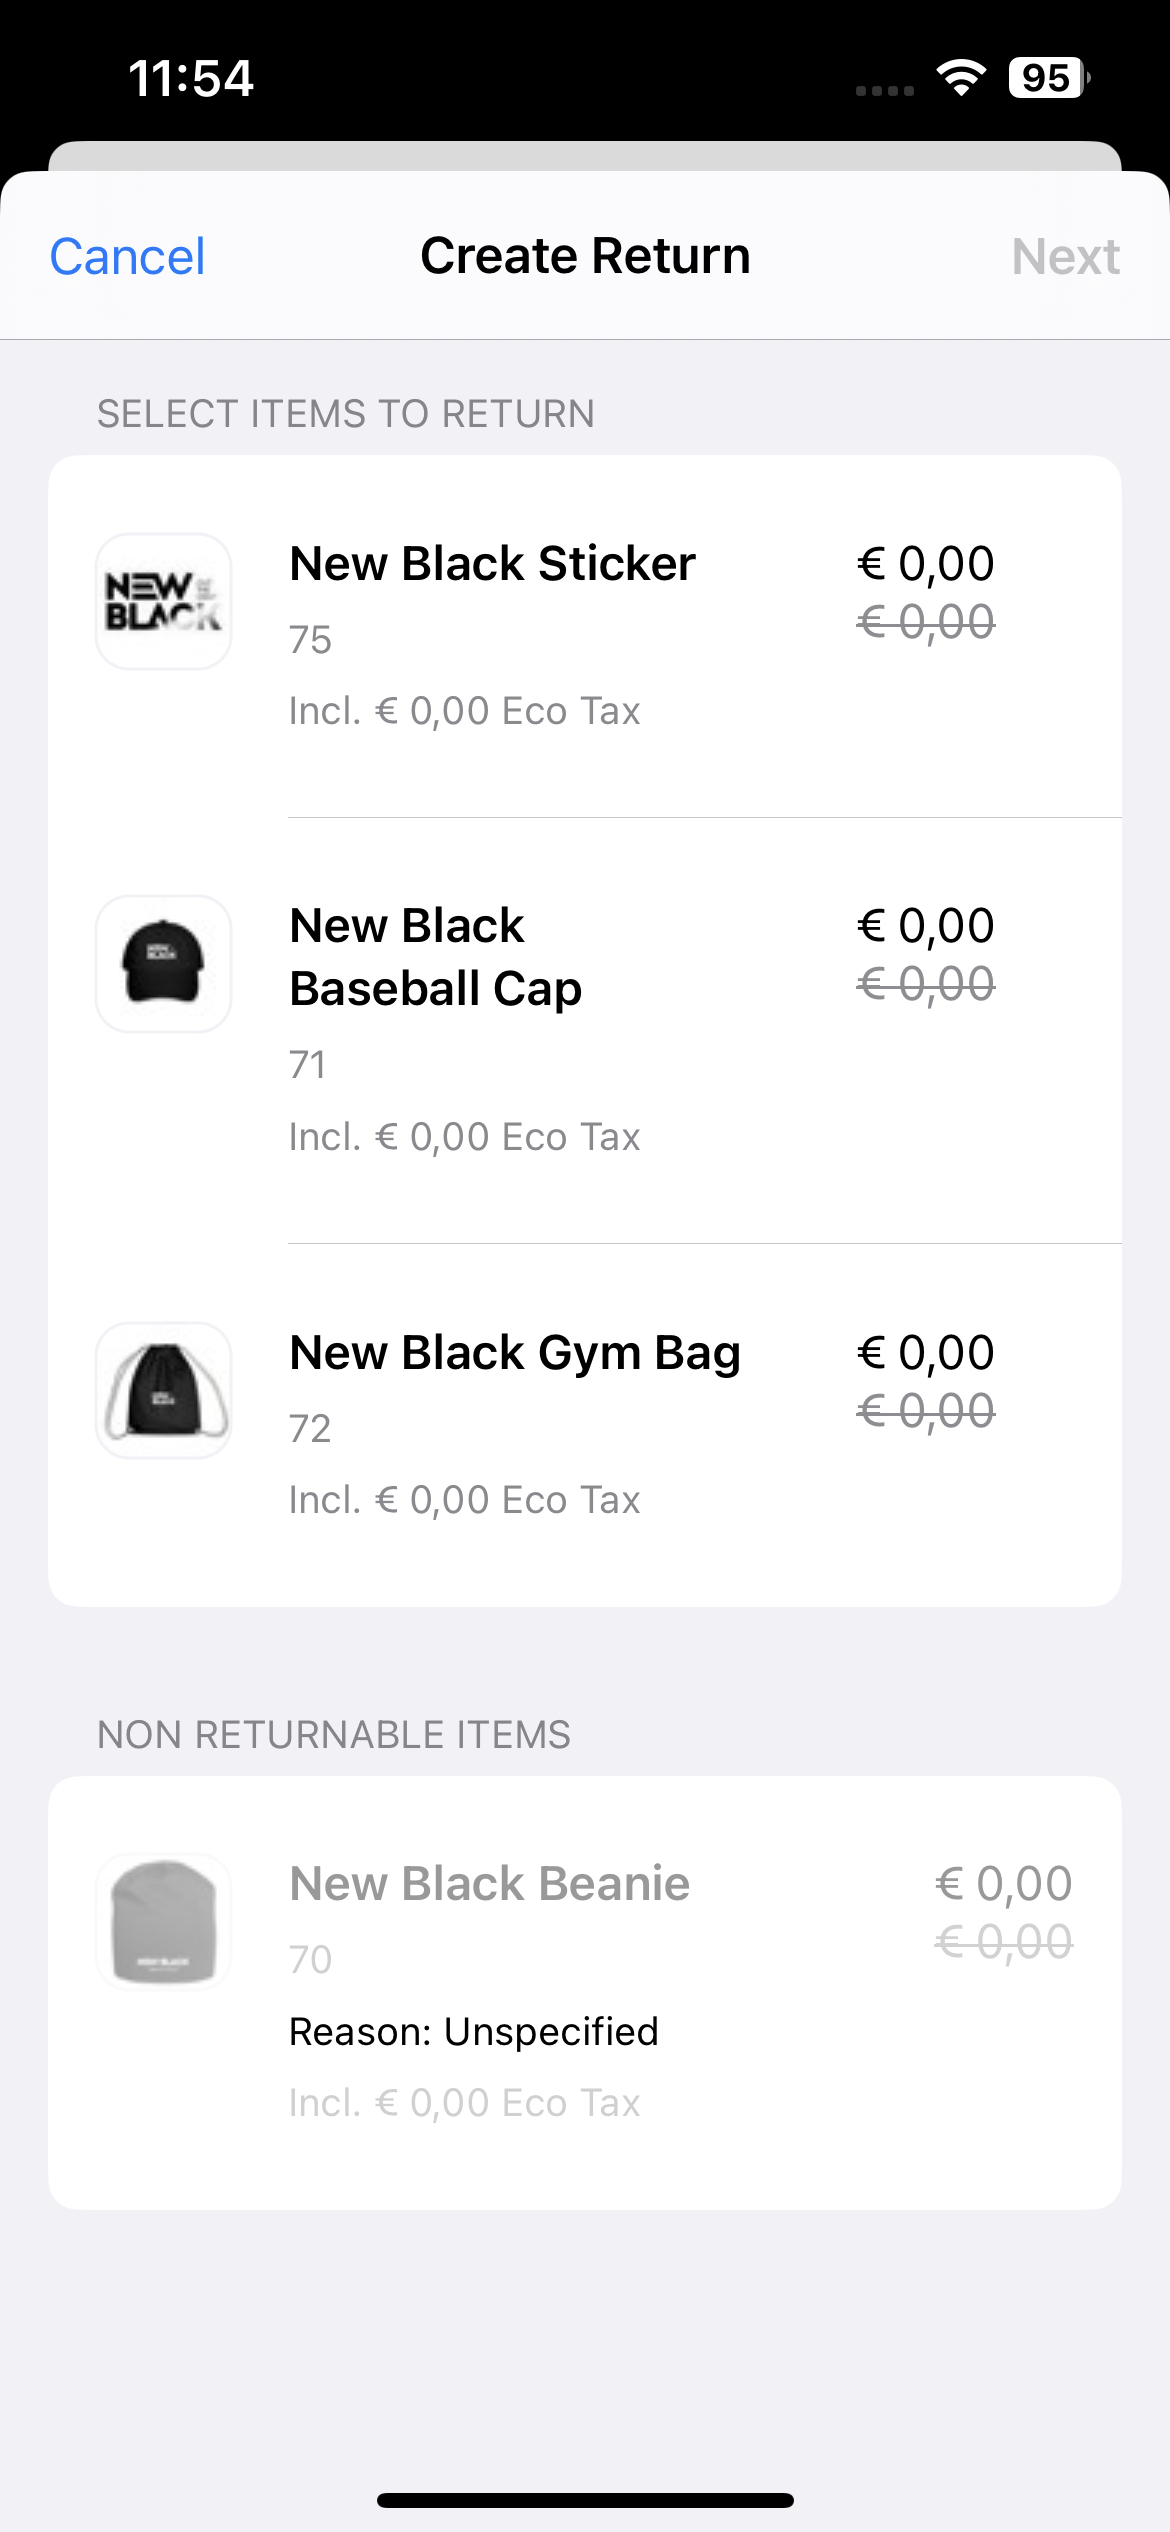
You can create returns for completed orders using the Create Return button at the bottom of the order details overview.
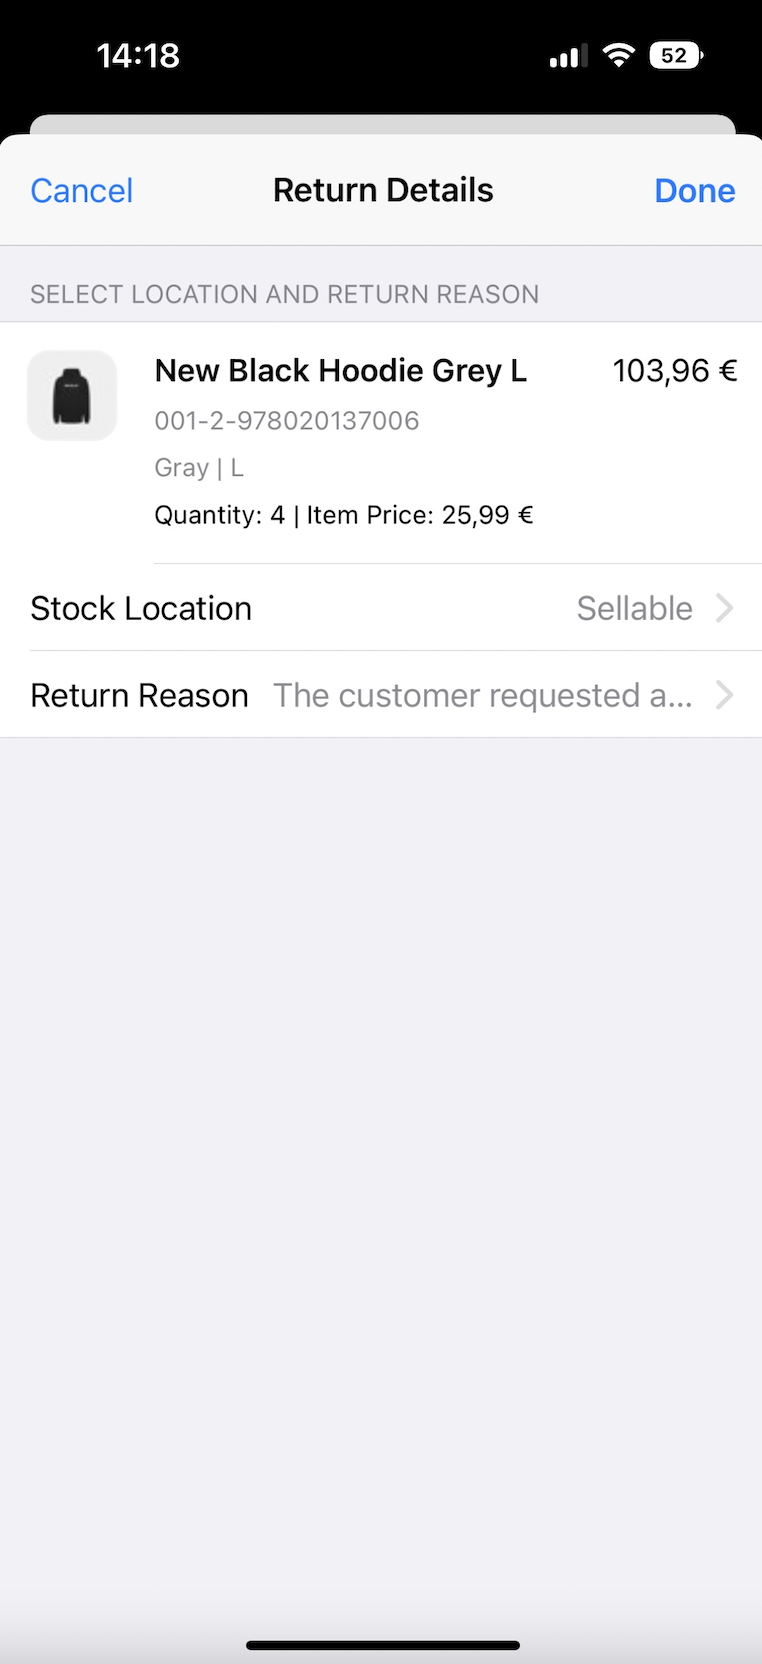
On the return page, you must select the items you wish to return, then specify the quantity, stock location, and the return reason. A return checkout flow will then be initiated via the Basket where a checkout flow can then be followed.
Keep in mind that you will not be able to change the return reason after the return order is created.
Non-returnable items are listed in their own section. Each order line also includes a reason for its non-returnable status.
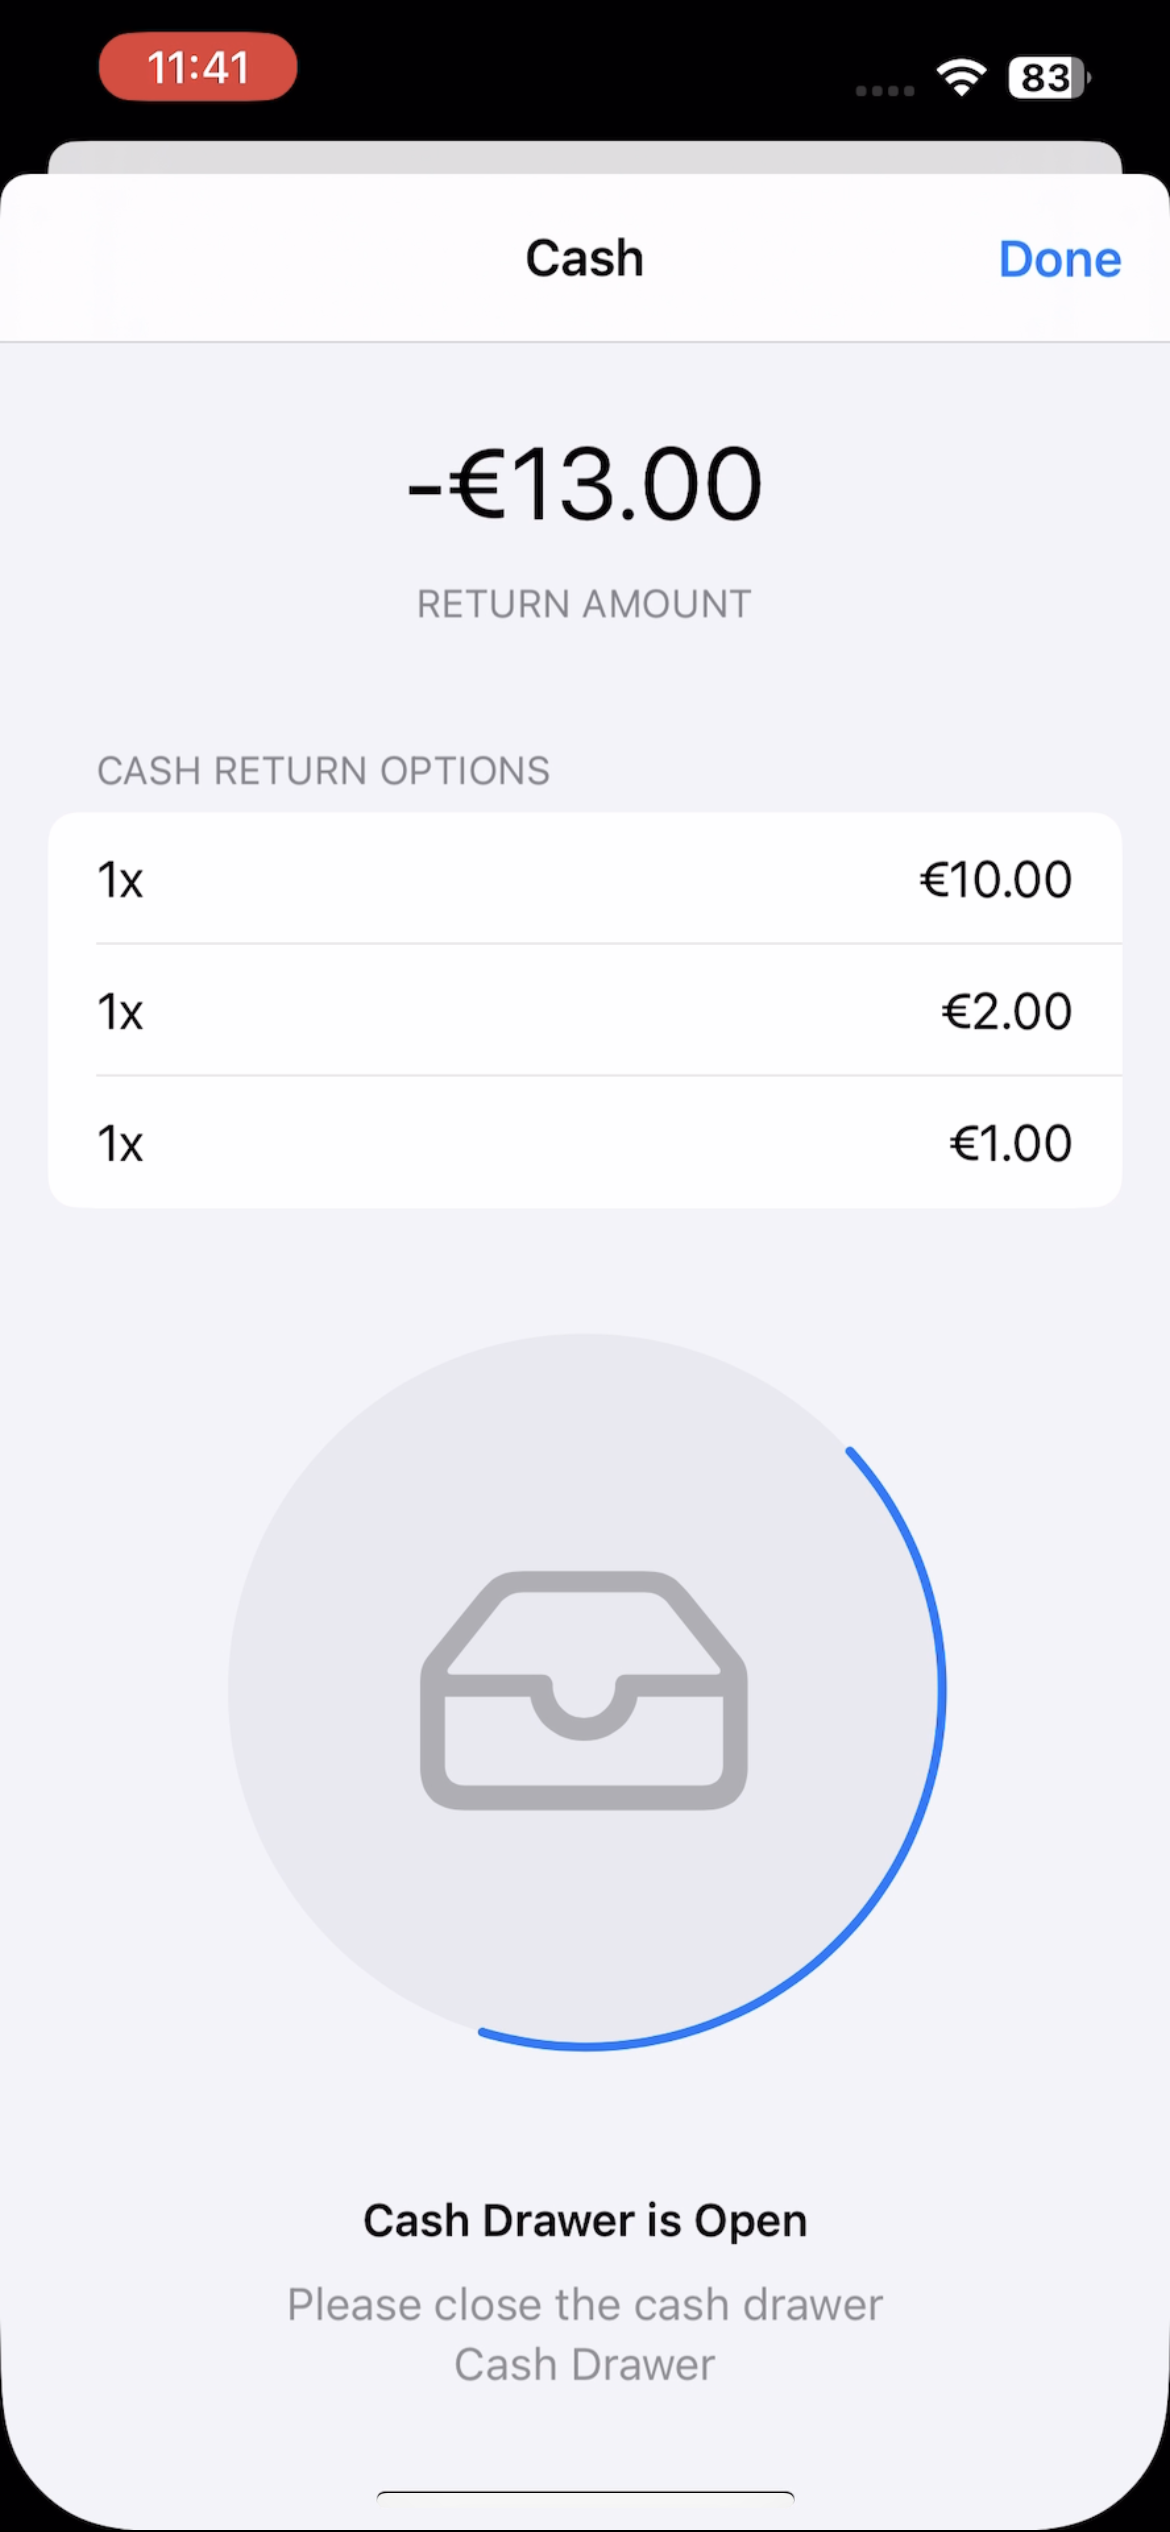
When performing a cash refund, the Cash return options displays a list of coin options. When the list gets too long, it can be scrolled, ensuring the Total amount remains visible.
If you don't have permissions for returns, a modal is displayed to inform you that you aren't authorized to do so.
Print Order Documents
You can print orders documents by tapping the 'document' icon located in the top right corner of the Order Details overview. This will allow you to print/reprint various order related documents, resend order confirmation emails, or view the order invoice.
Mind that the invoice option is not available if invoice generation has been disabled for compliance purposes.
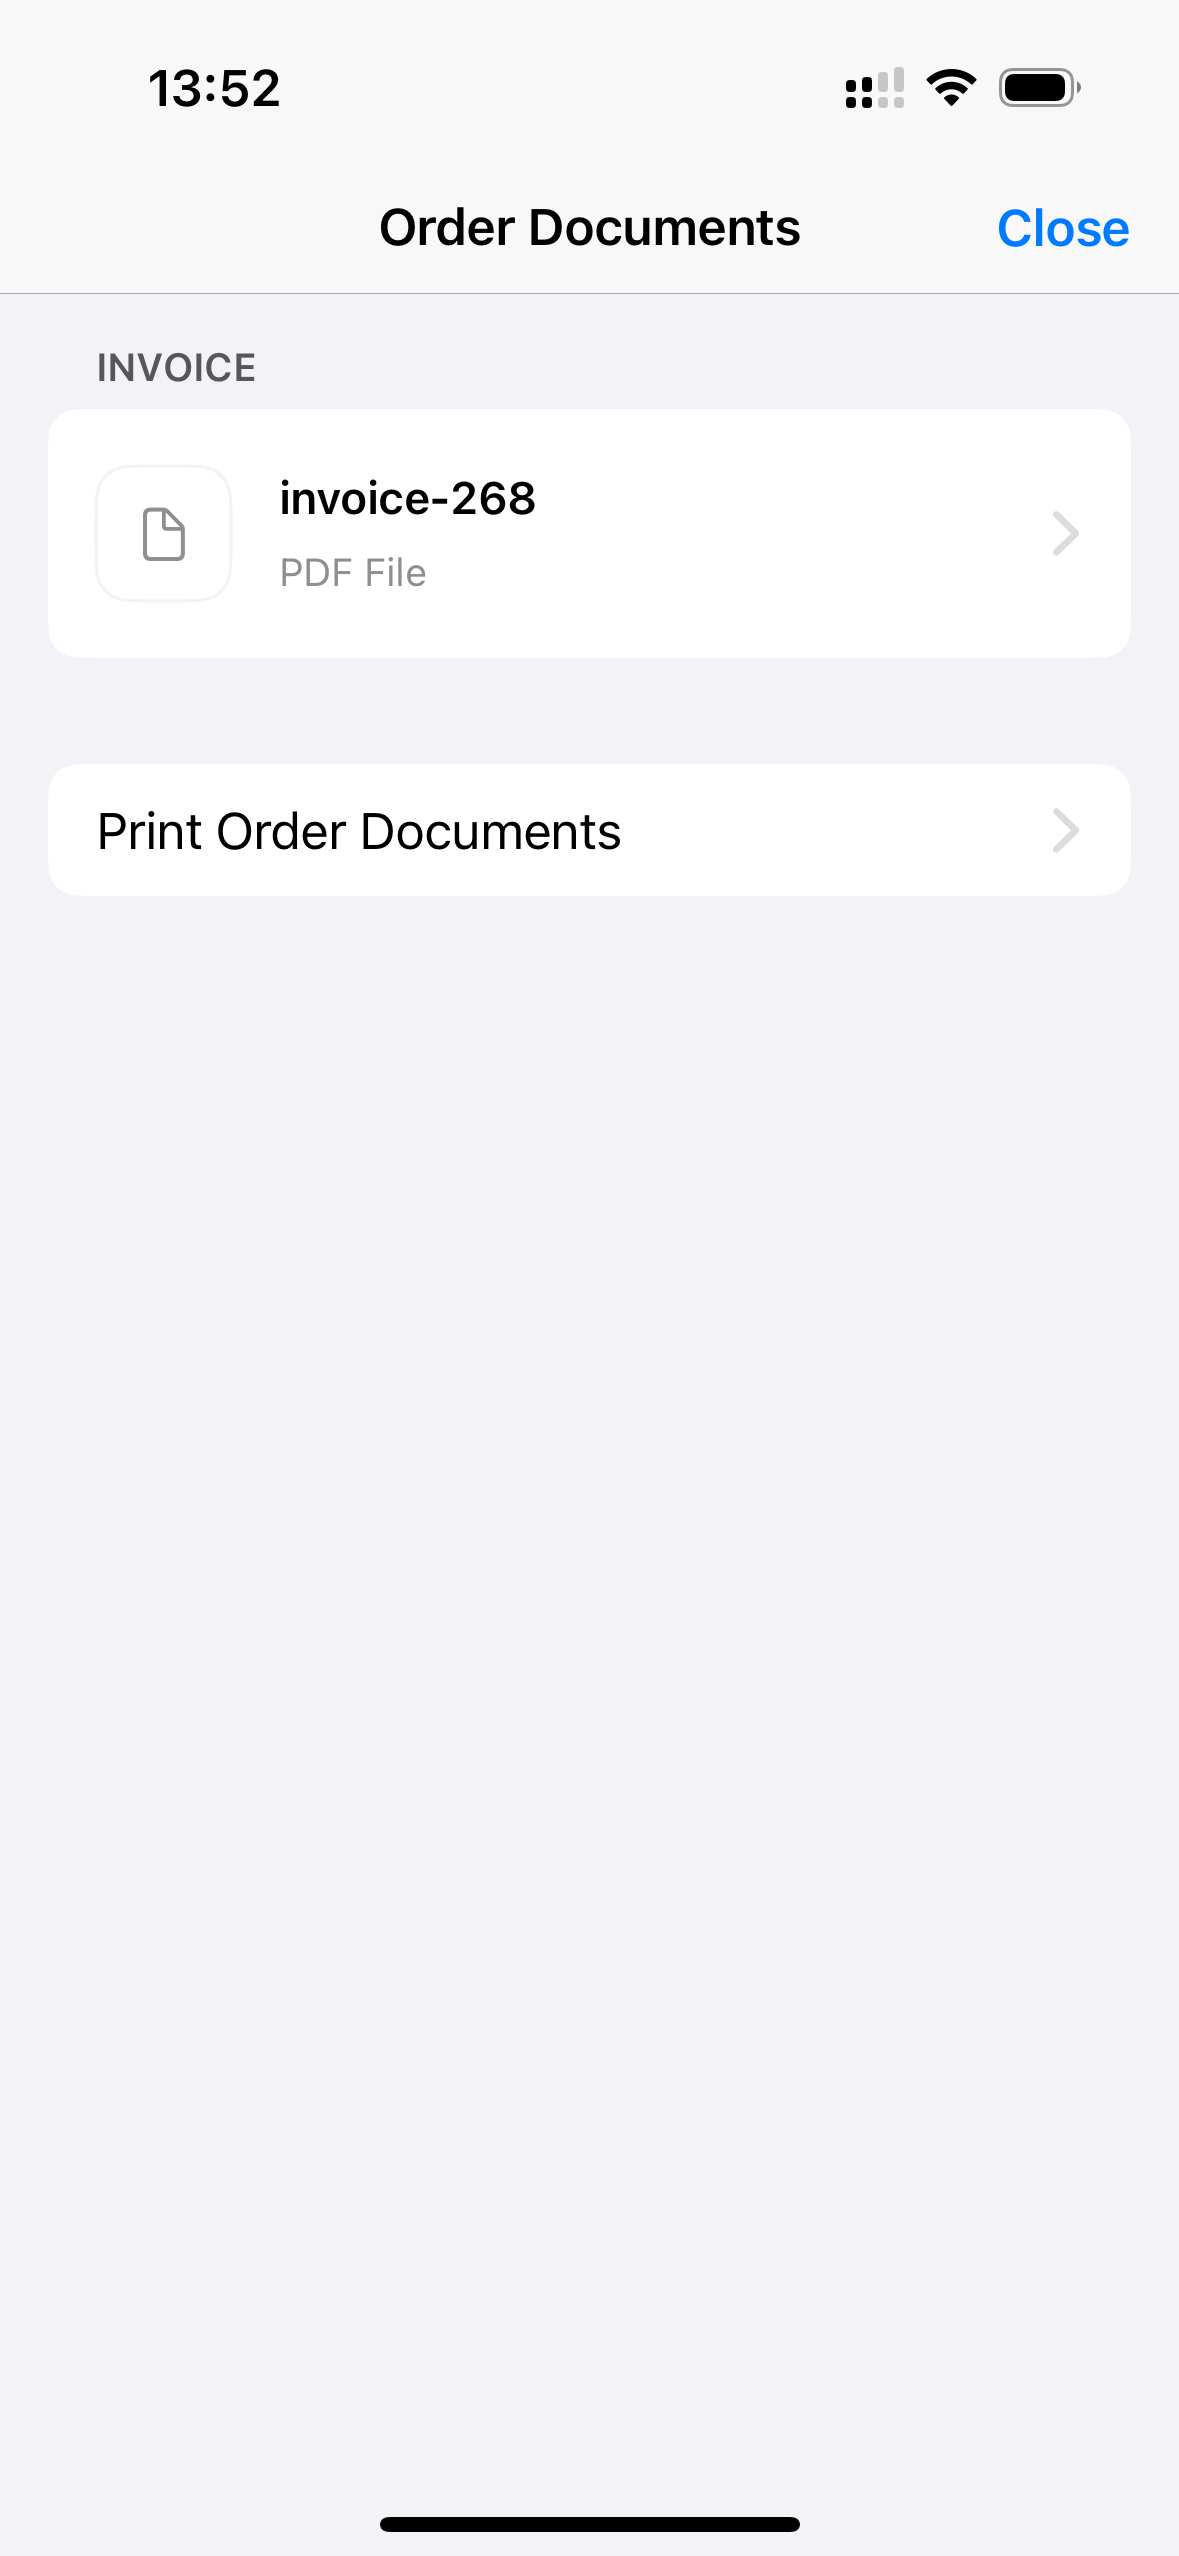
By tapping Print Order Documents, you will enter the following screen, allowing you to (re)print/mail receipts.
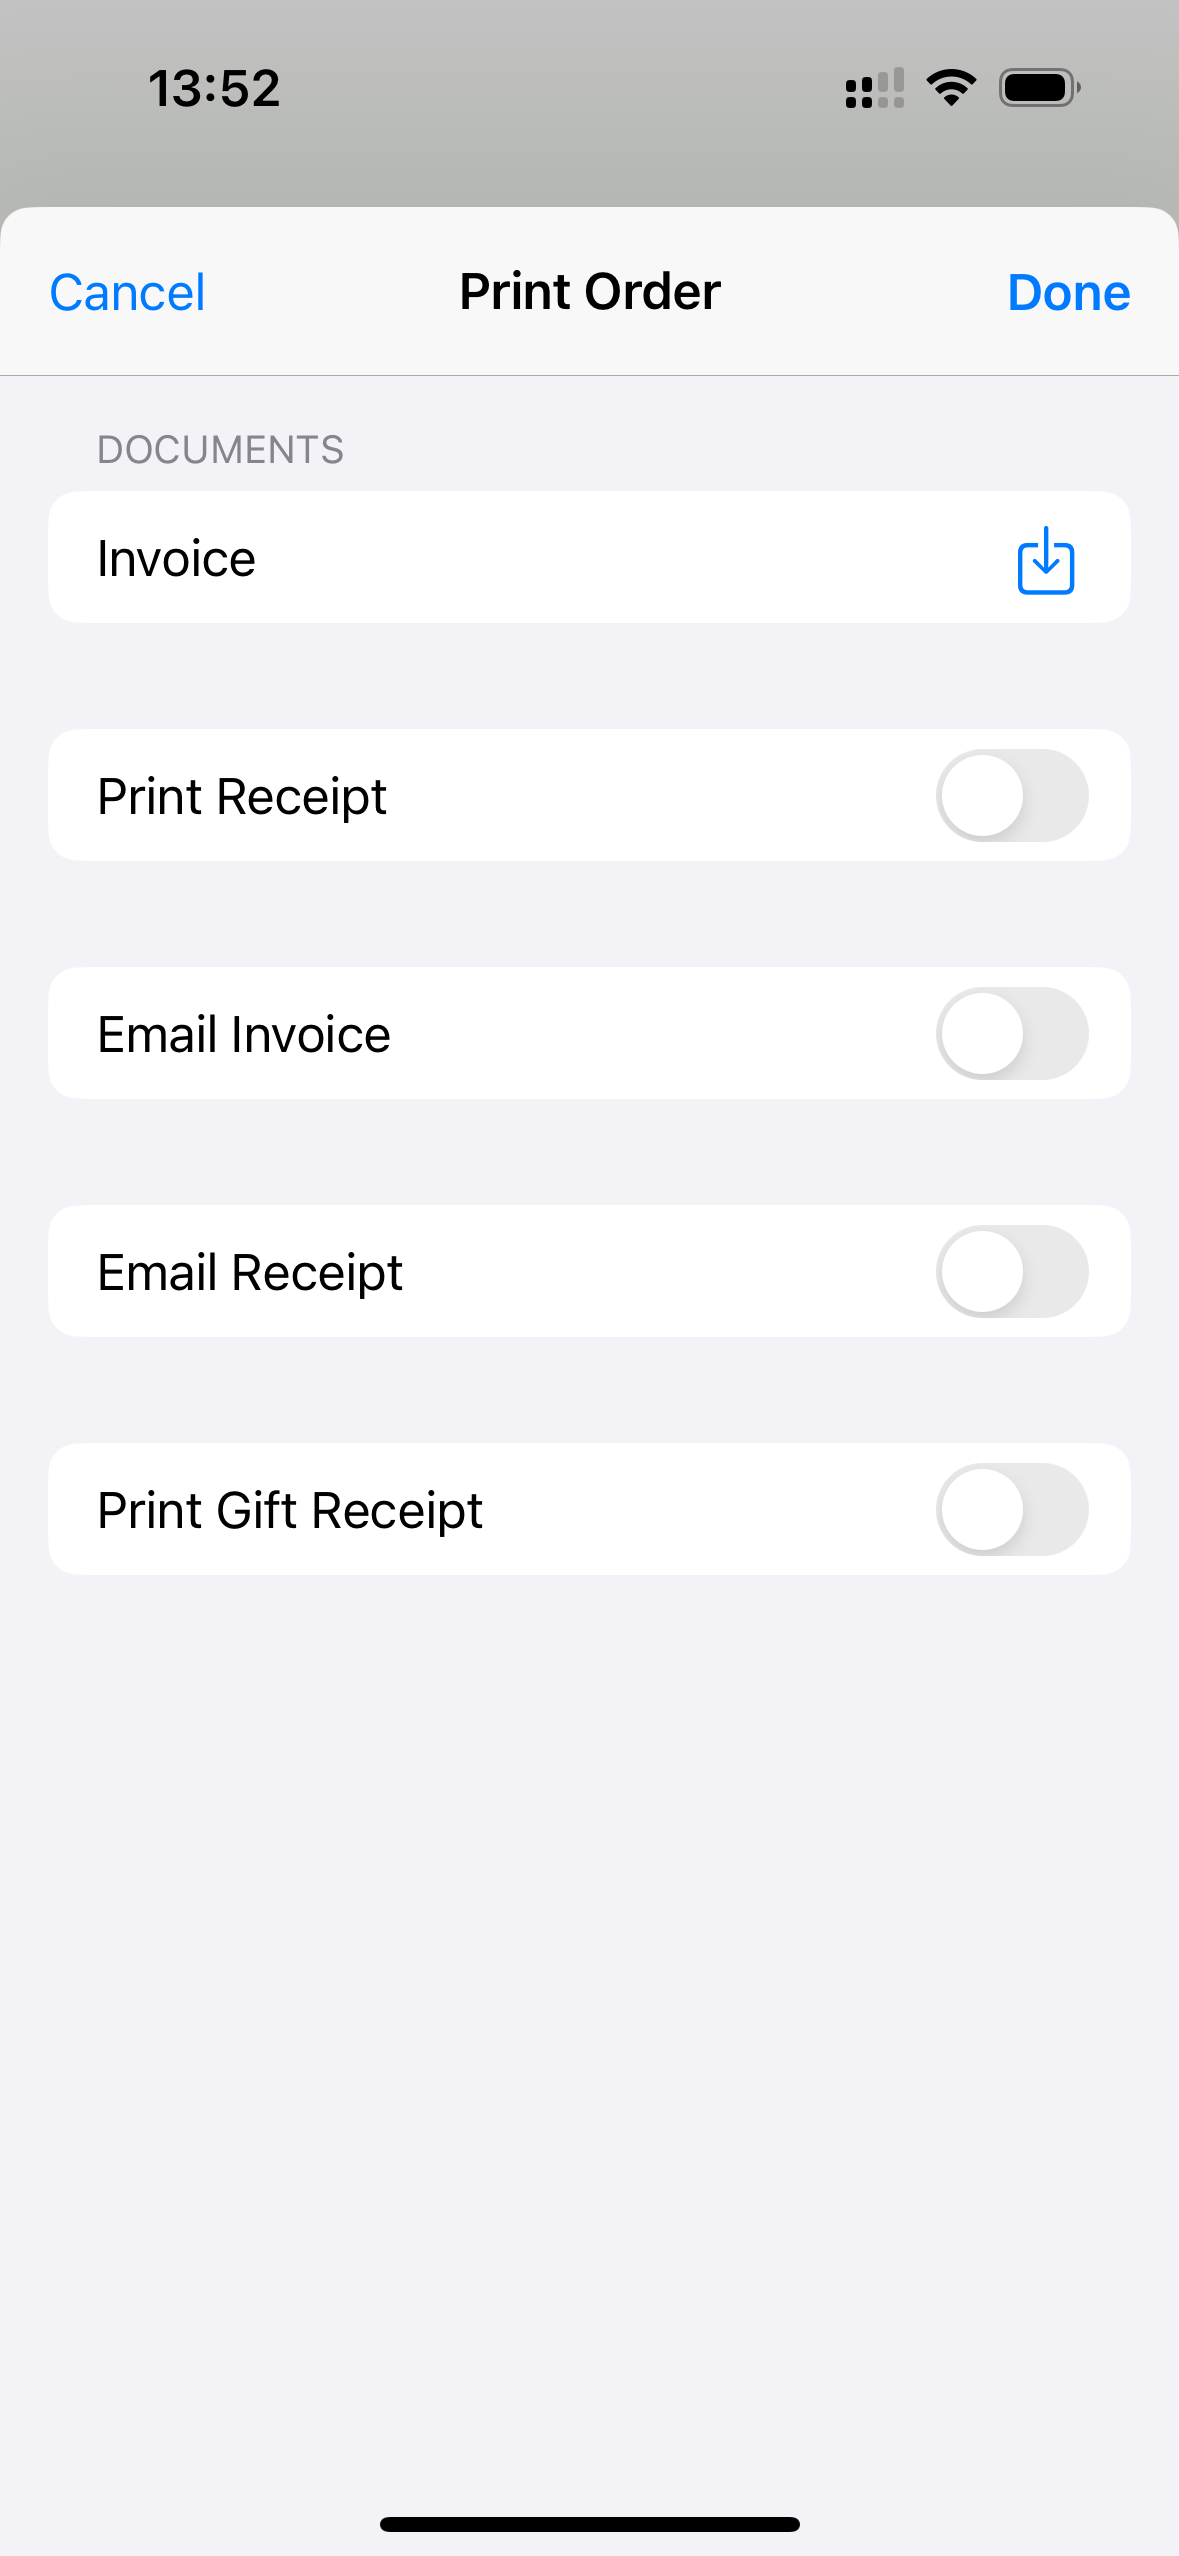
For printing receipts, a station (printer) needs to be selected. This may already be selected by default based on previous actions on the device. If no stations are available, you will be notified.
One of the options is to print a gift receipt for particular products in the order, allowing you to personalize the receipt for that particular gift - such as not including the price. You can create as many receipts as you need.
To be able to create gift receipts that don't contain prices, please configure your ThermalGiftReceipt template.
Interstore Orders
Interstore orders will display similar information to a regular order. However, they will additionally show the supplier, shipment ID, and the requested date of the Interstore order.
Return to Supplier Orders
For Return to Supplier orders, you can print and reprint Return to Supplier receipts. They will be printed in A4.