Products
The Checkout App will help you find all the products you need. It will also support you in getting an overview of the products and viewing their properties and available stock.
Product Search
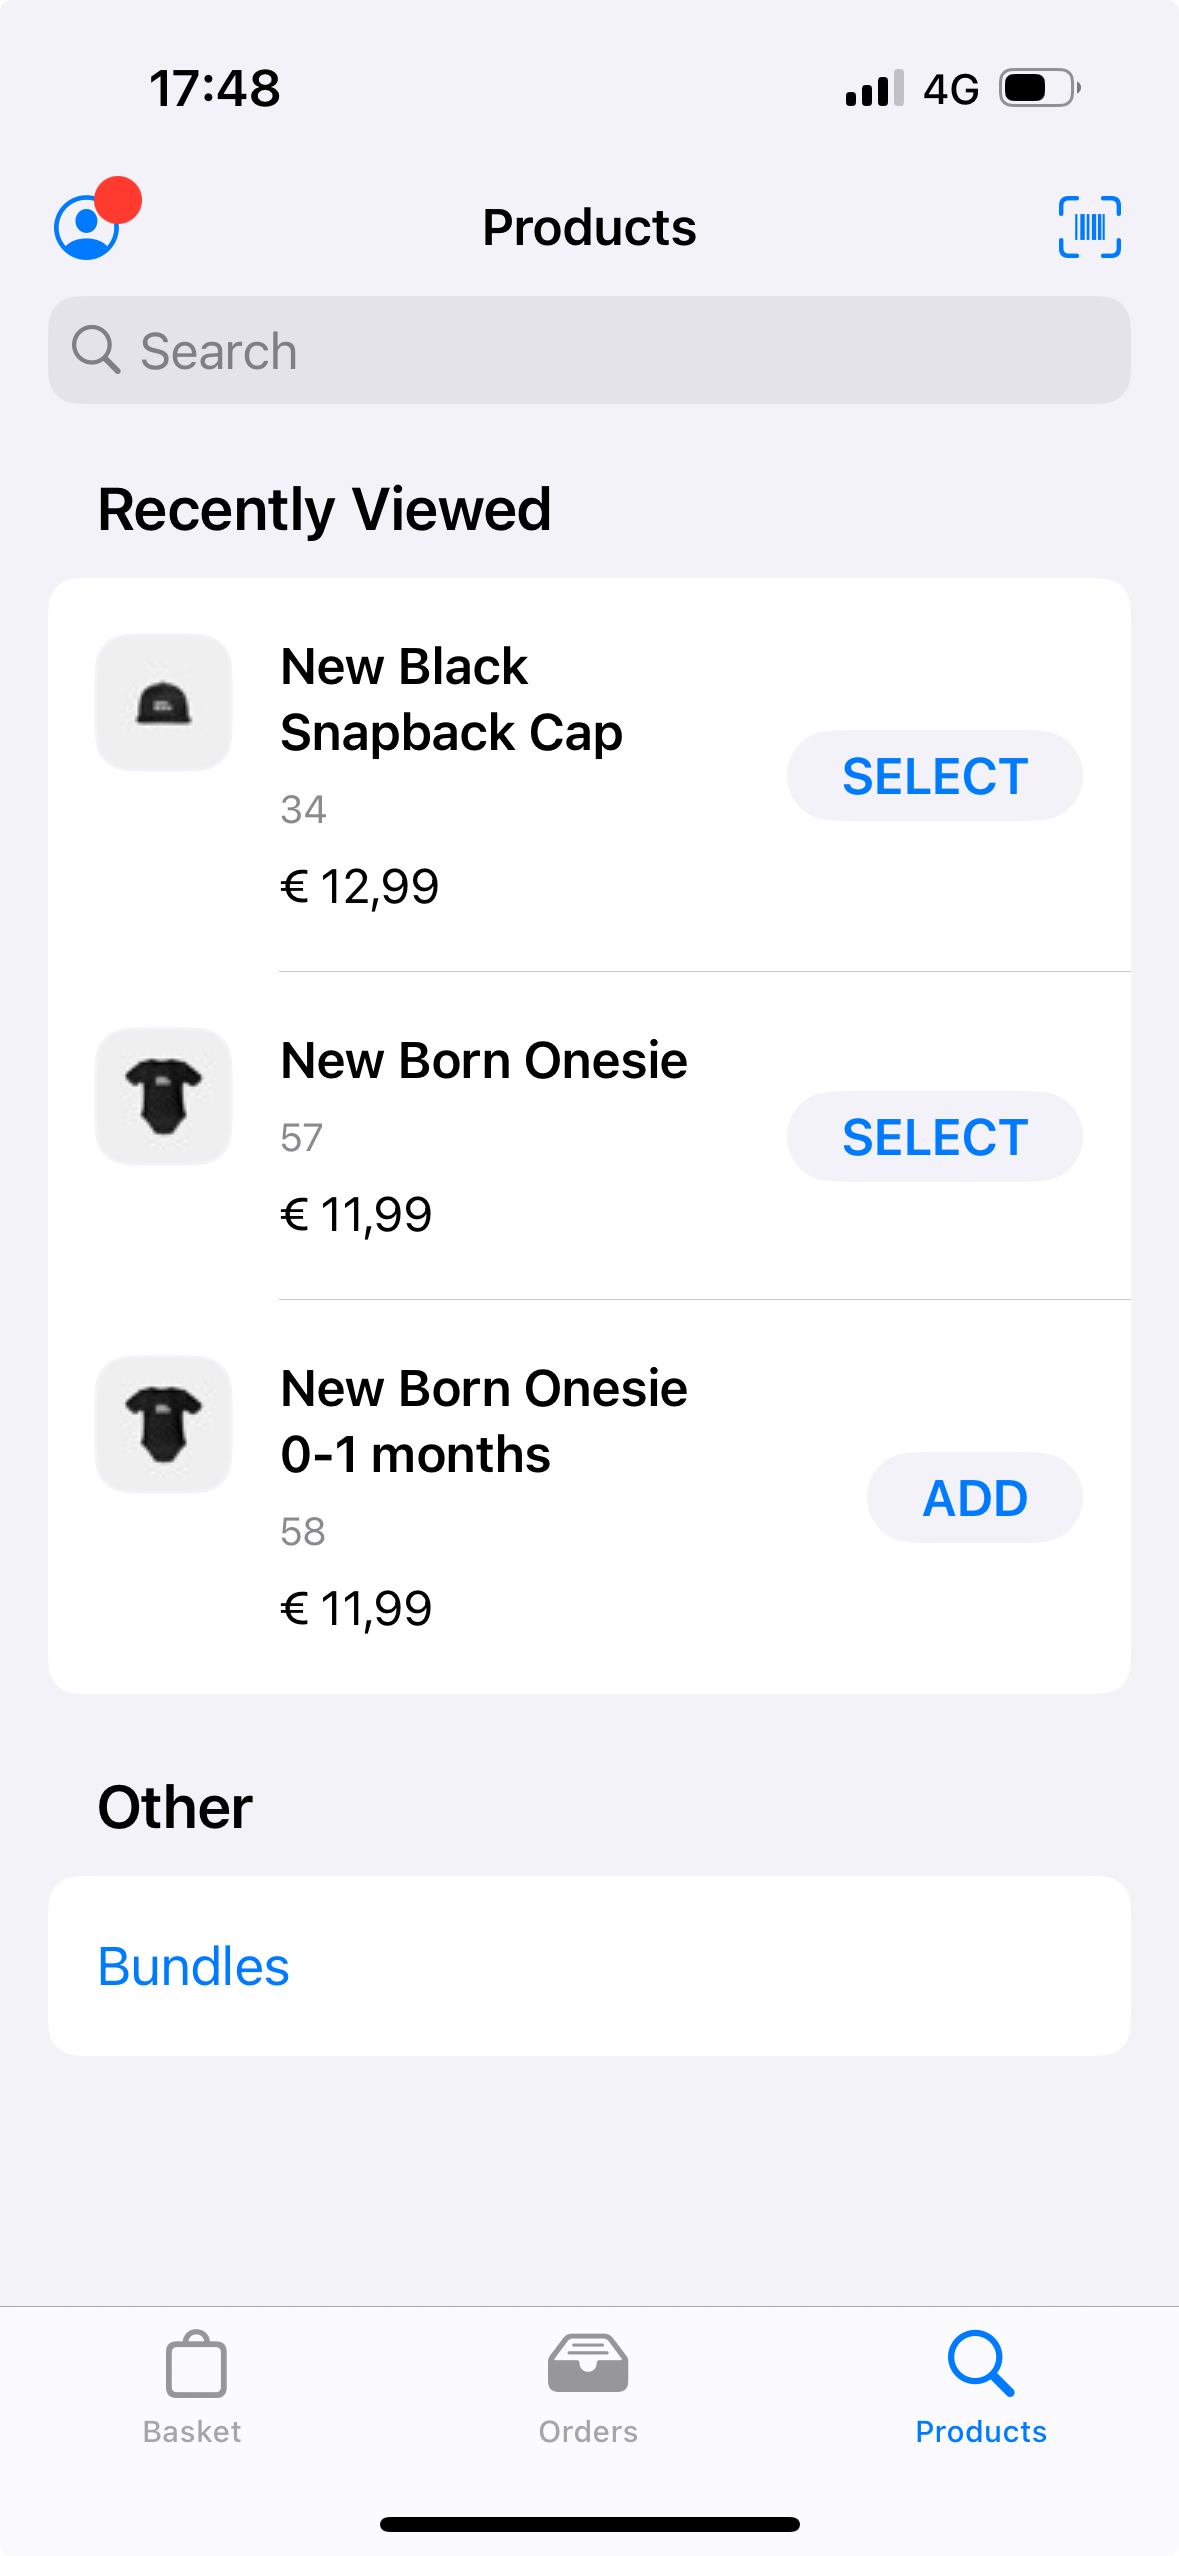
Use the Products tab at the bottom of your screen to search for products. If you recently searched for a product, it will appear in the tab's Recently Viewed section. You will also be able to select bundles and other categories directly.
You can search either by using the 'Barcode' icon at the top right of your screen or the Search field at the top. If available, we highly recommend scanning, as it is less likely to get the wrong product.
Products
Tapping the 'Add' button will add the product to your open basket. If the product has multiple configurations, the button will change to 'Select' and allow you to pick a size or variation of the product.
If the product has X/Y dimensions, doing so would display the X/Y sizes in a grid alongside the available stock quantity.
Once a size combination has been selected, the stock quantity is then updated. If the order or order line is of type Carry out any size combination can be added to the basket
Stock quantity
Here, you can view the stock quantity – either internal stock or or for delivery – determined by the product status.
If the product status is DisableDelivery, the internal stock quantity is shown. However, if the statuses are DeliveryOnly or DisablePickup, then the delivery stock quantity is displayed. If neither is indicated, both quantities are shown.
Product bundles
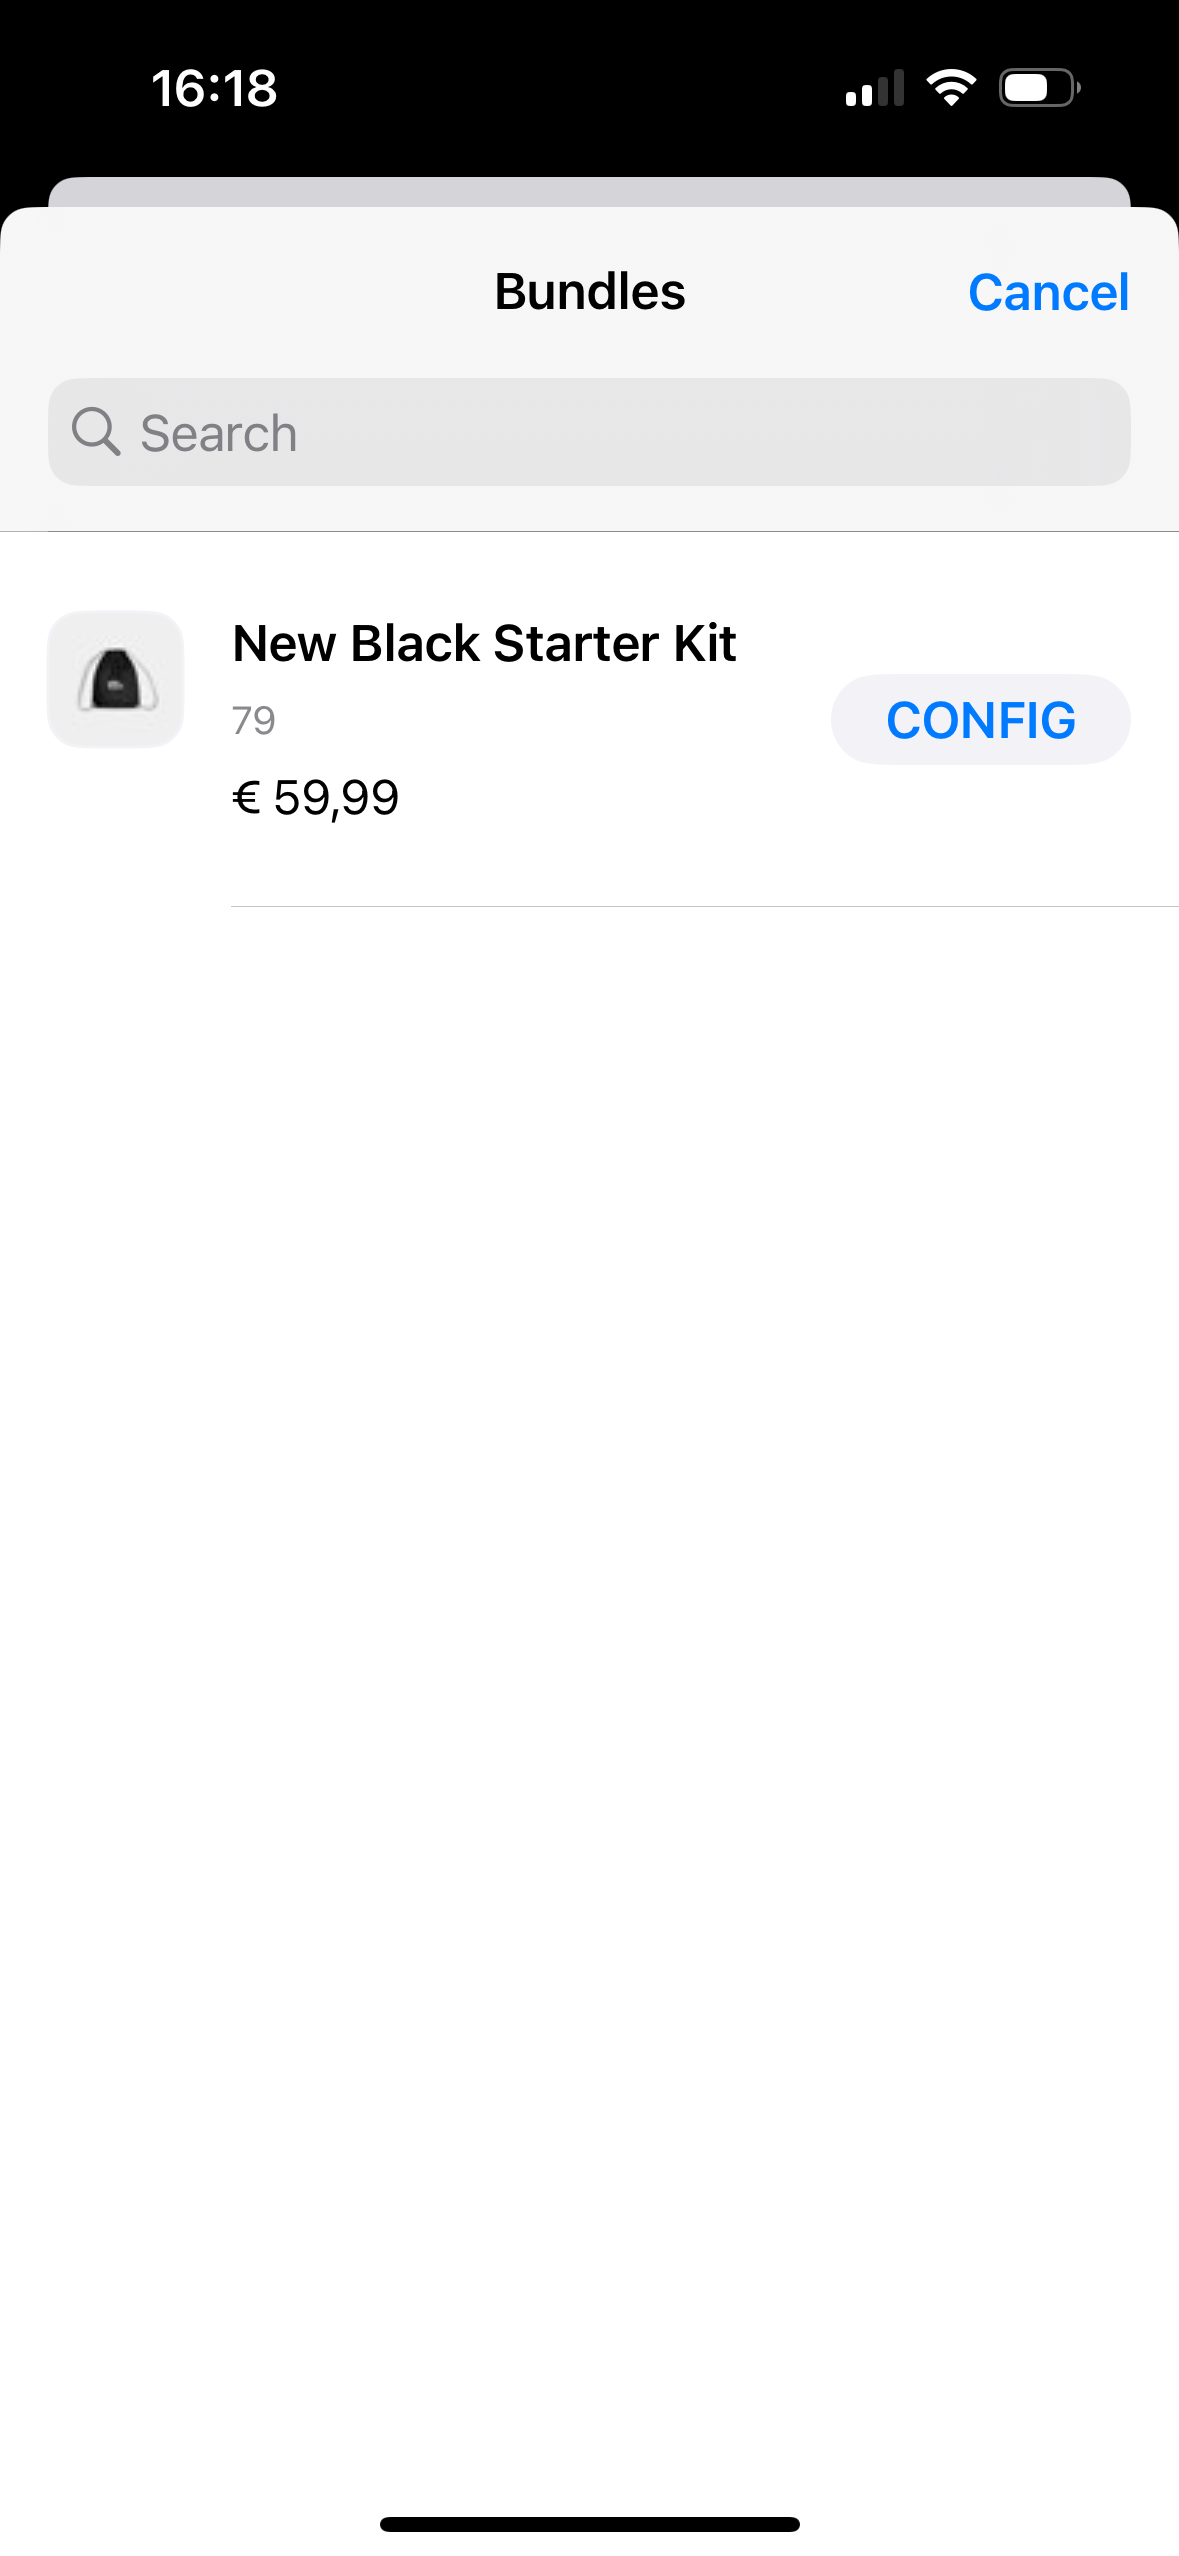
Tapping Bundles will take you to the bundles' overview screen, where you can select and add a product bundle to your basket directly, or start configuring one by tapping Config.
Changing the product search
The only one that's available by default is the Only show products in-store toggle, which will limit your search to the stock which is currently available in the store itself.
There are several app settings available for fine-tuning your product search. These range from making your search work with CustomIDs or EvaIDs for example, to creating your own (default) filters.
For a complete overview, check our Search products app settings.
Products available in nearby stores
Aside from all the settings to influence your searching, you can also have the search show products which are not available inside your store, but which are available in other stores.
To enable this list of stores with stock, you need to do some configuration. Expand the following section for a full overview.
Configuring the display of stock in other stores
This is not setup by default and requires a few easy steps to configure.
- Ensure Longitude and Latitude are setup in the Basic information of your stores. This is needed for making the proximity calculations.
- The Google Geolocation plugin is required for EVA to make calculations based on longitude and latitude.
- The opening hour template need to be of Type visiting.
- Your OU needs to be set to the Pickup Type.
- Configure your preferences for which stores should be displayed. See the table below for more information on the relevant settings.
| Setting | Description |
|---|---|
| GetShopsByProximityDefaultLimit | This number is used to limit the amount of stores returned. Otherwise, the limit is 10 |
| DefaultShopProximityRange | This number is used to limit the range of nearby stores. For example, setting it to 50,000 will limit the list of stores to those that are within 50 kilometers. |
Furthermore, keep in mind that the OU should of course be marked as Open and that you can only see stock of nearby stores which are in the same country as the (currently logged in) employee.
The available stores will now be listed in your front end by calling GetShopsByProximity while taking the above settings into account.
Bundle Details
Tap Bundles to get an overview of all configured bundles.
By tapping a configurable bundle you will enter the *Configure Bundle screen.
Selecting a product can be done by using the scanner, scrolling through the list of eligible products, or using the search bar. If you scan a product that is available in multiple categories, it will be selected in the first category where it is available.

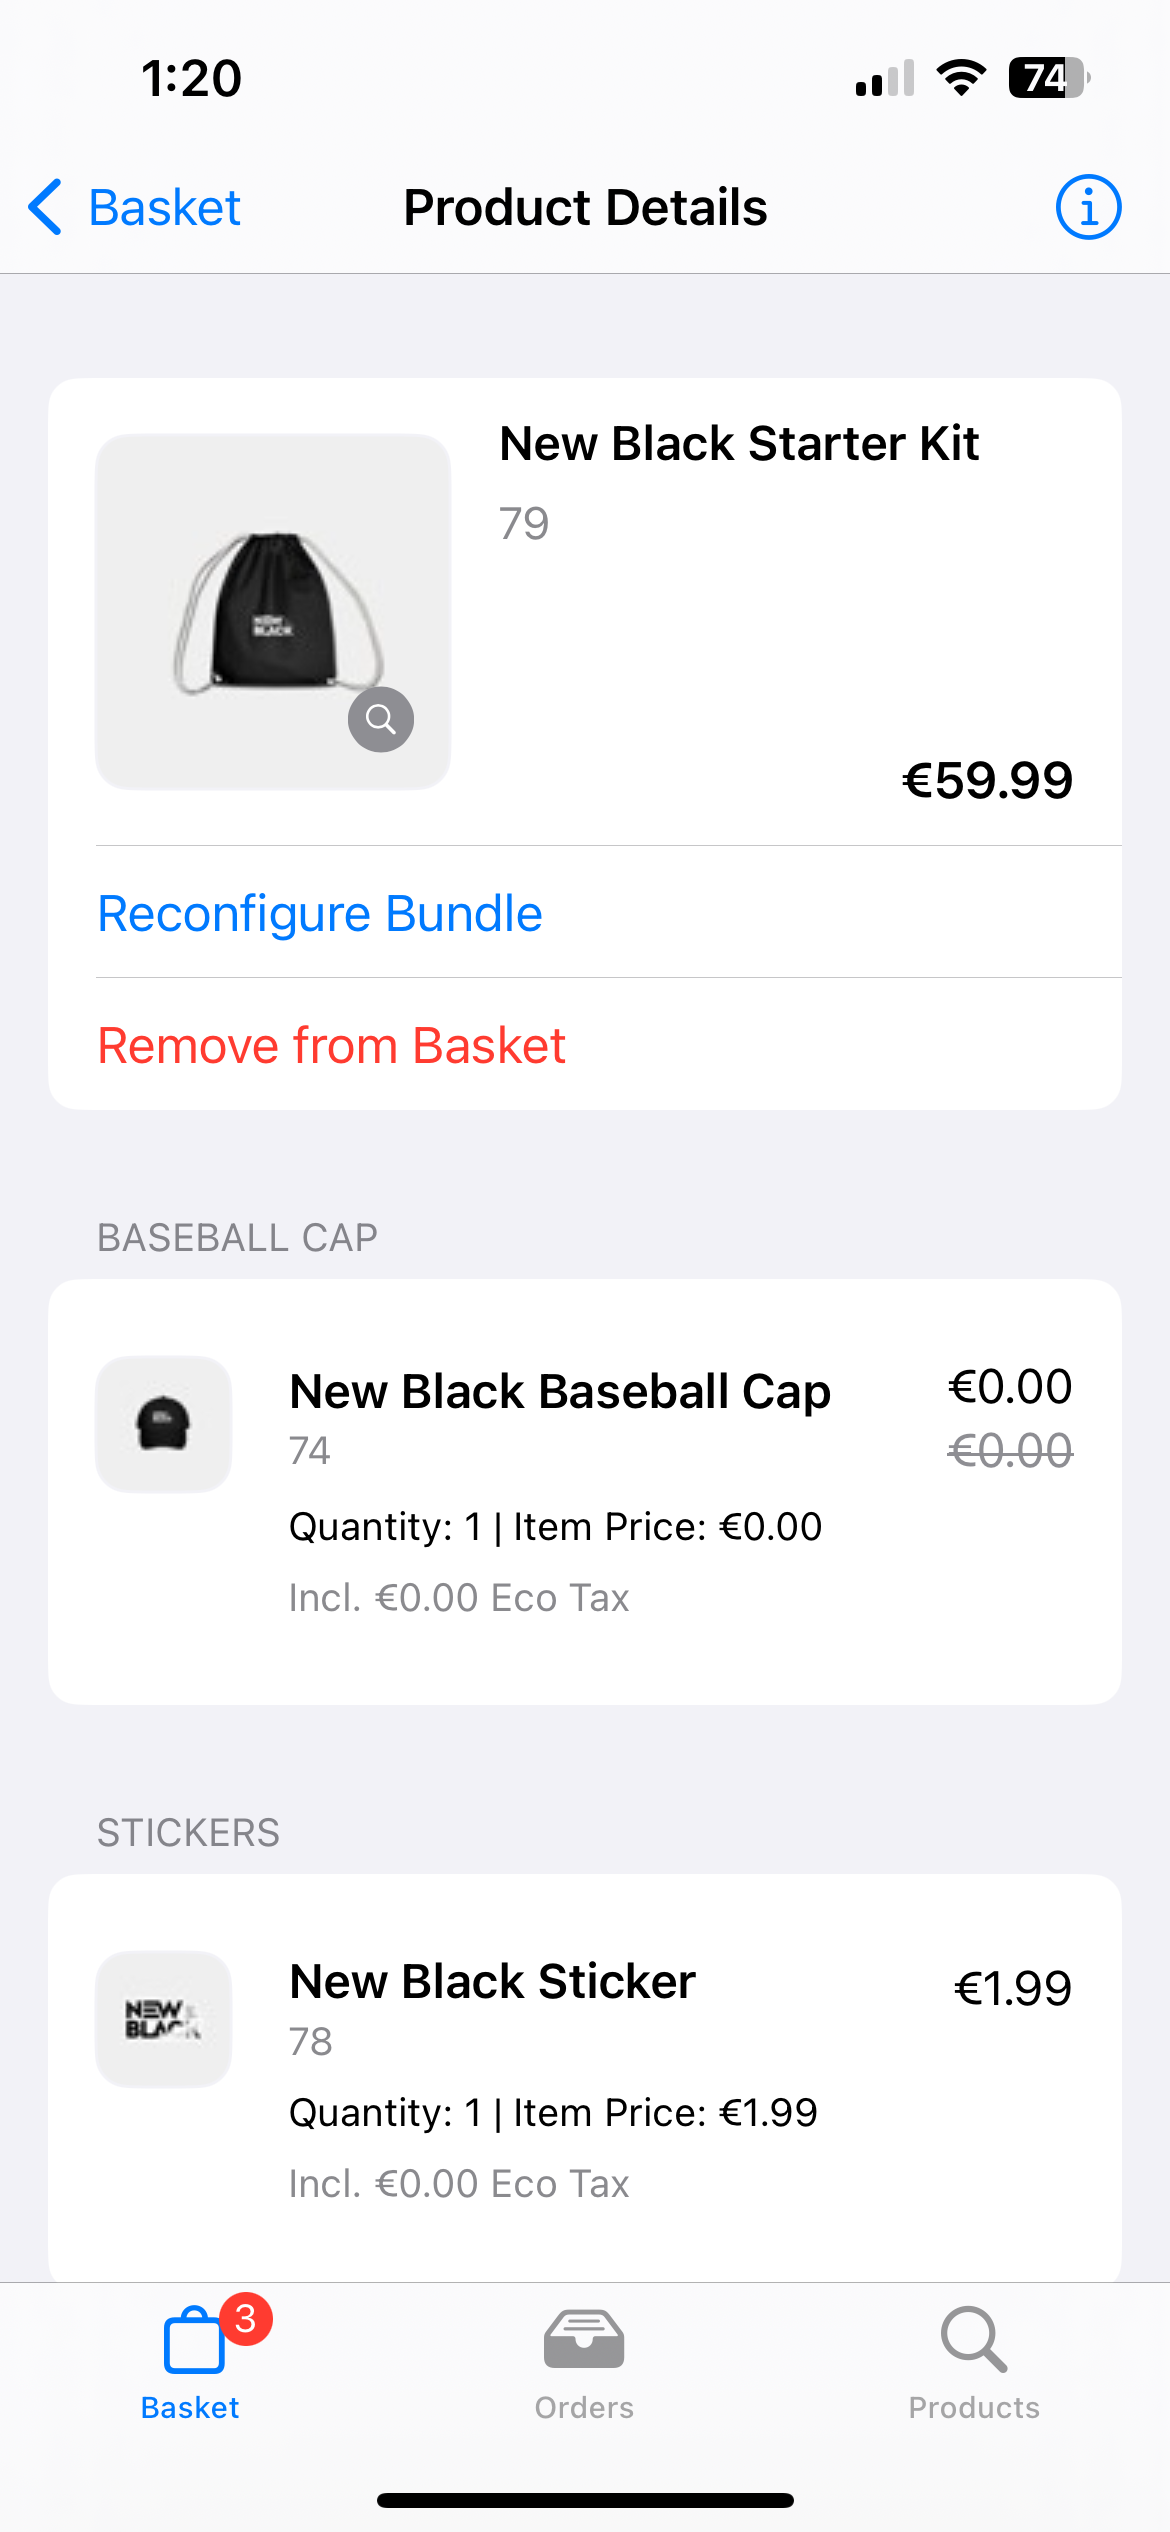
After adding the bundle to your basket, you can tap on the orderline again to visit the product details page. Here, you can tap on Reconfigure Bundle to make any changes.
Keep in mind that you cannot scan a product that is not a part of the bundle's category, nor can you add a product that is incompatible with a previously added bundle product - trying either will display a notification. If you search for a product that cannot be added to the bundle specifically due to a prior selection, the Add to bundle button will be greyed-out.
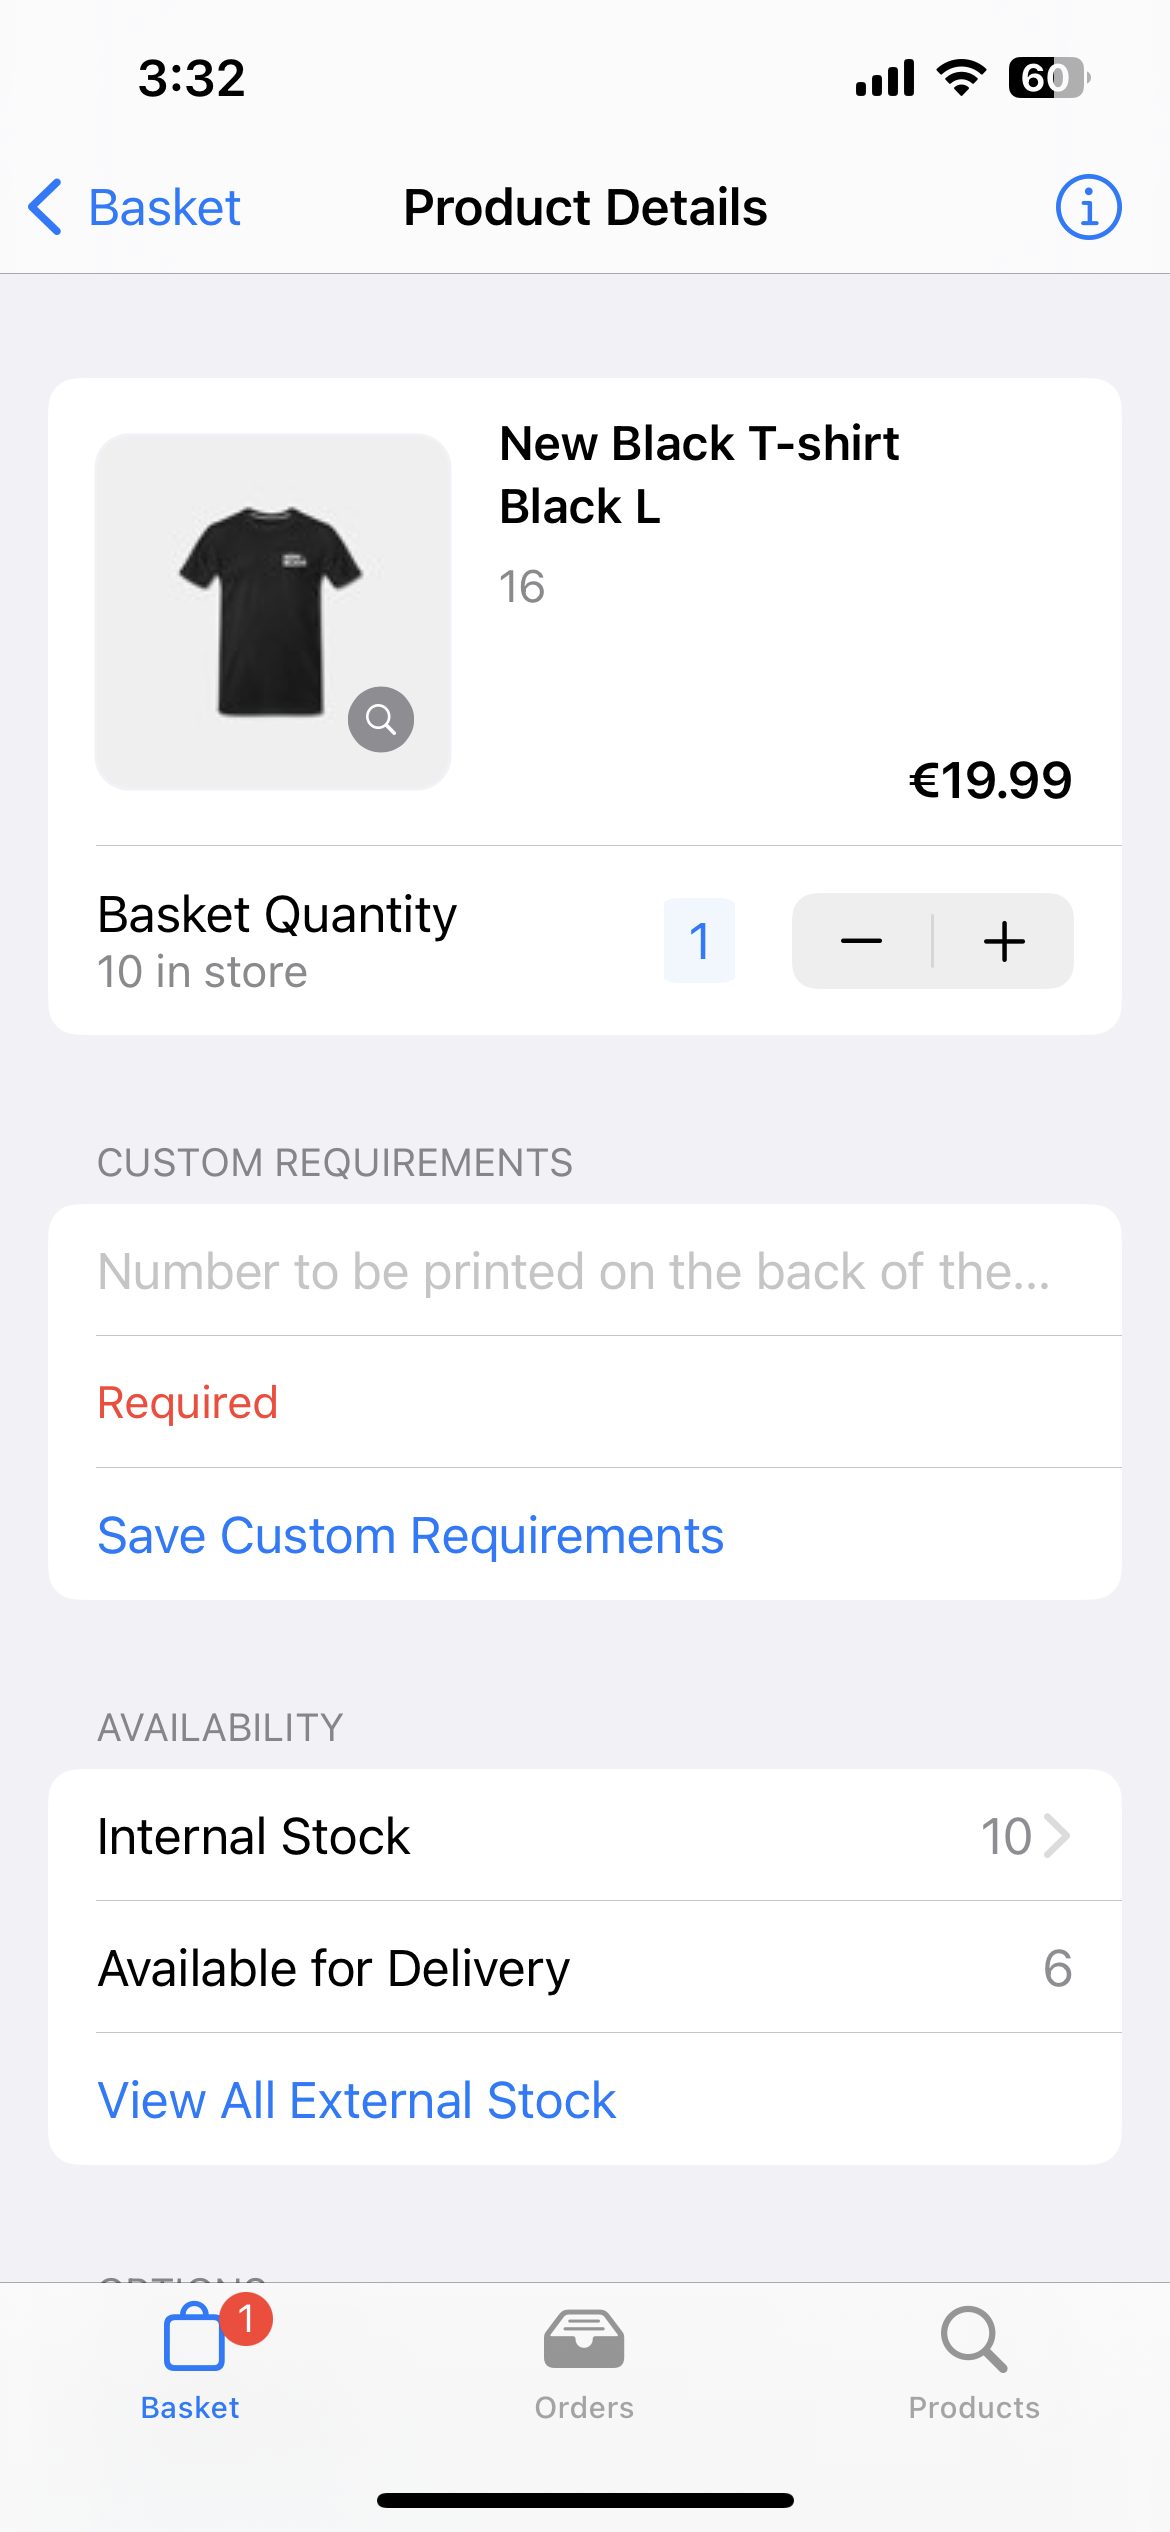
Product Details
Tap on the product in the search to view the Product Details.
Using the Basket Quantity option, you can instantly increase or decrease the quantity of that product in your basket. You can also see stock availability.
For products with variations, you can apply a filter using the Variation Filter option to filter specific variants.
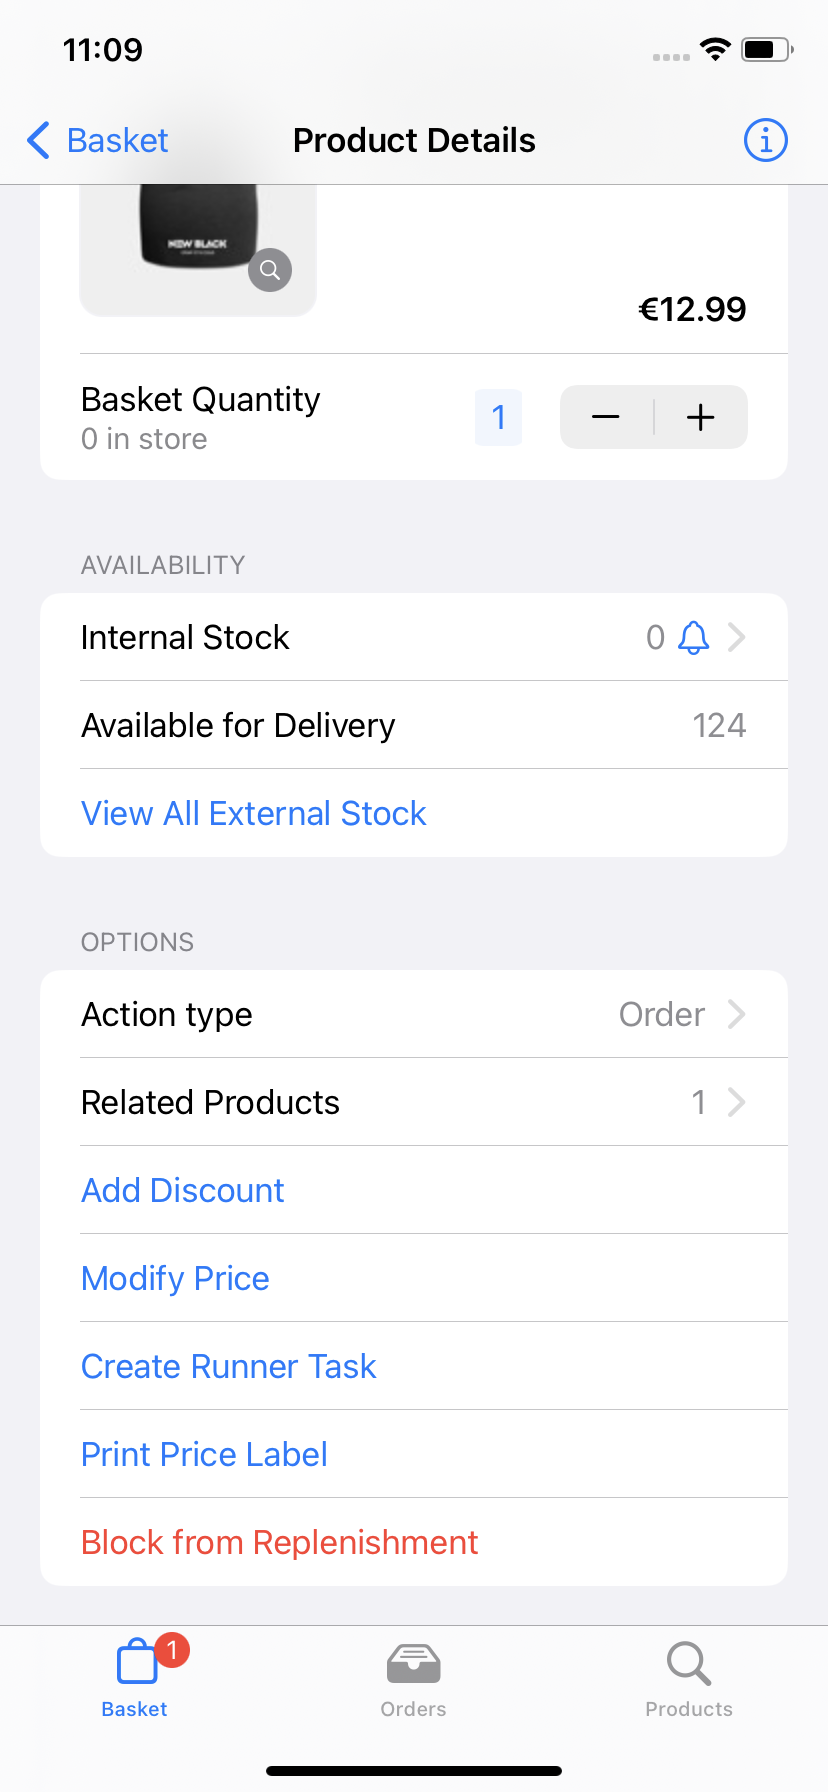
If there are no available stock in store, a "bell" icon will appear, allowing employees to enter the customer's email address for back-in-stock notifications. If a customer is already attached to the order, their email address will be prefilled.
By selecting View All External Stock, you can see the stock quantities in both your current store and external stores. Depending on availability, a map may also be displayed, indicating stores with external stock.
Product Information
To view the Product Information, tap the 'i' at the top right or tap the 'looking glass' at the product picture. Here you can view the product description and barcode.
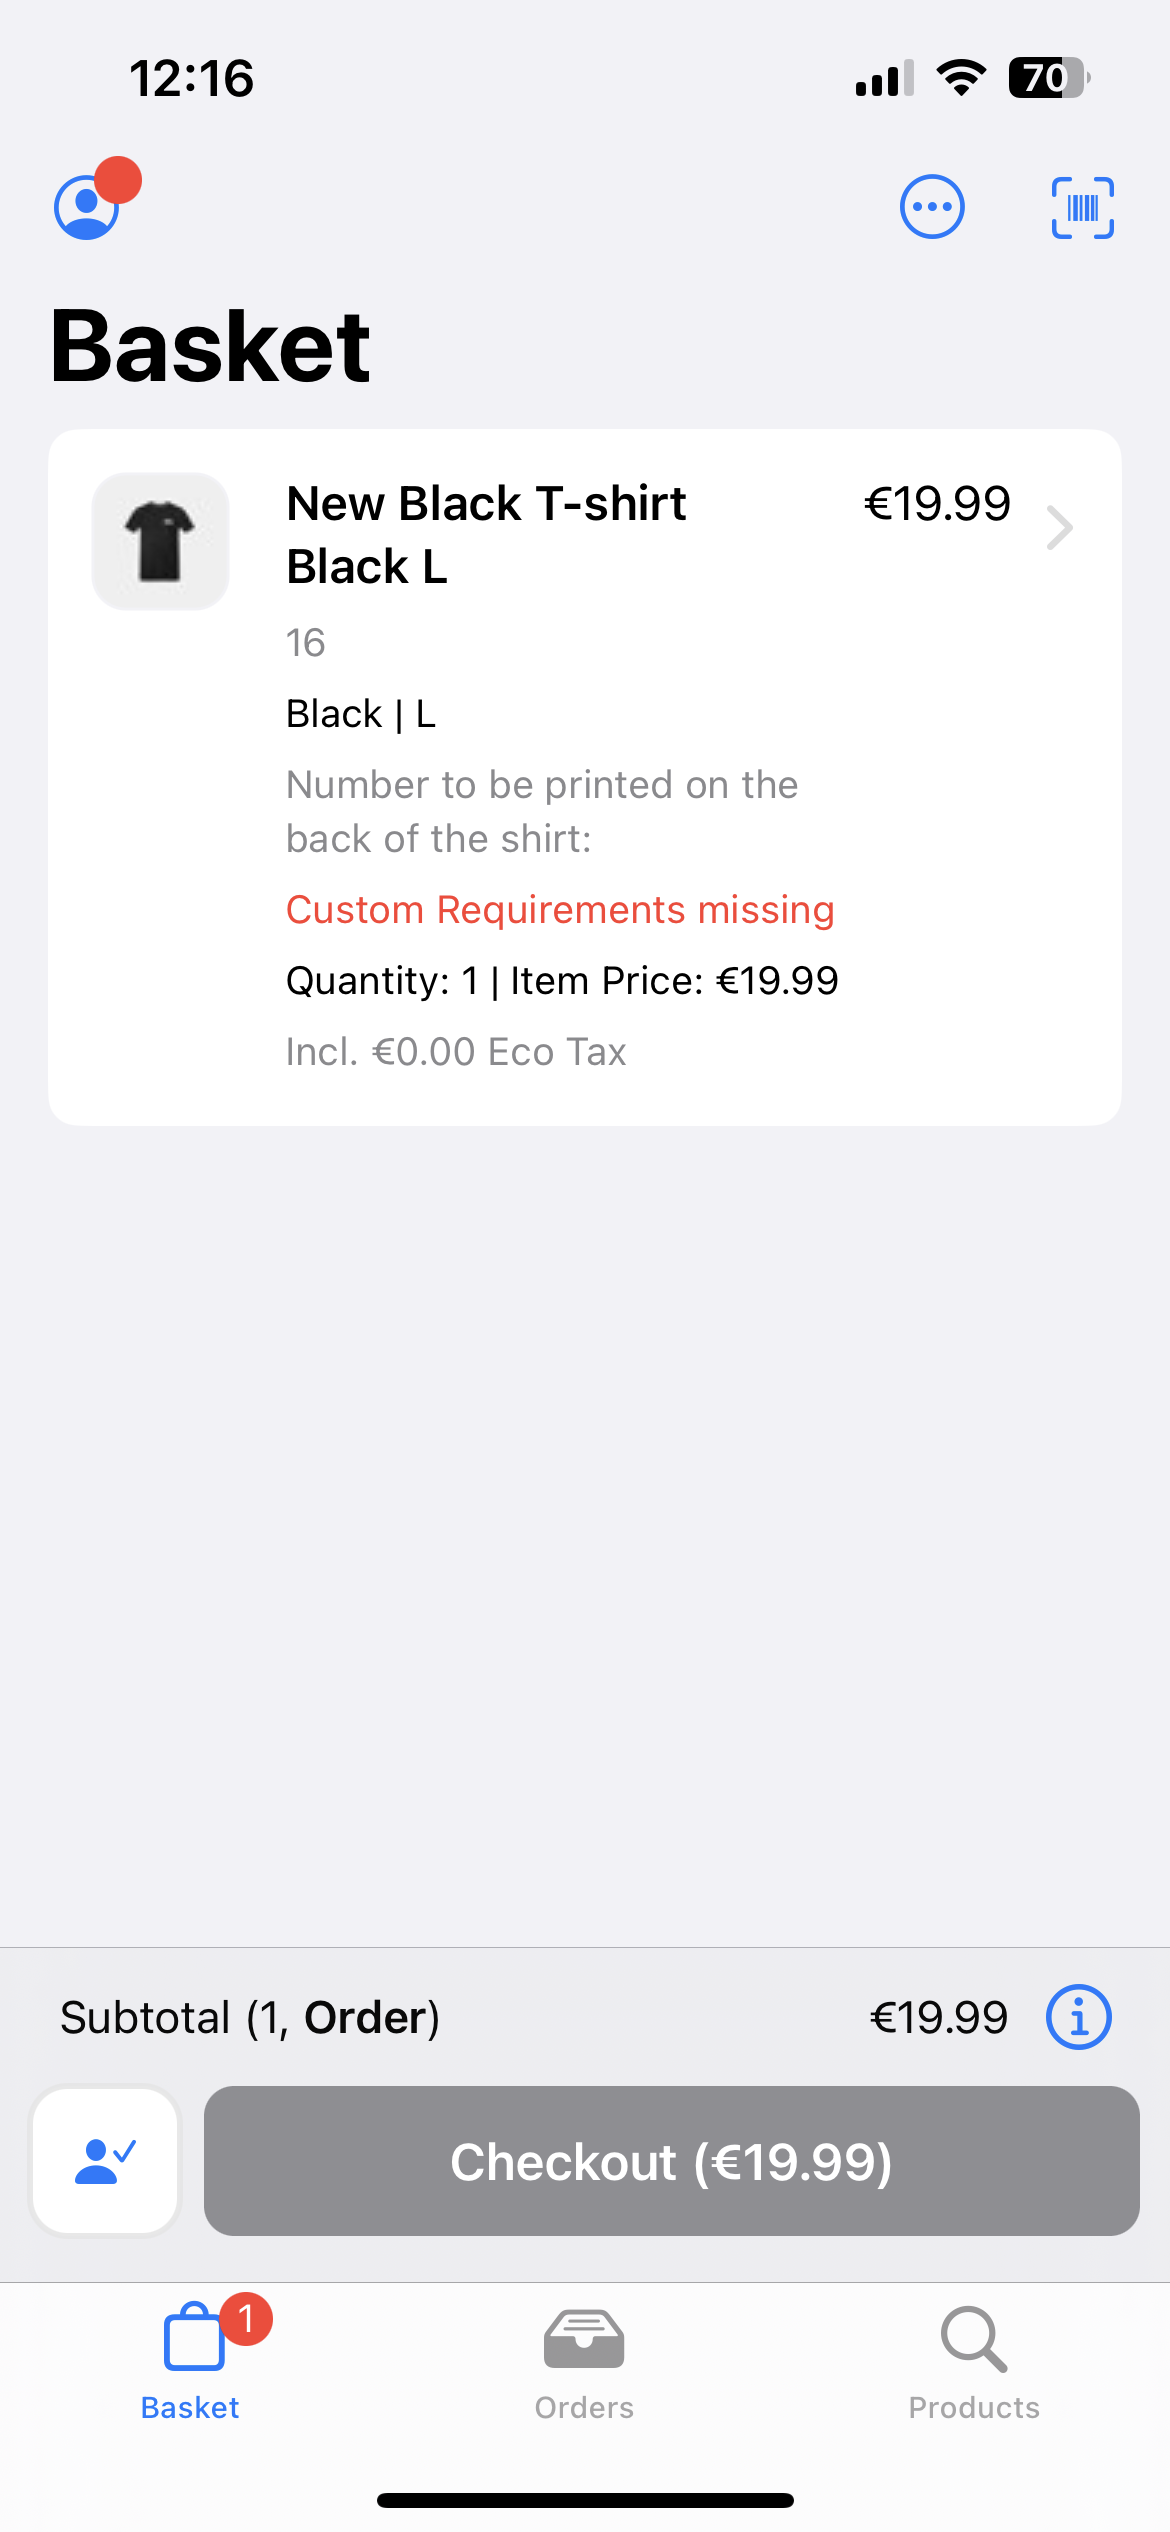
Custom Requirements
When a product or bundle has a custom requirement this will be displayed in the basket and order detail page. Custom requirements can take all forms and shapes, such as printing on shirts or serial numbers.
If your product is missing a required custom requirement, you will be alerted in red via the order line.
If configured, serial numbers are visible throughout the order journey, from the Basket and Order Details page to your Order Documents, and will be remembered for Return orders.
Options
From Options you can change and manage a few impacting factors like Action type, Add discount, Create Runner Task, Create Return, Related products, Modify price, and more. What you see is based on what you have configured. Let's cover a few of those:
Action type
Any order lines that is added to a basket is added with an action type Carry out by default. If no stock is available in your OU, the order line will be added with an action Order. The Action type button can further be used to change between actions.
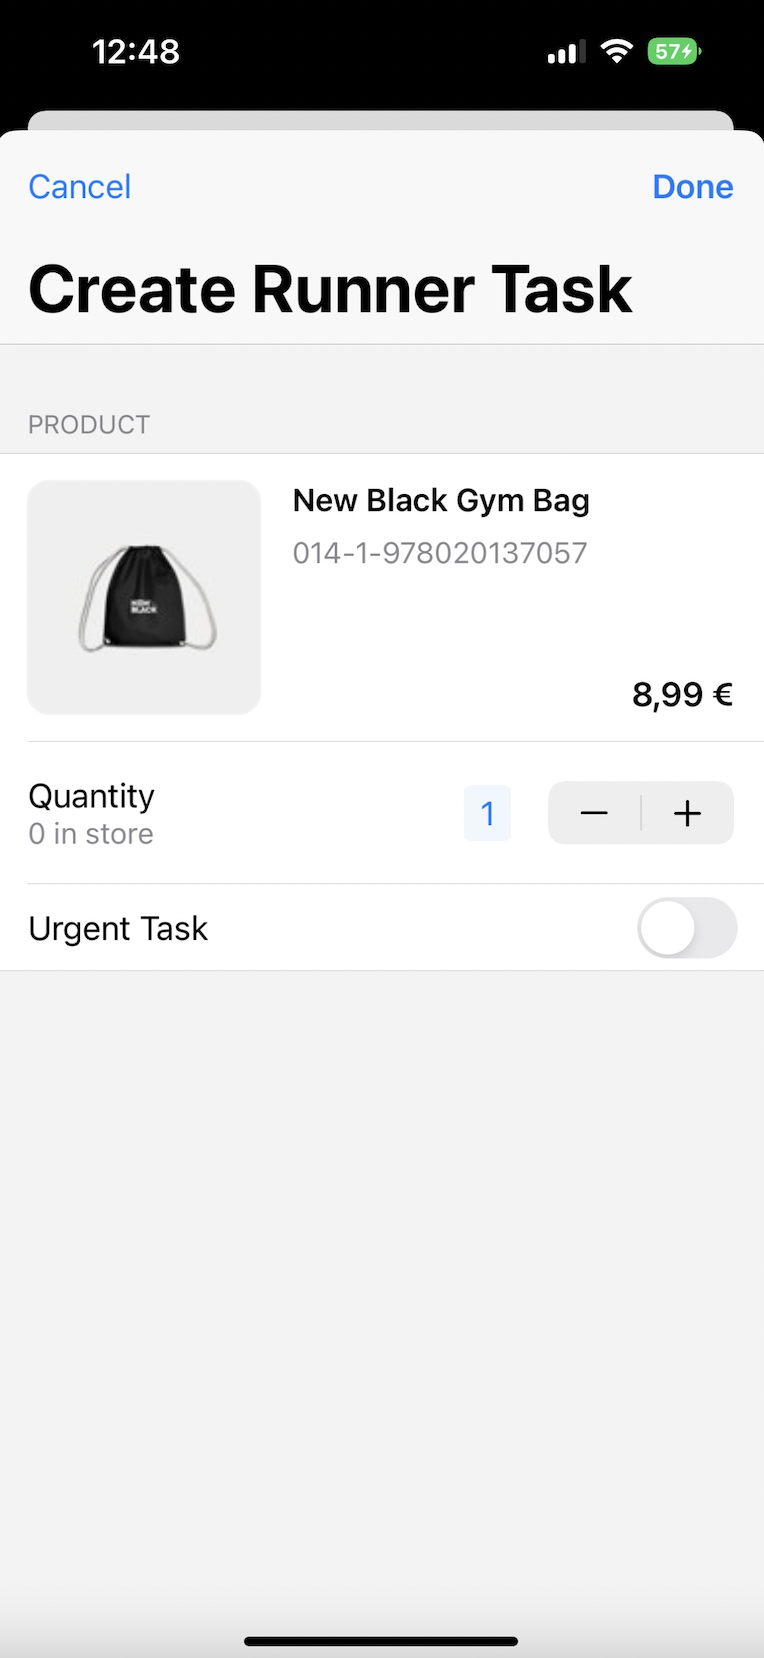
Create Runner Tasks
You can use the Create Runner Task option to send a colleague on a runner task i.e. to go fetch that product for you from back of store or off the shelf while you continue serving the customer. This option helps notify other persons in the store that you need a particular product brought to you. You can set up the quantity of the required product and even indicate if the task is urgent.
App:Feature:StockReplenishmentTask:Enabled is set to true by default. This enables runner tasks and replenishments, making them visible. When set to false, runner tasks and replenishment functionality will no longer be available.
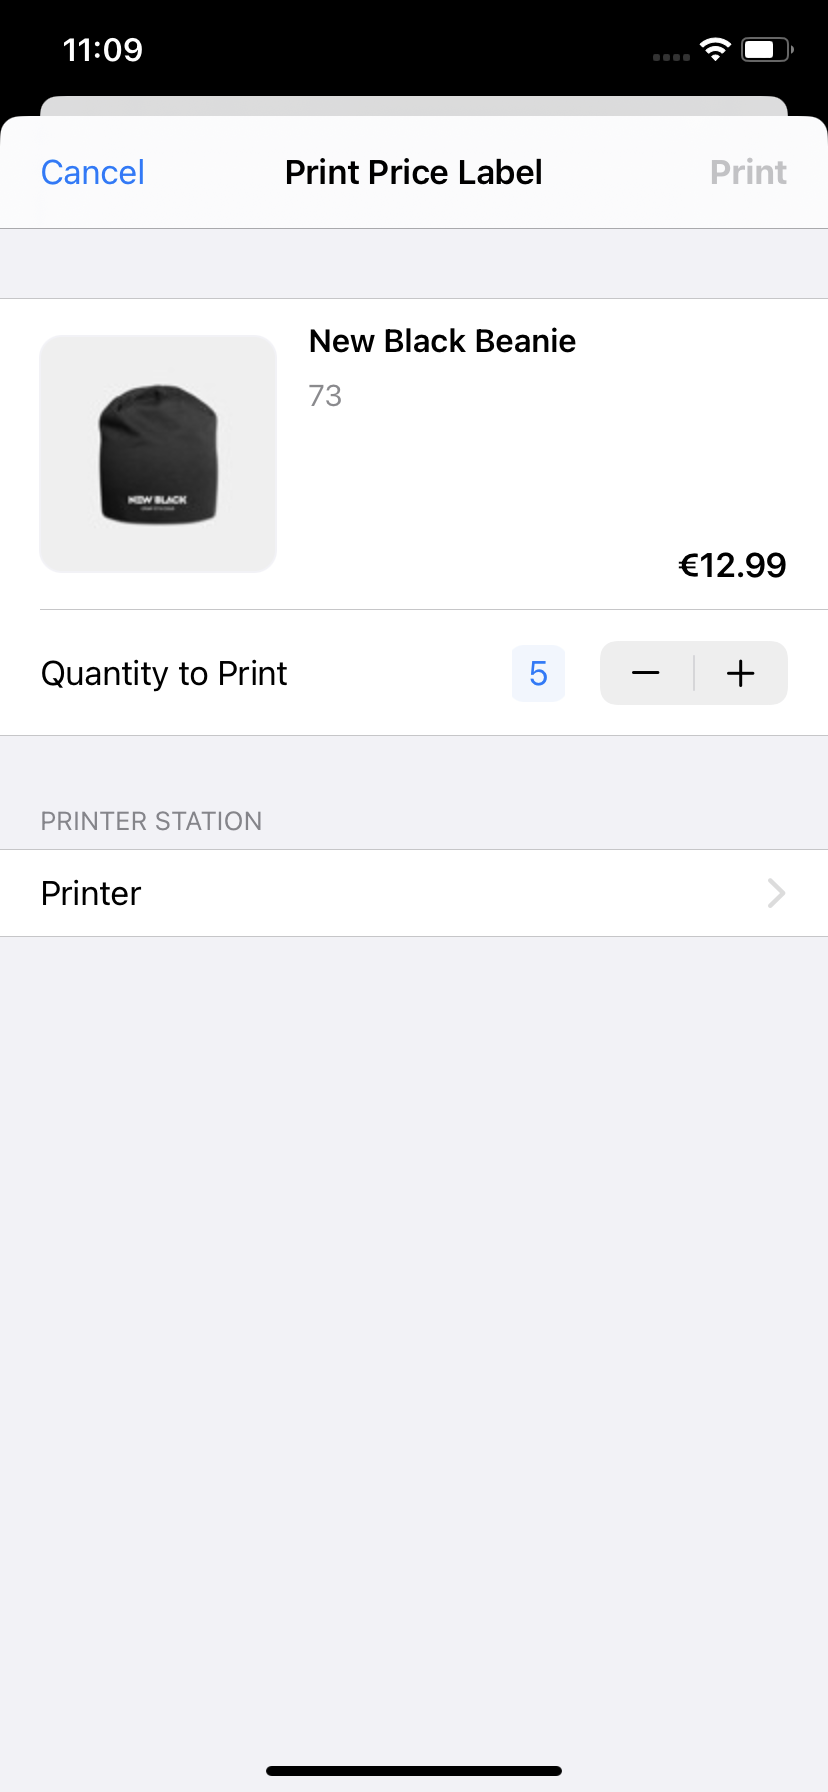
Print Price Label
You can Print Price Label option to print price labels for the product. The option allows you select the quantity of labels you'd like to print, as well as the printer station.
Read more about print price labels.
Set App:Product:ShowPrintPriceLabel to true to enable the printing price labels button, which will then appear under the options section. The setting's default value is false.
Create return
Normally, return orders are created based on the original sales order from which the customer would like to return certain items. If there is no record of the original order however, return orders can be created in the basket and then transformed into a return order using this button. When doing so, you need to specify the return reason and stock location to which the item(s) would be returned.
A payment flow and a refund flow are largely the same. Depending on your settings however, not every refund can be performed - or at least not by every user. If you'd like to know more about this, or refunds in general, see: Refund flows.