Checkout
In the checkout menu, you can place the customer order. The payment is also processed here ahead of the sale.
Only employees with the permission Sales are able to enter checkout and complete orders. For more information on setting permissions, see Roles and rights in Admin Suite.
View Checkout
To proceed to the checkout, tap the big blue Checkout button in the Basket.
By setting App:Order:ShowEstimatedDeliveryTime to true, you can add the estimated delivery time for shipping methods to the overview.
If an order contains more than 50 order lines, you'll have to tap the Show more button to access them.
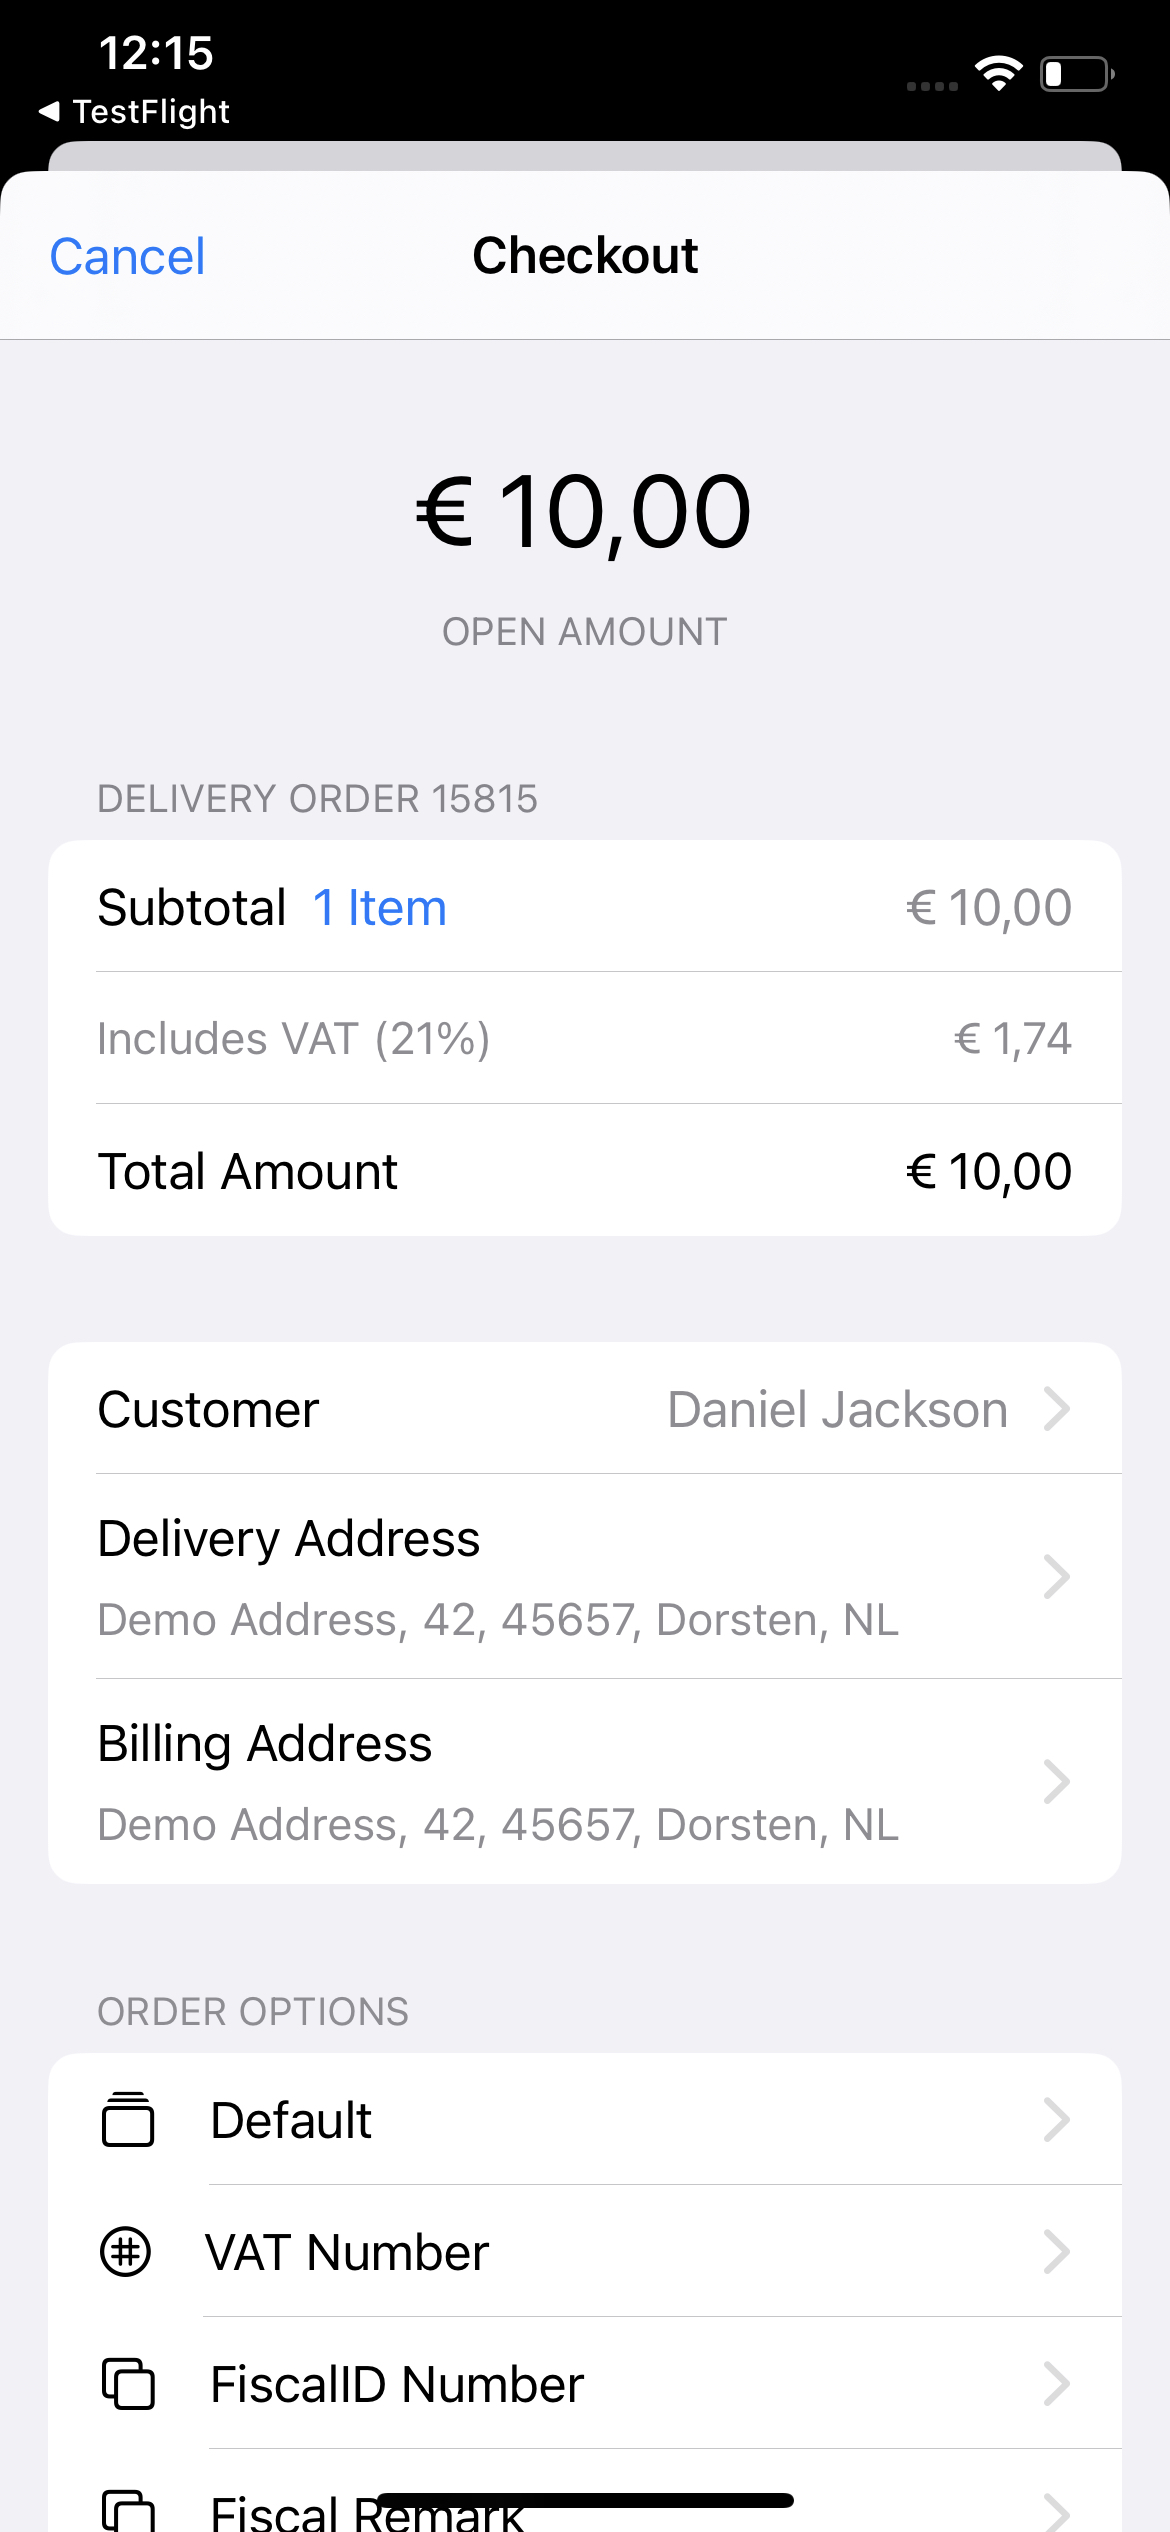
Order options
Add Customer
Tap the 'Add Customer' button to add a customer to the order. You can either search for a customer, or create a new one. This option will also add their delivery and billing address to the order. You are notified via a toaster when a customer is successfully added.
You can only add a customer to the Basket when there are already products in the basket.
You can detach a customer by tapping on 'Add Customer' button again, a modal will pop out to confirm. You cannot detach a customer from referenced/unreferenced return orders or mixed orders with return lines.
Edit Customer
Once you have added a customer, you can tap on them to edit their information.
For customer editing in general, we recommend the Loyalty App.
Coupons and Discounts
Available Coupons
When a customer with available Coupons is added to an order, a button labeled Available Coupons is displayed, indicating the quantity of coupons. Pressing the button reveals the available coupons, allowing employees to press Add to apply them to the order.
Possible Discounts
If App:Orders:DisplayPrefiguredDiscounts is set to true and there are active Discounts, a bar labeled Possible Discounts will be displayed. Tapping it will reveal all potential discounts to the user, including the names, descriptions, and associated product images. This allows employees to inform customers about available discounts and any additional conditions that need to be met in order to be eligible for a discount.
With App:Search:ShowDiscounts, you can choose whether to hide possible discounts in the product search view. When set to true, we display all the potential discounts in the product search; otherwise, it defaults to false, and they're hidden.
After applying a discount, the discounted amount and the reason for the discount will be displayed on the order line.
Checkout Options
You can manage checkout options in Admin Suite's Checkout options chapter under Orders. For example, you can leave an order remark and it will open a text field where you can write a note.
When the checkout option is configured to have the default value pre-selected, it will be automatically selected with a checkmark displayed. Users can then manually select or deselect it.
Payment methods
Which payment methods are available in your app highly depends on the settings. To use one of the available ones, tap on them at the bottom of the Checkout screen.
If a customer cancels the payment or if their card is declined at the terminal, the employee will be notified in the Checkout App.
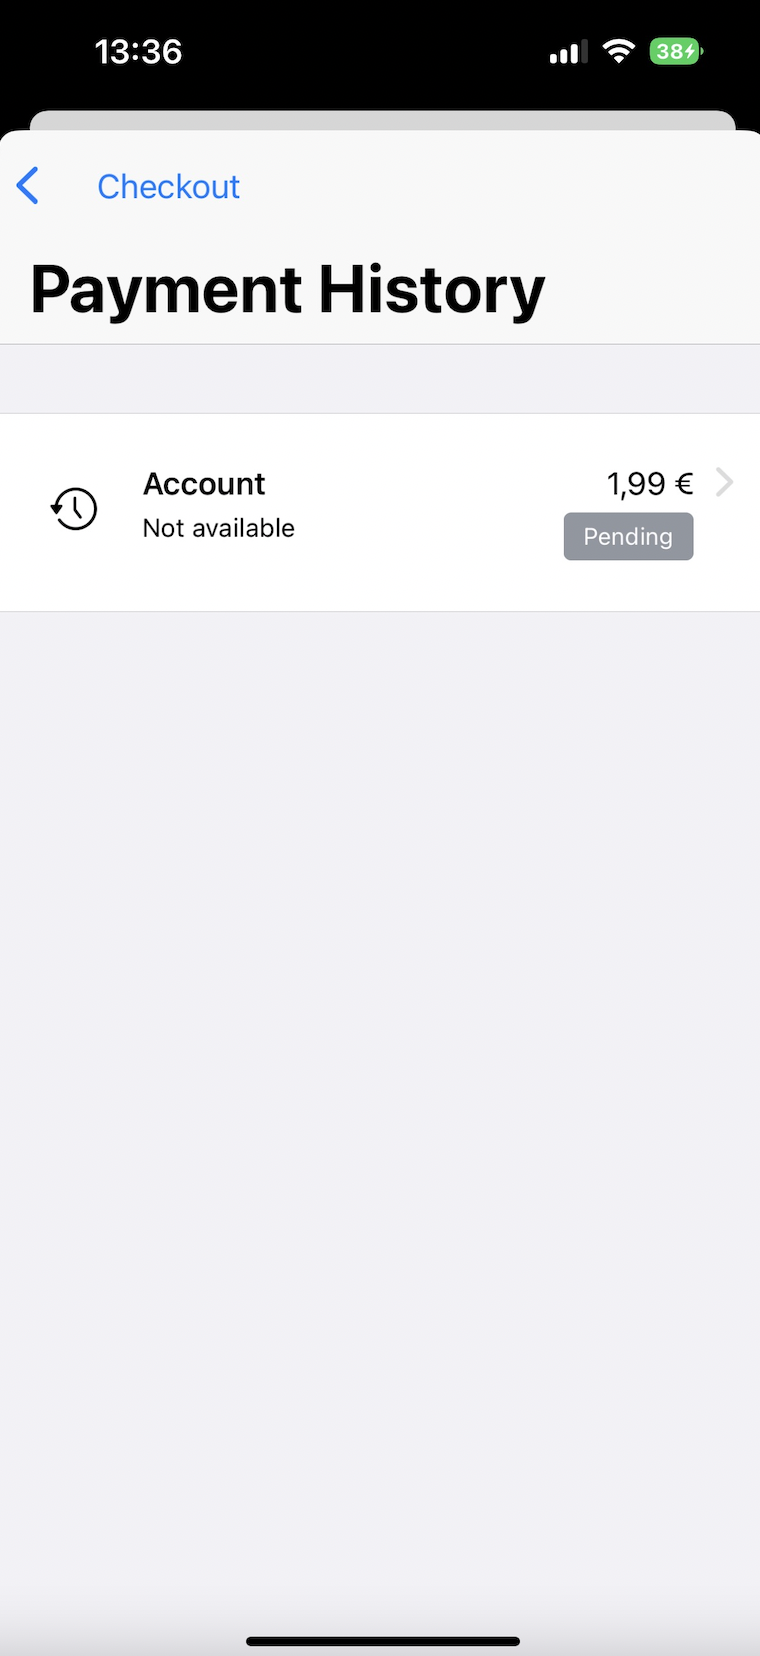
View Payment history
If an order includes multiple or pending payments, you can view them in the appearing button called Payment History. You can tap the payments for additional options.
Shipping method
The Delivery tile is accessible at checkout, and the employee can change the shipping method.
Changing Shipping method
When changing shipping methods, if the updated delivery method incurs additional shipping costs, the Order summary is updated accordingly.
Configure Pickup point
A pick-up point can be selected by the employee when PickupPoint is returned as an available checkout option. Orders of Type Reserve can then be selected.
When selecting a pickup point, it will return all stores within radius with available stock or available for backorder. You can also choose to type in a specific city. It will then display on a map with all stores that are returned. From the Request Date tile in the Checkout options side pane, it will also show availability dates for pickup.
When RequiredData:RequireOrderTransferForNonPaidPickup is set to true (otherwise, it defaults to false), and an unpaid order of type Reserve has a pickup point different from the order creation point, the SoldFromOU is updated to the pickup point. This ensures that SoldFromOU reflects the location where the payment is made.
Complete Checkout
Once the payment is accepted, the checkout will move the order to complete. You will transfer to the Complete screen, where printing options are available.
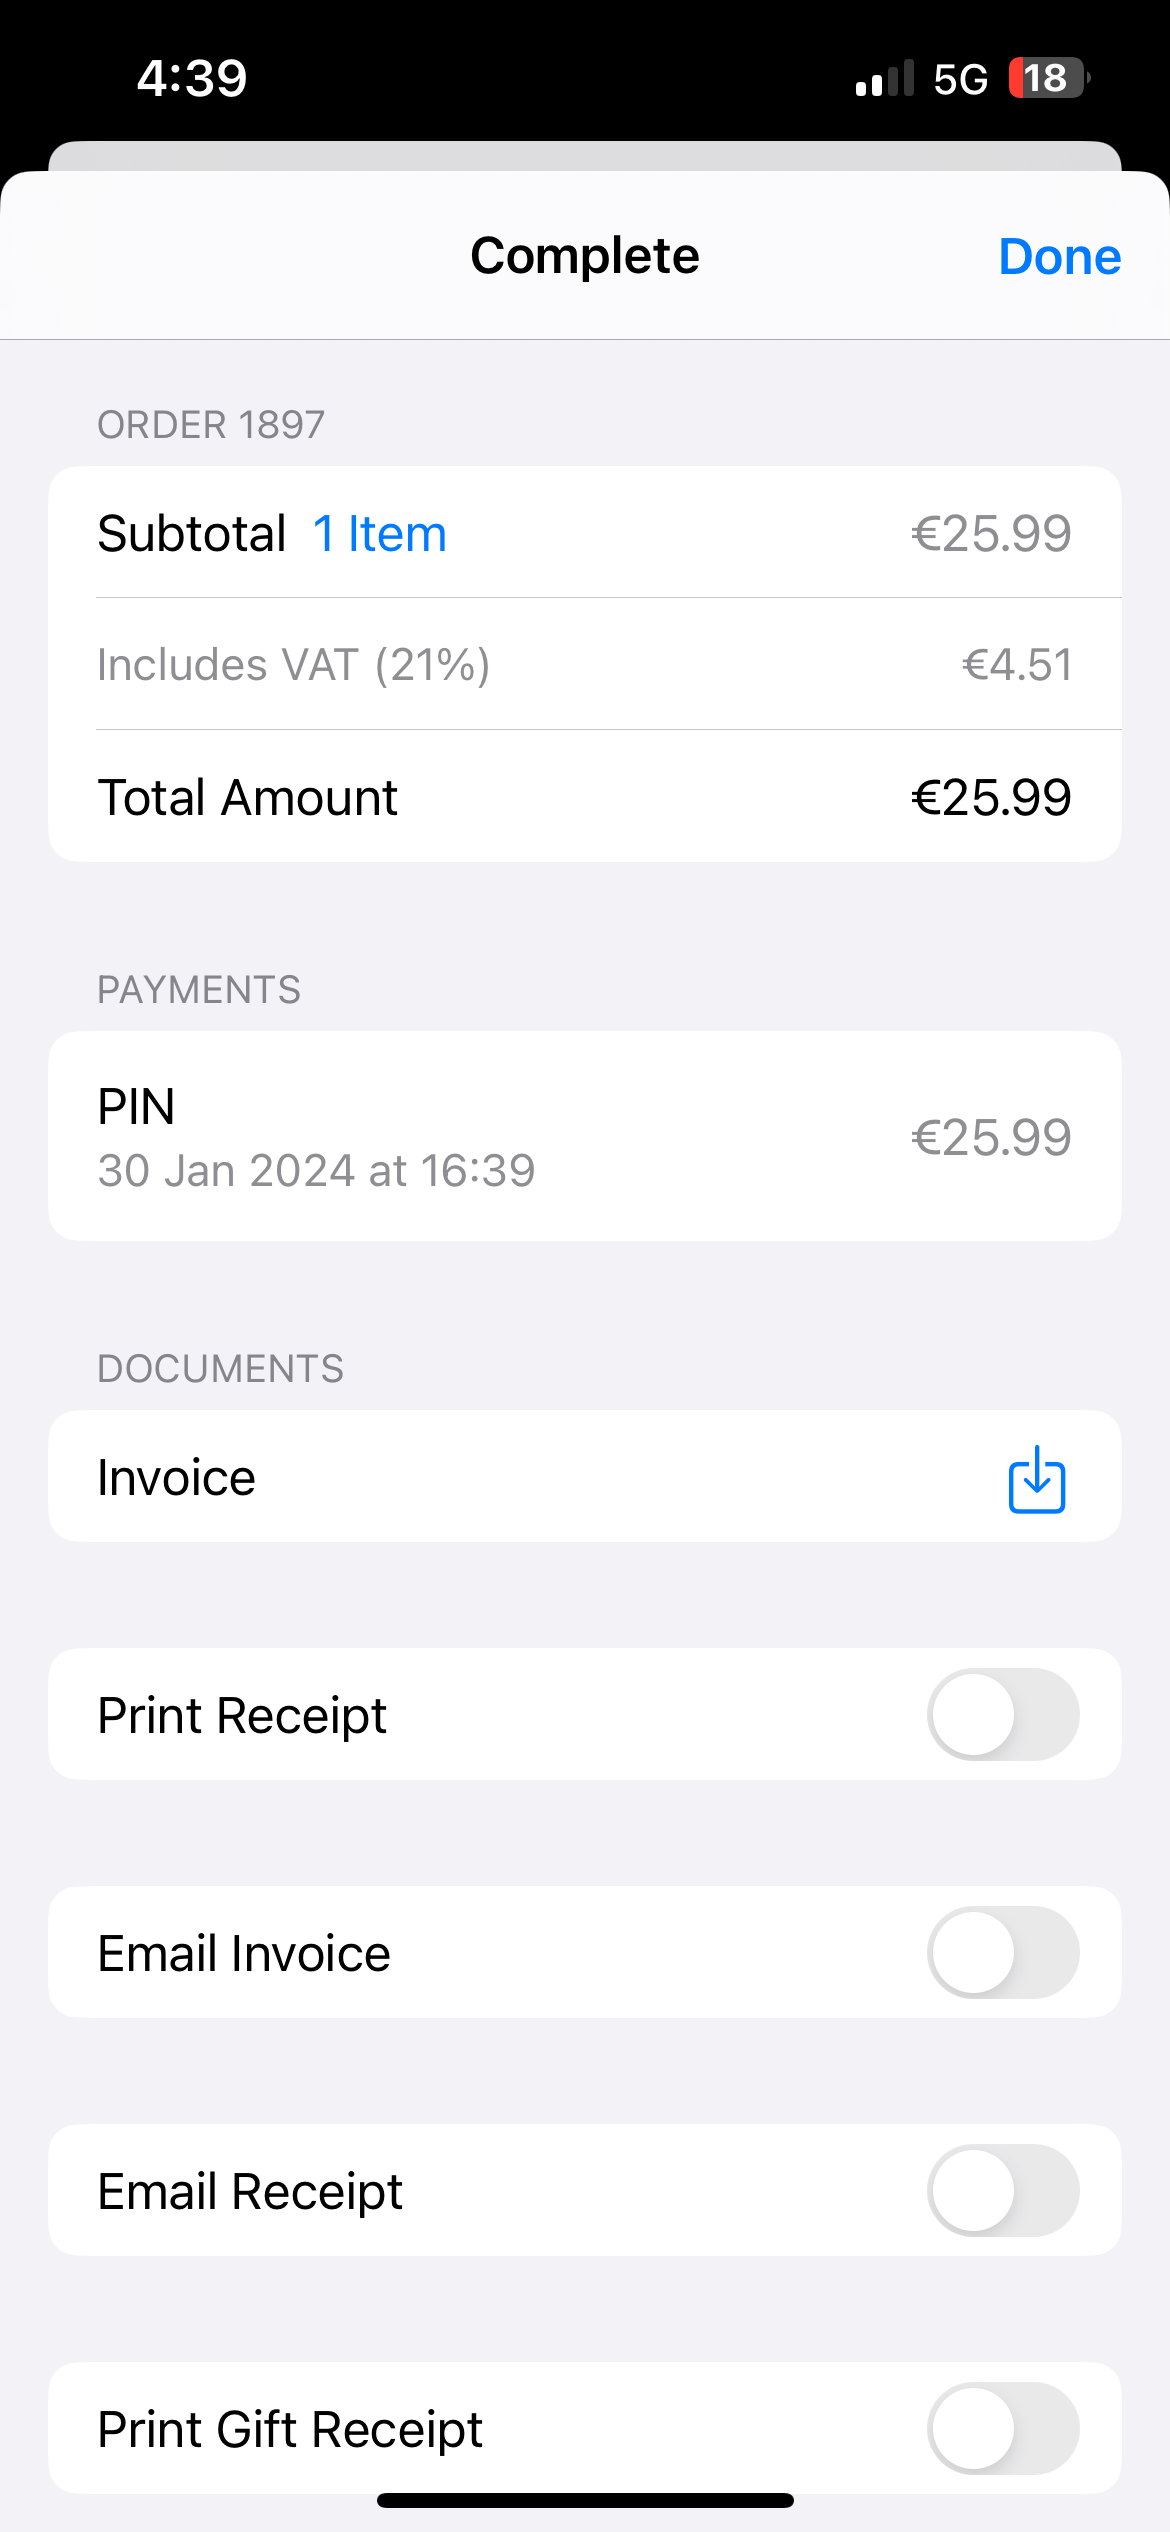
For more information about the particular documents you can print and/or email, please see the following section: Print Order Documents.