Consumers chapter
Consumers chapter
Managing consumer (user) records on Admin SuiteThe Consumers chapter in Admin Suite is a treasure trove of information concerning all the customers known to EVA. It allows you to check all their details, such as contact information, recent orders, and interactions. You can also make certain choices for the customer here, for example, a default shipping address, and create and edit custom fields.
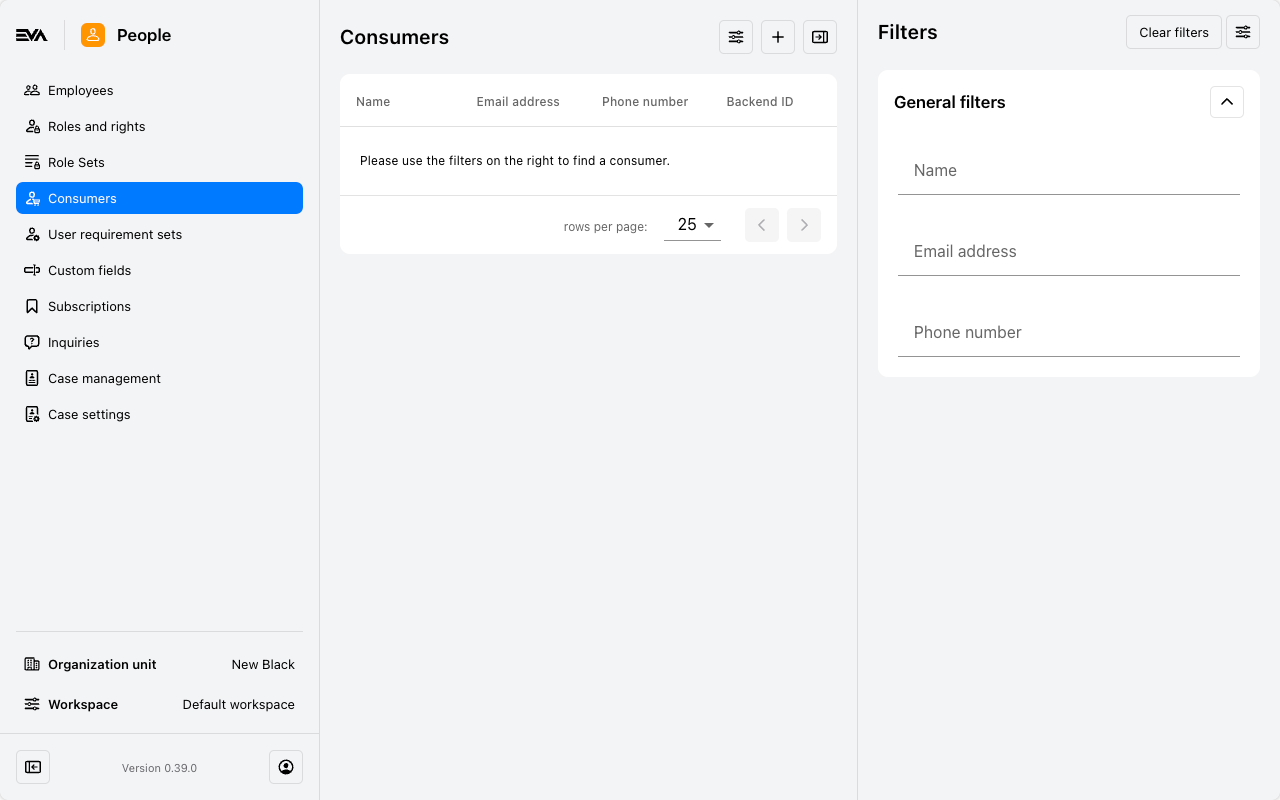
Overview
The general overview gives a quick insight into your customers, allowing you to find the right customer using the filter pane and going into specific consumer details.
To access this chapter, you need the Customers permission. Permissions are managed from the Roles and rights chapter namely, from the functionalities card of a users role.
Create customers
You can add new consumers using the '+' icon from the overview. The consumer will be added to the organization unit selected at the bottom left of your screen. After filling out the requested information, this will redirect you to the General information tab and a few more tabs which we cover in more details below.
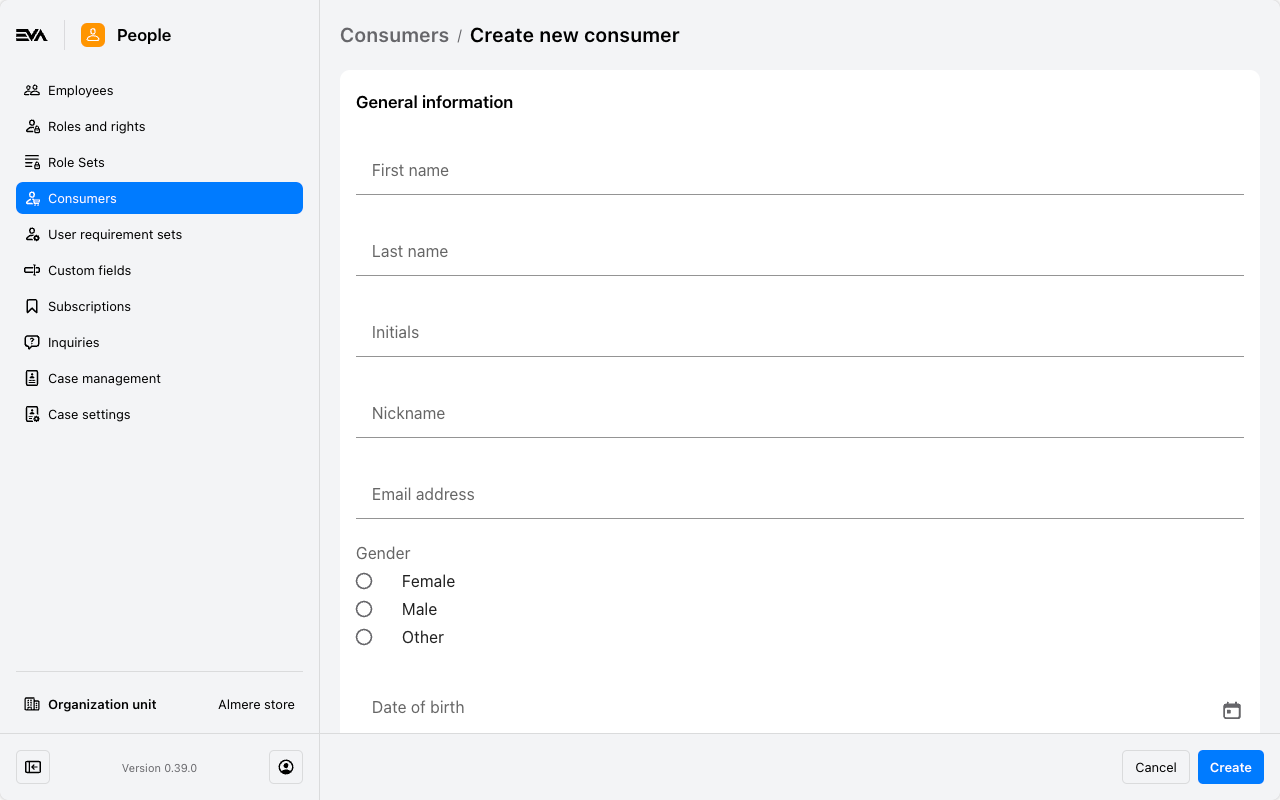
The requested information in this modal are based on your user requirements configuration. Example: first name, last name, email address, etc...
General information
Make sure you've selected an organization unit (bottom left) in order to prompt the respective user requirements of the consumer such as First name, Last name, and Date of Birth. The fields prompted to be filled here are also based on your user requirements configuration.
If you click an existing consumer or during creating one, you will land on the General information tab. Form here you can, for example, add, edit, delete addresses (this includes changing the default shipping or billing address), phone numbers, subscriptions (if any), Loyalty programs (if any), and Custom fields (if any).
Email address editing is influenced by the setting Customer:BlockChangeEmailAddress. Once set to false users can edit email addresses of consumers.
You can add and edit where applicable by using the appropriate icon ('+' or 'Pencil').
Furthermore, you can delete the consumer profile as a whole by clicking the red Delete button (bye-bye).
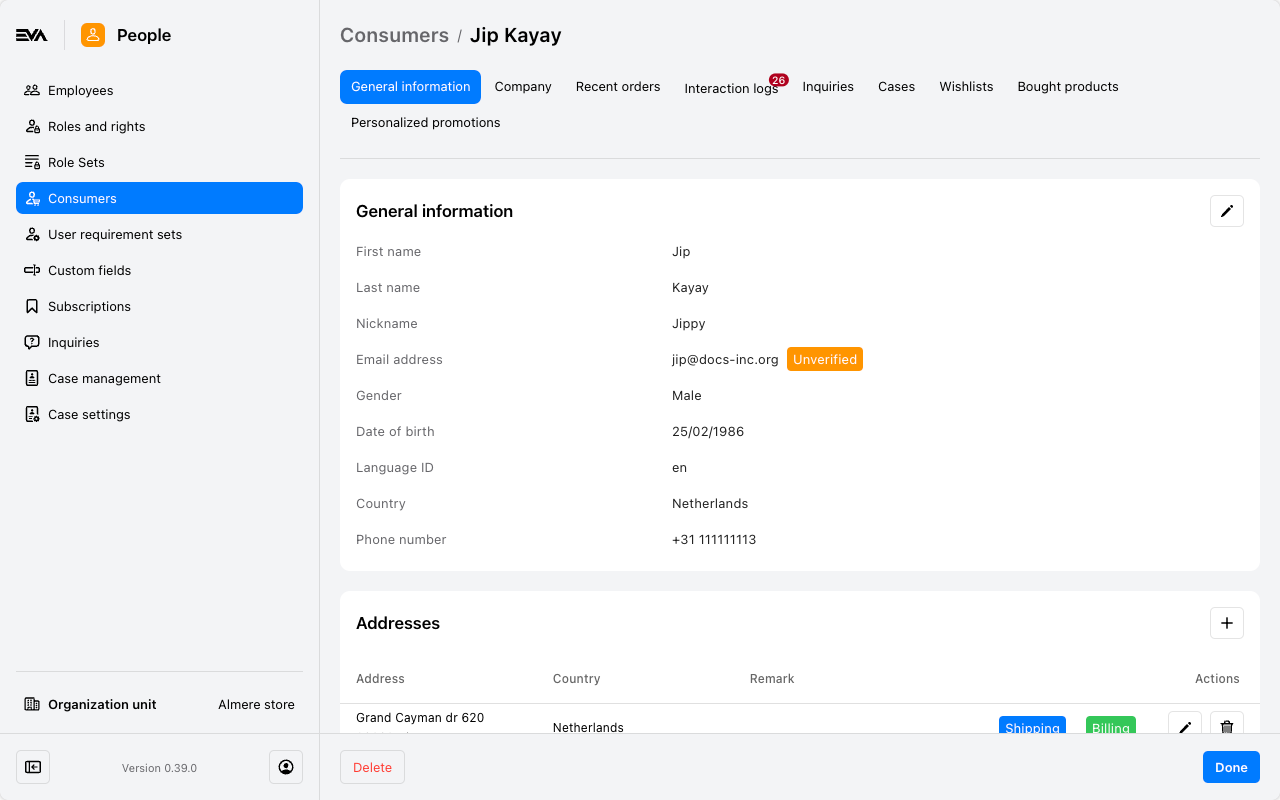
The Email address field cannot be edited from here since it serves as the customers identifier. A customer email address can be edited, for example via frontend apps/ecom, or via a sidebar Consumer card where applicable such as, the Consumer Sidebar card found in the Orders overview chapter.
Loyalty programs card
Please refer to the section Loyalty related functionalities for more on all the related permissions impacting what users can and cannot do when it comes to loyalty.
The Loyalty programs card is one deserving more docs. The other cards are quite self-explanatory.
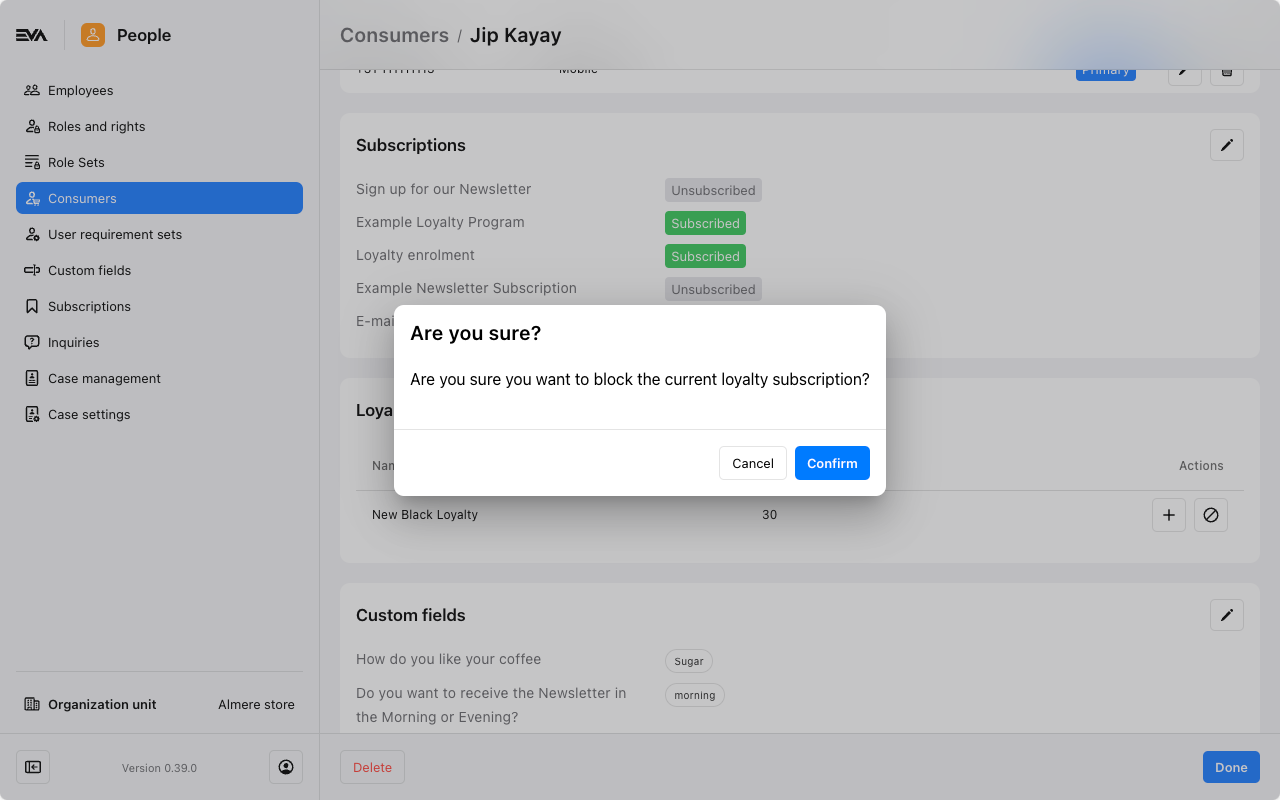
If configured, this card will appear under the consumers General infomration tab. Apart from viewing the loyalty prgram name and correspondding accumelated points, you also have the option to Block and + points.
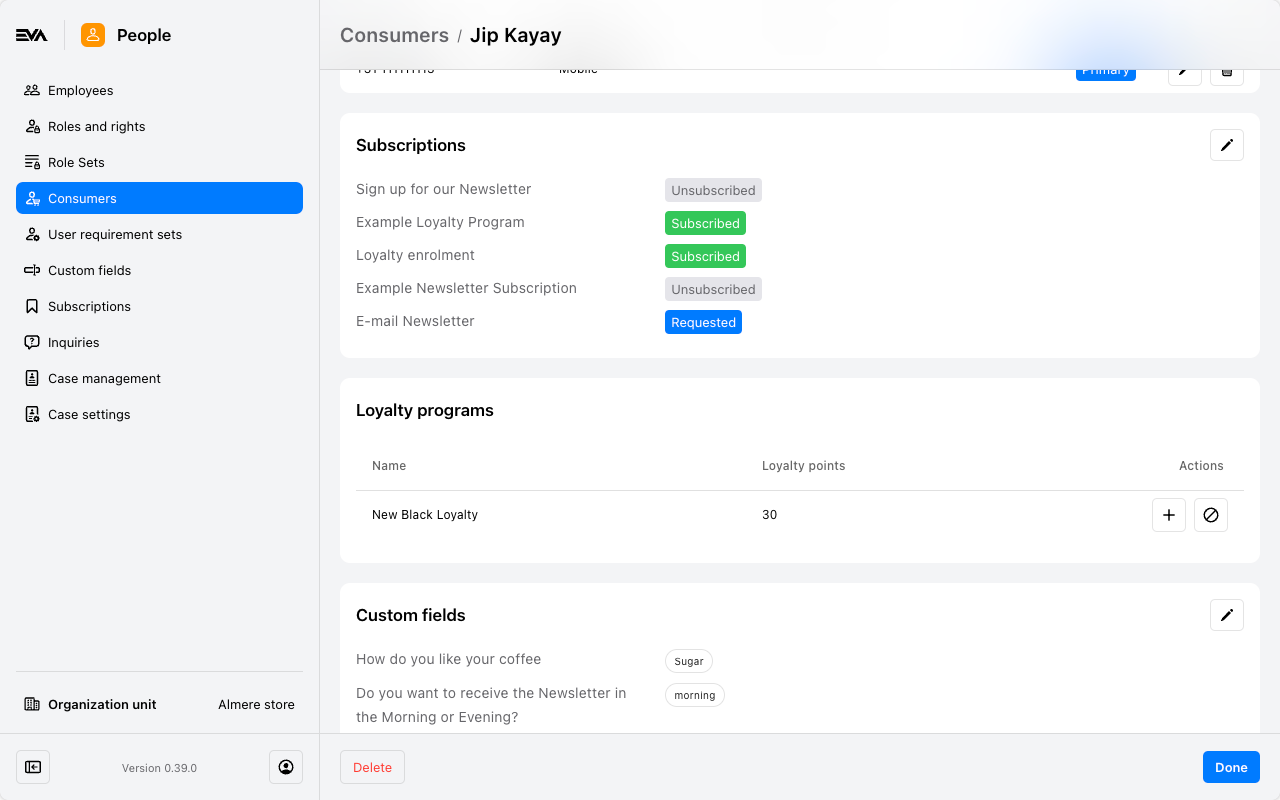
Block can be done using the 'block' icon, this will block the consumer from gaining, withdrawing, and availing any related discounts as a result of any accumelated balance from the corresponding loyalty program. If you change your mind later, you know what to do. The action is reversable.

Depositing can be done using the '+' icon. It's as simple as that, but be careful what you wish for. More points could mean more promotions. So, use this one wisely, and that's why this one requires a permission (see note below).
Company
If this is a corporate customer, you can make use of the Company tab.
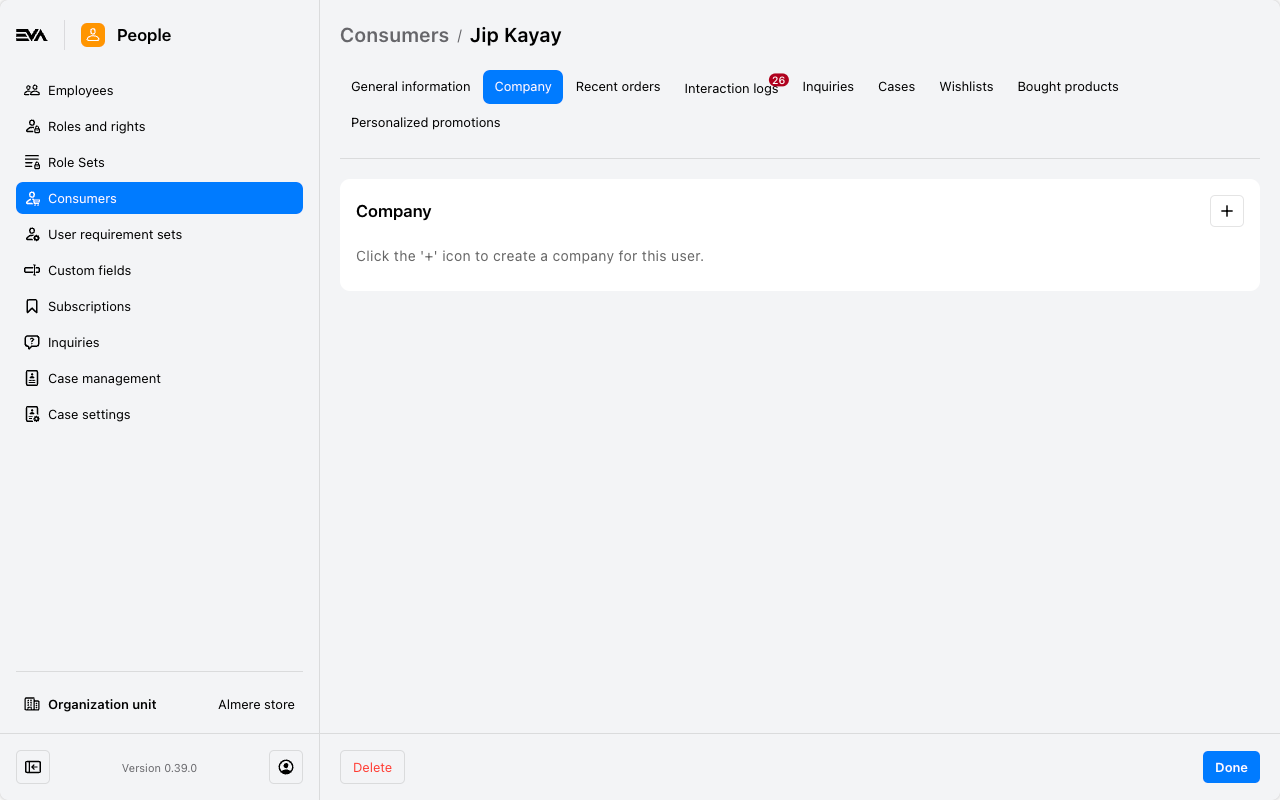
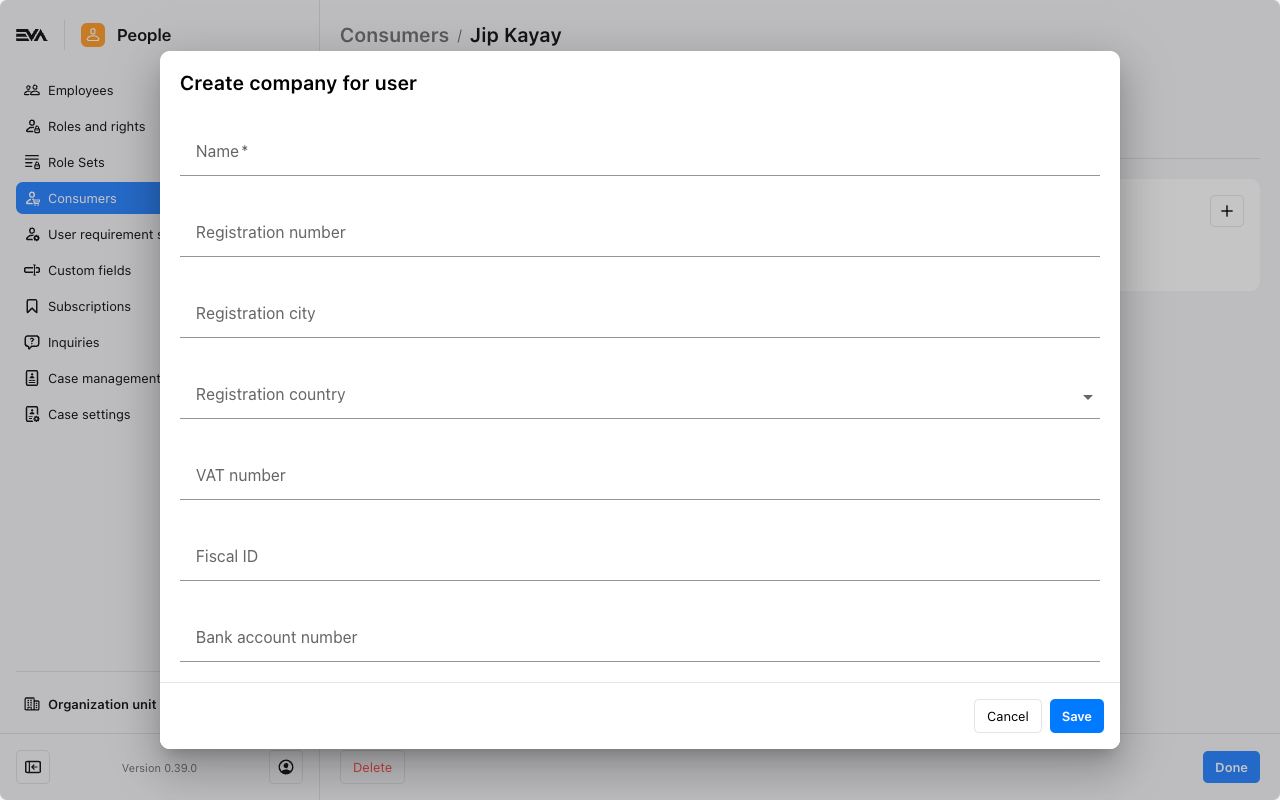
Clicking the '+' will prompt the Create company for user fields.
Recent orders
The Recent orders tab, as the name implies, gives you an overview of the customers recently performed orders. You can click on the 'Open' icon at the top right of the respective order to get more details. This will redirect you to the Orders chapter.
This chapter will only display the last five orders that the customer performed. For more information and extended history, use the Show All Orders button at the bottom of the page. This will redirect you to the Orders module.
Interaction logs
In the Interaction logs tab, you can see all previous interactions of the customer. It will also allow you to add interactions using the tab's '+' icon or edit, resend emails, or even delete interactions if needed using the 'Pencil' icon.
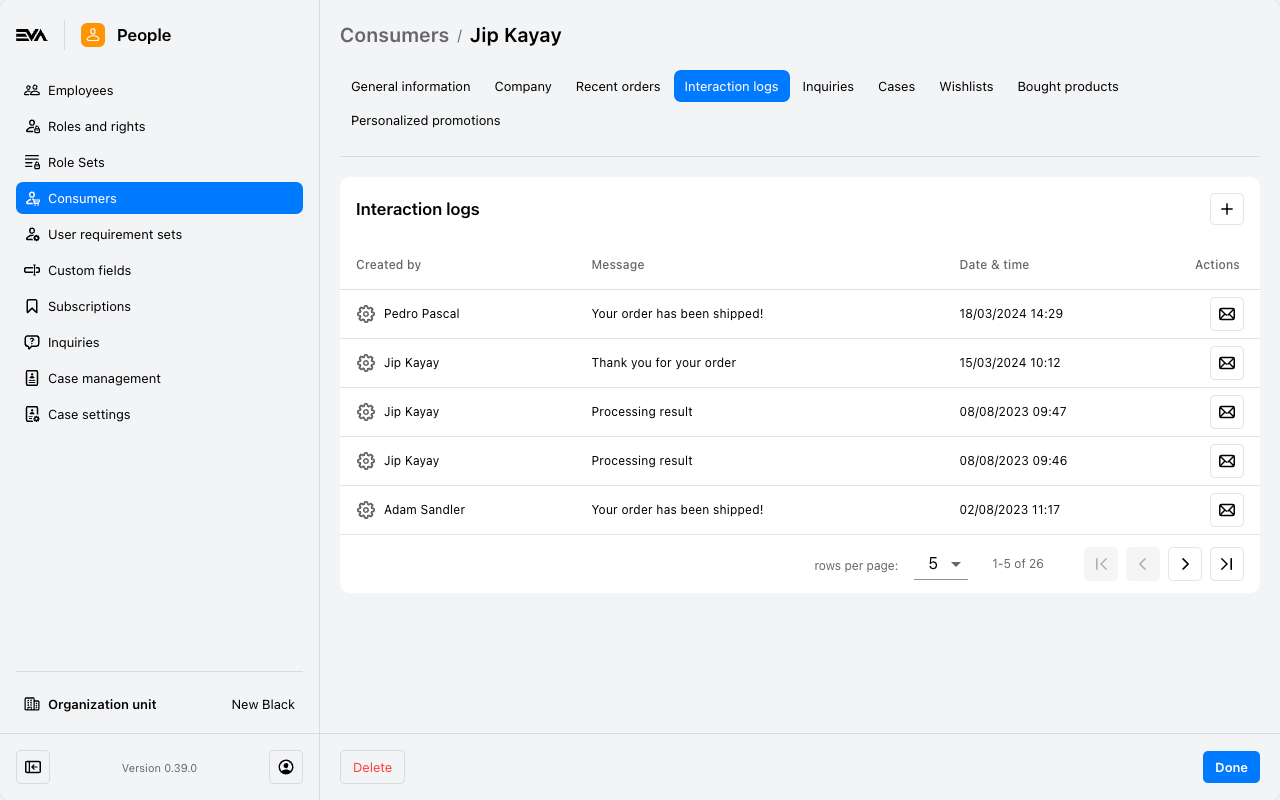
Using an App setting called App:ShowIndicationOnInteractionLogs and a value true you can control whether or not a red dot with a counter is displayed next to the tabs title. A true value will display that notification while a false value will not (the default value is false). The screenshot we used here had that setting set with a value true.
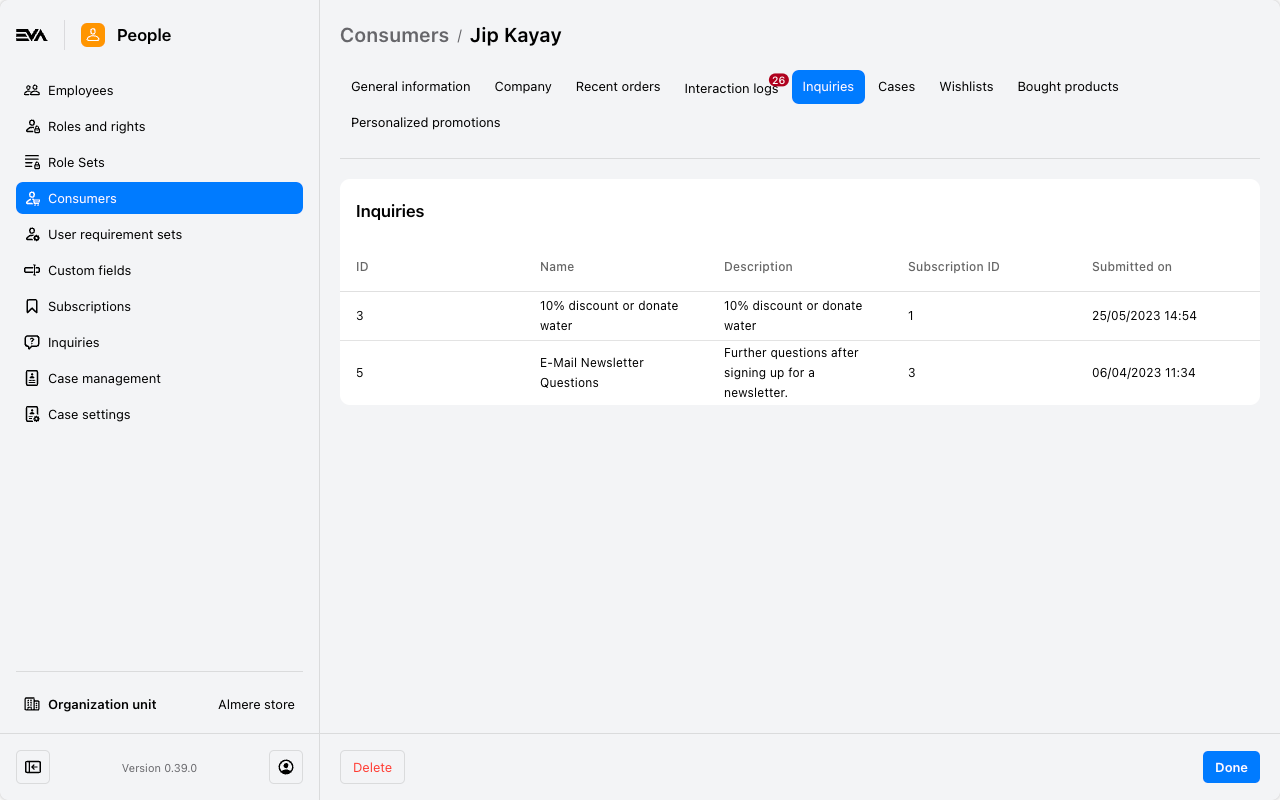
Inquiries
In the Inquires tab, you can retrieve all submitted inquires by the consumer (if any).
The initial overview provides you with the basic details, like ID, name, description, subscription ID (if applicable), and the date/time of submission.
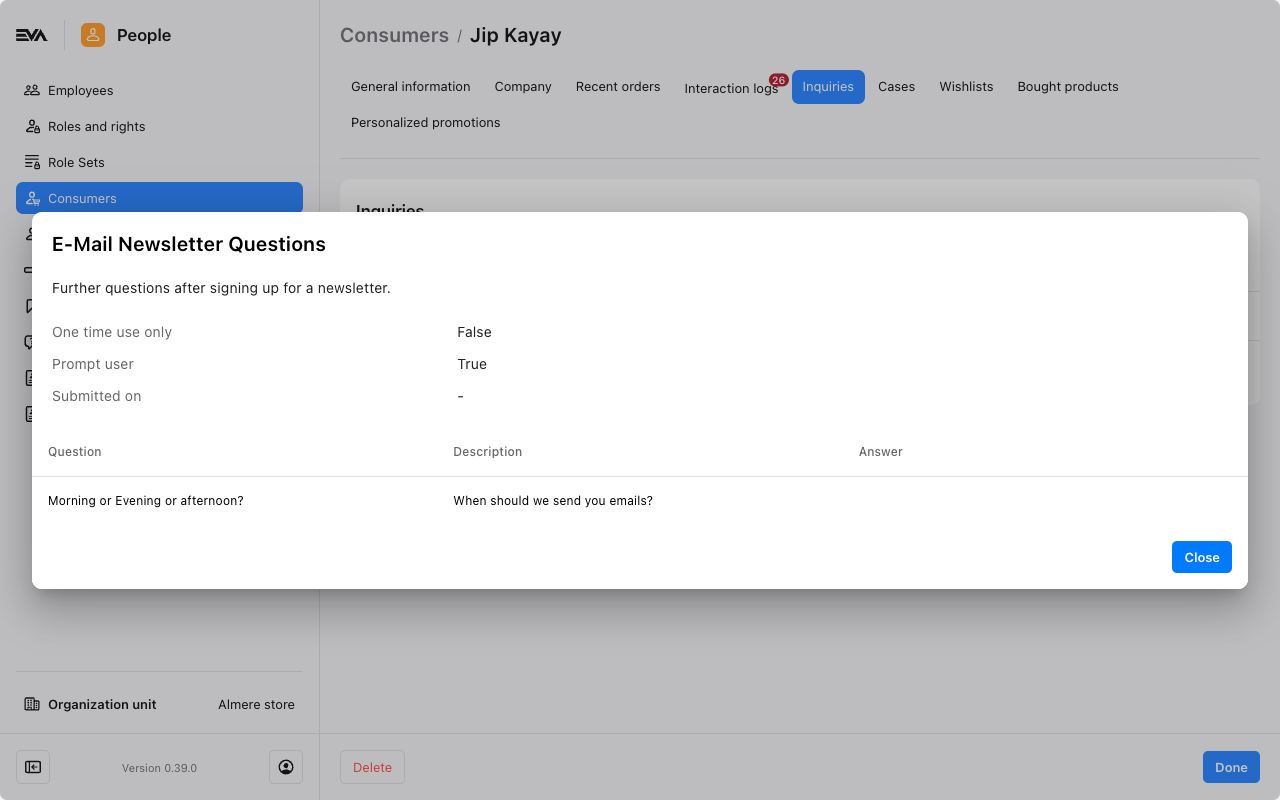
Once a row is clicked, a modal will display providing more details about the submitted inquiry, like inquiry questions and related configs.
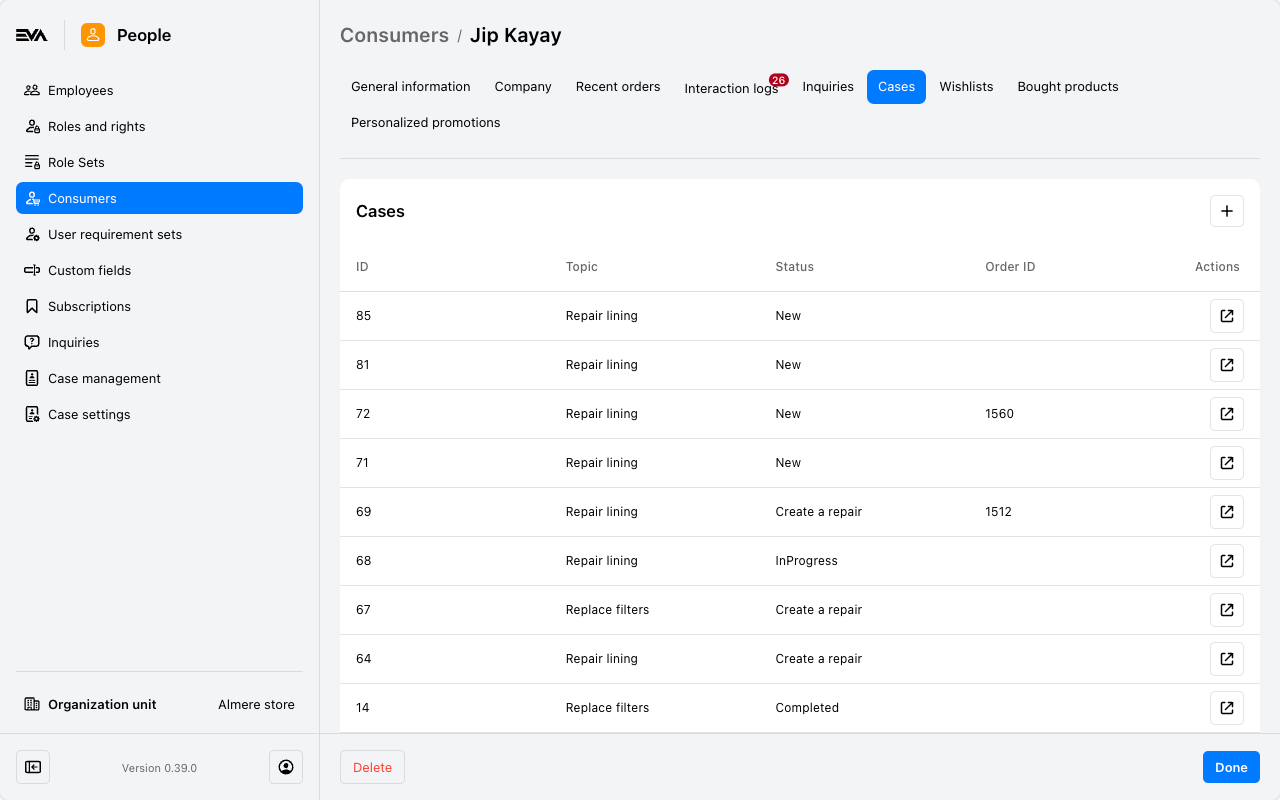
Cases
In the Cases tab, you can retrieve all submitted cases by the consumer (if any).
You can add new ones from here by simply clicking the '+' icon. This will navigate you to the Create case flow.
User cards
The User cards tab will allow you to manage cards assigned to a customer. The tab will only appear if the customer has any user cards. You can also add mutations to the amount stored on the card using the '+' icon next to the corresponding card.
Wishlists
The Wishlists tab is quite handy to get an overview of any active customer Wishlists. The overview starts with the wishlists name, some details, and the included products.
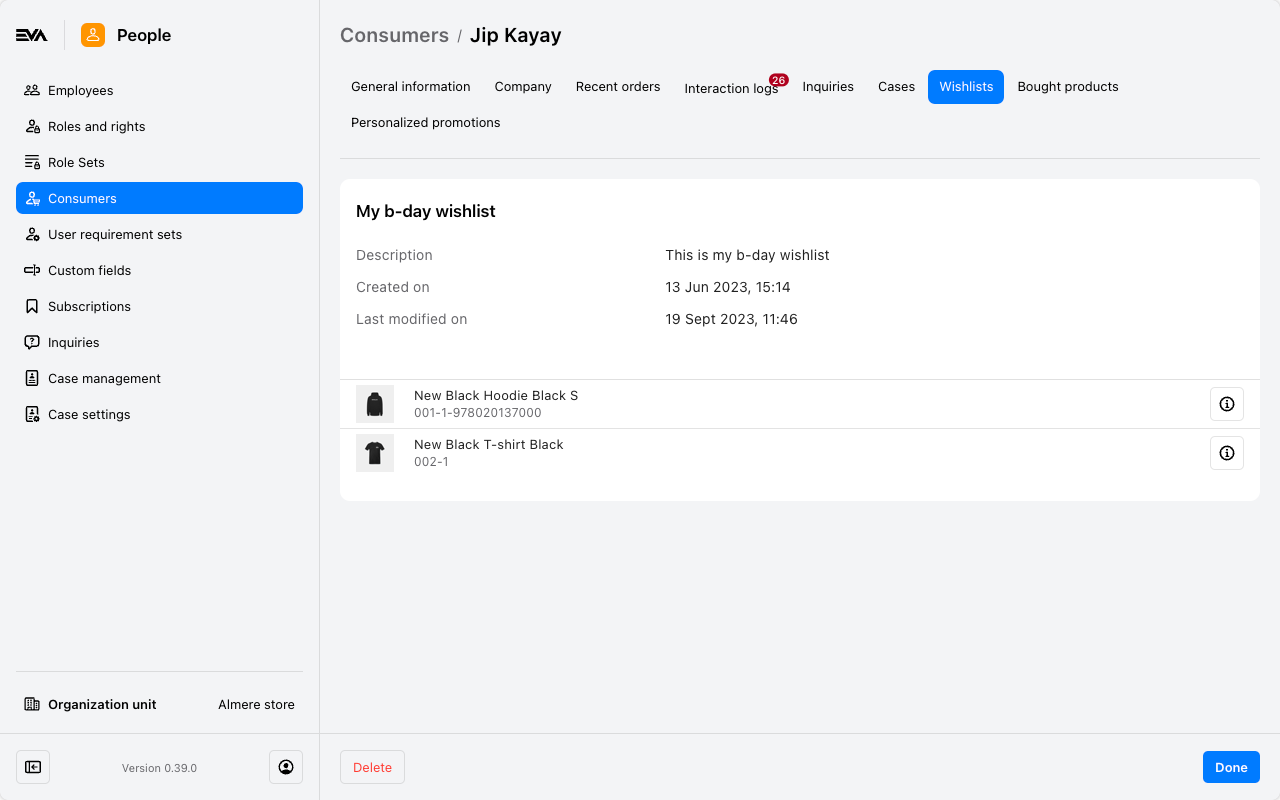
This tab will only display if the ListUserWishlists service returns a result. Results will only be there if a user has created a wishlist via your Ecom or Customer Apps (if supported). Check out User-attached wishlists implementation guide for more on the related services.
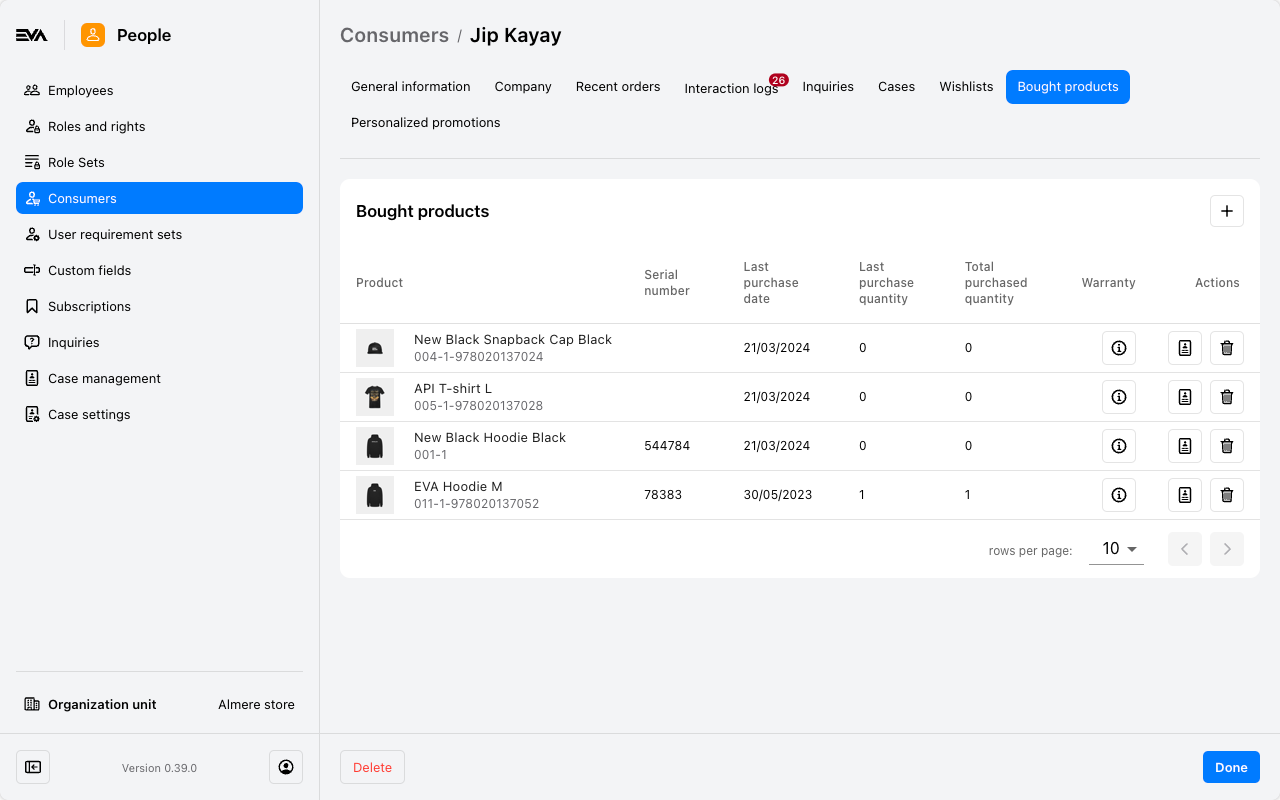
Bought products
To access this card, you need the UserBoughtProducts permission. Permissions are managed from the Roles and rights chapter namely, from the functionalities card of a users role. This functionality is scoped hence, if the Create scope is not given the '+' sign to add a bought product would be visible to the user, and so forth for view, and edit. This however, needs to first be activated via a setting called EnableUserBoughtProductFunctionalities and a corresponding value of true (default is false). Otherwise, the scoping and functionality configuratins will have no impact and all features would be available.
The Bought products tab provides an overview of all customer owned products in one glimpse. From the overview you can see which products those are, the product ID (adhering to the value set in App:CustomerProductValue, the purchase dates, the option to add or delete, and the option to Start case.
Start case will navigate you to the Cases management chapter, and directly into a Create case flow with product and consumer prefilled.
Clicking the 'i' on one of the owned products from the overview will open the Product warranty information modal where warranty details like Warranty expiry date, Serial number, and more can be viewed (if applicable). The warranty check is performed via the GetProductWarranty service. A call which requests warranty information from the endpoint defined under the Product:WarrantyEndpoint setting. Further, in order for the service call to work, the request must include a SerialNumber or a OrderLineID to be present and valid.
Products are not registered by default to a customer. If you want to enable this, set AutoRegisterUserBoughtProductsFromShippedOrder setting with a value true (default is false).
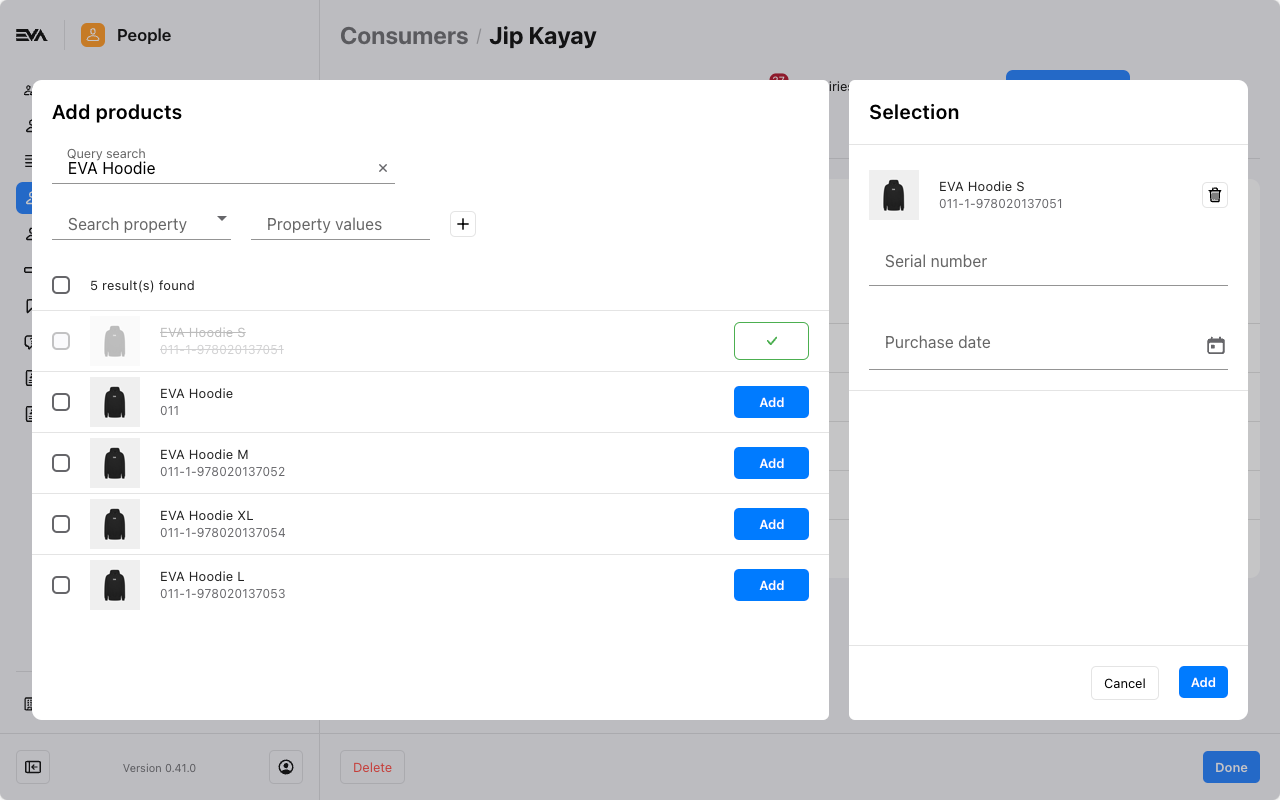
Adding a product
If not already listed, you can add a product by clicking the '+' icon. Using the query search function, you can find the product, and further enter its serial number and purchase date (both optional fields).
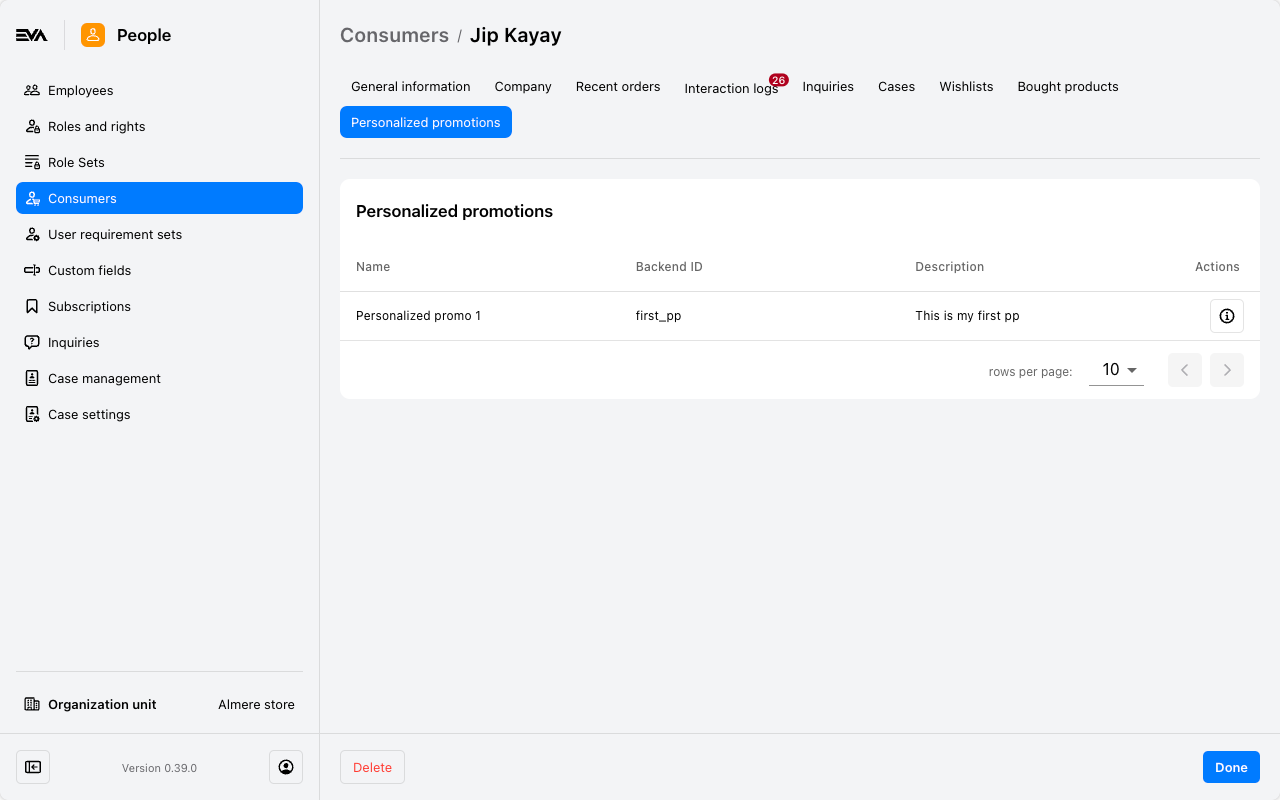
Personalized promotions
The Personalized promotions tab provides an overview of any Personalized promotions that are tagged to the open consumer.
From the overview you can see the personalized promotion Name, Description, and the applicable list of products by clicking the corresponding 'i' icon.